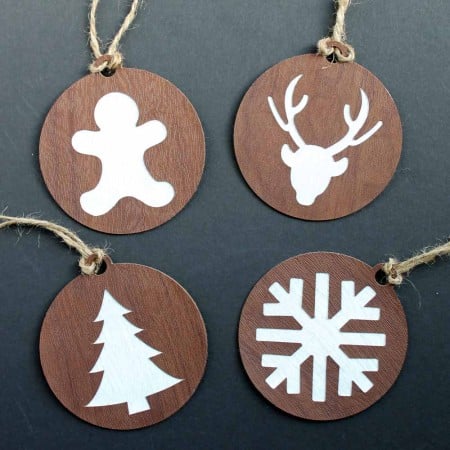
Christmas is around the corner! These handmade holiday ornaments will add some unique and modern flare to your tree this year. Make these adorable handmade ornaments in minutes with your Cricut machine and some faux leather with a wood grain texture.
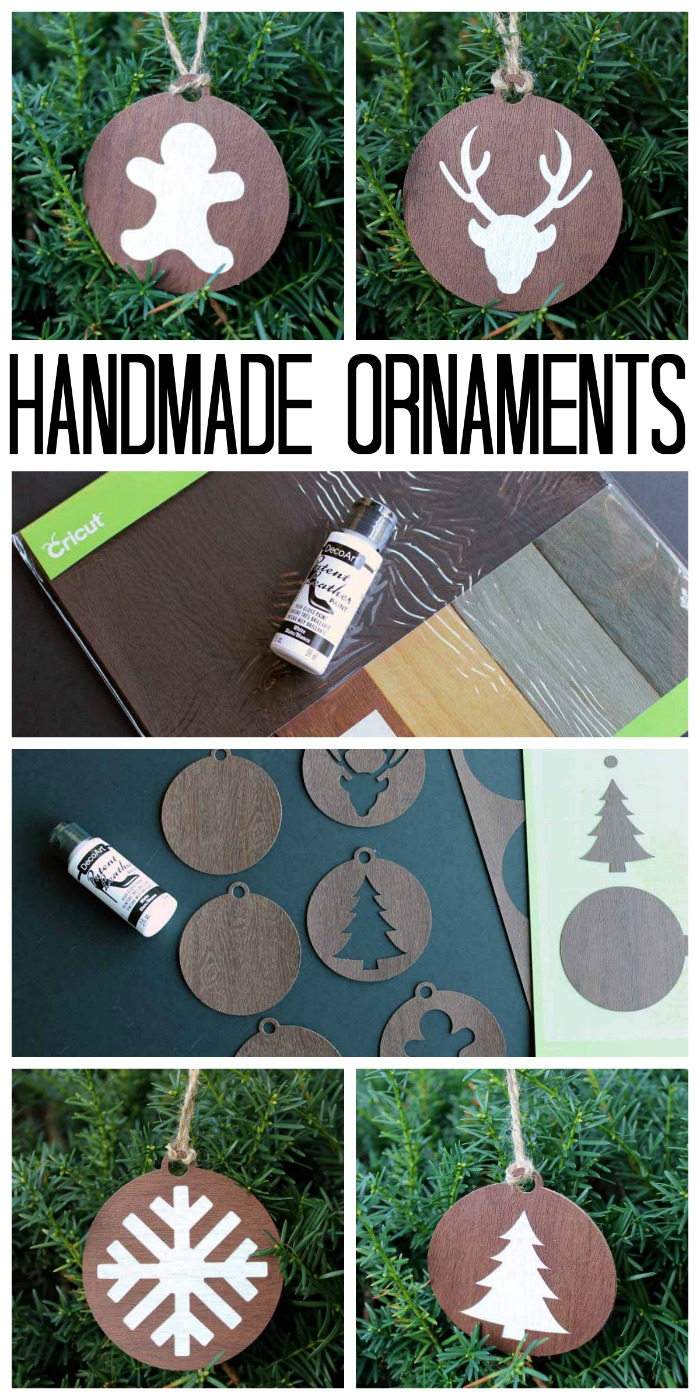
I am kicking off Cricut holiday week with some handmade ornaments that you will want to make for your tree. All week this week we are sharing fun Cricut projects that you can make for your holiday decor. If you want to see all of the ideas, be sure to scroll to the bottom of this post. First, however, you need instructions for making these adorable (and easy!) handmade ornaments.
One of the best things about Christmas is getting to make your own decorations. Making homemade ornaments is a great way to get into the holiday spirit and add a personal touch to your tree. Plus, it’s a fun activity to do with friends or family.
The sky is the limit with a Cricut Machine! I’ve used mine on so many different styles of ornaments, like these sublimation photo ornaments, vinyl christmas balls, and even plaid-patterned ornaments from felt!
I love this ornament craft because it’s different from my usual style. The faux leather and woodgrain adds a little bit of an edge and sophistication to the tree. These would look great in a mancave or as a part of a more modern decor theme.
How to Make Handmade Ornaments with a Cricut
Supplies needed to make these handmade ornaments:
Some links below may be affiliate links which means that you do not pay anymore, however, a portion of your purchase will go to this site.
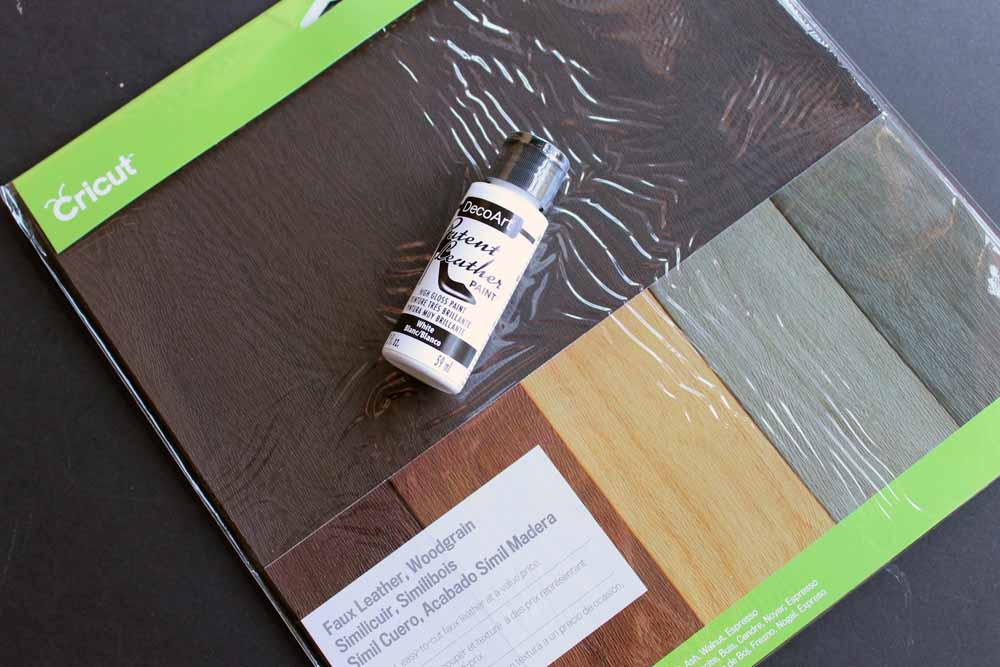
- Cricut Faux Woodgrain Leather
- DecoArt Patent Leather Paint in white
- Cricut machine (the Explore or Maker will work here) (click here to see which is my favorite)
- Cricut cut file (click here to access)
- Tacky glue
- Twine
- Scissors
- Paint Brush
Instructions:
Click here to access the Cricut cut file and cut your shapes from the faux leather sheet using your machine. Leather should be placed wood grain side up and be sure to use the blade recommended by the software when cutting.
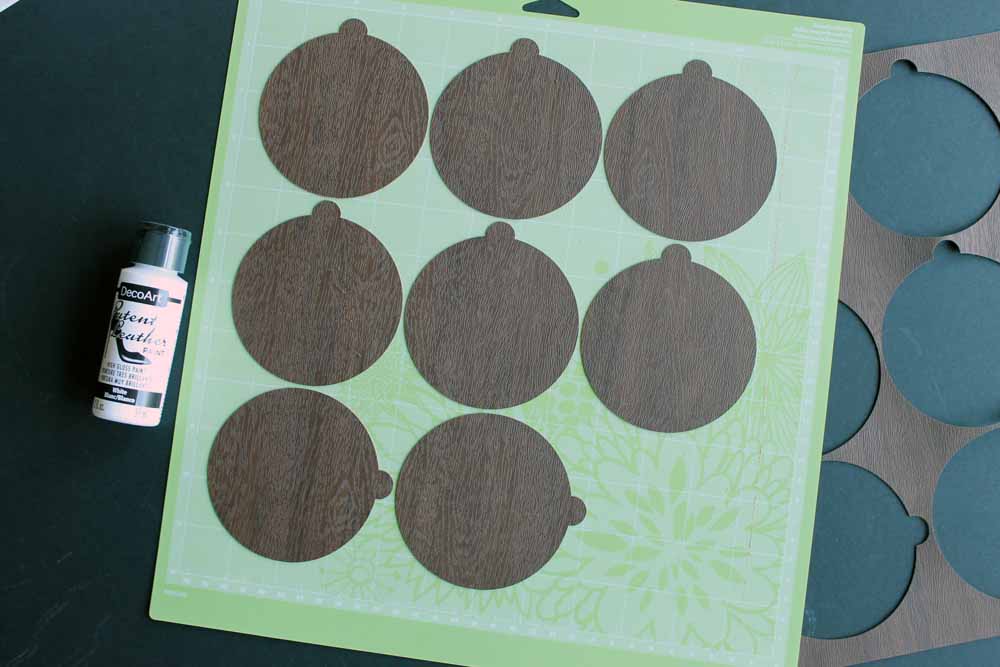
Then remove your pieces from the mat as shown below. The insides of the ornaments can be discarded or you can save them and use them for another project. Each ornament will have a front and a back piece.
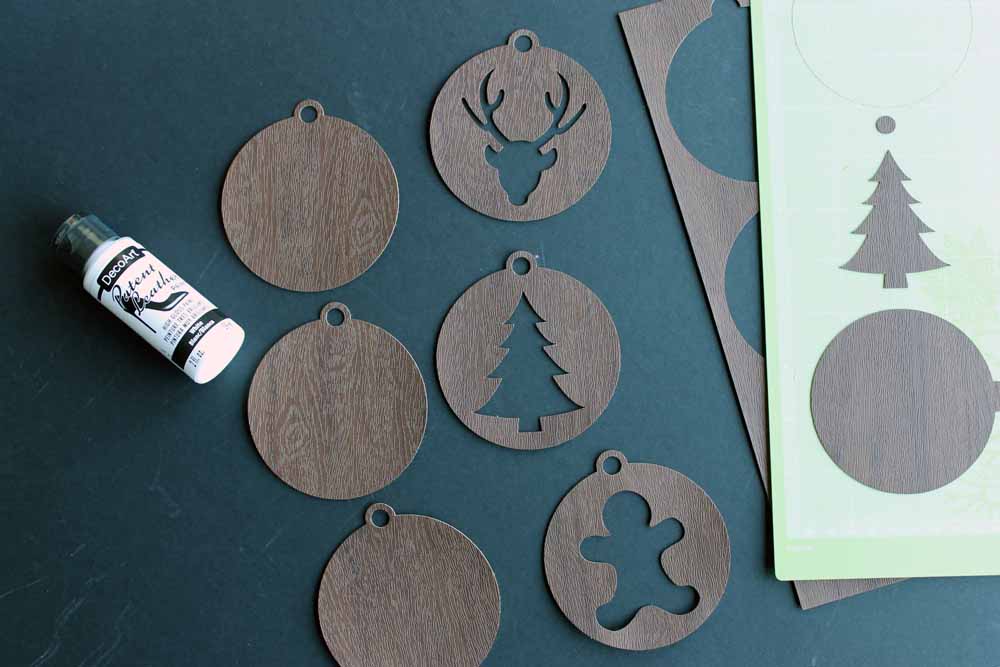
Then you will want to paint the back piece with your leather paint. Two coats were added to each ornament while allowing the paint to dry in between coats. NOTE: You do not have to paint all the way to the edges as these will be covered.
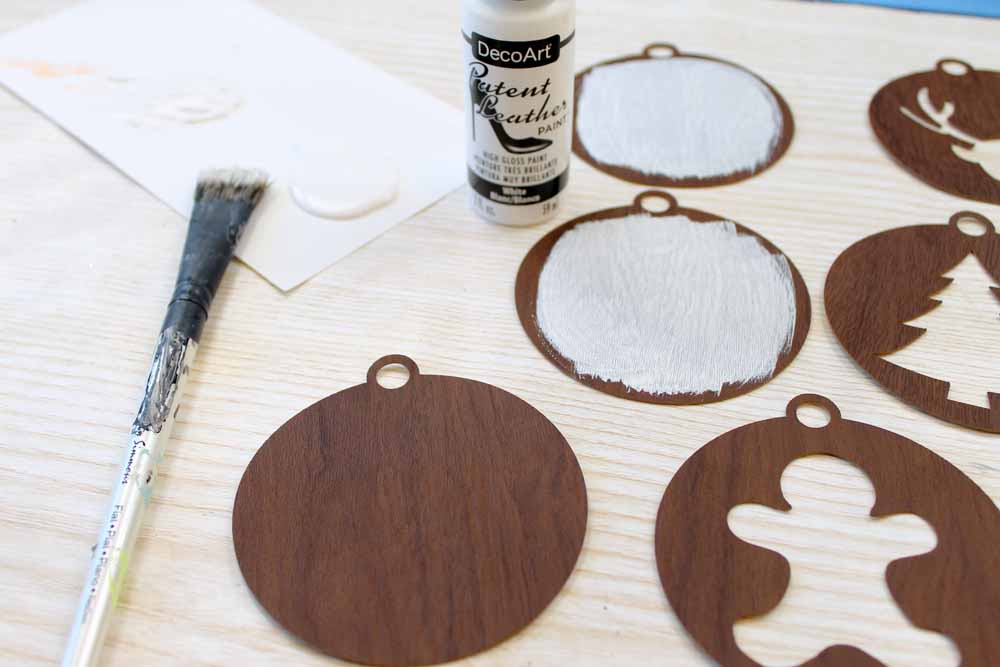
Once everything has dried completely, you can add the front piece over the top. Use tacky glue all the way around the edges as shown below.
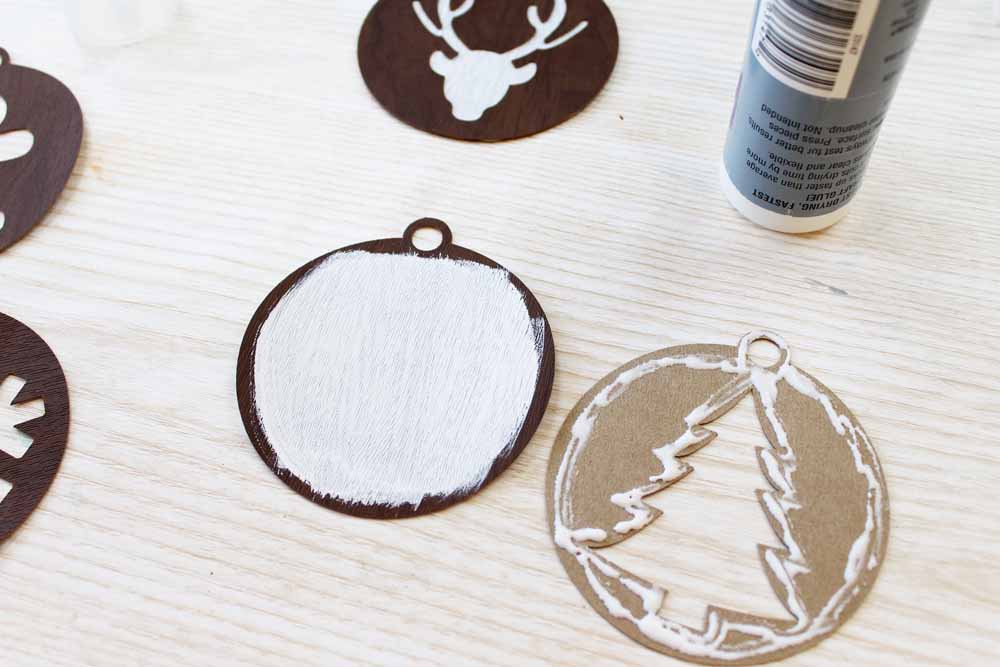
Then just put the two pieces together and wipe away any excess glue. Place something heavy on top of your ornaments and allow to dry. Then add some twine for hanging your handmade ornaments on the tree.
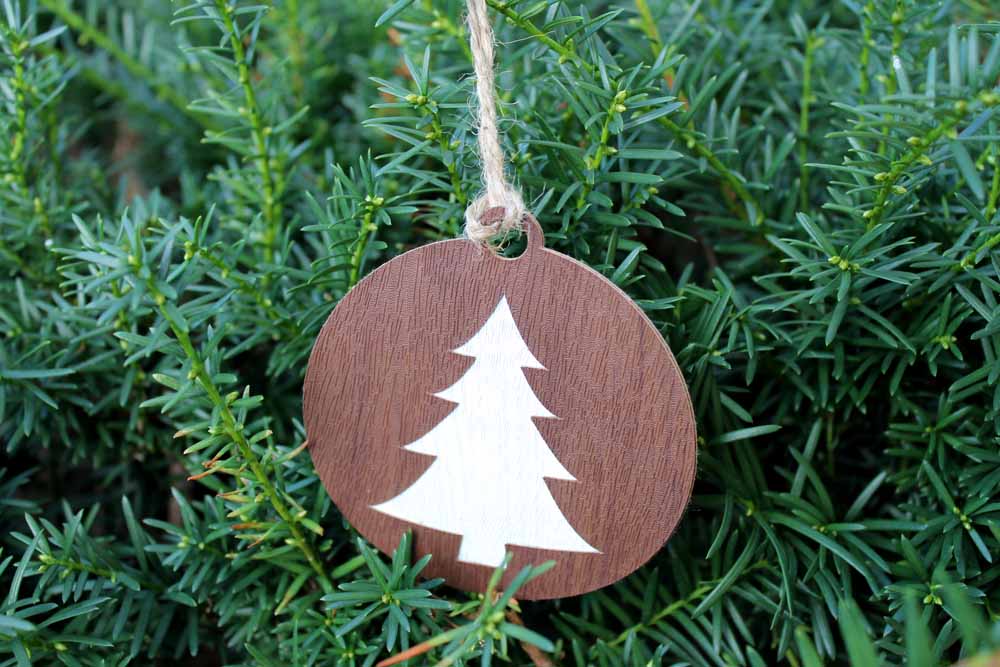
Repeat the same steps for as many handmade ornaments as you wish to make for your tree.
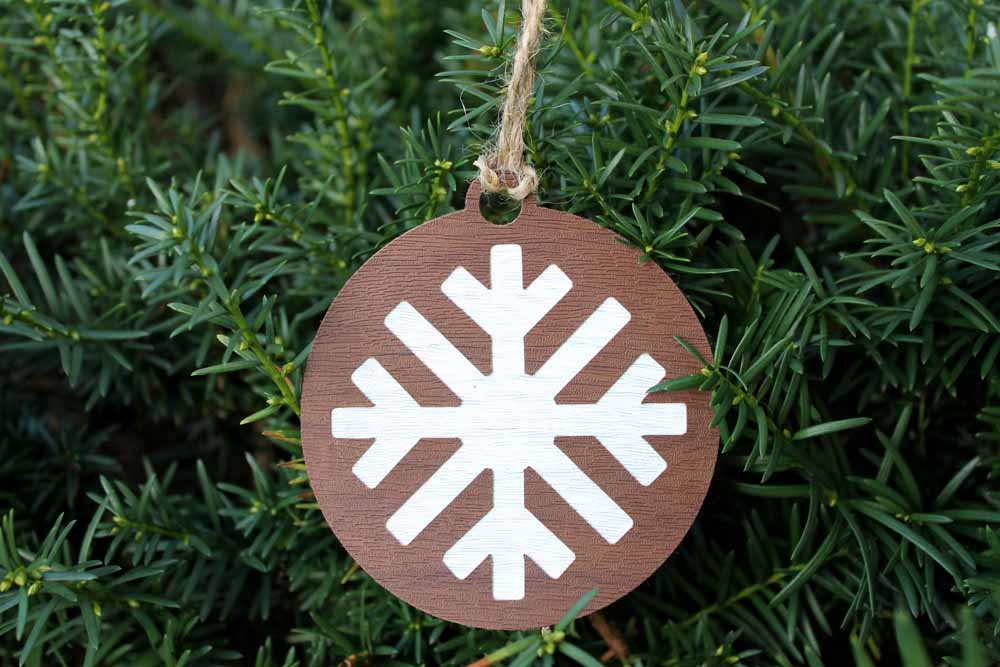
The wood grain texture is amazing for your tree and the white really stands out!
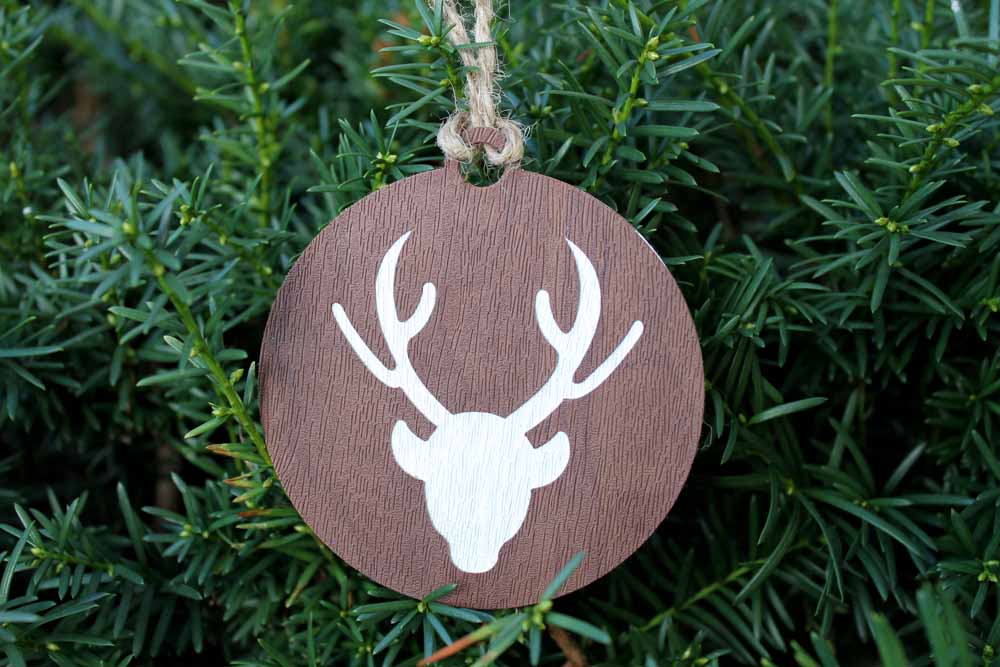
So, if you are planning a rustic Christmas tree, be sure to make these handmade ornaments with your Cricut machine. You will love the way they turn out!
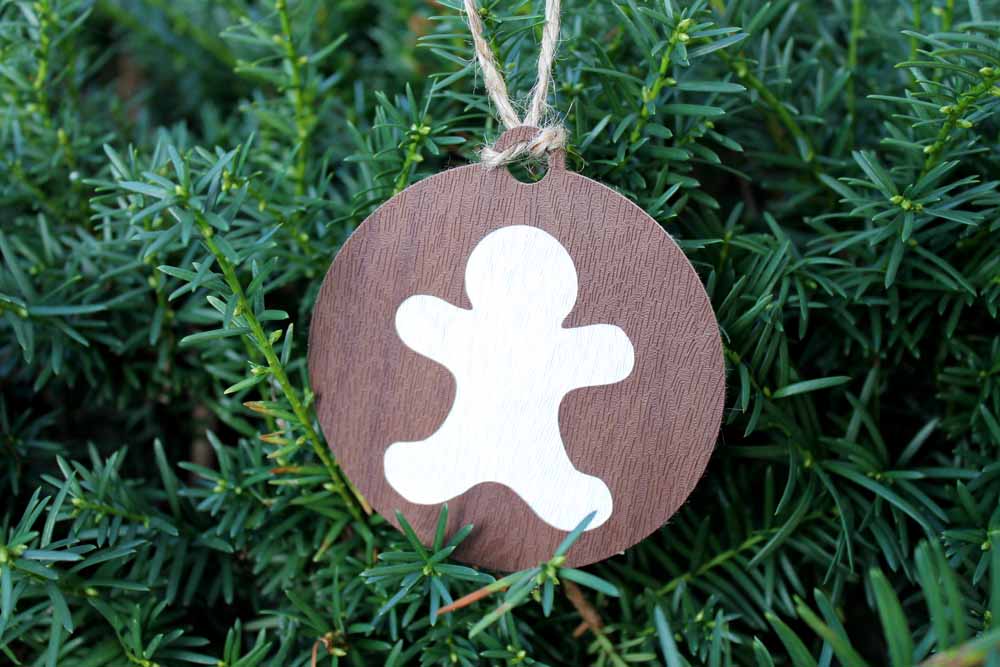
You could even design some more with other shapes in the center. So many adorable ornaments and so little time!
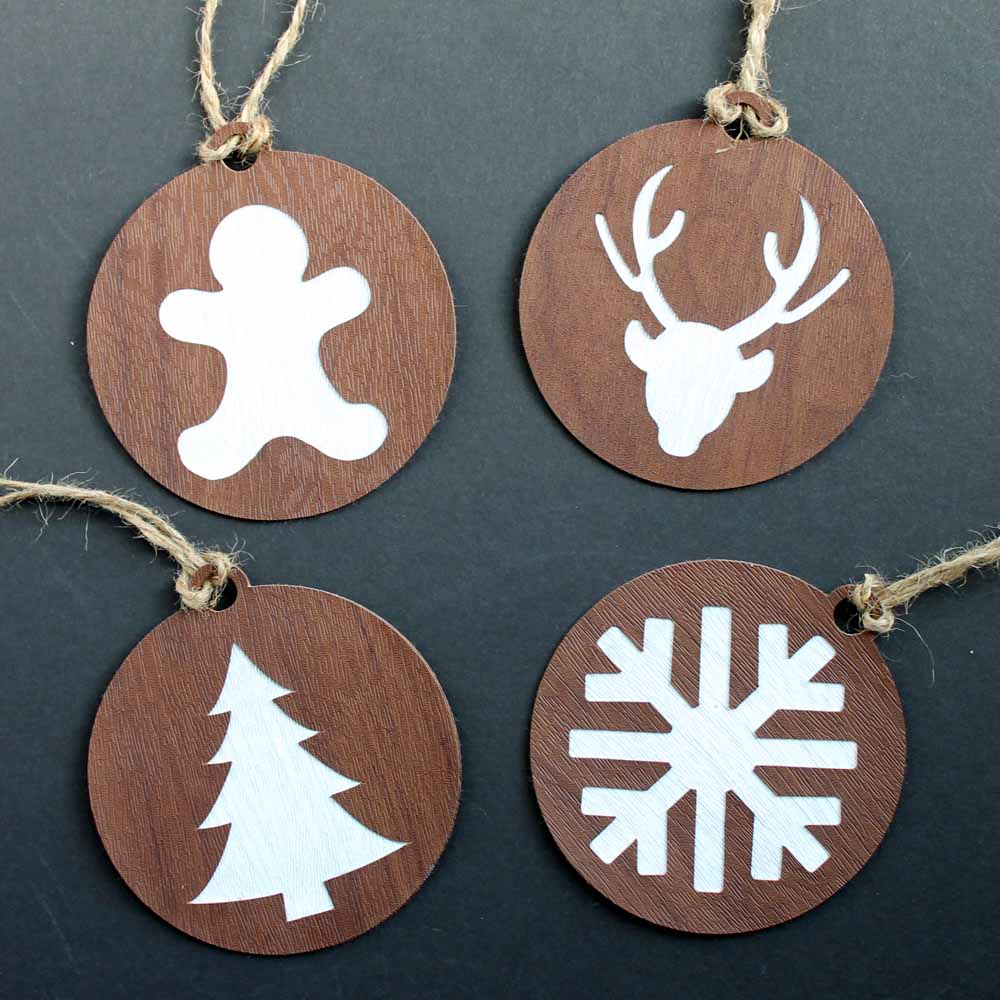
Grab your faux leather and get started on a batch of handmade ornaments today. You have plenty of time before Christmas to make a bunch of fun ornaments for your tree!
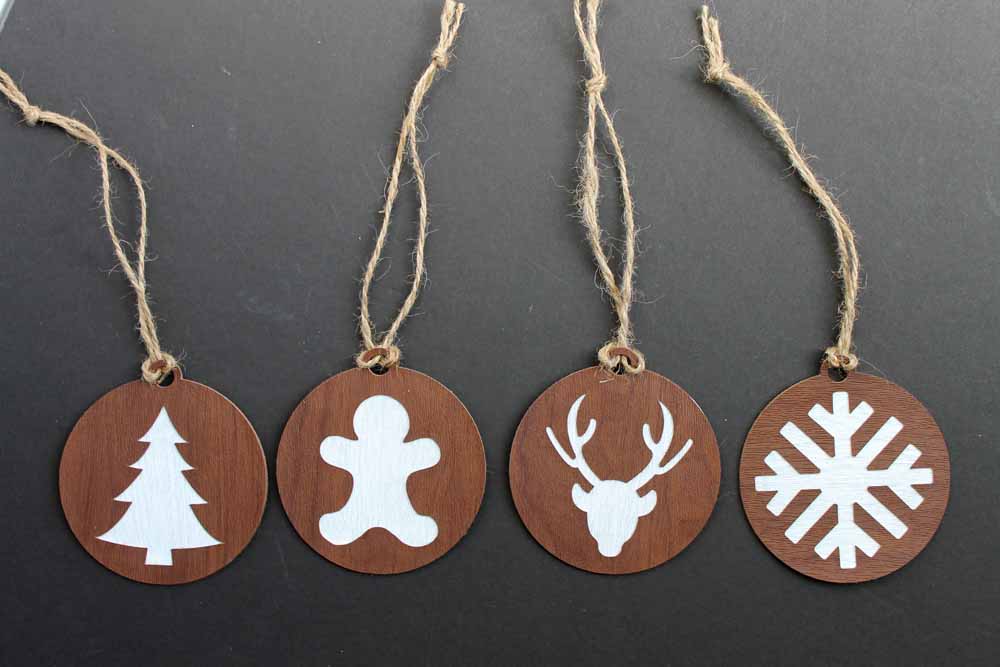
Now, are you ready for even more fun Cricut holiday crafts? Just click the picture below of a craft idea that you want to make and the instructions will open up in a new window on your computer. Happy crafting!
So, do you love these handmade ornaments and want more ideas with your Cricut? Stay tuned all week as we have more ideas headed your way!
Equipment
- Cricut machine (the Explore or Maker will work here)
- Cricut cut file
- Tacky glue
- Twine
Supplies
- Cricut Faux Woodgrain Leather
- DecoArt Patent Leather Paint in white
Instructions
- Access the Cricut cut file and cut your shapes from the faux leather sheet using your machine. Leather should be placed wood grain side up and be sure to use the blade recommended by the software when cutting.
- Then remove your pieces from the mat. Each ornament will have a front and a back piece.
- Then you will want to paint the back piece with your leather paint. Two coats were added to each ornament while allowing the paint to dry in between coats. NOTE: You do not have to paint all the way to the edges as these will be covered.
- Once everything has dried completely, you can add the front piece over the top. Use tacky glue all the way around the edges as shown below.
- Then just put the two pieces together and wipe away any excess glue. Place something heavy on top of your ornaments and allow to dry. Then add some twine for hanging your handmade ornaments on the tree.
- Repeat the same steps for as many handmade ornaments as you wish to make for your tree.


I love these, Angie!
How cute!! I love how these turned out, what a great idea.
These are so cute and I am just loving all these Cricut holiday ideas. Pinned.
These are so cute! I really need to get myself a Cricut because there are so many cool projects to make with them! 🙂 Lisa
I LOVE this idea!! I’m going to have to do this. 🙂
The leather is awesome! These are so cute, I love them! Thank you for sharing at Celebrate It!
They’re beautiful Angie, but then again all the things you make always are. Love the way the white contrasts against the faux leather. I need to get me some of those sheets
Would it work to cut the same ornament from two different colors of leather and then insert the cutout for each into the hole of the other? No paint needed in that case. Don’t know if the fit would be good enough though.
Oh yes you could Nancy! I just had one color of leather so added paint instead!
Thanks! I’ll need to get some materials and give this a try.