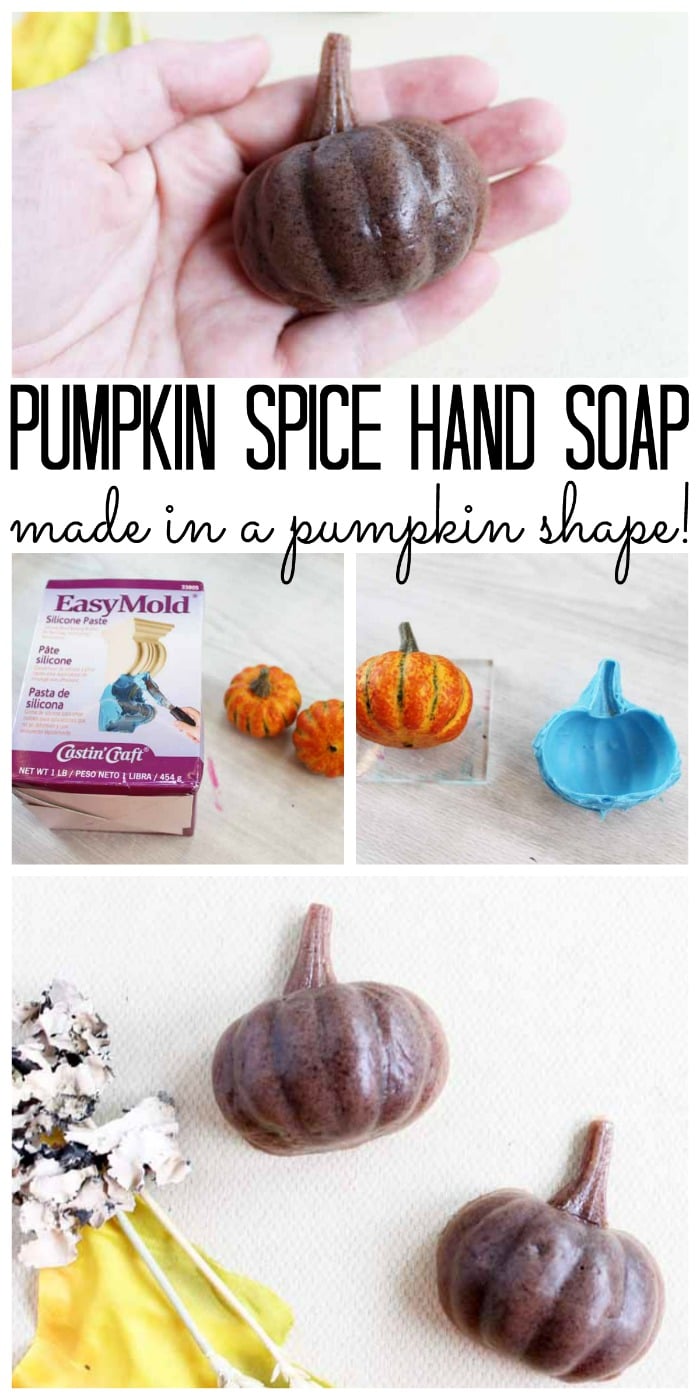
Did you know that handmade soap is actually super easy to make? Today I am even going to show you how to make your own molds for making soap in minutes. We are actually going to make a pumpkin spice soap in the shape of small pumpkins. Add these to your guest bathroom for fall guests as they are sure to love the results!
Supplies needed to make handmade soap in a pumpkin shape:
Links below may be affiliate links which means that you do not pay anymore, however, a small commission will go to this site.
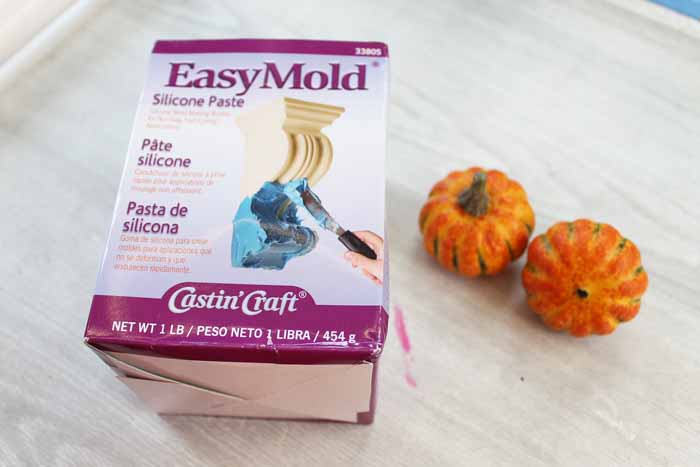
- EasyMold® Silicone Paste
- Small plastic pumpkins
- Acrylic or plastic block
- Hot glue and glue gun
- Measuring cups
- Mixing cup
- Stir sticks
- Disposable craft brush
Making a mold for your handmade soap:
Start by reading all of the instructions that come with the EasyMold® Silicone Paste. The product is easy to use, however, it needs to be mixed and applied properly. Start by measuring (by weight or volume) equal parts of the two components that you will find in the box. Mix these two well in the mixing cup. The product should be a uniform color when mixed with no streaks.
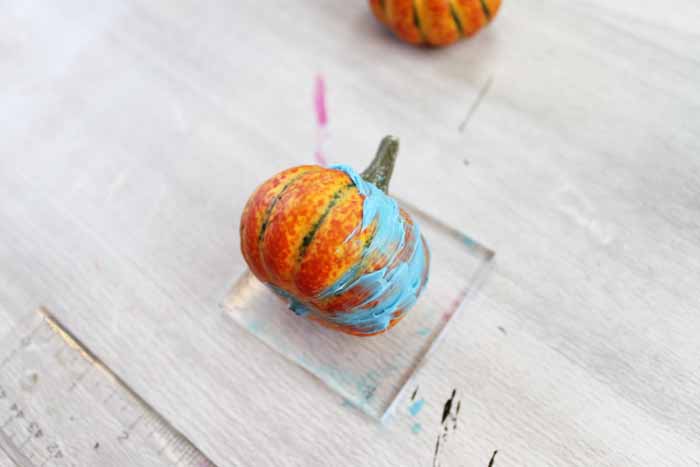
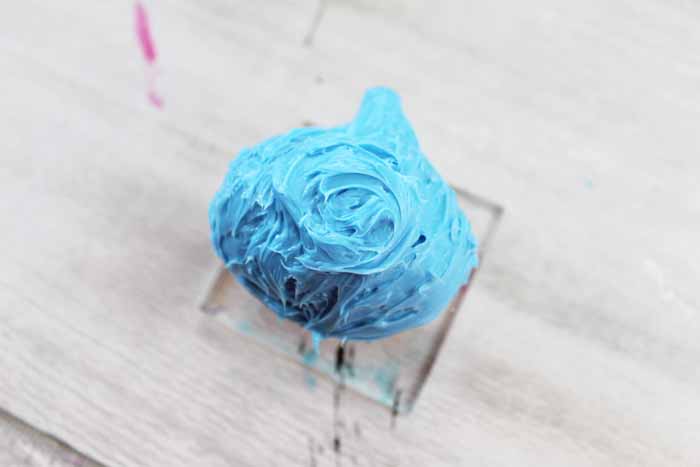
You will then want to secure your pumpkin to something so it does not move when you apply the mixture. I used a small plastic block but anything will work here. Just use hot glue to temporarily secure in place. Then apply your first layer of the EasyMold mixture with a disposable craft brush to the pumpkin that is on the acrylic block making sure to get into all of the fine details. I did my mold as a half pumpkin so either draw a line or work to only the halfway mark.
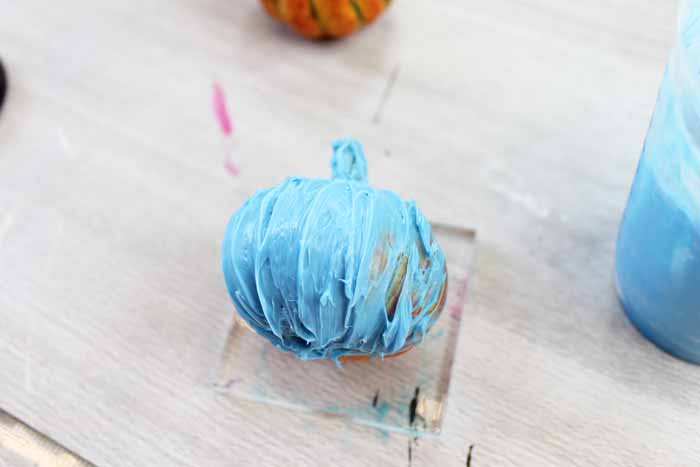
Then start really stacking the mixture onto the pumpkin. I found that it was easier to get these thick layers with a stir stick. You can work up to 1/4 – 3/8″ thick.
Add a bit extra to the very top. This will make a flat place that will help your mold to stay in place later once you flip it over.
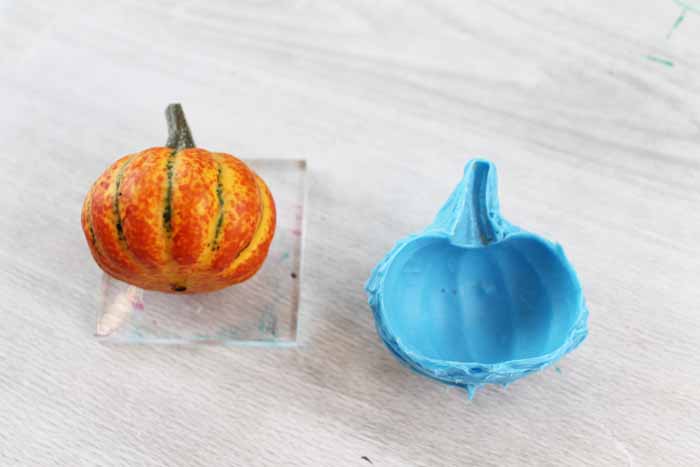
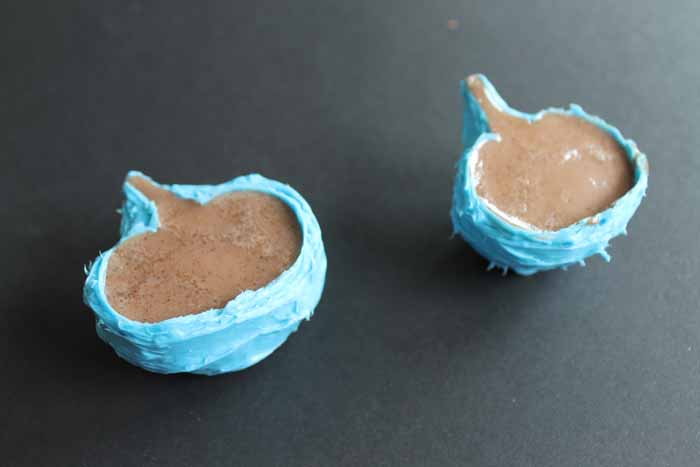
Allow your mold to cure completely. I let mine sit overnight. Then just pop the mold away from the pumpkin. Look at that fine detail! Now, we are using a pumpkin in this case but remember this same technique can be used to create fun soap molds in a variety of shapes and sizes.
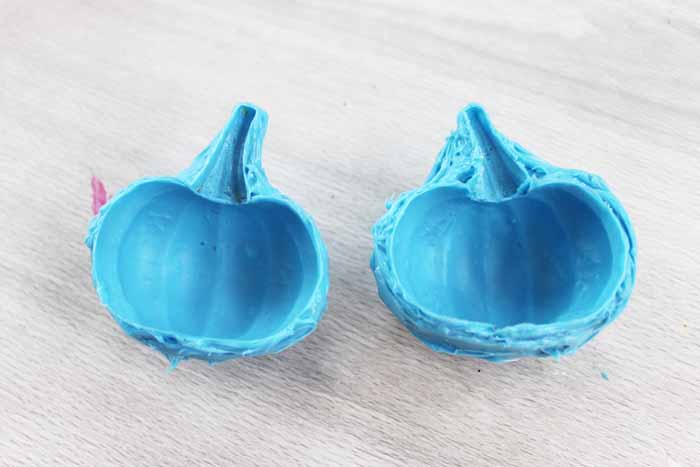
While I was making, I made two of the same molds. You can make as many as you would like for this project but a pair will make pouring your handmade soap a bit quicker.
Making pumpkin spice handmade soap:
Ingredients:
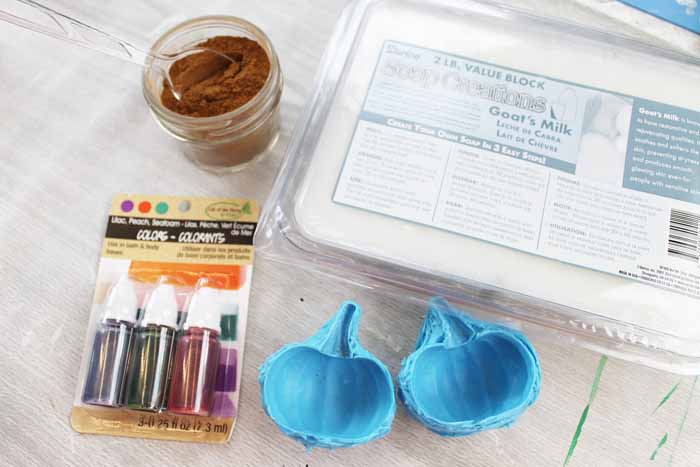
- Goat’s milk soap base
- Soap colorant (designed especially for soaps) (I used a peach color)
- Pumpkin pie spice
- Microwave safe bowl or measuring cup with spout
Instructions:
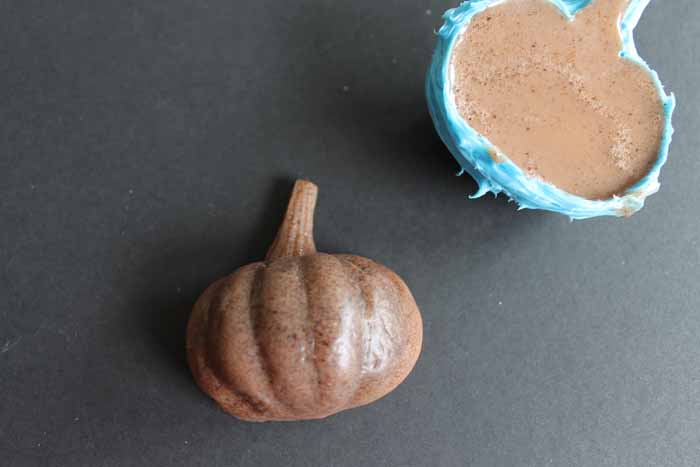
Cut away about 1/8 of the soap block and add it to the bowl. Microwave in 20 second increments stirring well after each until completely melted. Stir in colorant until you are happy with the color, however, remember that the pumpkin pie spice will change it dramatically. Add in about 1 teaspoon of the pumpkin pie spice last. Stir completely. You can add more colorant at this time if you would like. Pour the mixture into your molds.
Then just allow your handmade soap to set up about an hour and you are ready to remove from your mold.
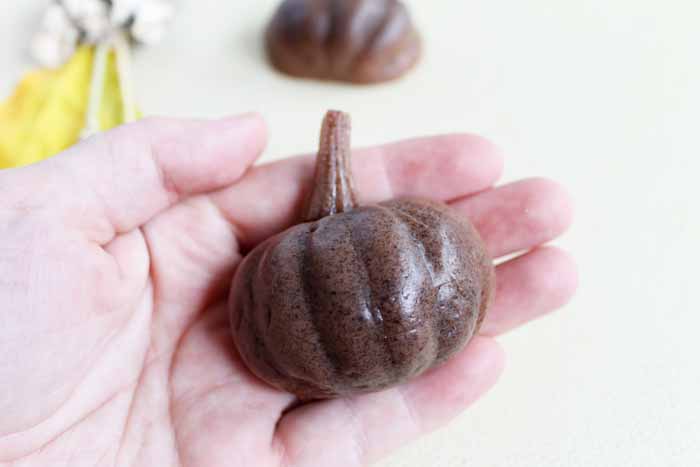
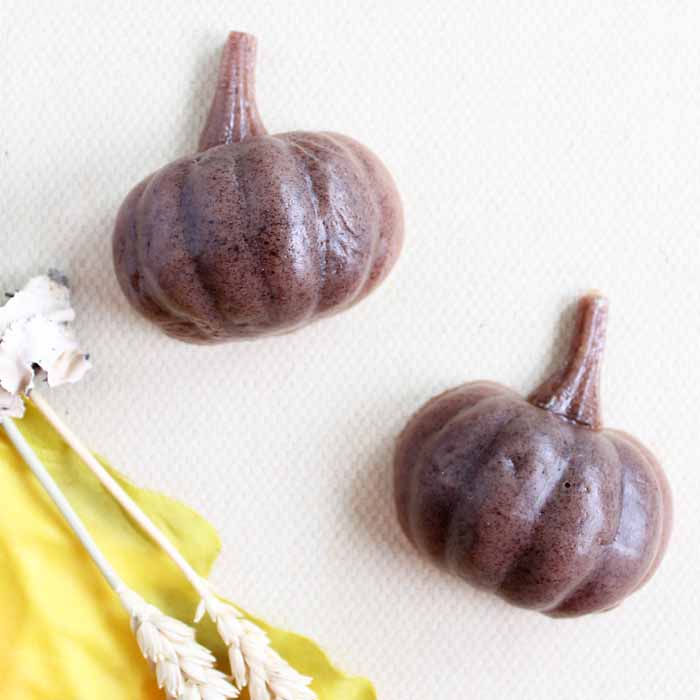
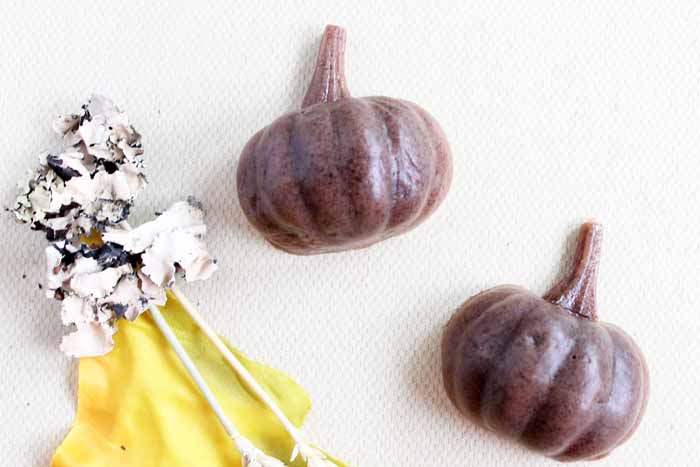
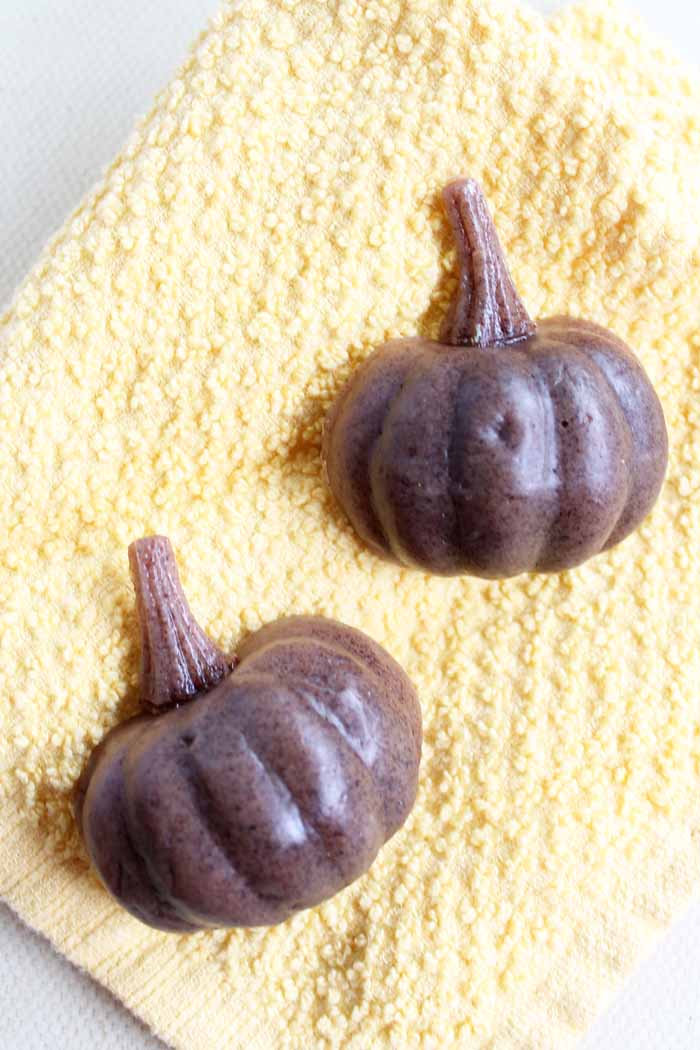
Look at the amazing detail on these cute little hand soaps! You are going to love this technique for making handmade soap for every season.
And that pumpkin spice scent smells oh so good! You might just want to make some of these for every bathroom and maybe even the kitchen!
And yes they do smell good enough to eat but they are soap! Make sure your children and guests know that they are only for washing hands.
Grab your supplies and start making your own handmade soap today. You are going to love how easy it is!



Love this! I think I’ll try for Halloween festivities this year =)