Is your front porch looking a bit dull? Bring it back to life with this easy DIY burlap wall hanging art! All you need is some burlap and a few other supplies on hand to get started. It’s really that simple!
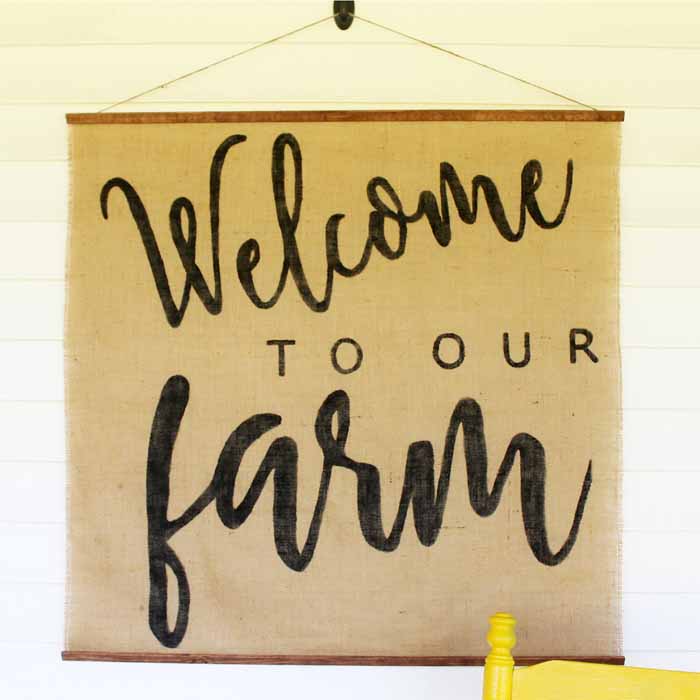
How To Make DIY Burlap Hanging Wall Art
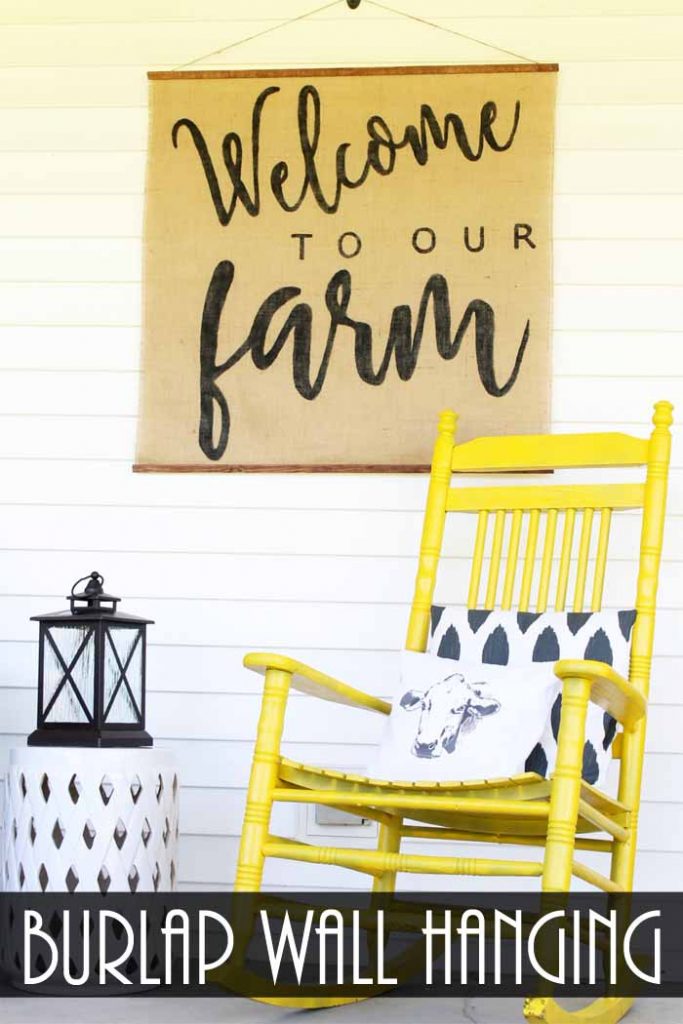
I have been working on our porch and really trying to make it homey but add that touch of farmhouse style that I love. On my front porch, I had this giant exterior wall, and knew I wanted to hang something there… but I couldn’t find anything I liked.
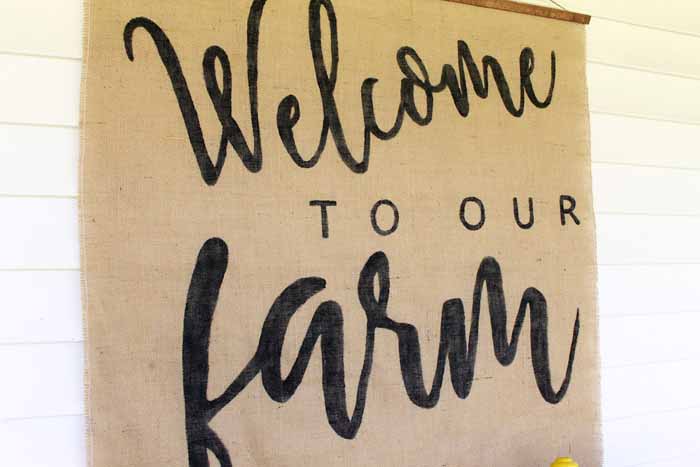
I decided if I couldn’t find it, I would just make it myself! So, I made this handmade wall hanging from burlap.
This is such a simple idea but it gives a BIG impact for a small price.
I came up with this idea because I hate the thought of putting nails or screws into the side of our house. I wanted something pretty but light enough to hang on an outdoor Command hook.
This is the result and it was so easy to make!
NOTE: If you loved the look and feel of this wall hanging, get an inside look at all of the vintage farmhouse decor I used to finish my porch!
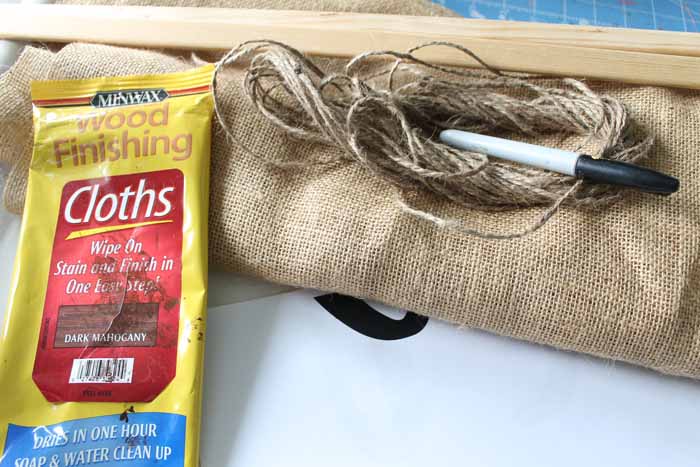
Supplies Needed To Make DIY Burlap Hanging Wall Art
- Burlap (I used a 36 x 36-inch piece)
- Wood strips (2 that are 36 inches long)
- Wood stain (I love these wood finishing cloths)
- Twine
- Scissors
- Black paint (outdoor paint preferred)
- Sharpie marker
- Farm printable (click here to download ours)
- Paintbrush
- Staple gun and staples
- Sewing machine and thread
- Outdoor Command Hooks
Step 1: Print Words For Wall Hanging
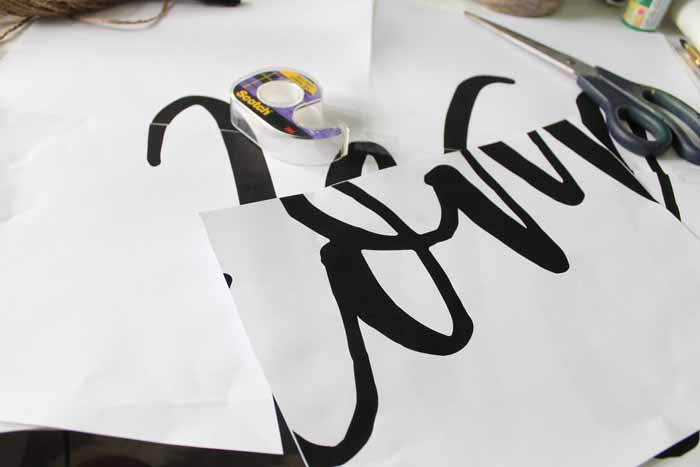
Start by printing the words that you want on your handmade wall hanging.
I printed in poster mode so that it printed out on a bunch of sheets of paper that could be taped together into one large poster.
PRO TIP: Use scissors and tape to make your poster-sized print!
Step 2: Sew Zig-Zag Stitch Around Burlap
Cut a piece of burlap to size and sew with a zig-zag stitch all the way around the outer edge. This will prevent any fraying both when you work on your project and when you hang it.
Step 3: Lay Burlap Over Printed Words
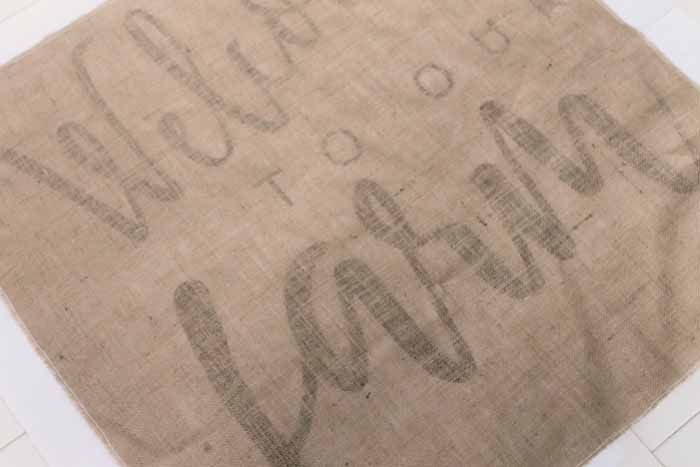
Lay the piece of burlap over your poster-sized print. I had to do this on the floor because it was so large.
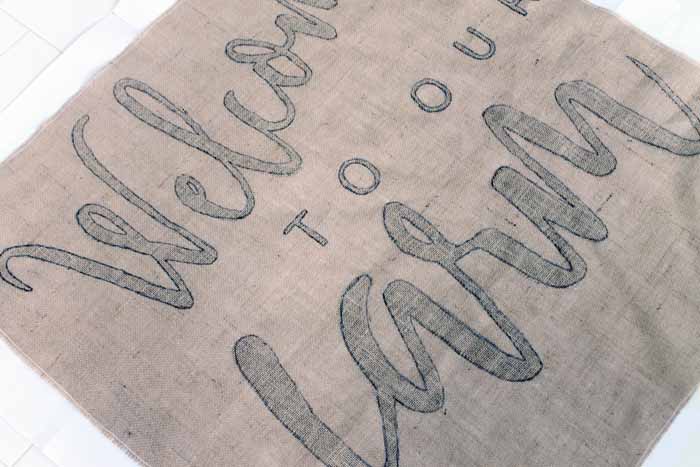
You will be able to see the words through the burlap as shown below.
Step 4: Trace Letters
Use a Sharpie marker to trace around all of the letters.
Step 5: Fill In Letters
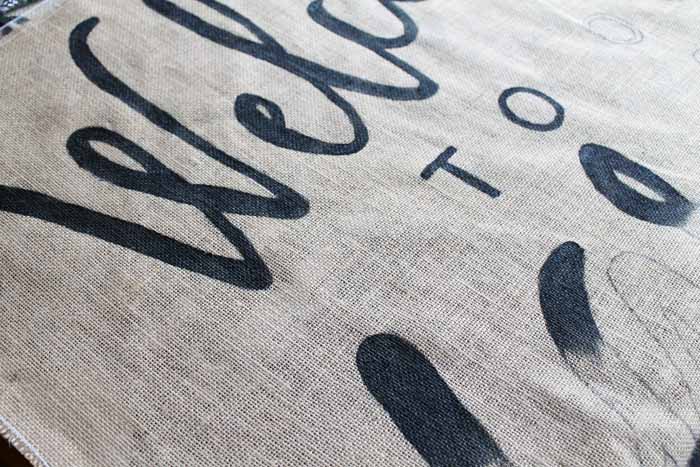
Then, you just have to fill in those lines with black outdoor paint.
PRO TIP: Be sure to protect your work surface as the paint will bleed through the burlap. Also, I recommend good quality outdoor paint so your handmade wall hanging will last as long as possible.
Step 6: Attach Burlap To Wood Strips
I then used a staple gun to attach the burlap to the back of the strips. I also used a staple to secure the twine to both ends of the top strip for hanging.
Just tie a knot around the staple on either side.
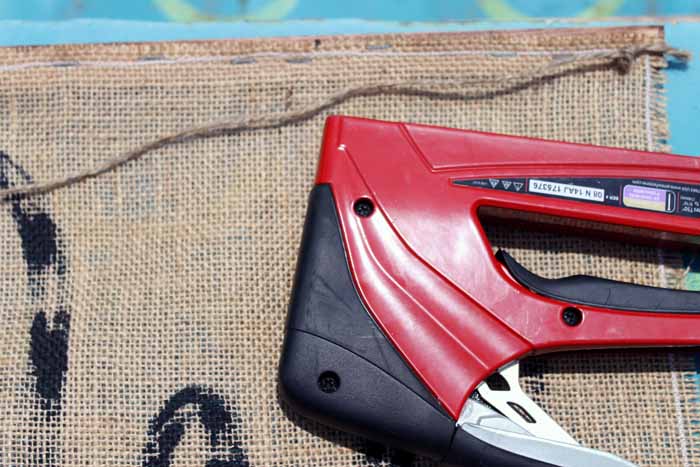
Once you have added the burlap to the wood strips on both the top and bottom, you are ready to add this burlap wall hanging to your outdoor decor!
PRO TIP: Outdoor Command hooks are what I recommend for this job. I have found they work great in my space!
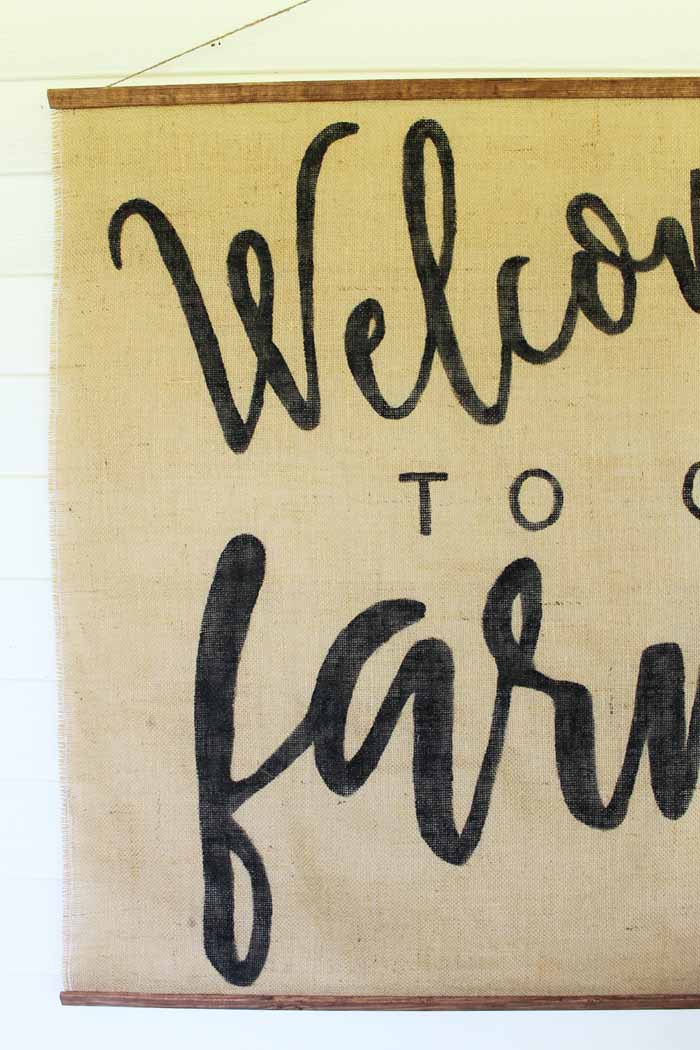
I love the “Welcome to our Farm” sentiment but you could make this with the words of your choice added to the front. Just make them large and print with that poster-sized option.
Love this and looking for more pictures of my porch? Check out this blog post for the full reveal.

In the meantime, make your own handmade wall hanging and add to your home decor….inside or out!
FAQs About DIY Burlap Hanging Wall Art
Here are a couple of questions that I see readers ask about this DIY burlap hanging wall art. If you have a question, please check to see if I’ve already answered it below. Don’t see it? Leave it for me in the comments!
How Do I Keep My DIY Burlap Hanging Wall Art From Fading In The Sun?
I recommend using good-quality outdoor paint on your burlap. This will help it to withstand the elements better and prevent fading.
Can I Make This Wall Hanging With A Different Fabric?
You can use any type of fabric that you’d like. I’ve even seen people use drop cloths!
Can I Make This Handmade Wall Hanging Without The Burlap?
Yes, you can. Just print your design on heavy cardstock and follow the instructions above.
I Don’t Have An Outdoor Space, Can I Still Make This Wall Hanging?
Absolutely! This wall hanging would look great indoors as well.
I Don’t Have A Sewing Machine, Can I Still Make This Project?
Yes, you can! Just use a hot glue gun to attach the burlap to the wood strips.
You Didn’t Mentioned How You Stained The Wood Strips, What Did You Do?
All I did was wipe each wood strip with a wood finishing cloth on the front and back. Then I let it dry.
If you don’t have wood finishing clothes, you can use regular wood stain instead.
How Do I Clean This DIY Burlap Hanging Wall Art?
Spot clean with a damp cloth as needed.
Did You Paint Your Command Hook?
No, Command Hooks come in both white and black! Since I was going for a farmhouse look, I thought the black Command Hook would pair nicely with the burlap and the black paint on my wall hanging.
5 More Burlap Crafts
Did you love this DIY burlap hanging wall art, and are now looking for more burlap crafts to make? Then check out the projects below!
- DIY Flower Wreath Made From Burlap
- How to Make a Burlap Wreath
- Mason Jar Lamp with Burlap Shade
- Farmhouse Style Easter Sign – Bed Spring Craft Idea
- DIY Burlap Cactus Succulent


Very cute! Never heard of wood staining cloths but that’s much easier than using stain and a rag! Visiting from Made By You Mondays party.
Aww…I love this! So cute!
I would love for you to share this with my Facebook Group for recipes, crafts, tips, and tricks: https://www.facebook.com/groups/pluckyrecipescraftstips/
Thanks for joining Cooking and Crafting with J & J!
I love this! It’s crazy that I’ve never heard the zigzag tip for burlap before–I will be remembering that for sure 🙂
Such a great idea Angie! Pinned to share it.
I really love this sign! Thanks for the tutorial too!
Super cute! I love this…I’m not really crafty, but I think even I might be able to handle this!
I love this. And you made it look so easy!
🙂 gwingal
I love this! I have a pretty piece of white burlap and I was just thinking of what to use it for!
Your wall hanging looks great! Good idea. 😉
This is so cute! I love this idea, and I love that it can be hung from a command hook! Thank you for sharing at Celebrate it!
This is so adorable!! You did such a great job. I need to buy some burlap to make one myself 😀
((New follower from the Merry Monday link Party))
This is awesome! I don’t know if I would make mine that big because it would definitely be somewhere in the house so I could admire it every moment, but this is great! Thanks for the tutorial. I’ve pinned it for later!