Holiday ornaments are special because they often hold sentimental value and memories of years past. Make this DIY baby handprint ornament (works for toddlers, too) as an easy Christmas craft that will mean the world to your friends and family!
I love everything about the holiday season. From the food to the ornaments and the gifts, it really is a special time of year.
As a professional crafter, making Christmas ornaments are (maybe) my favorite part! I always feel so creative during the holidays and never seem to run out of ideas.
DIY Christmas ornaments are the ornaments that are the most special to me as a recipient because someone took the time to make them. And while I love them all, some of my favorites are baby handprint ornaments.
There is nothing better than a handprint ornament. It is an easy craft you can make with your kids, and it becomes a treasured ornament that you can’t wait to see year after year. Seriously, pulling out those sentimental ornaments is one of my favorite parts of the holiday!
Today, I’m showing you how to make a baby handprint ornament and dress it up just a little. This is a quick and easy craft (which is essential with squirmy babies and toddlers!) that you can make in a jiffy. It’s so fast that you can probably even make a few (for grandparents) in the same crafting session.
Note: If you love homemade Christmas ornaments, check out some of my other favorites, including my Plaid Christmas Ornaments, DIY Paper Rudolph Ornament, and Baby’s First Christmas Ornament projects!
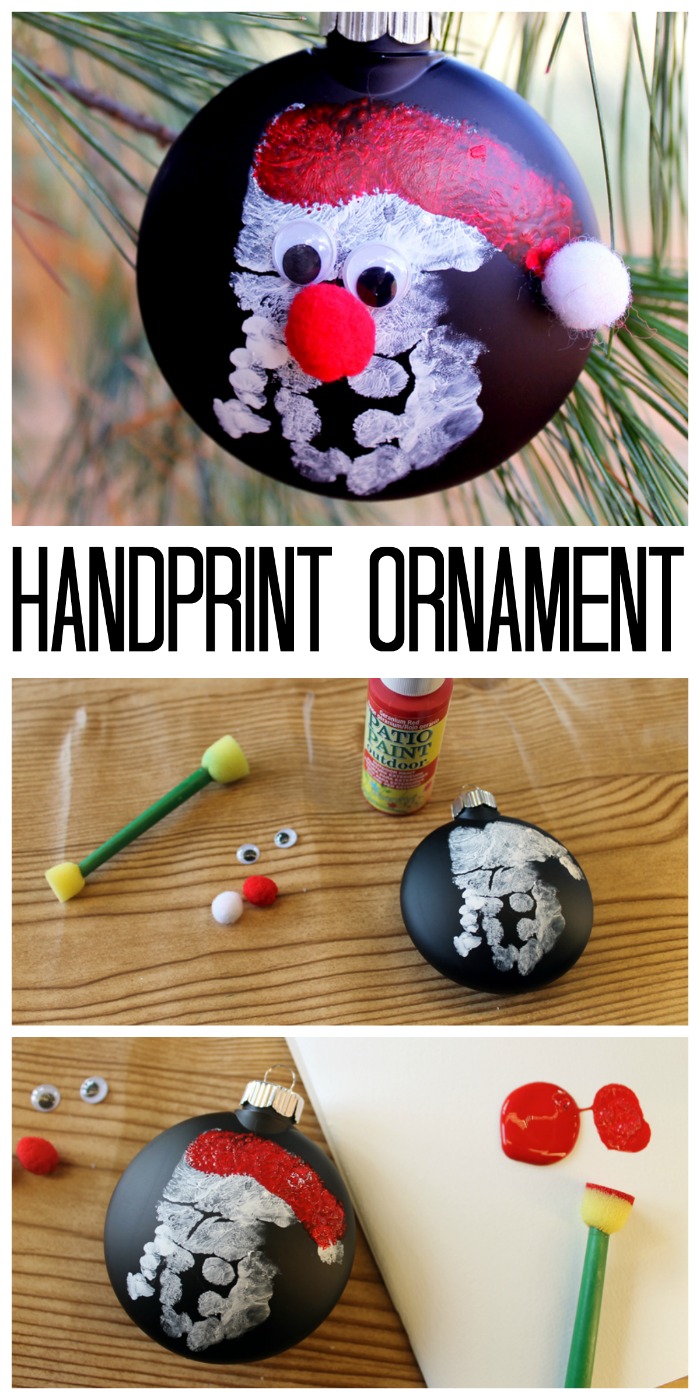
How To Make Handprint Christmas Ornaments
Here’s everything you need to know about making a handprint ornament DIY with the kiddos.
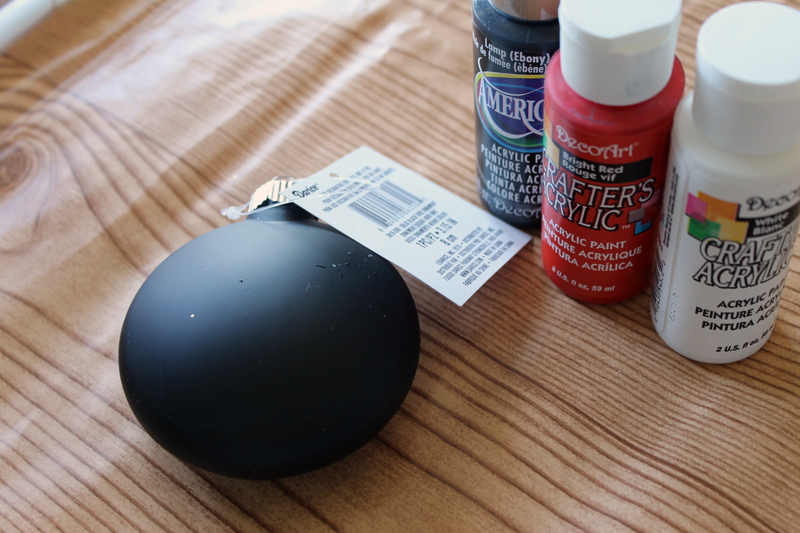
Supplies Needed
This is a complete list of what you need. I’ve included a few handy links to help you find items you may need faster.
- Black Disc Ornament
- White Craft Paint
- Red Craft Paint
- Hot Glue and Glue Gun
- Assorted Pom Poms
- Google Eyes
- Holiday Ribbon
- Round Sponge Brush
Instructions To Make Your Own Handprint Ornament
Are you ready to get crafting? What am I saying – of course, you are! Just follow these step-by-step instructions.
Step 1
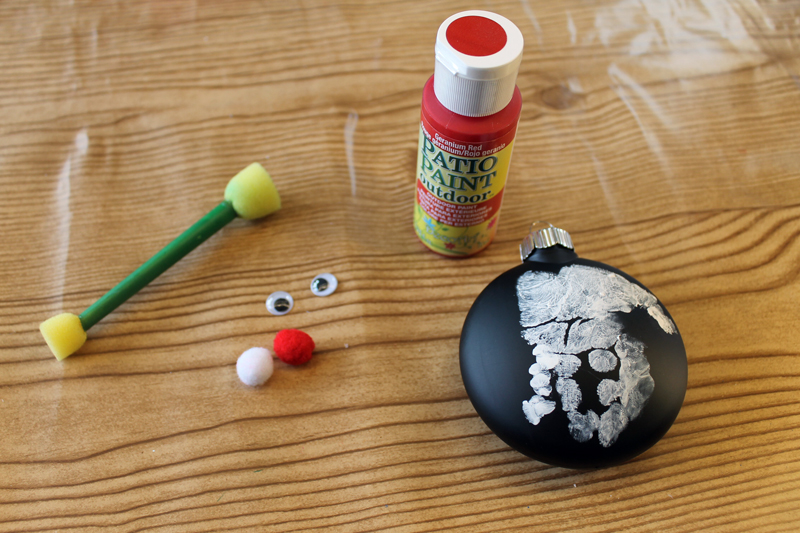
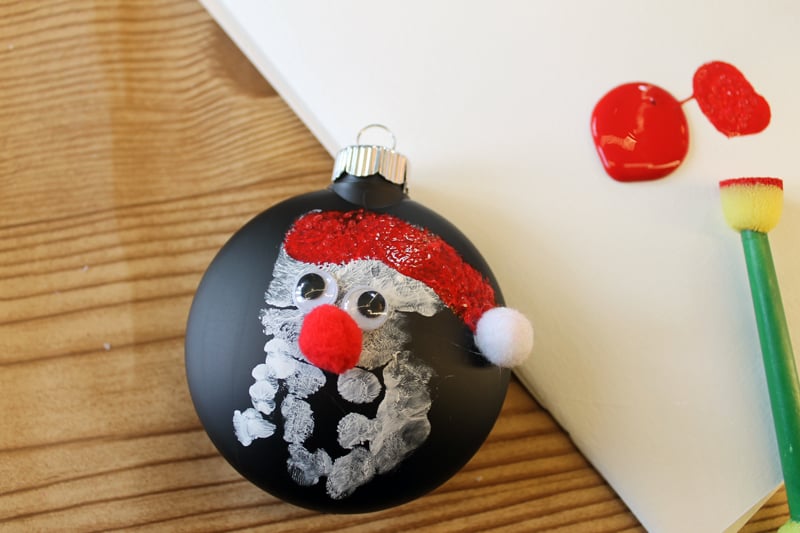
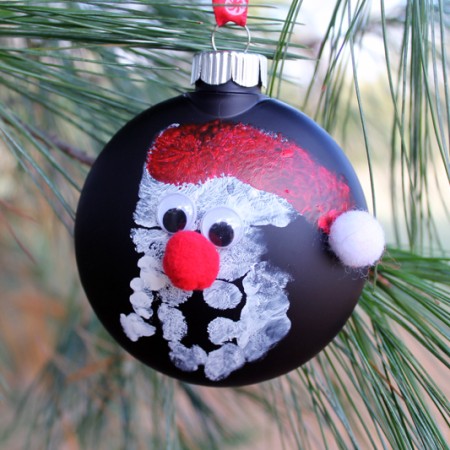
Using a black ornament makes this project extra quick.
Just grab the hand of your little one, paint on some white paint, and press their hand to the front of the ornament.
Allow this to dry completely before continuing.
Step 2
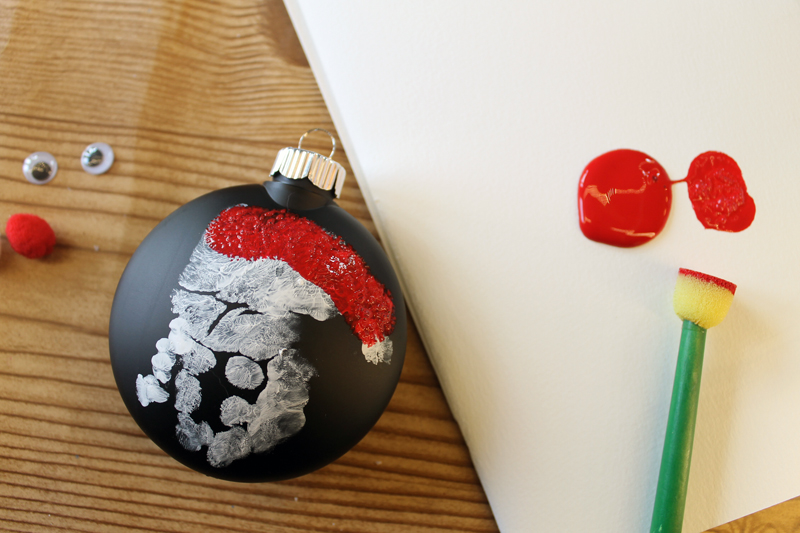
Now you get to add some red for Santa’s hat. Just use your pouncer (round sponge) brush and carefully follow the outline of the hand.
Add red just along the top portion of the white handprint.
Step 3
Allow that to dry completely, then add on google eyes, a red pompom, and a white pompom with hot glue.
Step 4
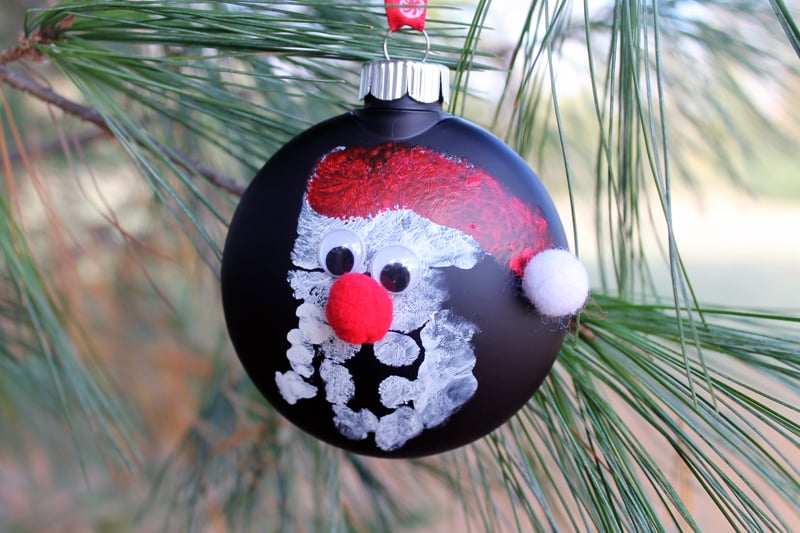
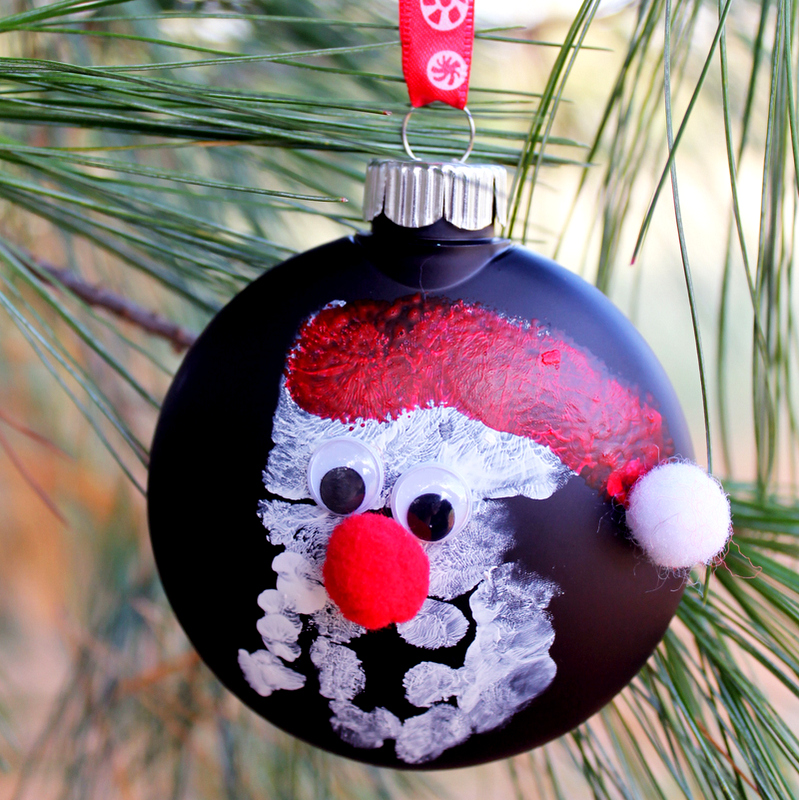
String your ornament with some fun Christmas ribbon and hang it on your tree. You can also give this one as a gift. Everyone loves a handprint ornament at the holidays!
FAQs
Here are a couple of questions that I see readers ask about making handprint Christmas ornaments. If you have a question, please check to see if I’ve already answered it below. Don’t see your question? Leave it for me in the comments!
Can I use different ornaments or colors?
Yes! I love the black and white contrast – especially with the white handprint to look like a white beard. However, what I made is just a suggestion. Feel free to customize your DIY handprint ornament with any colors you prefer.
What are other ways I can personalize handprint ornaments?
The sky’s the limit! All you have to do is use your imagination. Here are a few ideas. Paint on the nose and hat bobble instead of gluing on pompoms. Paint on the eyes instead of using google eyes. Use a clear ornament and stuff it with paper shreds.
Another option is to personalize it with your baby’s name and birthday! I’d love to see what you come up with for your designs!
Will you be making a handprint ornament or two with your little one this holiday season?
More Holiday Crafting Inspiration
Do you love this handprint ornament and want more ideas? Try these links!


Supplies
- Black Disc Ornament
- White craft paint
- Red craft paint
- Hot glue and a glue gun
- Pompoms
- Google eyes
- Holiday ribbon
- Round sponge brush
Instructions
- Take your little one's hand, paint some white paint on it, and press their hand to the front of the ornament.Allow the paint to dry completely before continuing.
- Now add some red for Santa’s hat by painting it on along the upper outline of the hand using your pouncer (round sponge) brush.
- Allow that to dry completely, then use a hot glue gun to attach google eyes, a red pompom, and a white pompom with hot glue.
- String your ornament with some fun Christmas ribbon and hang it on your tree.


LOVE this ornament! I need to make these with my mom’s group!
What a cute ornament! Love it! Never seen the black discs, I will have to check those out! Thanks!
Almost all my ornaments are ones with sentimental value. I love this one!
The cutest!