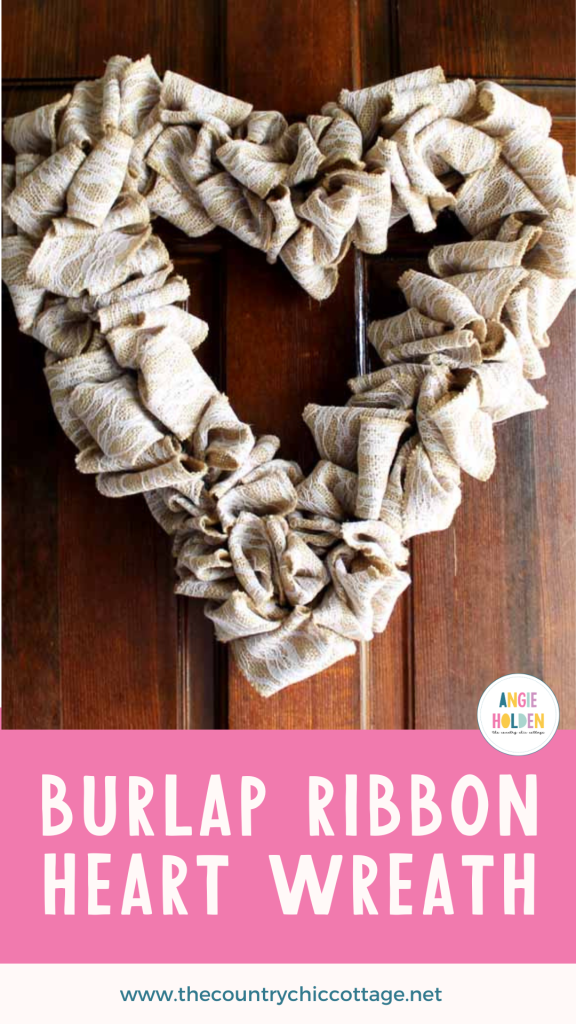
This sweet burlap heart wreath is a great addition to your home for Valentine’s Day! This version is made with burlap ribbon with a lace accent, but this wreath could also be made with red or pink burlap using the same technique.
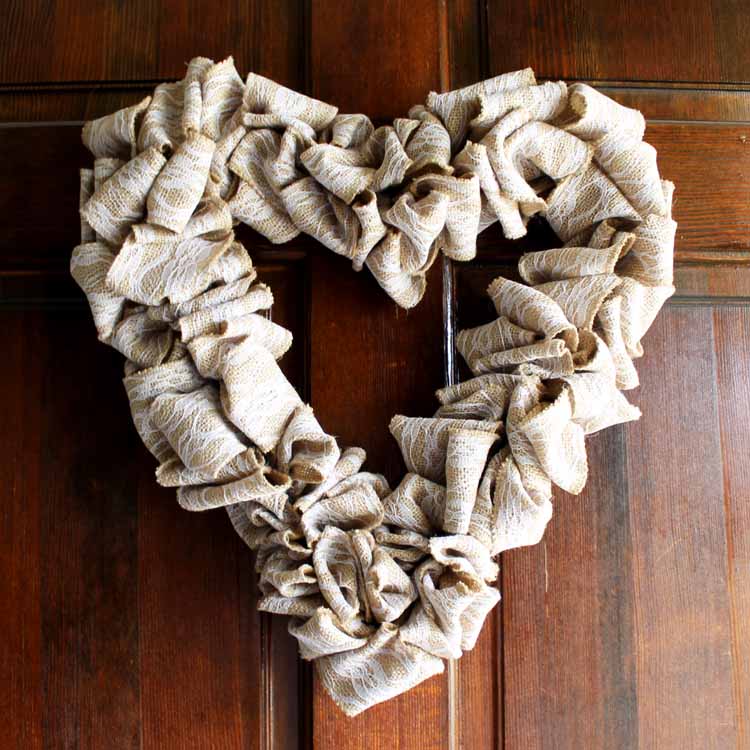
How To Make Heart Wreath
If you haven’t guessed by now, I love to decorate for all seasons, and this craft is easy to add a little extra love and joy around your home. This is so simple and can be customized to your style. You could use any wreath form for the shape, but I thought a heart would be the best choice for Valentine’s Day.
If you are looking for more Valentine’s Day crafts, I’ve got plenty the kids can do for mom, class treat bags, canvas paintings, picture frames, and more!
You could even make an afternoon of crafting! Grab some hot chocolate, turn on a good movie, and go for it!
Supplies Needed To Make A Heart Wreath
- Heart Wreath Form
- Burlap and Lace Ribbon (I used about 15 yards)
- Scissors
- Floral Wire
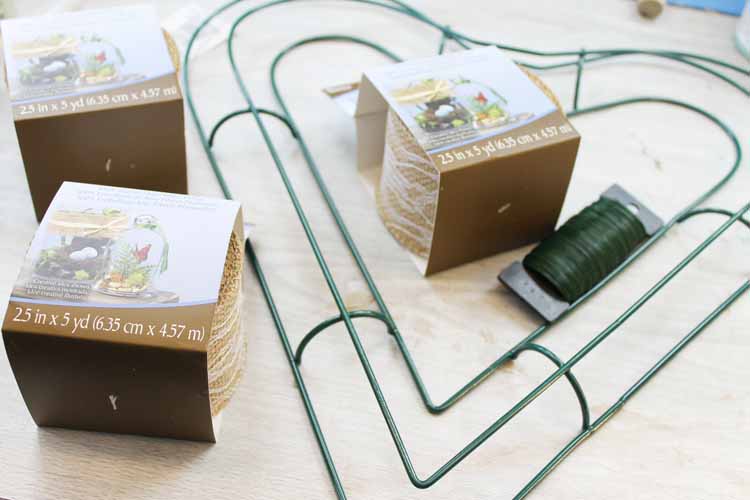
Note About Supplies
First, let’s make sure we understand the different parts of the wreath frame. Here’s a graphic of the different terms for this tutorial.
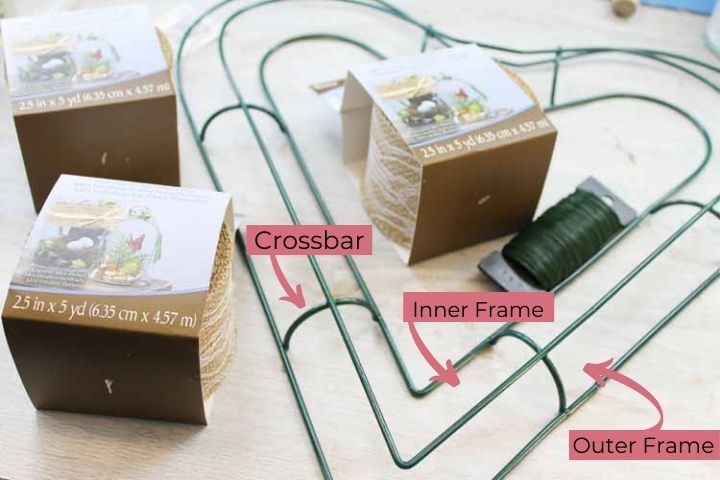
Basically, this tutorial will consist of looping and scrunching the burlap along the inner and outer edges of the frame. Here we go!
Step 1: Attach The Burlap To The Frame
First, attach the burlap to the frame. This can be done anywhere on the frame, but the easiest spot is at the crossbar. This way, you aren’t constantly holding the end of the burlap and fussing with the loops at the same time.
Cut a piece of floral wire and thread through the end of one of your rolls of burlap ribbon. Gather as shown below.
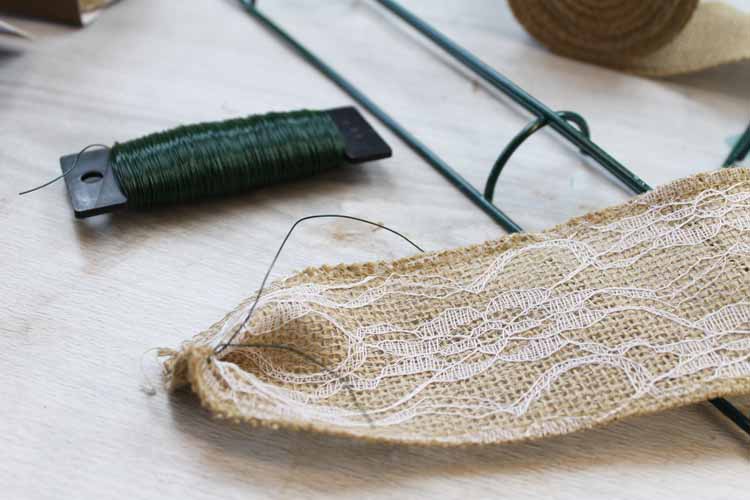
Attach this at the crossbar on your heart wreath form.
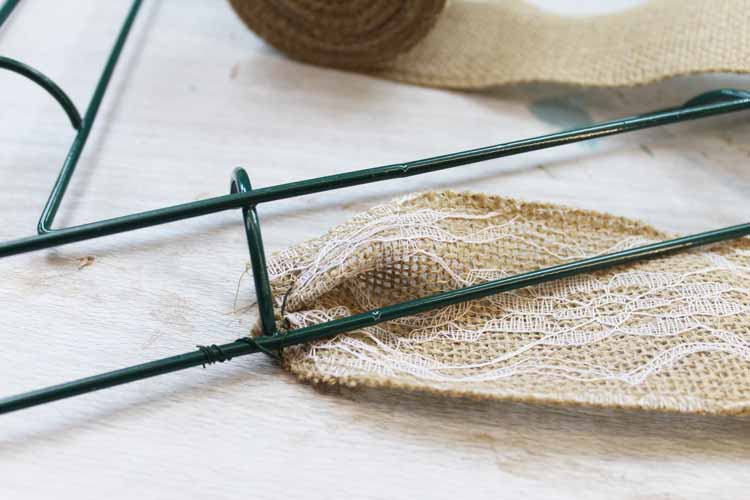
Now it’s time to create the loops for the wreath!
Step 2: Push Loop Through Inner Frame
Start where your burlap is anchored to the frame. Make sure your wreath frame is curved-side up. To create the loops, push a loop through the inner frame. Find the desired size by pulling more or less burlap through the inner frame.
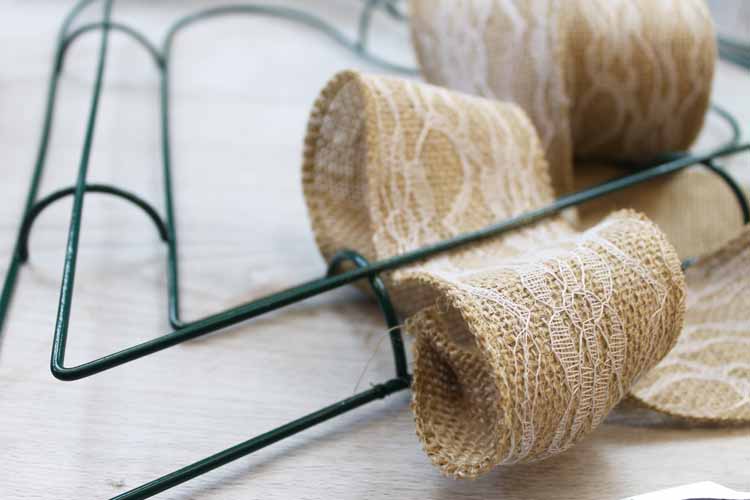
Step 3: Twist Tail
From the underside of the frame, twist the “tail” of the ribbon to prepare for the second loop.
NOTE: The twisting helps to ensure that your ribbon does not pull out.
Step 4: Create Another Loop
Then, push the fabric through the outer frame to create another loop (as in step 2). Create the same size as the loop on the inner frame.
NOTE: The size of your loops will determine how much ribbon your wreath will require.
Step 5: Repeat Steps 2-4 Around Your Wreath
Continue around your wreath in this same manner, and pack your loops really tight.
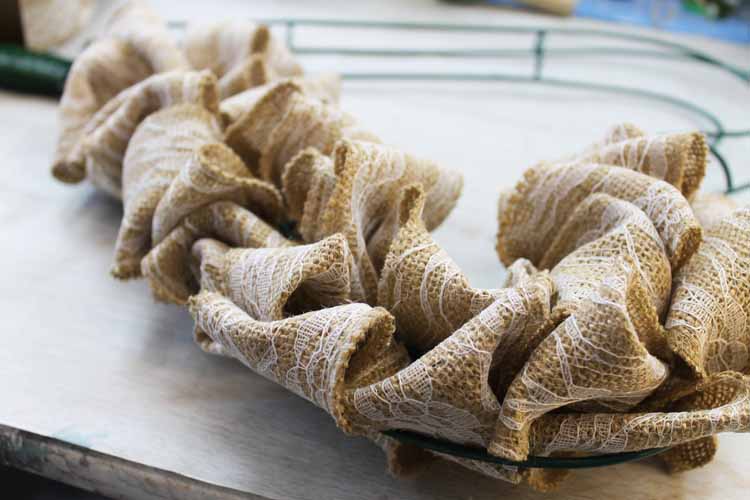
To start a new spool of ribbon, use a piece of wire to tie the two together, then attach these to the wire form – just like when we first began.
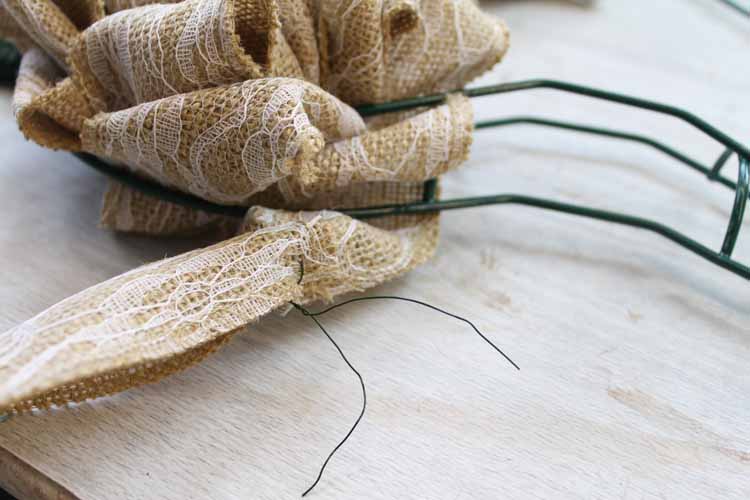
Continue until your wreath is completely full of loops.
Step 6: Tie Off End
As you reach the end, tie the remaining ribbon off by anchoring it to the frame with a piece of wire – just as you did to begin the wreath.
Then hang your heart wreath on your door to welcome in love this Valentine’s Day!
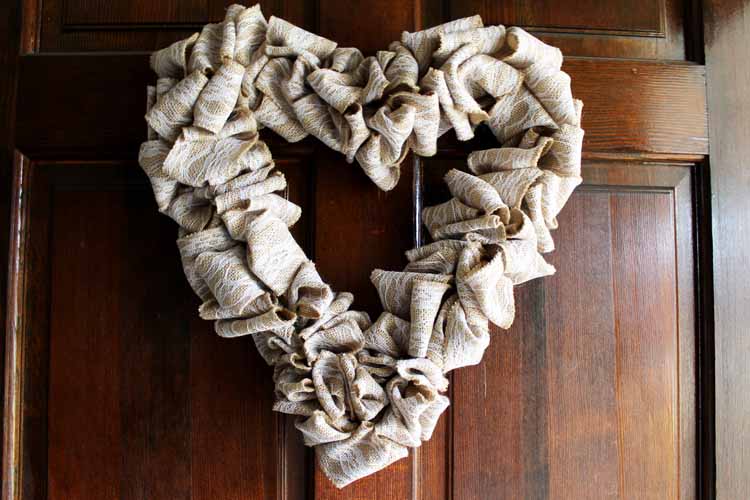
This DIY burlap wreath is a simple craft to hang in your classroom, on your front door, inside your home, or wherever you need a little more love in the air!
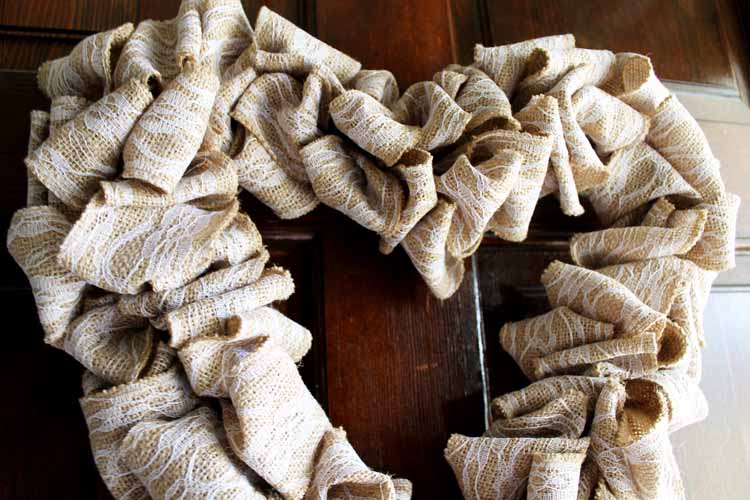
I am loving this combination of lace with rustic burlap in a heart shape! I hope you will get your supplies and make your heart wreath.
FAQs About Heart Wreath
Here are a few common questions that I often see readers asking about making this heart wreath. If you have a question, please check if I’ve already addressed it below. If you don’t see your question listed, please leave it in the comments!
Can I Change The Size Of The Wreath?
Absolutely! You can make this wreath any size you like. The only thing to remember is that you may need more or less burlap depending on the size of the wreath form you are using.
Where Can I Get A Heart Wreath Form?
You can buy a heart wreath form from your local craft store or online.
I Don’t Have Burlap Ribbon, Can I Use Regular Burlap Instead?
Yes, you can. If you use regular burlap (instead of ribbon), I would use a wider ribbon (about 2.5” wide) and cut it into long strips to attach it to your wreath form in the same manner as I showed above.
Do You Have A Video On How To Make This Project?
No, I don’t have a video for this particular project. However, if you check out my Gorgeous & Simple DIY Burlap Pumpkin Wreath video, I share a similar method for making the loops out of burlap.
5 Valentine’s Day Crafts
Did you love this heart wreath and want more Valentine’s Day crafts? Then check out the projects below!

