If you are looking for the ultimate heat press temperature guide, you have landed in the right place! I get questions every single day about heat press and EasyPress settings. What time and temperature do you need to press various materials? I thought I'd make a video today to teach you how to find those heat press temperatures all by yourself for both HTV and sublimation.
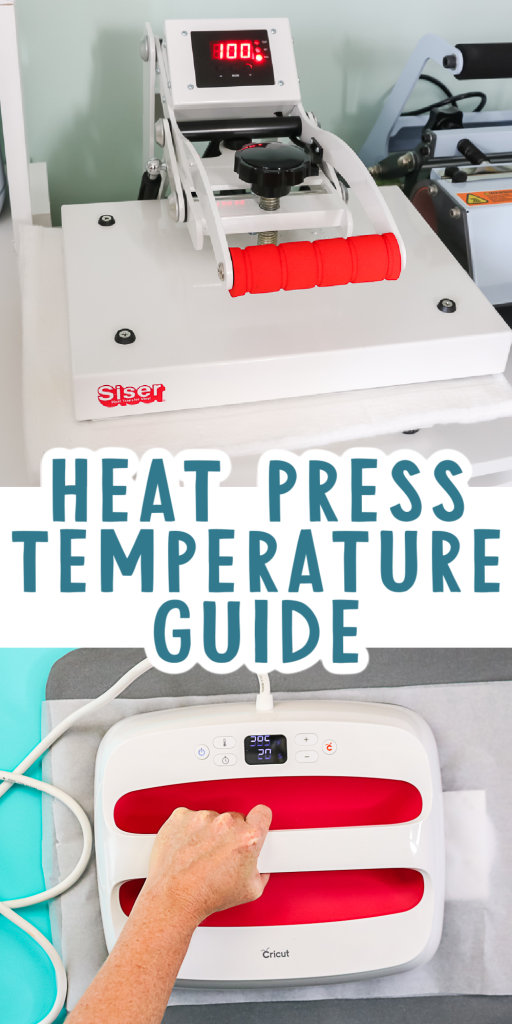
Heat Press Temperature Guide
What temperature and time are right for the surface you are pressing? Whether you have a heat press, EasyPress, mug press, or convection oven, I have the answers you need for getting your projects right the first time! Just click play on the video below to watch!
Can't watch the video or miss some of the information? You can also follow along below!
Finding HTV Heat Settings
HTV is heat transfer vinyl or iron on. When it is heated, an adhesive is activated and it sticks to something like a shirt. So, how do you find the correct time and temperature for your HTV? HTV products can vary widely from brand to brand. I have some brands that press at a really low temperature for only four seconds. There are other brands that press at a higher temperature for 30 seconds.
First, it depends on the brand of your HTV. Second, it depends on what you're pressing it on. I recommend going to the website for the manufacturer of the HTV you're using. If you're using Cricut Iron-On, they have a super handy heat guide where you can input your material, type of iron-on, and if you're using EasyPress. Then it recommends a time and a temperature.
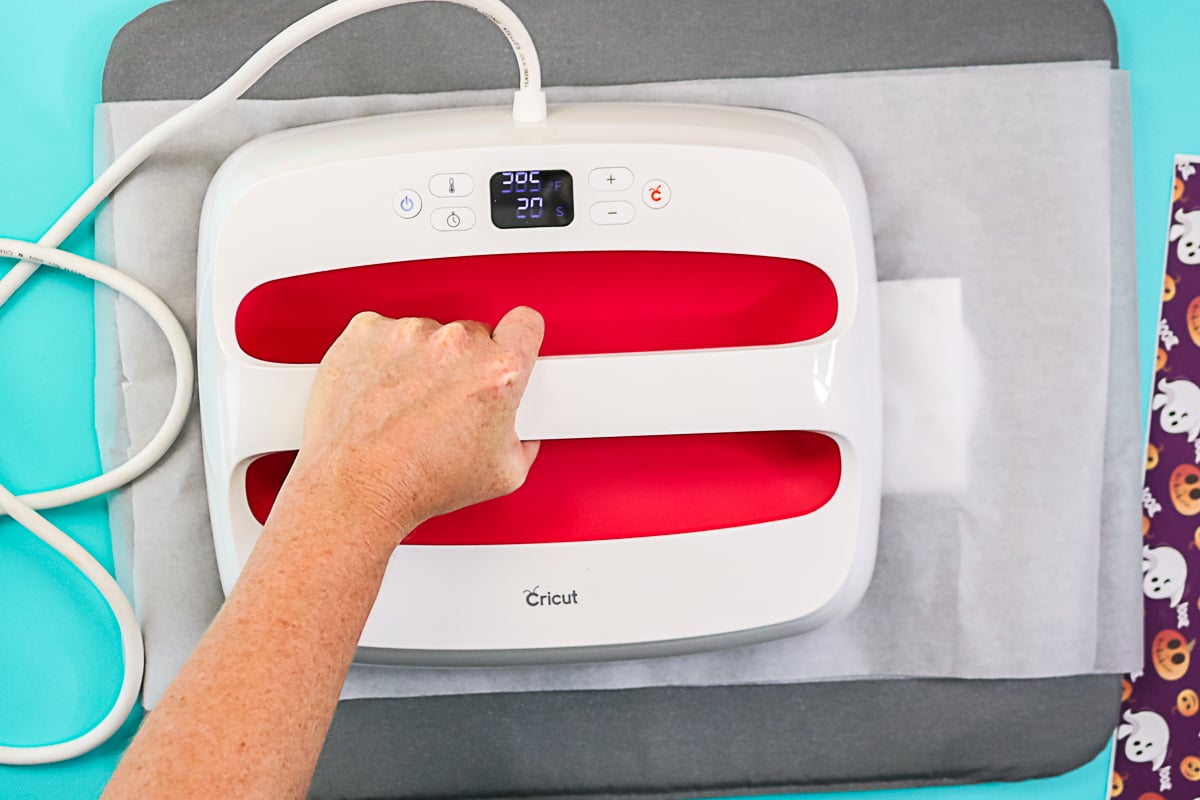
For other brands, you basically need to look at either the website for the manufacturer or the website where you purchased it. Let's say I purchased some HTV from Heat Transfer Warehouse. You can usually find instructions right on the listing where you purchased it, as far as what time and temperature. Now for HTV, time and temperature are not the only things you need to worry about. There are a couple of other things that you may want to take into consideration.

Not sure which heat press is for you? Heat Press Roadmap has your answer! This extensive course is designed to guide you on your journey to deciding on the best heat press for your needs, space, and budget.
Join Angie Holden and Cori George as they explore 17 heat presses in 27 videos. Get the details and sign up for Heat Press Roadmap here!
Other HTV Instructions
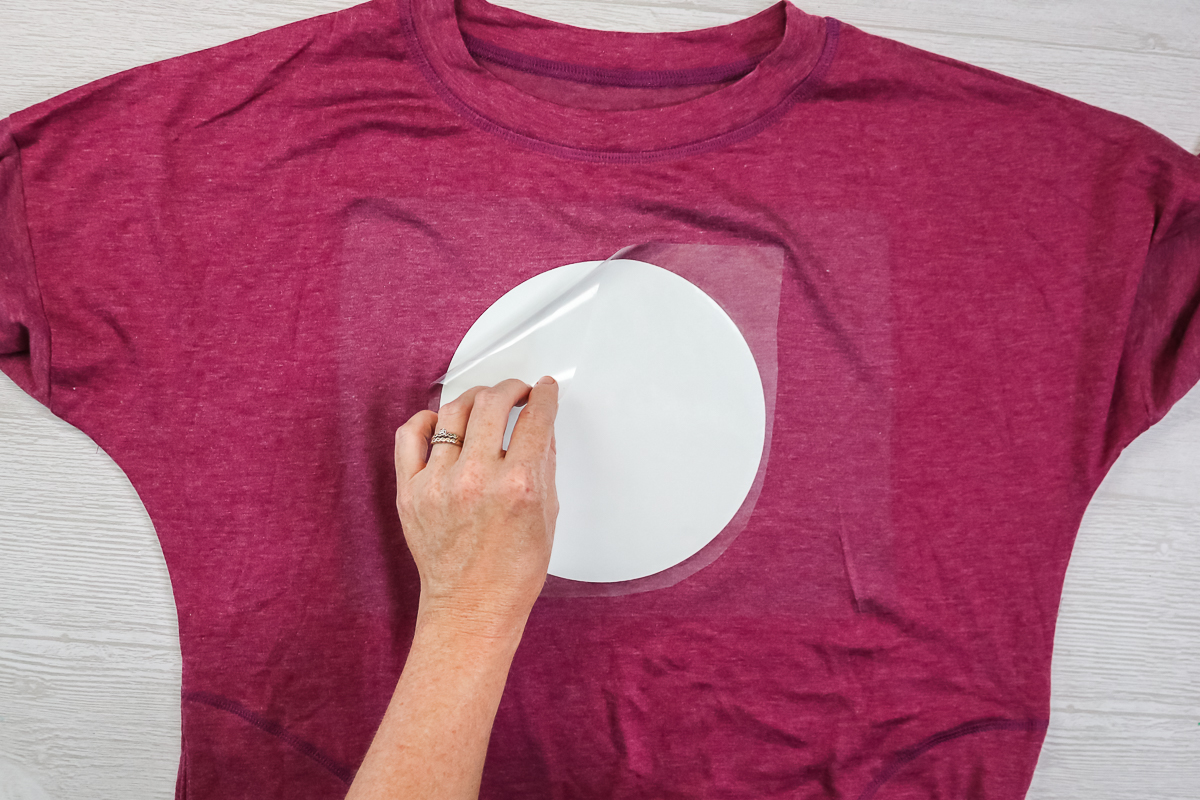
Some HTV products will also have a pressure setting. This is how hard you push down if you use your EasyPress or what you set your heat press to. The other thing you should always note is the peel temperature. With some HTV, you remove the carrier sheet hot, and others you remove it cool. There are various temperatures where you need to peel the carrier sheet back.
I often find people make this mistake with Cricut Iron-On as it's a cold peel. You need to wait for it to completely cool down before you peel that carrier sheet back. For Cricut in particular, you also need to press from the front and the back. A lot of people have trouble with products like HTV from simply not following the instructions. Always follow the instructions of the manufacturer of the HTV you are using.
Settings for Different Materials
There are often different times and temperatures depending on what you're pressing on. Cotton might be one set of settings while polyester might be another set. You can put HTV on paper, so some manufacturers have instructions for paper as well. If you are going to put HTV on a really odd surface like wood, start with the lowest recommended temperature as well as time, then increase from there. Be sure to note any specific instructions for material type.
Free HTV Cheat Sheet
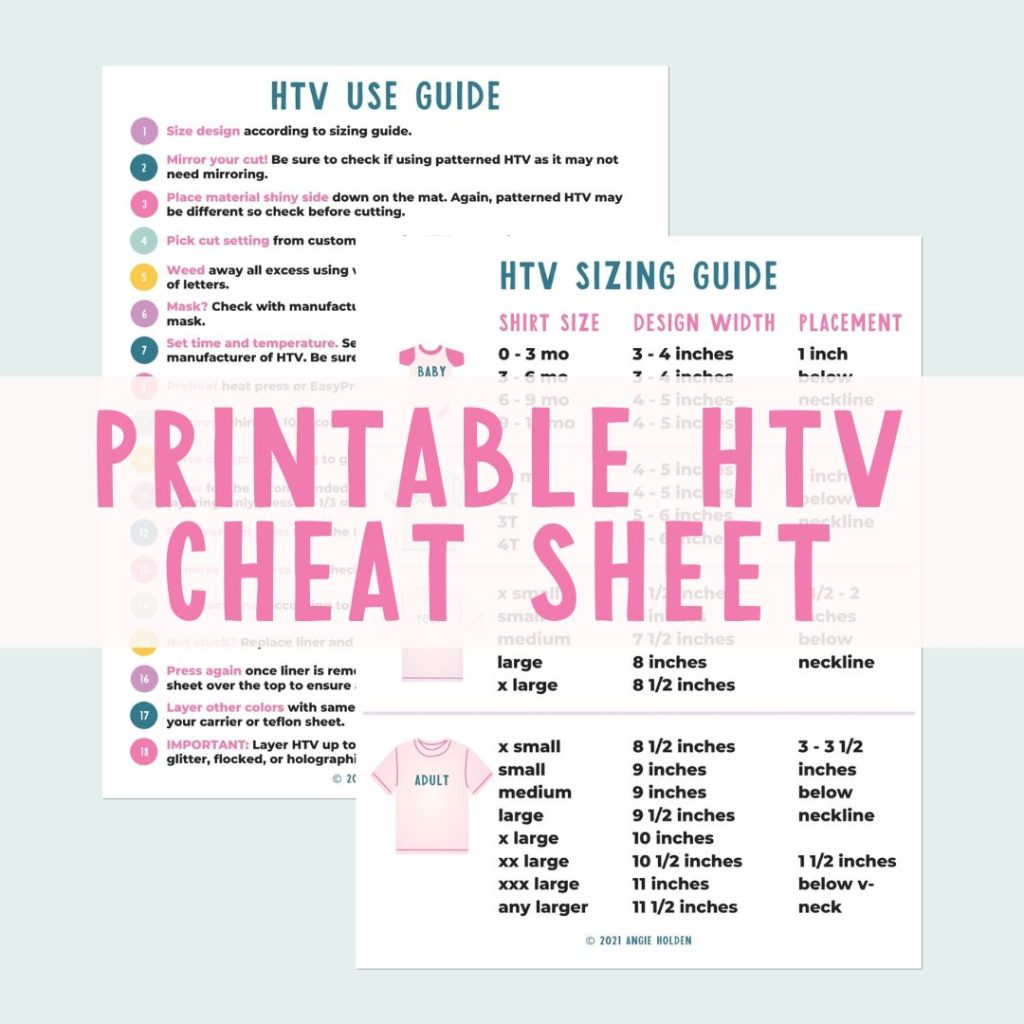
Get your FREE Printable HTV Cheat Sheet now! This guide has sizing and position recommendations for infant through adult shirts as well as a handy HTV use guide. Print this double sided guide and put it by any heat press you own!
Sublimation Heat Settings
So, what is your heat press temperature guide for sublimation? Usually, sublimation does require a higher heat point. It also might require more time depending on the surface you're using. There will definitely be a pressure recommendation that you really want to pay attention to because that can make a huge difference in your result. How do you get a starting point for sublimation? The very first thing I recommend is to look on the website for the blank you're using. Most of the time, they have instructions right on the listing with time, temperature, and pressure. There are a few things that might alter what the recommendations are.
Using a Convection Oven
If the instructions are for a tumbler press, but you are going to do your tumbler in a convection oven. You might not find actual instructions for a convection oven. That's where a little bit of experimentation comes in. If you are going to sublimate on a blank for the first time, don't just purchase one. Be sure to purchase a few because you might ruin your first one doing some experiments.
How do you experiment? The optimal way to do that would be to cut black strips from a sublimation print then try in your oven. If it comes out as a true black, then you're good to go. If it comes out looking green, you've underbaked it and you need to increase either the time or the temperature. If it comes out looking brown, you've overbaked it and you need to look at decreasing one of those things.
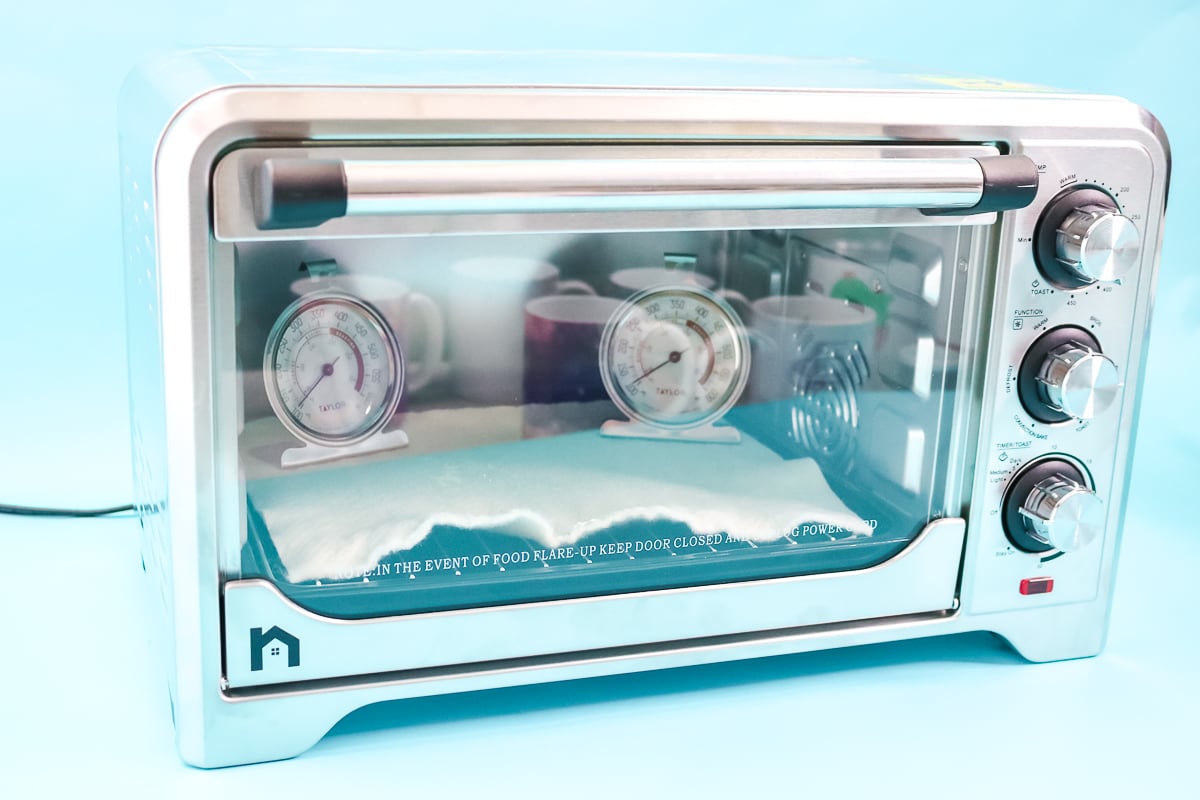
The other thing would be getting consistent heat across the entire blank. You might find that some spots get overcooked or undercooked, while other spots look really great. That is a function of either your convection oven not heating all the same in all the same spots or your heat press not getting the same temperature in all the same spots. One thing to do with a convection oven is to rotate the blank occasionally.
Other Sublimation Supplies
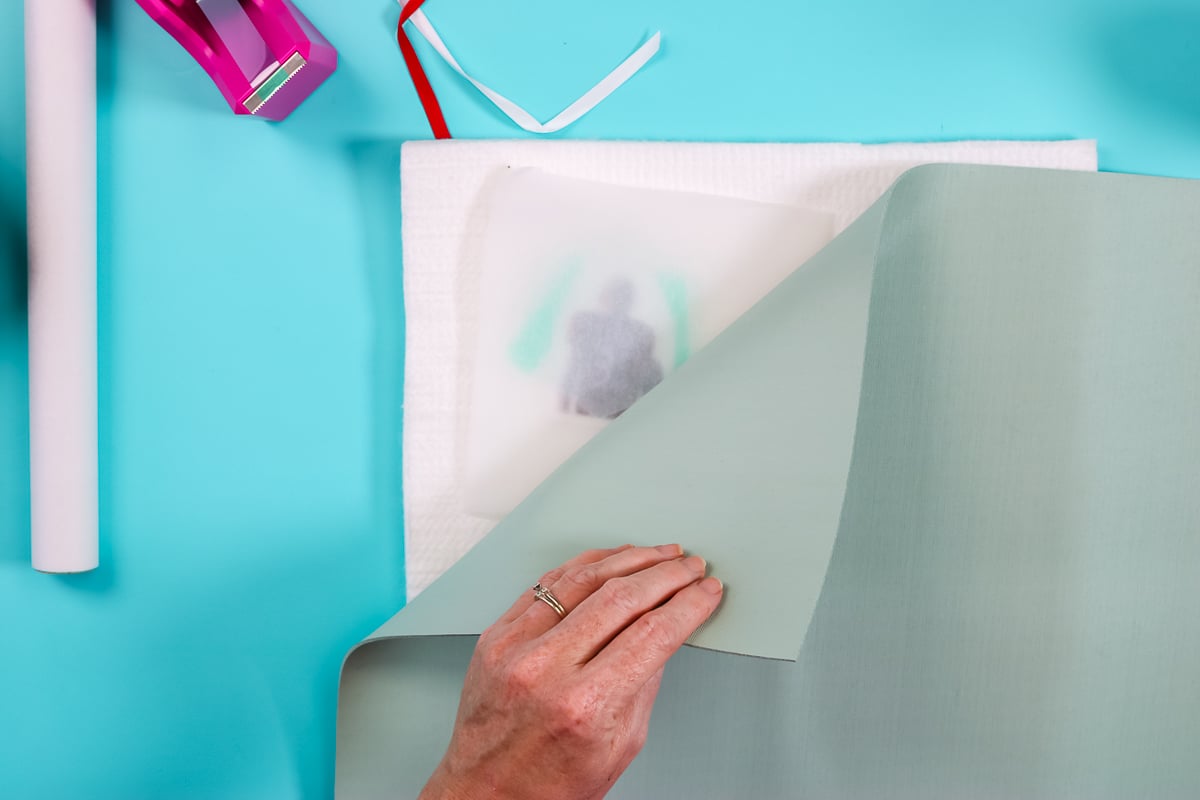
You should also read the instructions for other things that you might need. For example, certain glass sublimation blanks require a Nomex pad on the bottom or a rubber pad over the top. You need to make sure that you have all of those accessories so you can be successful. Don't just think that the metal ornament that you're sublimating will be the same time, temperature, and pressure as a glass ornament or a ceramic ornament. Each of those is going to be different because they're different materials. They require a little bit of a different procedure in order to get the best results.
Settings for Infusible Ink
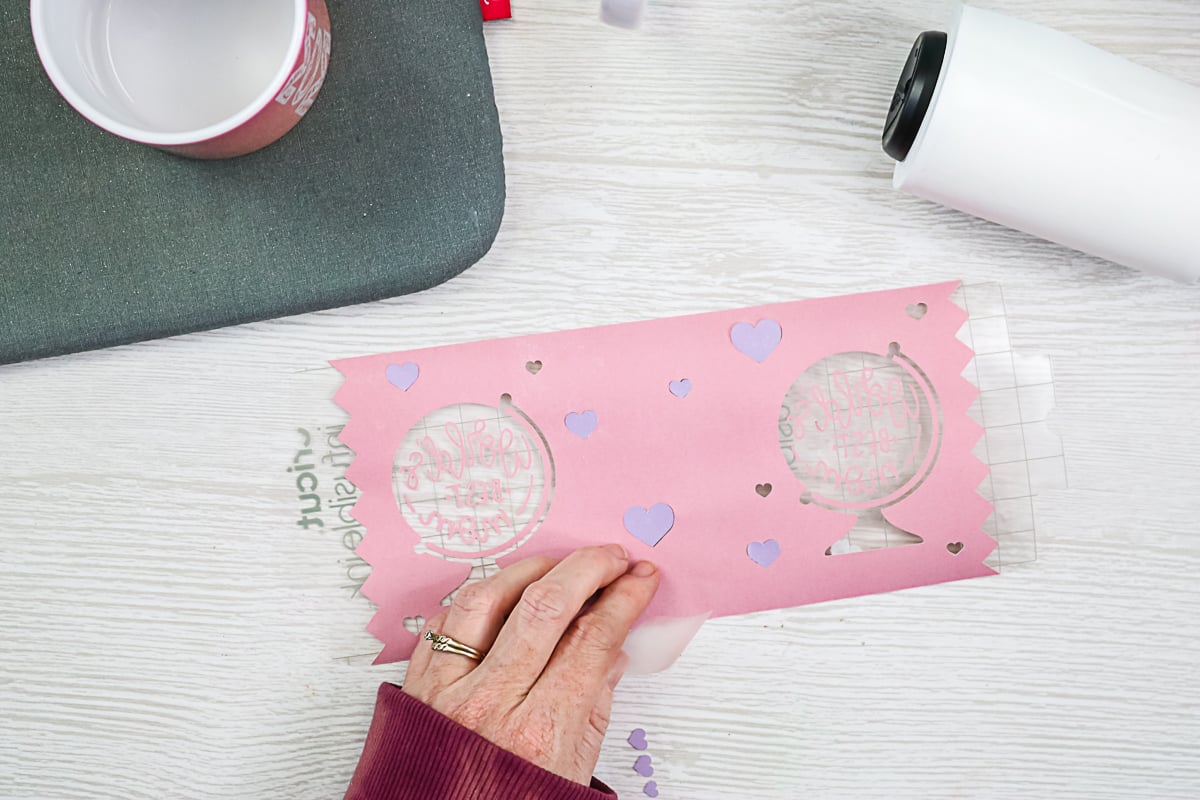
When we're talking about sublimation, infusible ink is a form of sublimation. It's just a simpler form for those that don't have a sublimation printer. I do recommend heading first to the Cricut heat guide, putting in Infusible Ink, and picking a surface that's similar to what you're pressing on. They only have a small selection of blanks on the heat guide. I pick what is closest to what I am pressing. Infusible ink does have different settings than sublimation.
Cricut Mug Press Settings
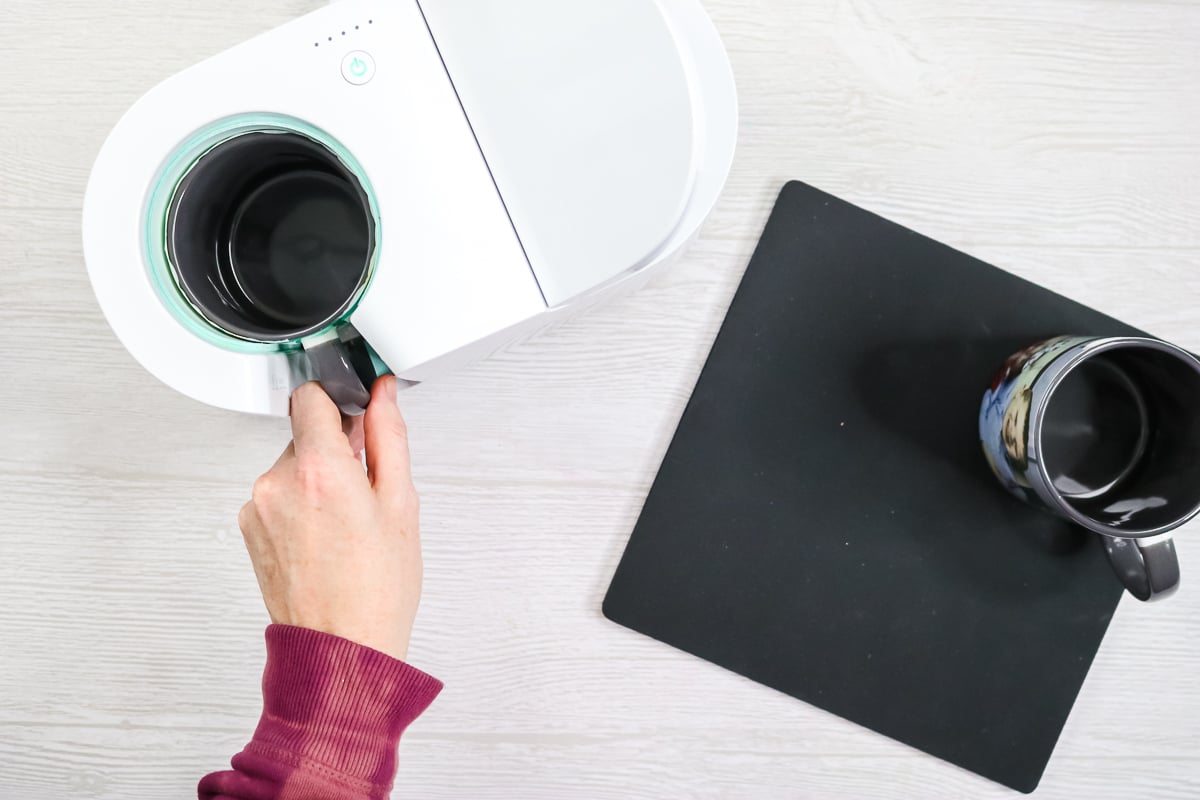
If you have the Cricut mug press, the time, temperature, and pressure are already set. Cricut did release a small set of instructions where you can turn it down and up a bit. I have actually never changed it and I have done tons of different mugs and tumblers. The mug press is designed to sense the temperature and time. Then it when it reaches a certain temperature for a certain amount of time, it beeps and is done. I actually love how easy it is! If the blank will fit in the mug press, I use it so I don't have to worry about finding a time and temperature.
Making Your Own Heat Press Temperature Guide
Hopefully, this helps you find a time and temperature for whatever you're pressing, whether that be HTV or sublimation. There is not a solid answer where I can just tell you exactly a temperature and time for everything you're going to press. It just really does not work that way. It depends on the blank you're using. I would definitely go with those manufacturers' instructions. They have done all of the work for you as far as finding the optimum time and temperature.
Start with those settings and alter if you need to. Be sure to write down any alterations you have to make so that you know the next time. This is like making your own heat press temperature guide. I do find that the instructions from the manufacturer are spot on just about every time and I am sublimating away within minutes. Hopefully, this helps you answer those heat press questions!



Angie, what are your temp, time and pressure recommendations for using a full size heat press on a Cricut T-shirt for sublimation design transfer? Thank you..
I would start by using the Cricut heat guide. You can select that you’re using Infusible Ink (it’s similar to sublimation) and the Cricut shirt and start with that as a jumping off point. I would still do a test and make sure that is right for your specific heat press!