This herb garden kit makes a fantastic gift for any holiday or occasion. Make one to give to any guy or gal who loves to cook, garden, or both! Bonus points: it’s easy and inexpensive to put together.
Calling all plant-moms, garden fiends, and nature connoisseurs – this DIY herb garden kit is a sweet way to share the gardening love!
These herb jars contain everything you need to start a miniature herb garden filled with fresh and fragrant herbs.
This project makes a great gift for anyone who enjoys cooking with tasty herbs or could use a joyful pop of green on their kitchen windowsill.
I love giving a gift in a mason jar as my recipient can see exactly what they are getting without even opening the jar. And with this herb kit, they’re going to love what they see!
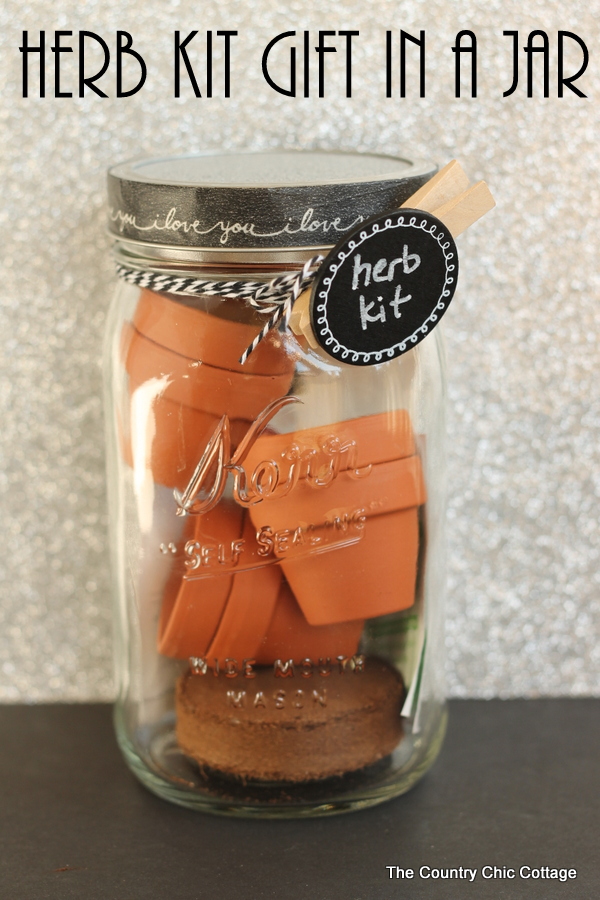
How to Make an Herb Garden Kit
These adorable herb jars make thoughtful gifts with very little prep work. So, let’s get crafting!
Supplies Needed:
Here’s everything you’ll need to round up…
- Quart-size mason jar
- Disc seed starter
- Tiny clay pots
- Herb seed packets
- Glitter paper
- Washi tape
- Toothpick markers
- Chalkboard clothespins
- Twine
- Chalk marker
- Glue
DIY Herb Garden Kit Instructions
Ready to make a DIY garden jar? Just follow these easy steps:
Step 1: Add Garden Supplies
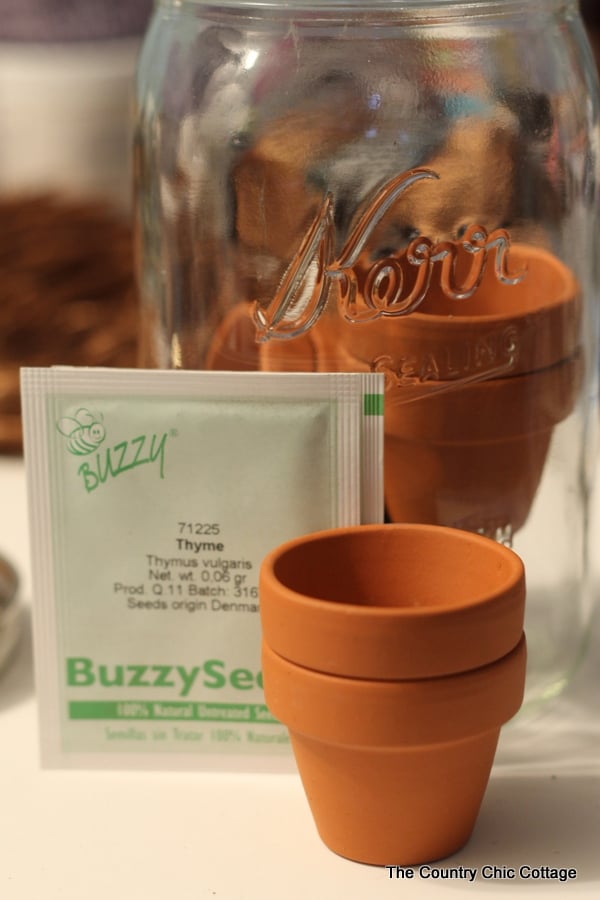
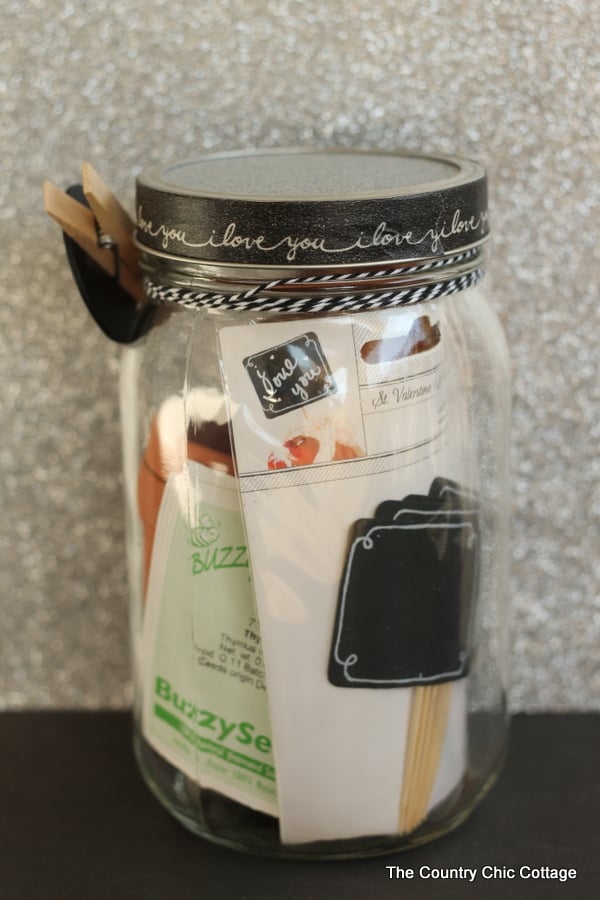
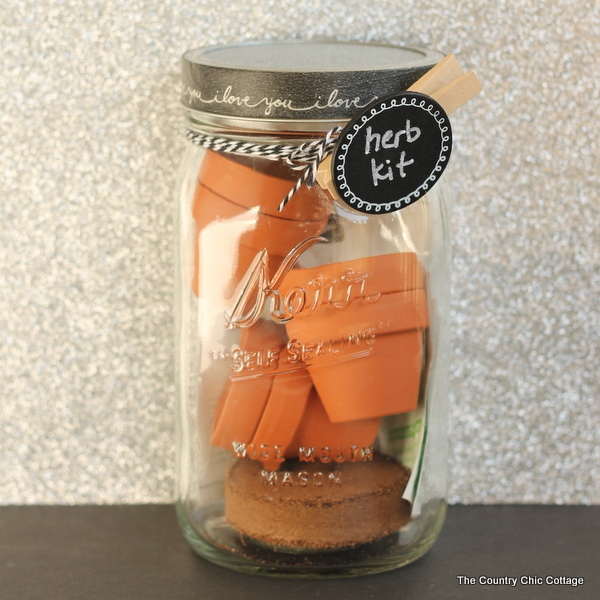
Start your herb kit by adding the herb supplies to any wide-mouth quart-size mason jar. I dropped a seed starter in the bottom of the jar and then piled in six of these little bitty tiny clay pots.
Add in a few packets of seed packets, and the herb kit is shaping up!
Finally, add chalk toothpicks to the jar. These will make a great marker for the clay pots to remember what you planted in each one.
Step 2: Decorate your Jar
Now it’s time to add cute details for extra special touches.
For a cheap decorating idea, I picked up most of these things from the Target dollar spot. Each item costs anywhere from $1 to $5, so check out your local store to see if you can’t score some similar items.
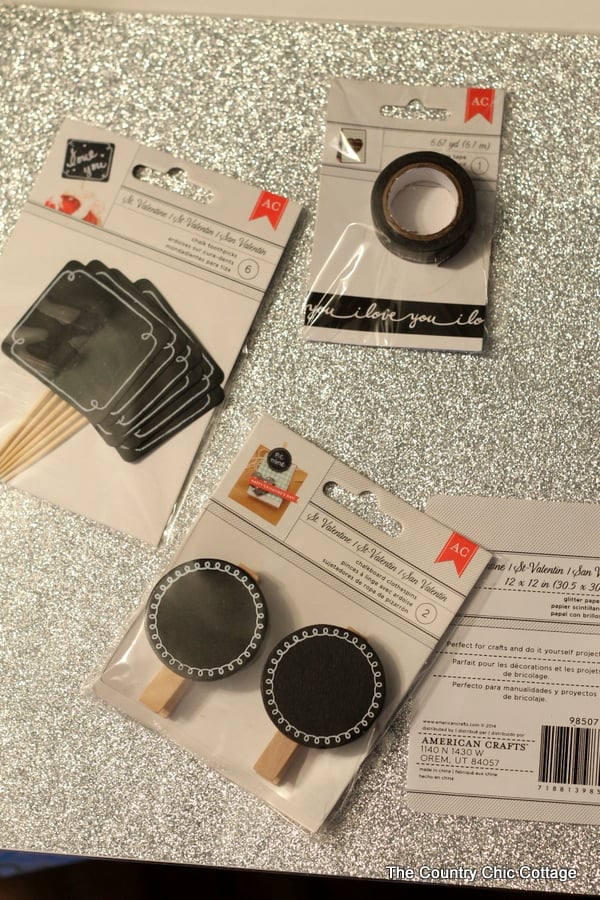
I am using some glitter paper, “I love you” washi tape, and chalkboard clothespins.
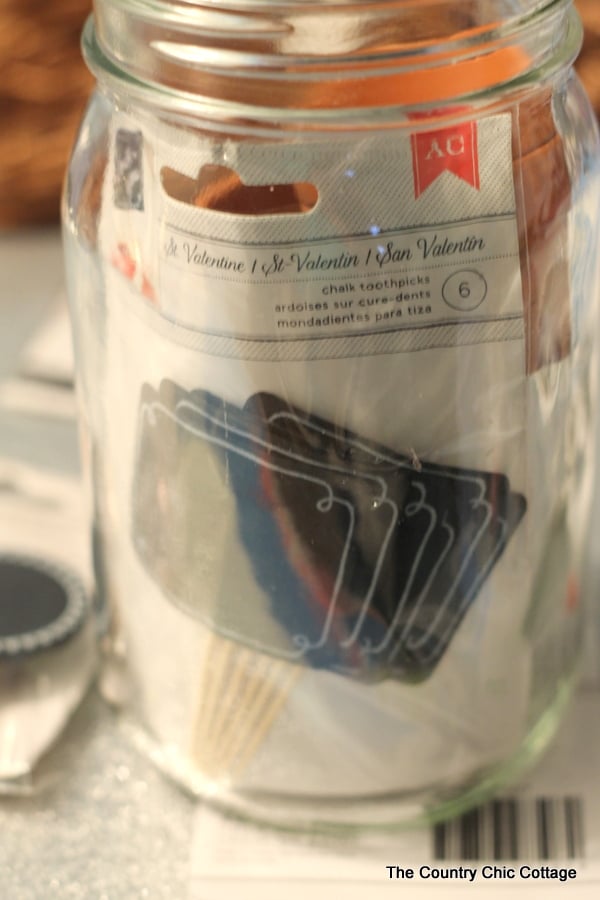
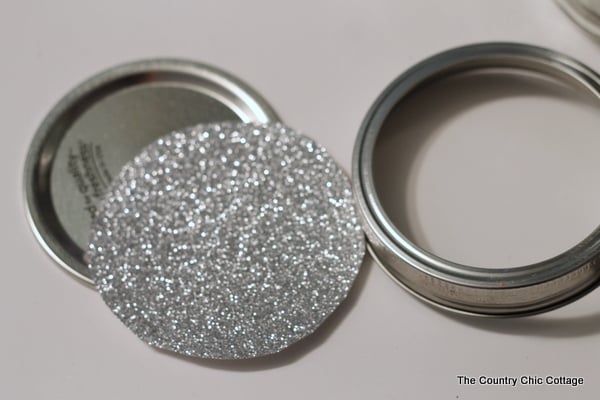
First, cut a circle from the glitter paper for the top of the mason jar. Glue it down, then add the top back to the jar.
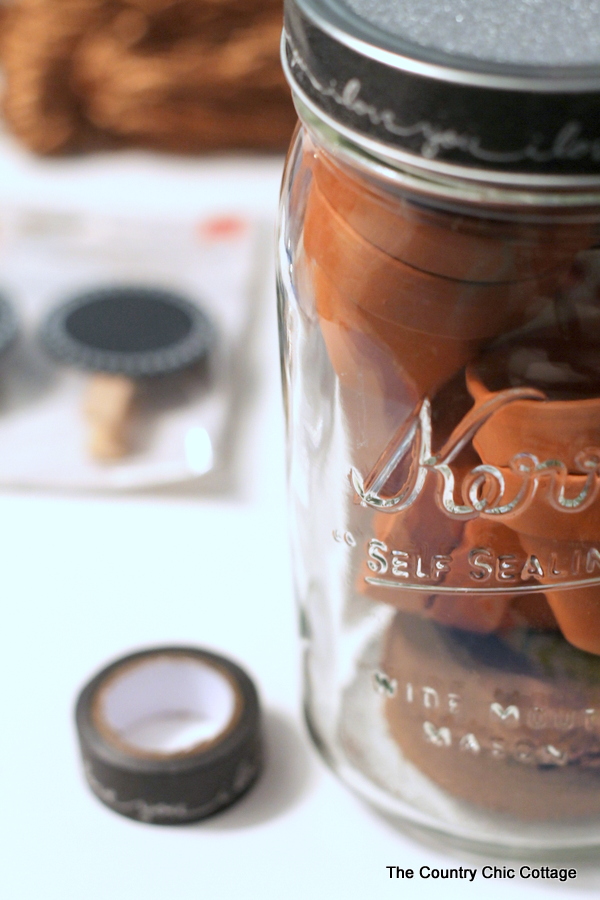
Complete the lid with washi tape to cover the outside of the band.
Step 3: Finishing Touches
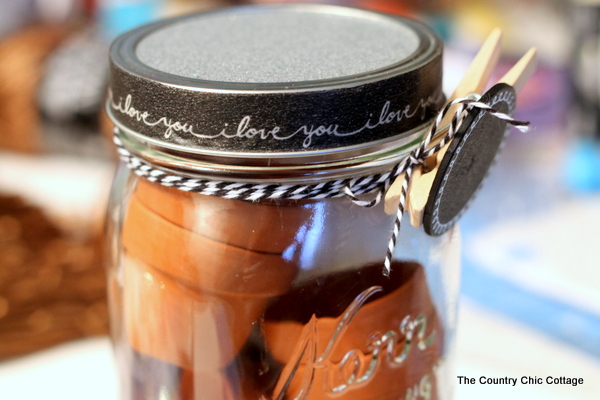
To finish your herb garden kit, tie on a chalkboard clothespin with some baker’s twine.
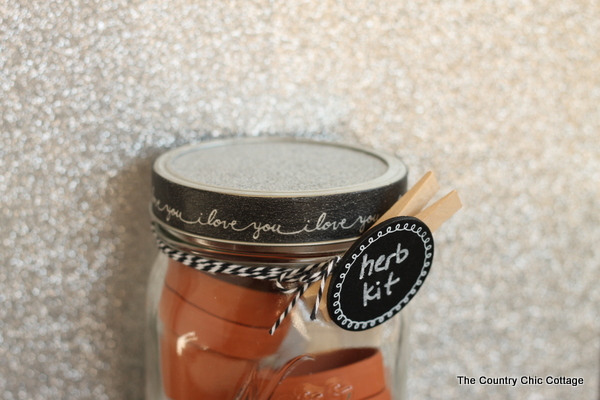
I wrote “herb kit” on the chalkboard tag with a chalk marker, but you can add who this is to or any sentiment you would like!
FAQs
Have more questions about my DIY herb garden kit? I have answers! And if you’d like to know anything else about this craft, please leave a comment down below.
Can herbs survive in a mason jar?
Folks, this mason jar is for gifting only – not planting! I wouldn’t recommend using this garden jar for planting your herbs as it doesn’t provide proper drainage (hello, root rot!).
Instead, use the mini pots stuffed into the herb garden kit. You’ll just have to find another creative way to reuse your mason jar!
How do you know when to get a bigger pot for your herbs?
Eventually, you’ll need to re-pot your herbs from these cute mini pots; they’re only meant as a starting point.
You’ll know it’s time to re-pot your herbs when:
- You start seeing roots coming out of the drainage holes
- The plant is top-heavy
- Watering is more frequent
- Roots are circling the inside of the pot
Which herbs are best for an herb garden kit?
When gifting these herb jars, be sure to include some easy-to-grow herbs for the best present possible. These herbs include:
- Basil
- Cilantro
- Mint
- Parsley
- Chives
- Rosemary
More Craft Ideas
Love this herb garden kit? I’ve got a bucket load of garden-inspired crafts for you to try:
- DIY Garden Markers In a Jar Shape
- DIY Metal Garden Markers Engraved on a Cricut
- How to Make Paper Plants with a Cricut for a Garden Party
- Container Garden Ideas Perfect for Summer
- Caterpillar Rocks for Your Garden
Equipment
- Glue
- Chalk marker
Supplies
- Quart-size mason jar
- Disc seed starter
- Herb seed packets
- Glitter paper
- Washi tape
- Toothpick markers
- Chalkboard clothespins
- Twine
Instructions
- Add garden supplies to your mason jar including a seed starter, herb packets, mini garden pots, and chalkboard toothpicks.
- Glue a round of glitter paper to the top of your mason jar lid.
- Add washi tape around the outer rim of your lid.
- Tie a chalkboard clothespin to the top of your jar using a bit of twine.
- Write a custom message on the mini chalkboard using a chalk marker.
A Year of Jar Crafts

Sign up for our email list to get a FREE book with an entire year of jar crafts! 12 months, 12 crafts, tons of fun!


