I hope you are enjoying all of the festivities of Holiday Maker Fest. If you want to make my project, you are in the right spot! I have supplies, a free SVG, and a special offer for you below. Be sure to subscribe to my YouTube channel as well so you don’t miss any content from me in the future!
Don’t have your FREE Maker Fest Ticket yet? Click here to sign up and you will see how to make these signs and so much more.
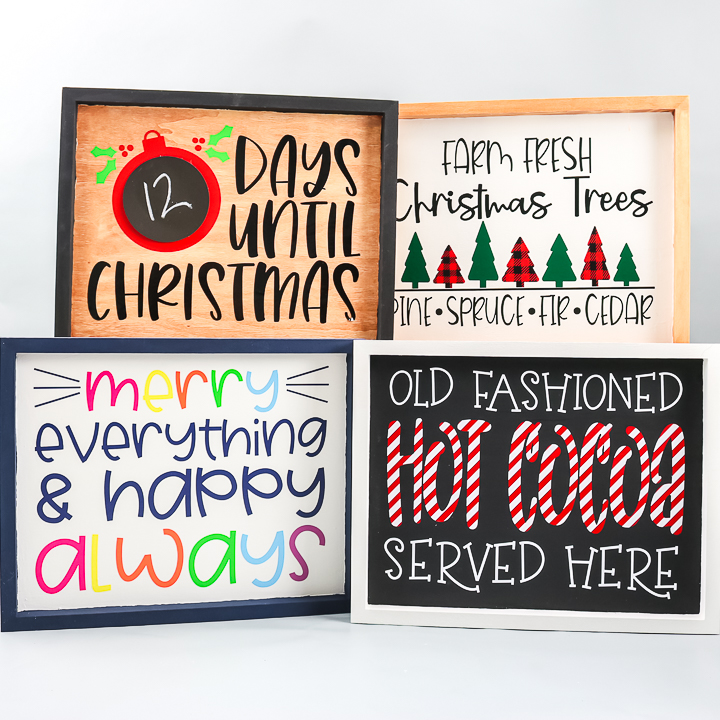
Supplies needed:
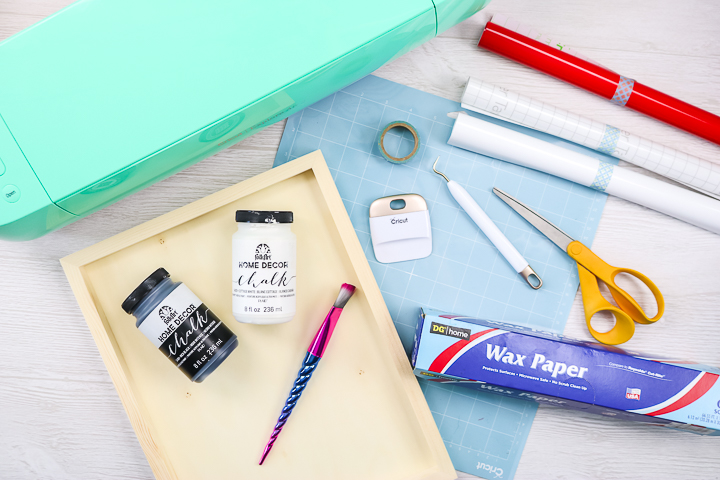
First, let’s talk about supplies. I am linking you to exactly the supplies I am using to make the Hot Cocoa sign. Please note that the links below are Amazon and other affiliate links and a portion of any purchase will go to this site.
- 11 x 14-inch wood panel boards (these boards have a built-in frame that will be a part of the project)
- Black and white paint (I used chalk paint for a matte finish but please note that this is NOT a chalkboard paint)
- Paintbrush
- Adhesive vinyl in red and white (I find that removable or permanent will work with these signs)
- Transfer tape (you want this to be clear so I used the Cricut brand)
- Wax paper (from your kitchen)
- Scissors
- Weeding tools
- Scraper
- Cricut machine (any will work or another cutting machine)
- Cricut mat (light or standard grip)
- Tape
- Cut file (you can see how to get the free SVG and the bonus files below)
Free SVG File
First, you will want to download the hot cocoa SVG file to get started on your project. You can get the file by filling out the form below and it will be delivered directly to your email inbox.
This file actually comes with a commercial license up to 1,000 pieces so enjoy yourself or to make things and sell them! The file itself with the license is a $22.50 value and Makerfest participants get this for free! If you have any issues with your download, please email me so I can work on it for you.
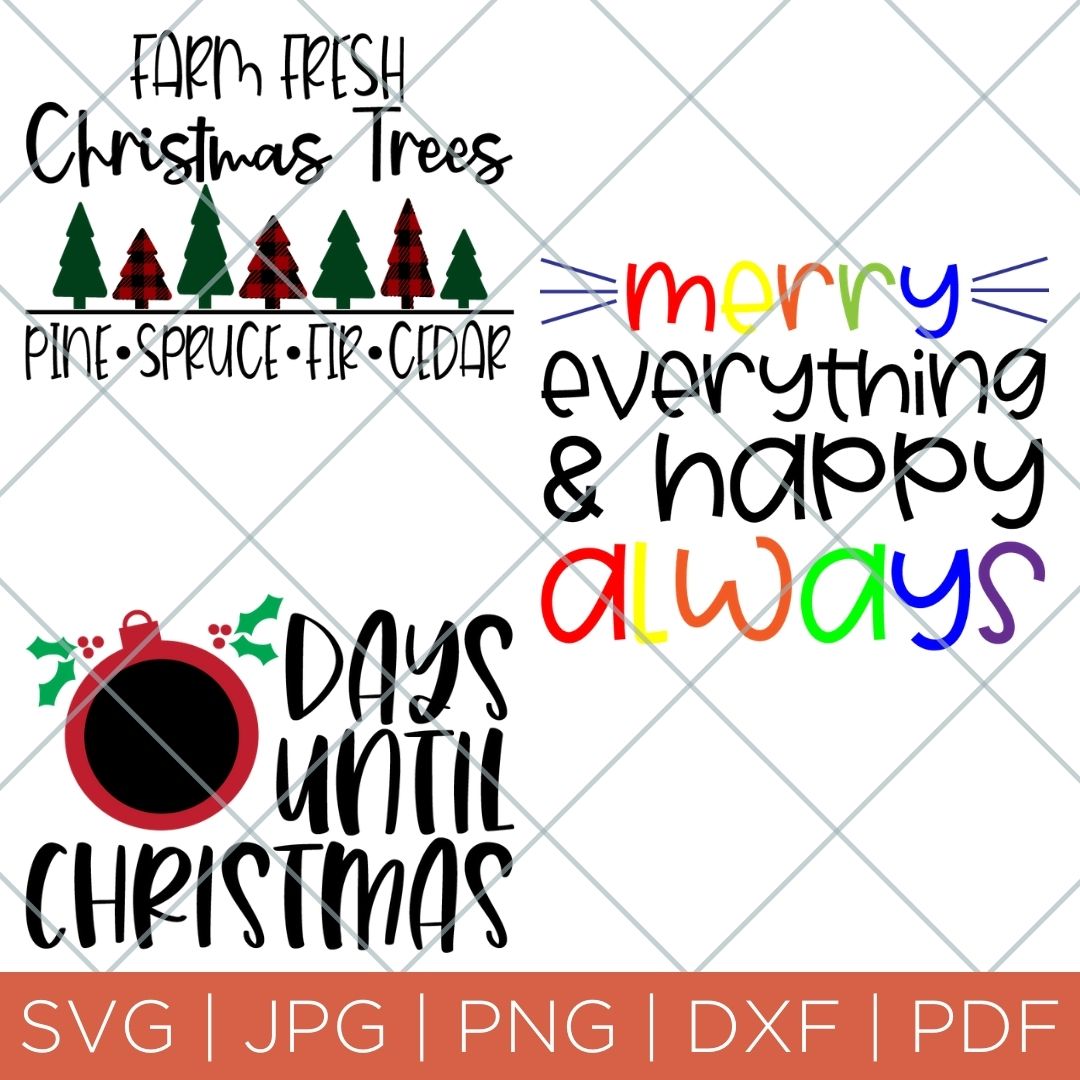
Once you fill out the form above, a special offer will open up in your browser for the other three files shown below. Trust me, you don’t want to miss this! You won’t get this price again.
How to Layer Vinyl
Did you miss the video when it was free on MakerFest? I can’t repost the video but I can give you a quick rundown of the instructions to follow!
- Paint your sign or board. I did one color on the inside with a contrasting color on the border. You will want this to dry completely before continuing.
- Use the free SVG that you downloaded above to cut vinyl with your Cricut machine. You will want to upload the file to Cricut Design Space and you can see more about how to do that here.
- Resize the file to fit your sign if needed. You can also change the colors here on your screen if you would like. Be sure to attach all of the pieces that are the same color together so they will cut correctly.
- Add your vinyl face up on your mat and cut each of the colors with any Cricut machine.
- Weed away all of the excess vinyl from around the outside as well as the centers of any letters.
- Start with whatever color will be your TOP layer. Add that to a piece of transfer tape that is large enough to cover your entire design. Put the transfer tape over your vinyl and burnish down well. Then peel back the backing paper until all of the pieces are on your transfer tape. TIP: We only need to layer the HOT COCOA portion of this design. You can actually cut the backing paper and ONLY remove the backing paper from the HOT COCOA so you don’t have as much to work with as you layer.
- Now you want to add your second layer. First, tape this vinyl down to your table using something like washi tape. This holds it in place while you work. Just tape the edges and don’t actually tape on the vinyl.
- Then add a piece of wax paper over the top of the red that is larger than your design. Make sure that a portion of your backing paper from the bottom piece of vinyl is NOT covered by the wax paper then take the wax paper down as well so it doesn’t move on you.
- Align your top layer of vinyl over your second. You should be able to see through everything and align correctly. The wax paper will allow you to lift your design if it is not aligned and try again.
- Once you have everything aligned. Use a scraper to adhere to top layer to the bottom backing paper along the edge that you left exposed in step 8.
- Then work your wax paper out from between the two pieces. Make sure that the two pieces stay stuck together and in location along that edge from the previous step.
- Everything is in location now and you can lay down the top layer over the bottom. Work from the edge that you already have stuck down and move across your piece sticking the layers together.
- Burnish everything down really well and remove the backing paper from all of your vinyl.
- You are now ready to apply that vinyl to your sign. Burnish it down and remove the transfer tape on your new sign!
Cricut Bundle Offer
I totally have more for you! I wanted to offer up my Cricut bundle for a steal today as well. If you have a Cricut and struggle with organization this is totally for you!
Are you confused by your Cricut? Constantly Googling the same questions?
The answer is our Cricut One Sheets combined with our Cricut Organization Binder. These two products together will help you enjoy your machine and organize all of your information so you can get the most out of your Cricut!
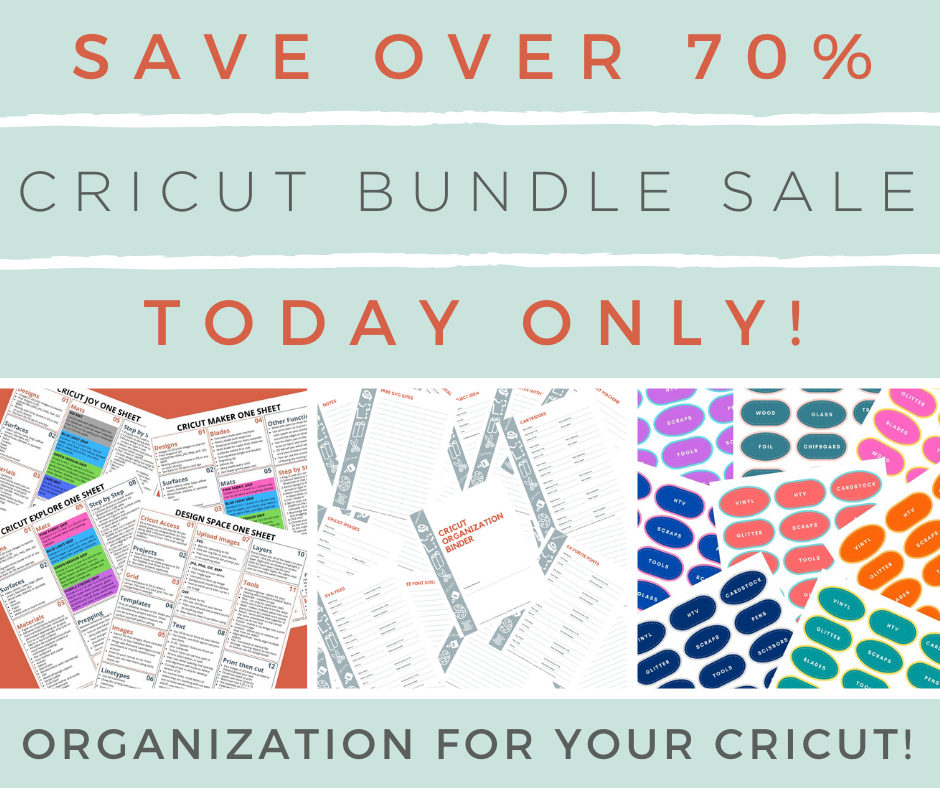
Get all three for our lowest price ever!
What do you get with your bundle?

Cricut Organization Binder
$9.97 VALUE
Print your own Cricut Organization Binder to keep everything about your machine organized. This binder has 18 pages that you can print as many of as you need. There are pages for fonts, images, SVG files, project ideas, material sources, machine settings, cartridges, and so much more.
This binder is perfect if you have the Cricut Maker, Cricut Explore, or Cricut Joy. Every Cricut user can use this printable binder for organization.
Cricut One Sheets
$4.97 VALUE
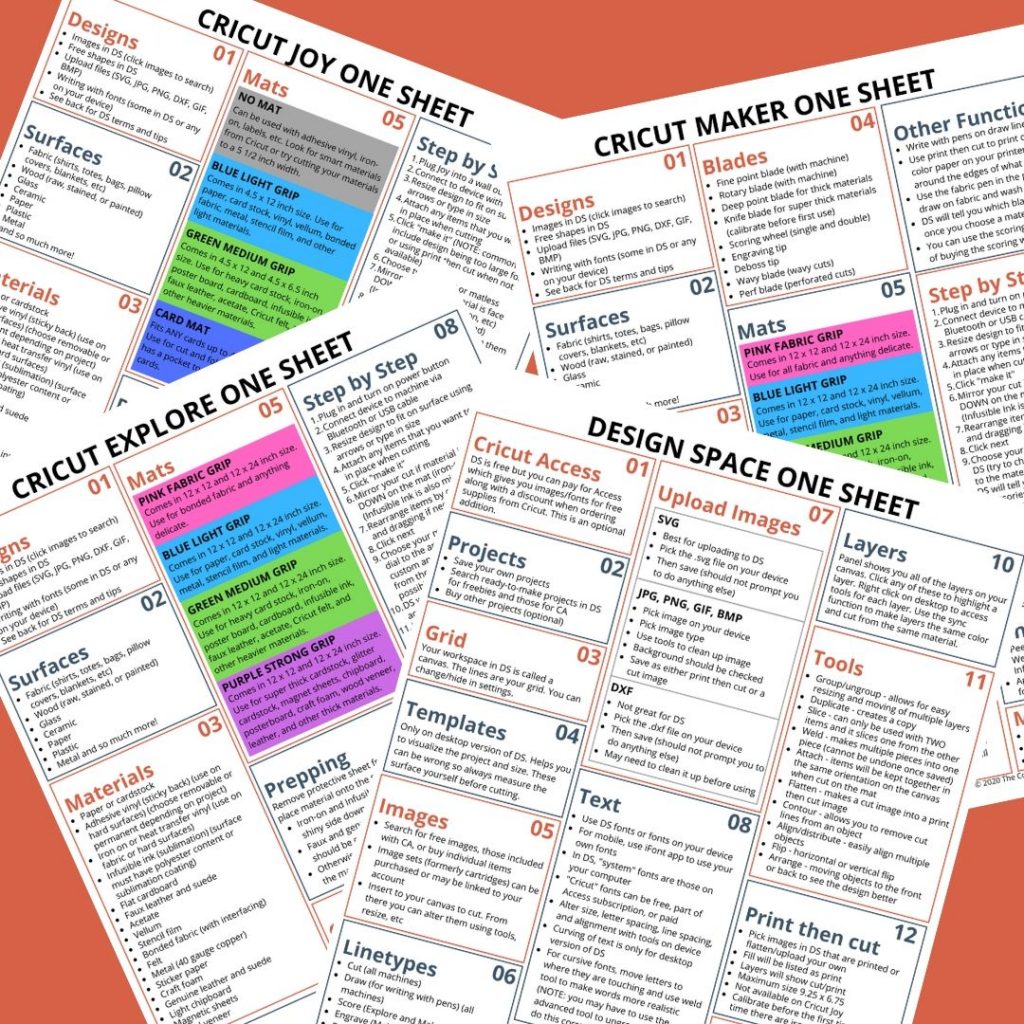
This printable one sheet has machine information on the front and Design Space information on the back. A handy reference sheet to laminate and keep beside your Cricut at all times.
Includes a one-sheet for the Cricut Joy, Explore, Maker, and Cricut Design Space. Print as many copies as you would like of each.
The machine information includes everything you need to know to make a cut including designs, surfaces, materials, blades, mats, prep work, functions, step by step instructions, and maximum sizes.
The design space information includes projects, grids, images, line types, uploading images, text, shapes, layers, tools, and print then cut.
Cricut Labels
$2.50 VALUE
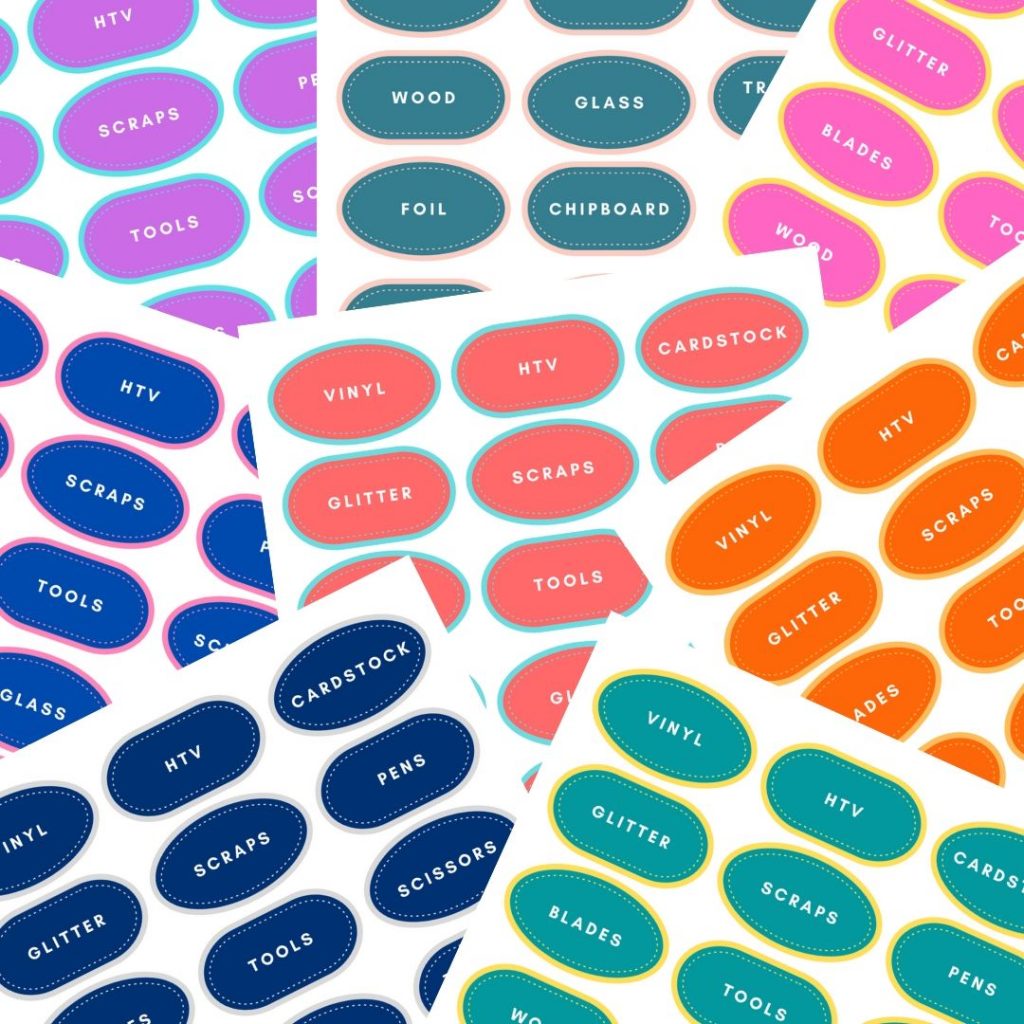
Need to organize your Cricut supplies? We have a set of labels that you need! This label set comes in 8 different colors so you are sure to find one that will work in your craftroom.
Each sheet has 16 labels with common Cricut materials and surfaces along with 2 blank labels that you can personalize yourself.
You will have a more organized crafting space that includes these gorgeous labels in no time at all!
You will NOT see this price again!
Imagine having all of this information at the tip of your fingers every single time you go to craft with your Cricut. No more googling when you can’t remember a term or a setting!
We have you covered with the Cricut One-Sheet and Organization Binder!
HOW IT WORKS
- IMMEDIATE ACCESS: Once you make your purchase, you can immediately download this bundle and start printing. Get more organized TODAY!
- FORMAT: Your items will be delivered either as a PDF or as a ZIP file. This means that they will work on any device.
- REMINDER: No printed materials will be delivered. These are digital files ONLY that must be printed at home. That is how we are able to offer this amazing price reduction.
That is over 70% off the regular price!
What are you waiting for?
Don’t you want to organize your Cricut information?
Don’t let this deal expire!


