Removing mold and mildew in between the tile surface of your bathroom or living room floors is a hasty job. Stop looking for expensive materials in stores when you can use the ones in your home for natural cleaning with this DIY grout cleaner.
Did you know that you can make your homemade grout cleaner with products you probably already have on hand? This easy-to-make all-natural cleaner will leave you with that bright white grout you desire. So, what are you waiting for? Break out your supplies today!
This natural grout cleaner works great even for the most stubborn of floor stains. When the lemon juice and hot waters don’t do it anymore, this simple and easy concoction will do just it for you. Your tiles will look good as new after you put this on.
If you’re looking for a budget-friendly and uncomplicated tile cleaner, then this cleaning tip is definitely for you. Don’t fuss about how hard it is cleaning tiles with this homemade mixture for dirty grouts.
Read on to find out how you can remove the stains from your tile floors by using these household supplies!
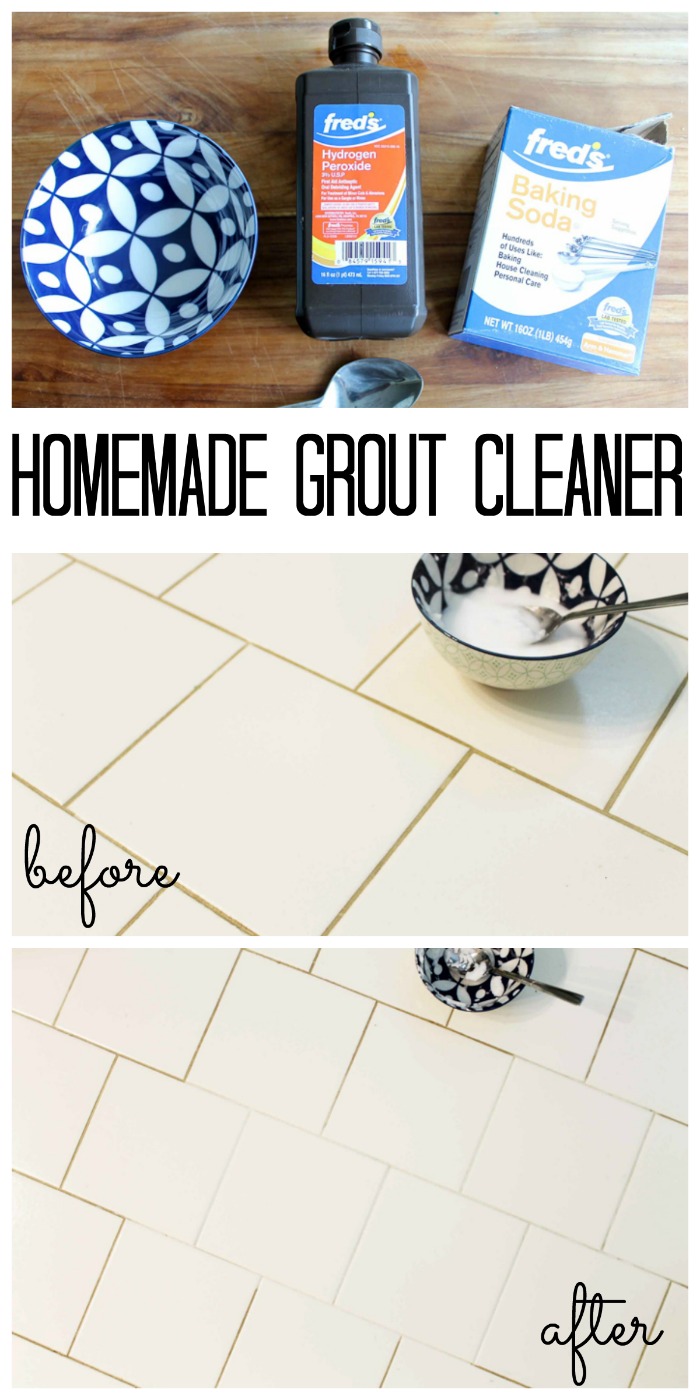
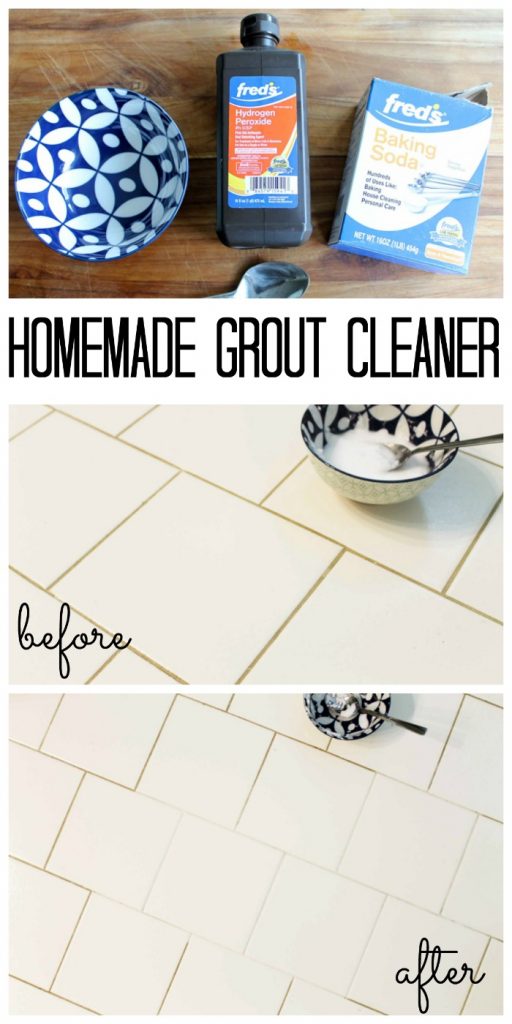
Supplies to make your homemade grout cleaner:
- Baking soda
- Hydrogen peroxide
- Bowl
- Spoon
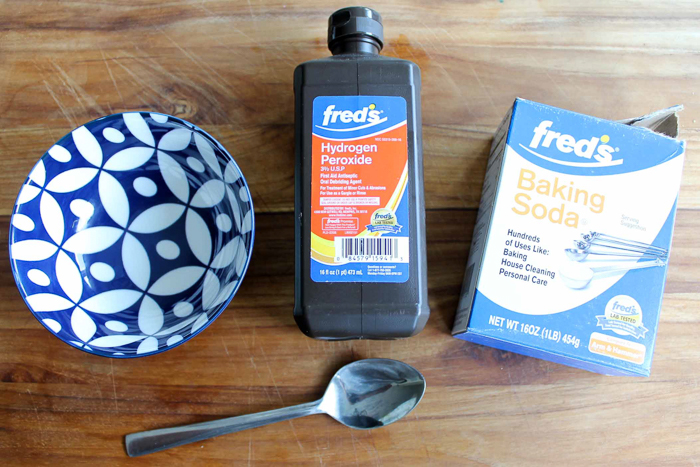
Instructions:
Add some baking soda to a bowl. Pour as much in as you think you will need to clean your grout. The amount will depend on how big the area is to be cleaned. Remember, however, that you can always whip up more.
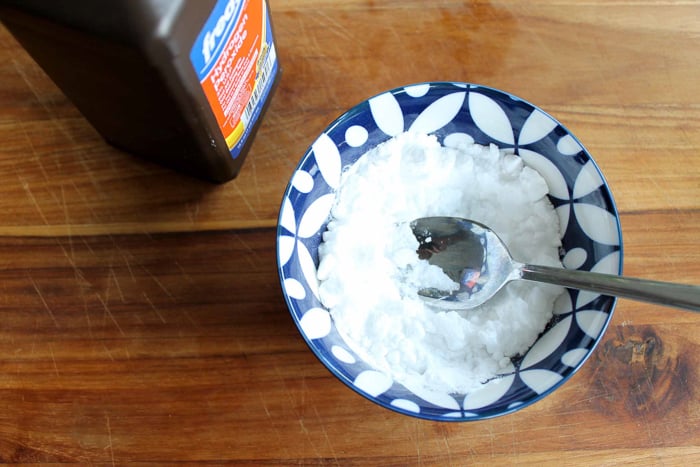
Then add hydrogen peroxide slowly to the baking soda mixing well. You want to add liquid until the entire thing becomes a paste. There really are not any measurements. Just drop it in a few teaspoons at a time and mix well.
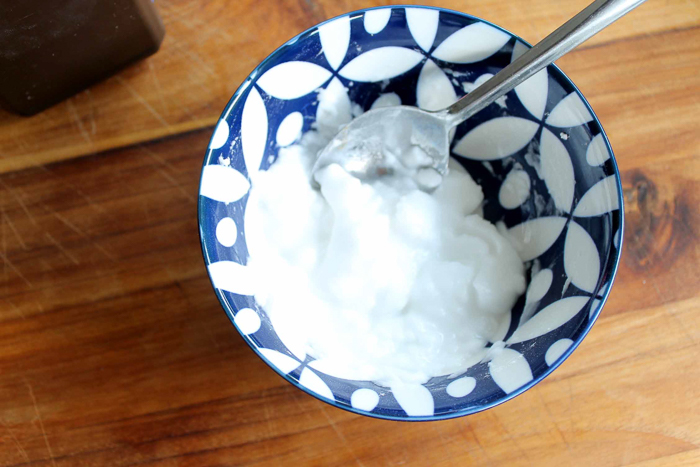
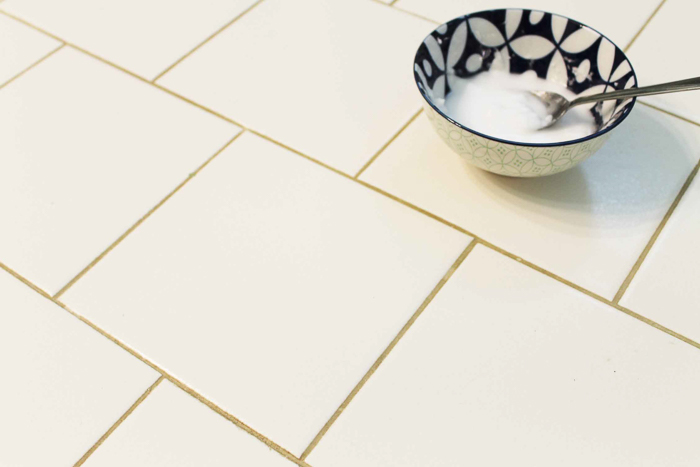
Once you have a paste, it is time to put that homemade grout cleaner to work and tackle that grout! Here is my bathroom floor where the grout has become discolored.
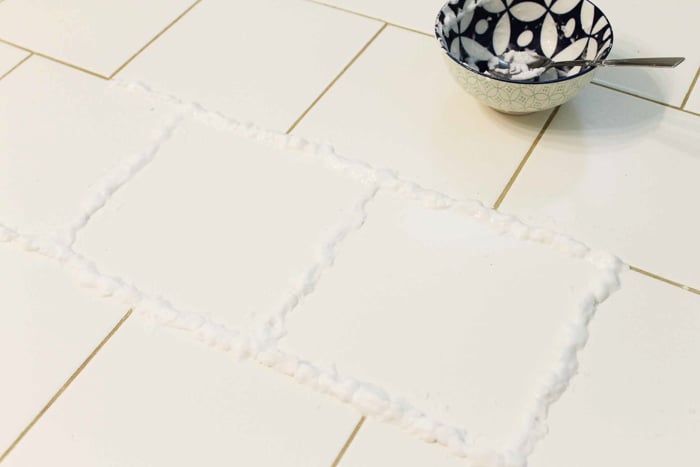
Spoon the paste onto your grout lines. You want to lay your homemade grout cleaner right into the grout. Then press slightly to ensure that it is really in the line and directly on your grout. Continue until all of your grout cleaners is on the floor or the entire area you want to clean is covered.
Now for the hard part! You will need to let this sit for 15 minutes or so. Allowing it to sit will make your job way easier.
Once the time is up, use a sponge and some warm water to remove the cleaner and reveal nice clean grout lines. You may have to scrub a little bit but the cleaner has worked its magic! I decided to do a little experiment as well and see if this cleaner is reusable.
I actually moved the cleaner that was on the grout lines to a different area before cleaning with the water. Then I allowed it to sit another 15 minutes to see if it would clean again.
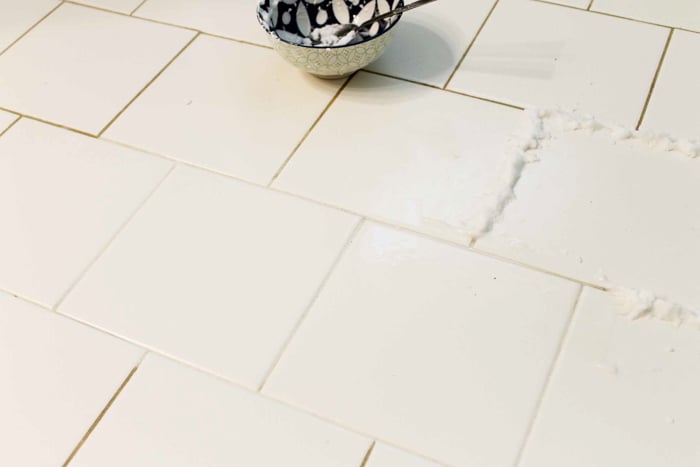
It worked! You can reuse this cleaner at least once and still get the same results. It may even work a few more times as well. Give this homemade grout cleaner a try in your home and you will love the results.
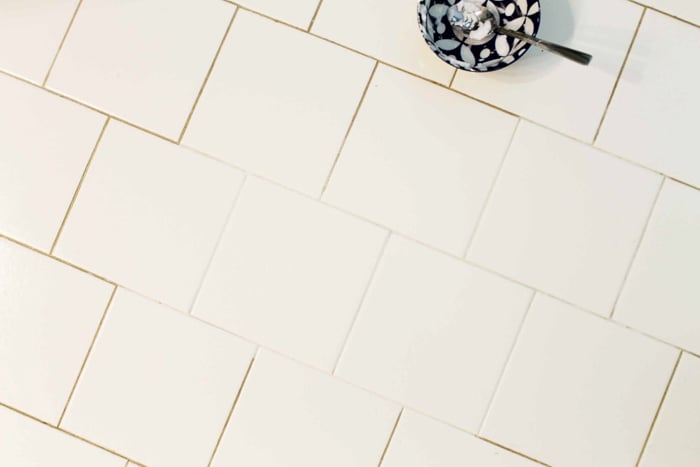
You can see on the image below exactly where the grout cleaner was on this floor. Now to head out and repeat this process across the entire floor. Clean grout here I come!
And there you have it! A simple and effective method to scrub and brush those grout clean. Hope this will help.
So, do you love this post and want more cleaning ideas? Try these links!
- The Best Way to Clean Blinds
- The Best Way to Clean Kitchen Cabinets
- Homemade Carpet Cleaning Solutions
- The Best Way to Clean Baseboards
- DIY Orange Cleaner Recipe
Want to see my favorite cleaning supplies and products?
I have gathered all of the products I love using around my home into one great section of my Amazon storefront. You can click here to shop! If you’re looking for just about anything to clean your home, I probably have an option that you will love!




That’s actually amazing. I can’t believe how well it worked. I’m going to give this a try with our bathroom.
I really needed this thing in my home. Thanks for sharing.
I’ll be trying this in our bathroom. Our grout has gotten embarrassingly gross, I actually think I might redo it before the holidays hit! I’ll bookmark this remedy, can’t wait to try it!
This is so awesome! I totally need to use this on my tile floors! Thanks for simple cleaning recipe!
Now that is impressive. The grout on my floor needs cleaning! Now I know what to do! #merrymonday
I love this, and I can’t wait to give it a try! I need to get busy cleaning! Thank you for sharing at Celebrate It!
Wow! this is amazing. I had no idea that would work.
Best!
I tried this in our new to us home. I wasn’t sure if the original grout was grey or not. Then I found the dining room grout was significantly lighter than the kitchen grout. I have tried another recipe with bleach which worked but had to be left on overnight. I was excited with this since it works on slow drains like a charm! Unfortunately it didn’t result in any difference on the grout. I tried dripping hot water on it which resulted in bubbles, let it sit but again no difference in grout. I’m not sure how you got those results but that’s off to you that you got such great results.
WOW! Well, you can see it worked for me. So weird…
I also tried this, and it didn’t work. I also tried it with hot water, and it still didn’t work.
I’m sorry it didn’t work for you. I’m not sure what causes the difference in the end results but it worked really well for my grout.
It didn’t work for me either. Maybe it works on epoxy-type grout and not the masonry type. Still looking for something to work well on that.
I used this recipe tonight and it worked!!! Thanks for this cleaning recipe.
I have porcelain and marble tile on the
my shower floor. I had used before water and hydrogen peroxide on the grout. It did clean it, but not as well as baking soda would do. My concern and wondering, if the baking soda could damage my porcelain and marble tile.
I would test a small area before putting over the entire thing.
I am sad but this did not work for me! I need my grouts to be clean