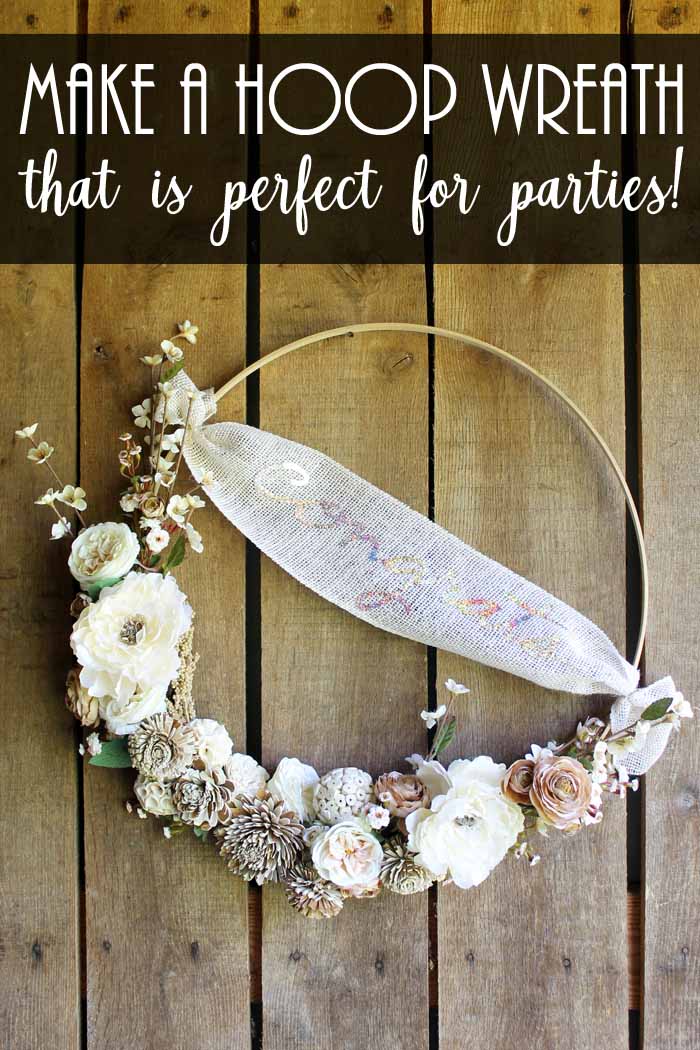
Hoop wreaths are all the rage right now and for good reason! They’re simple to make, can be customized in so many ways, and add a touch of elegance to any event. Today, I’ll show you how to make an extra-large hoop wreath using the Cricut Wisteria. This wreath is perfect for parties and events, as it’s large enough to accommodate personalized banners or signage!
I love adding a hoop wreath to my interior decor. You can make them in a variety of sizes but making them extra large as party decoration may be my favorite.
I partnered with Cricut back when they released a Cricut Wisteria Explore Air 2 Bundle. I was able to use this Cricut machine to make my very own hoop wreath for an event I was hosting!
It came out absolutely perfect.
Note: If you are in the market for a fun and creative gift for Mother’s day, this is the perfect gift for mom!
Note: This bundle was offered in 2018 and is no longer available. You can still find all of the tools, but not as a bundle or in the exclusive Wisteria color.
Cricut Wisteria Bundle: Here’s Everything You Need To Know!
We will get to how to make the hoop wreath later in this post. I did want to talk about the fabulous bundle first!
You, of course, get the Cricut Wisteria Explore Air 2 Bundle in that gorgeous metallic shimmery purple color that is a perfect complement to the Pantone Color of the year 2018, Ultra Violet.
What else do you get with the bundle?
- XL Scraper and Weeder Tool in Wisteria
- Fine-Point Pen Set in Lilac Petals
- 6 Sheets Holographic Sparkle Vinyl (2 Pink, 2 Teal, 2 Purple)
- 4 Sheets Holographic Sparkle Iron-On (2 Gold, 2 Silver)
- 2 Sheets SportFlex(TM) Iron-On (1 White, 1 Lilac)
- Foil Embossed Paper (6 Pink, 6 Silver)
- Transfer Tape
You may be able to find these stores but it is a limited edition so no guarantees!
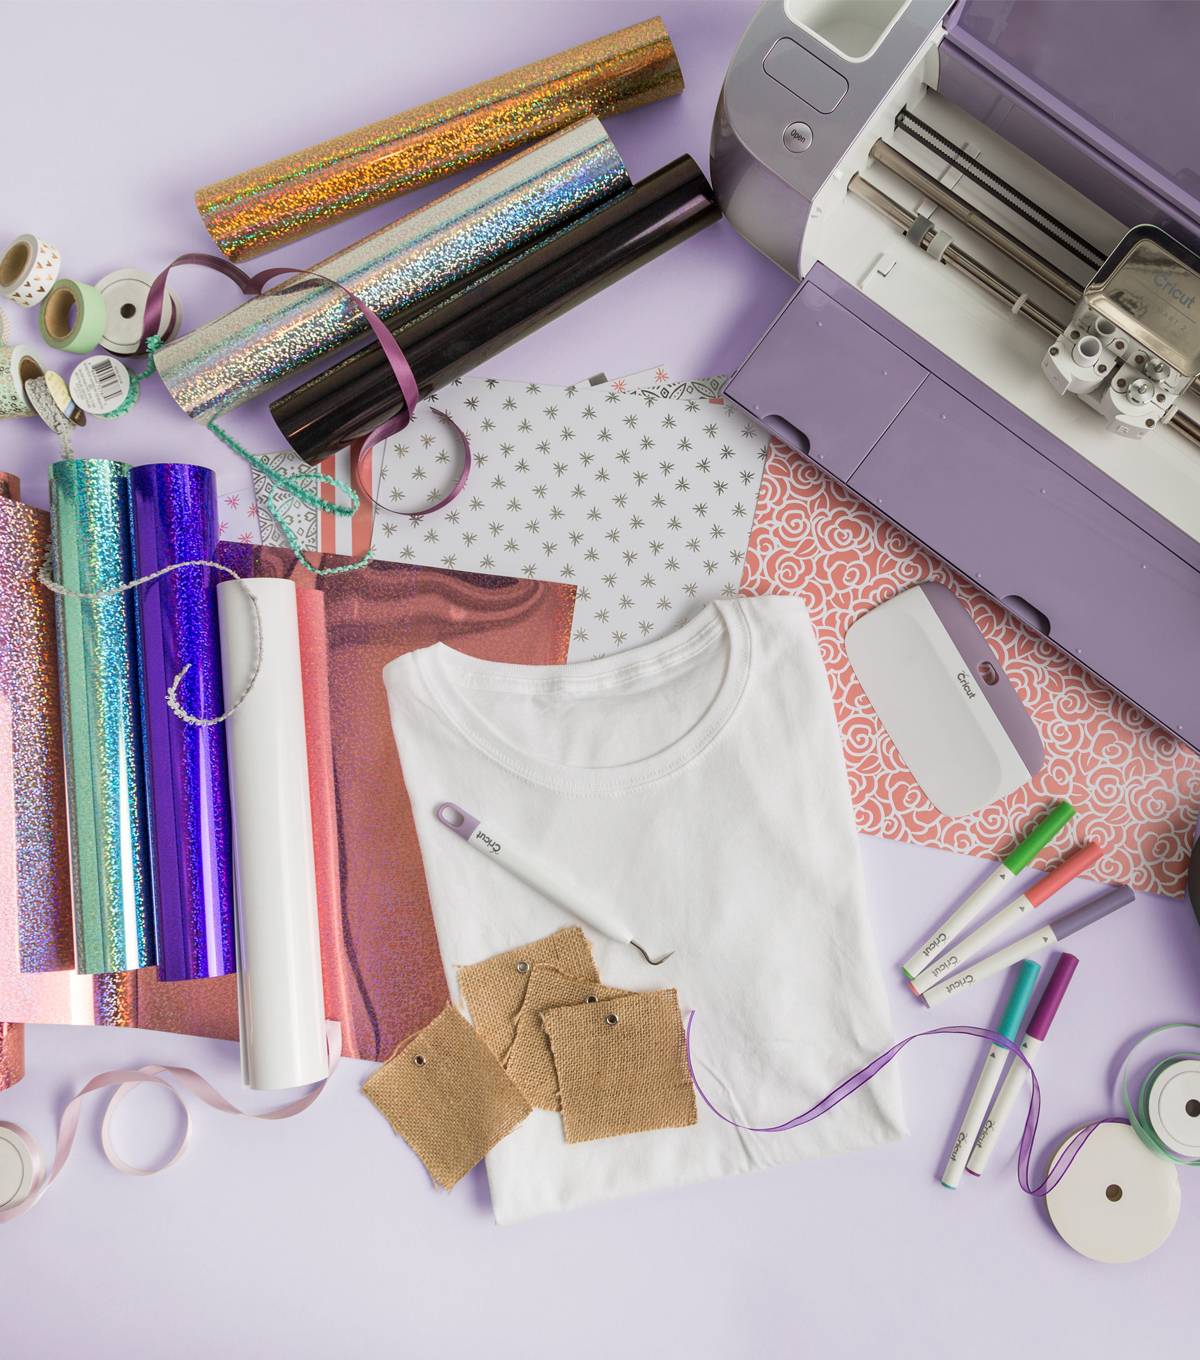
You, of course, get all the functionality of an Explore Air 2 machine with the ability to cut, write, and score all in 1-step. If you haven’t used one of these machines before, you will love the Smart Set Dial that lets you cut paper, vinyl, and more all with no need to manually adjust the blade.
So many materials and so little time y’all!
The Wisteria Explore Air 2 can actually cut up to 100+ materials. Use Cricut Design Space to choose from 1000’s of ready-to-make projects, design your own project, or even upload images.
Confused about your options? Be sure to click here to compare the Explore Air 2 with the Maker!
How To Make An Extra Large Hoop Wreath
Now that you know all about the Cricut Wisteria Bundle, let’s get down to business on how to make this hoop wreath!
Supplies Needed:
Here’s everything you need to make this Cricut wreath…
- Cricut Explore Machine
- Quilting hoop
- Burlap ribbon
- Flowers and decor balls (from the floral department)
- Hot glue and glue gun
- Twine
- Cricut EasyPress or iron
- Cricut cut file
Watch My Video Tutorial!
Want to see how to make the wreath and a little more about the bundle? Watch the video below!
Instructions
Can’t watch the video or missed some of the instructions? Just follow along below!
Step 1
Start by adding your holographic iron onto the mat face down. You also want to be sure to mirror your image before cutting so that the words appear correctly once ironed on.
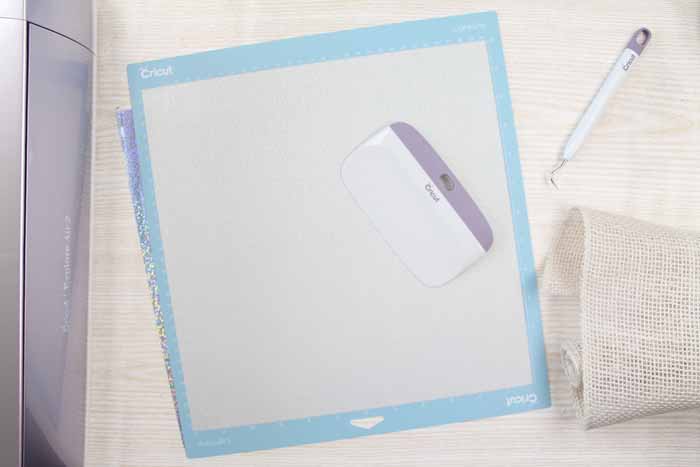
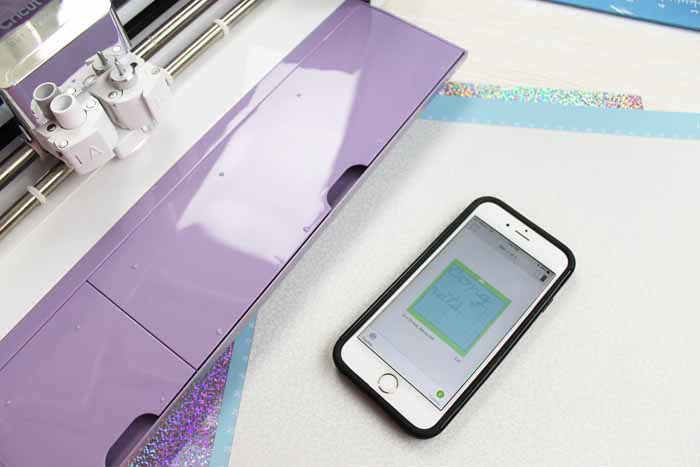
Pro Tip: You can actually pull up the cut file on your phone or even your tablet if you don’t want to use a desktop. The Wisteria Explore Air 2 machine can connect with a USB or via Bluetooth giving you tons of options.
Step 2
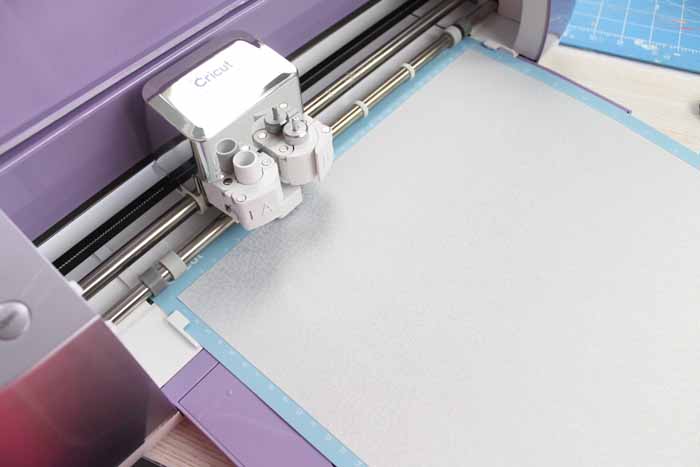
Then, just use the machine to cut your iron-on.
Step 3
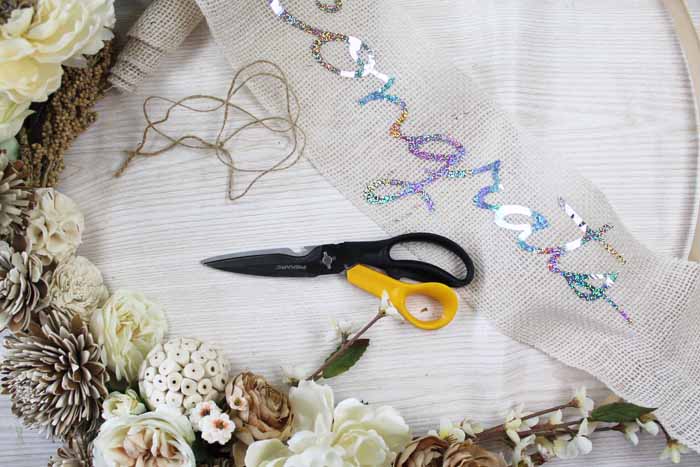
Once the cut is complete, you will need to weed any excess from around your design.
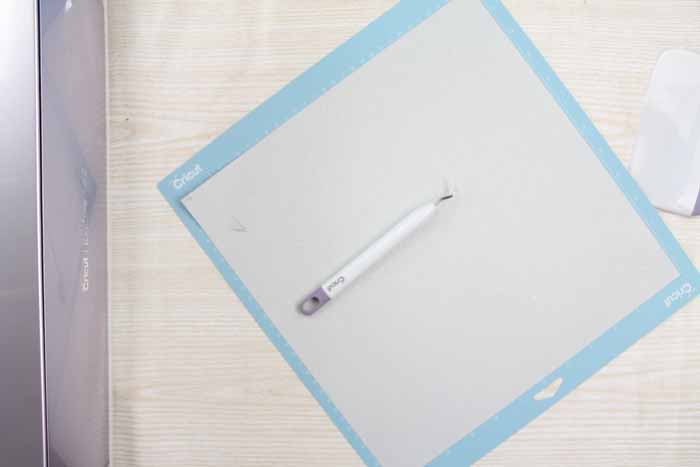
Use the tool to help you grab all of those little tidbits until you are left with only the part that is to be ironed to your burlap ribbon.
Pro Tip: I highly recommend using a weeding tool and one actually comes in the Cricut Wisteria Explore Air 2 Bundle. Yes, it even matches your machine!
Step 4
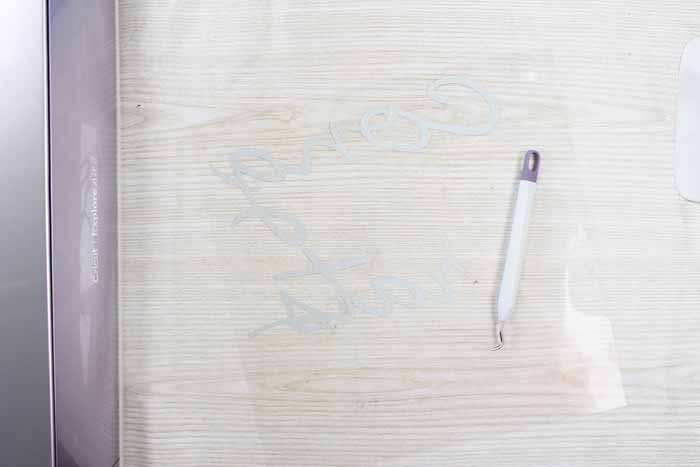
Cut the pieces apart and place them on the ribbon. Note that I cut the word in two in Cricut Design Space so it would fit on one 12×12 inch sheet. Just cut the carrier sheet close where it joins and line them up once on the ribbon.
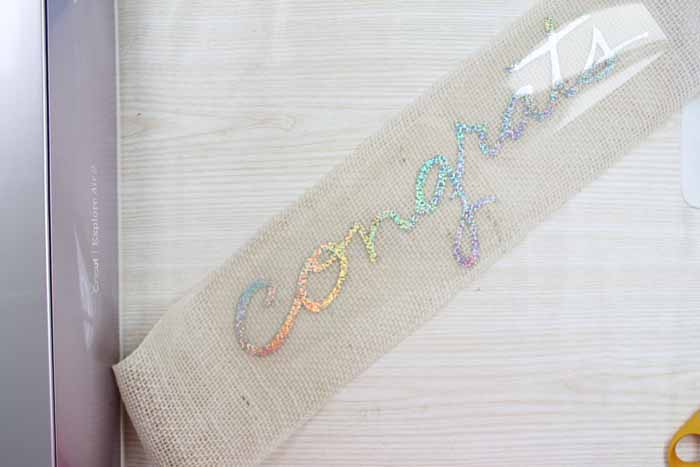
Step 5
I used my Cricut EasyPress and EasyPress mat to add the iron-on to my burlap ribbon.
Pro Tip: You can use an iron instead if you would like!
Find the EasyPress settings here. Remember that the settings change depending on whether or not you are using the mat. So be sure to look each time to verify.
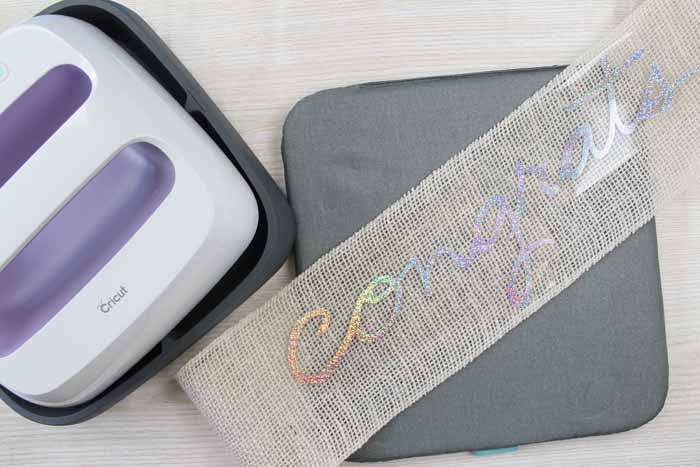
For an iron, the holographic iron-on came with instructions that you can use. The holographic iron is a cold peel so you will want to let your project cool completely before peeling back the liner sheet.
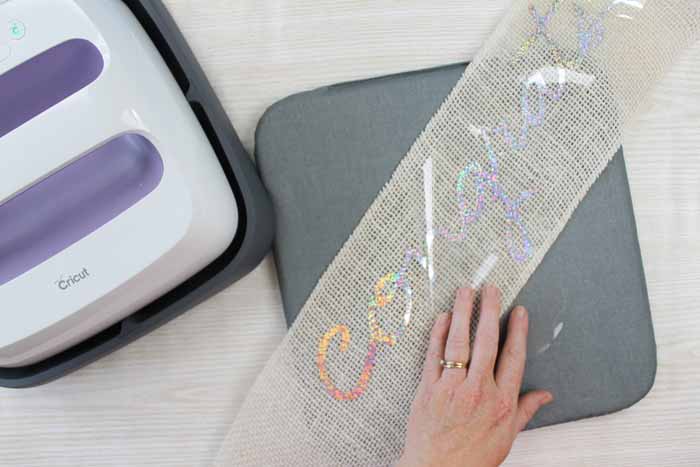
Step 6
Now we are ready to start on that hoop wreath!
Remove the outer ring from the quilting hoop and set it aside for another project.
Step 7
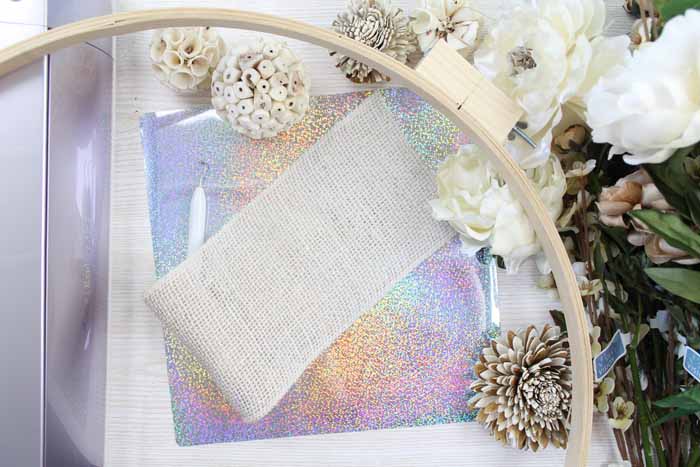
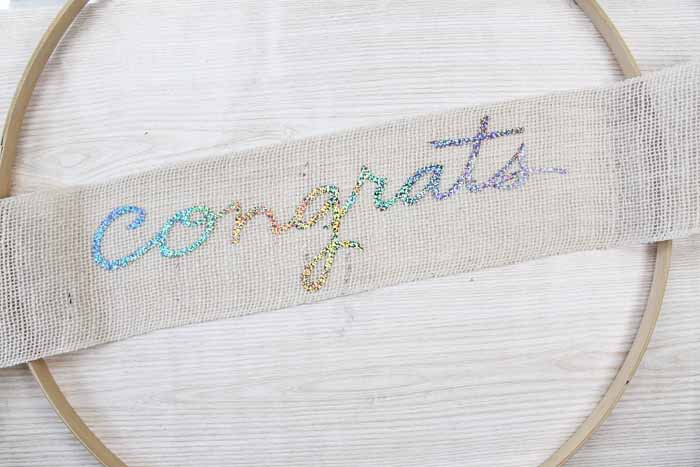
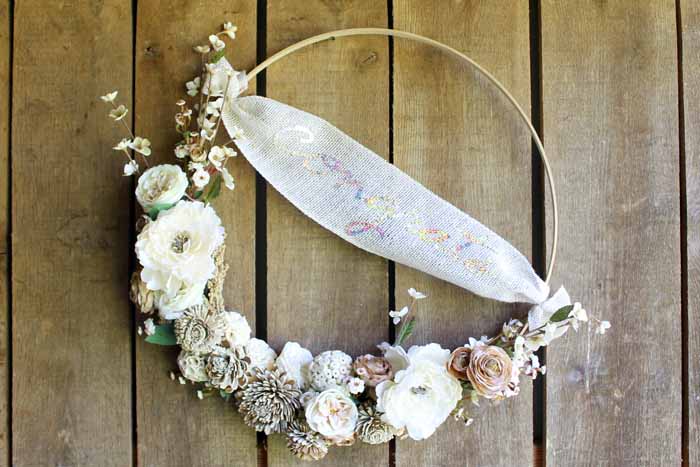
Start laying out the banner and flowers until you get an arrangement you love. I used some flowers as well as some decor balls that were in the floral section at my local craft store.

Step 8
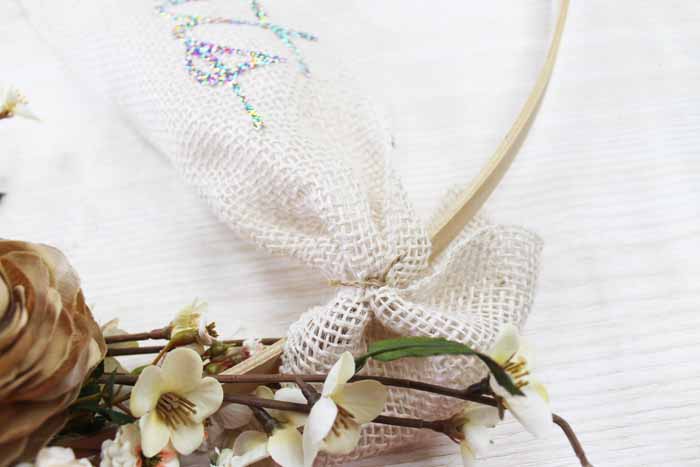
Then, use hot glue to secure all of the flowers into place. I opted to tie the banner on with a bit of twine.
This gives me the option of changing up the banner for another party or even removing it completely and using the wreath in my home’s decor!
Step 9
Just gather the ends of the burlap ribbon and tie them tightly with twine or ribbon.
Then, you are ready to hang your hoop wreath wherever the party is taking place!
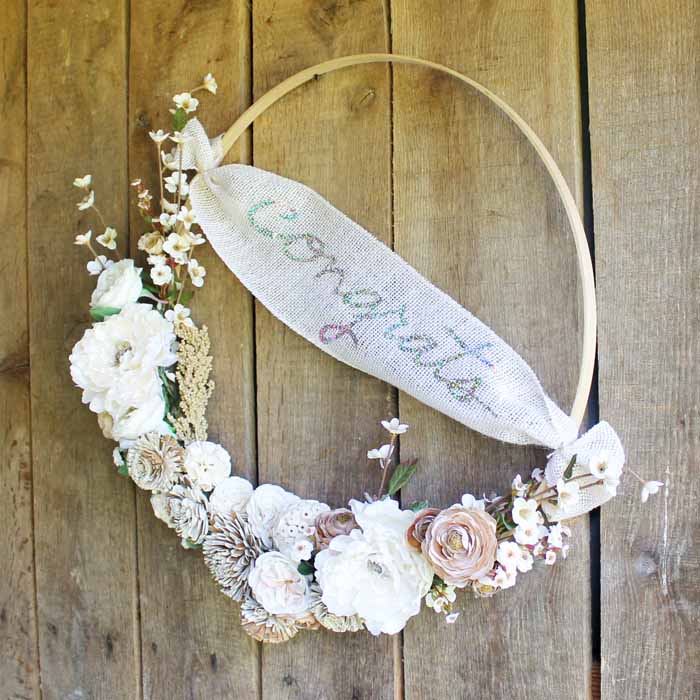
My wreath says “congrats” but you can literally make this say anything you would like. It would be perfect for weddings as well!
FAQs
Here are a couple of questions that I see readers ask about learning how to make a hoop wreath with the Cricut Wisteria. If you have a question, please check to see if I’ve already answered it below. Don’t see it? Leave it for me in the comments!
Can I use any hoop for this project?
Yes! You can use any hoop you have on hand. The size of the hoop will determine the size of your final wreath.
How do I know what settings to use on my Cricut EasyPress?
Make sure to always double-check the specific project instructions, as the settings may vary. For this particular project, I used the following EasyPress settings:
- Temperature: 305˚F
- Time: 15 seconds
- Pressure: Medium
Can I reuse the hoop once I take the wreath off?
Yup- You can reuse the hoop once you take the wreath off. Just make sure to clean it well before putting it away.
Can I change up the banner for another party or even remove it completely and use the wreath in my home’s decor?
Yes! You can change up the banner for another party or even remove it completely and use the wreath in your home’s decor. Just gather the ends of the burlap ribbon and tie them tightly with twine or ribbon.
How long will this hoop wreath last?
This hoop wreath should last for several months, as long as it is not exposed to direct sunlight or rain.

Make your own extra-large hoop wreath with the supplies in the Cricut Wisteria Explore Air 2 Bundle. You are sure to love the results!
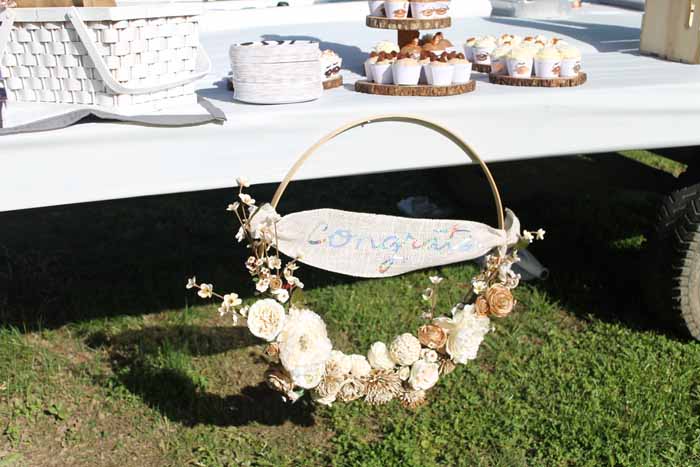
I mean just look at those gorgeous flowers all on a wreath!
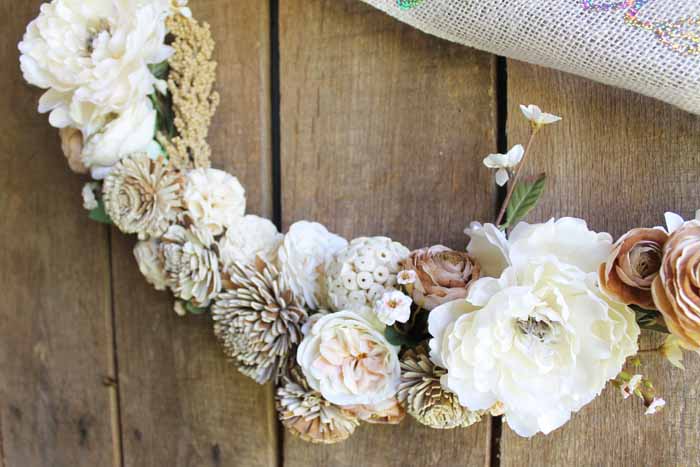
I added mine to a graduation party this past Saturday. Stay tuned for more from that party as you don’t want to miss it!
Will you be making your own hoop wreath? What about the Cricut Wisteria Explore Air 2 Bundle? Will you be asking for it this Mother’s Day?
More Cricut Projects:
- DIY Birthstone Necklace With Cricut
- Cricut Bathroom Decor: Mason Jar Bathroom Organizer
- Cricut Maker Metal Project: Engraving A Ring Dish
- How To Cut Magnets Using A Cricut
- 4 Ways To Make Fabric Cricut Tea Towels
New to Cricut?

Sign up for our email list to download the Beginner's Guide to Cricut Design Space for FREE today!
Sign up to get the guide emailed to you!



This is gorgeous! I love that you went with “Congrats” because that works great for multiple celebrations. Thanks for the awesome tutorial. You are like the Cricut whisperer. Love it!
Very Pretty wreath hoop. Every time I buy a new Cricut item, they come out with a pretty color. I would love to have the EasyPress in Purple. Awesome idea to add “Congrats” the holographic vinyl is awesome. Thanks for sharing at Merry Monday. Hope to see you at the party next week!
This is so festive and I love that it works for so many occasions! Thanks for linking up with Merry Monday!
I am in serious jealous land right now! I need a Cricut!!!
New fan here from the Bouquet of talent link party!
I love your wreath. I will be featuring it in my Summer Wreaths at Merry Monday on Sunday at 6pm pst. Hope to see you at the party.