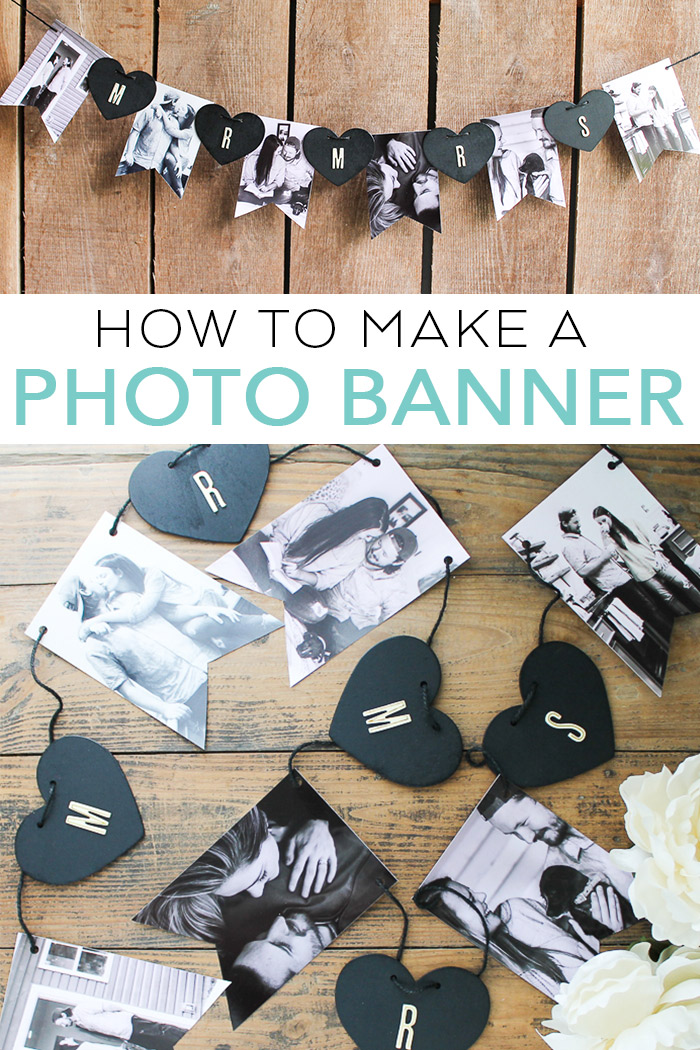
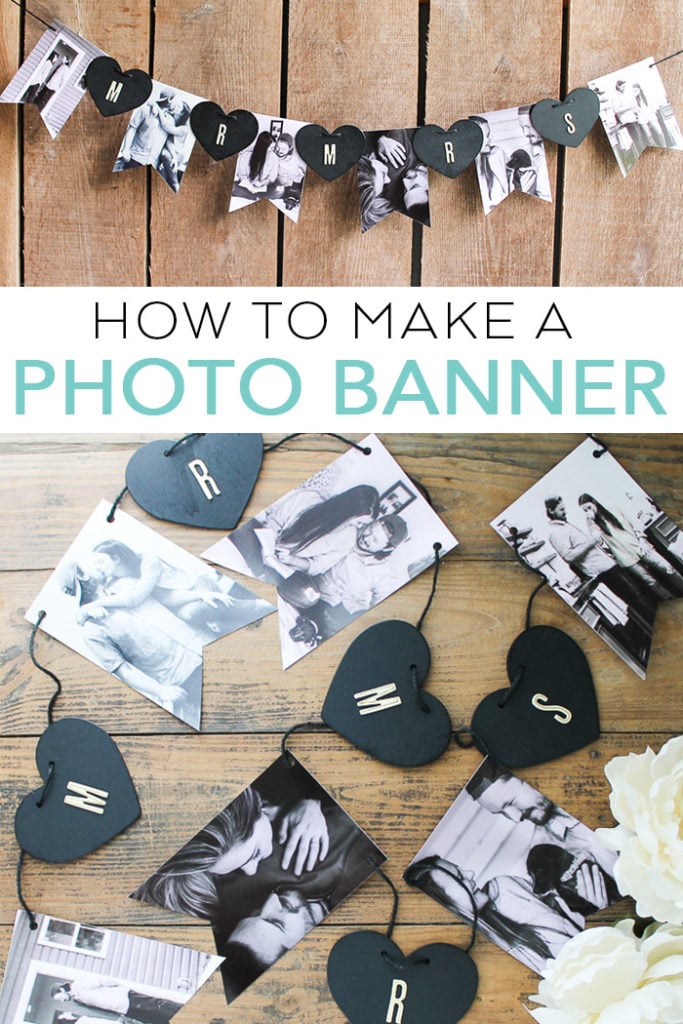
Today I am going to show you how to make a banner with photos! I am making mine in a wedding theme but you can use this same idea for parties and so much more. Photos personalize this banner for just about any occasion. If you have a DIY wedding coming up, you are going to love how easy this photo banner is to make!
Make A Banner With Photos Video Tutorial
I thought a video might be a great way to show how to make a banner with photos. You can watch that below!
Can’t watch the video or missed some of the steps? Continue reading below!
How To Make A Banner With Photos
This is the perfect craft to display photos in a special way! If you are hosting an engagement party, DIY wedding, or bridal shower, this could be the finishing touch your event needs.
If you are looking for other ways to show off photos, this wedding card box is perfect for collecting cards from your guests and these centerpieces can be used for graduation parties, weddings, birthdays, and other meaningful events.
This is such an easy DIY project you can make in minutes! Feel free to customize the shapes and colors to your own style.
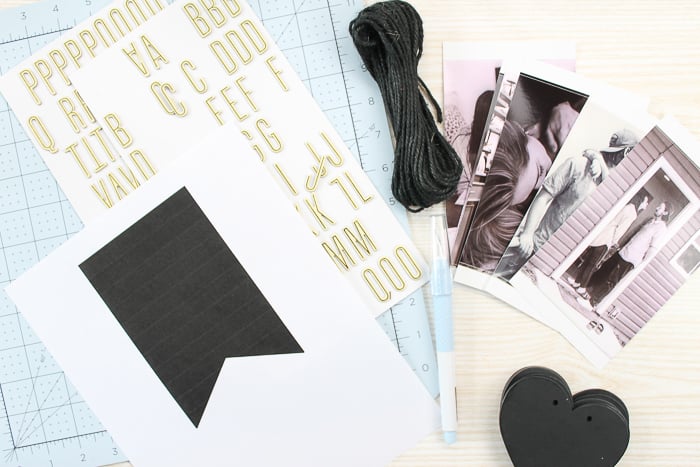
Supplies Needed To Make A Banner With Photos
- Photos (I am using black and white but color is fine as well)
- Heart pennant shapes
- Black twine
- Letter stickers
- Printable pennant template
- Hole punch
- Scissors
- Craft knife
- Self-healing mat
Step 1: Print Photos & Template
Start by printing the pictures you will use for the banner. I am using standard-size 4×6 prints. You can use color if you like but I wanted black and white for this project. You will also need to print the pennant template here.
Step 2: Cut Out Photos Using Template
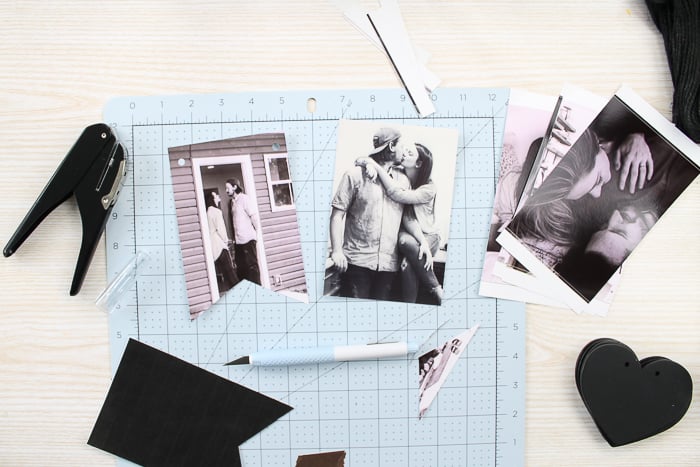
Cut the template from the paper then lay it on top of each photo. Use the craft knife on your self-healing mat to trim each picture to the same size and shape as the template. Use a hole punch to put a hole in both of the upper corners of each picture. Repeat for all of the pictures for your banner.
Then you can move on to your hearts.
Step 3: Add Letter Stickers To Hearts
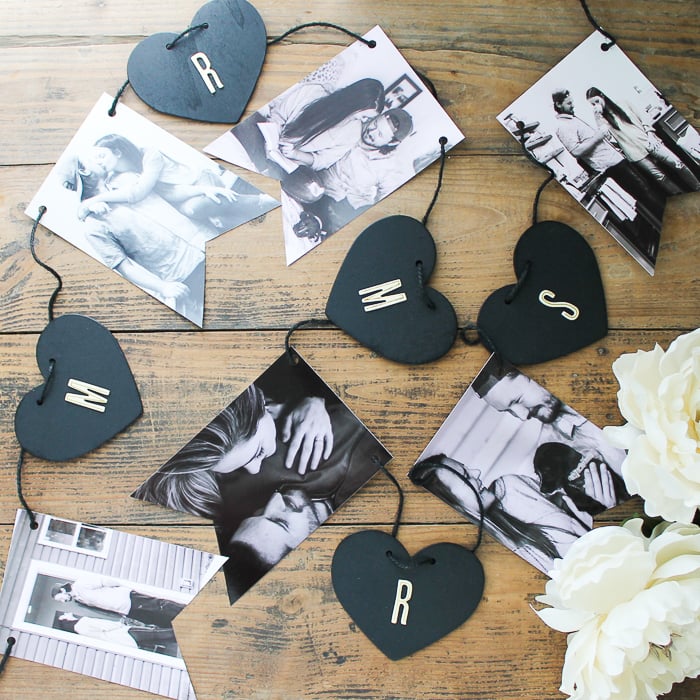
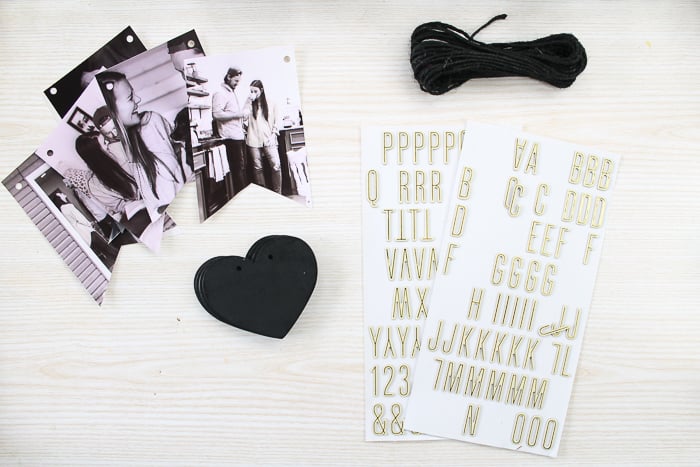
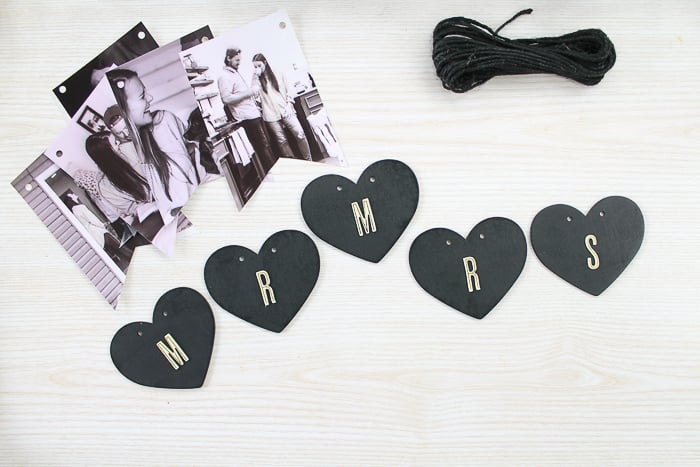
Add a letter sticker or vinyl cut in letter shapes to the center of each heart. I purchased these hearts already painted black but you can get raw wood hearts and paint them instead. Spell whatever you want your banner to say.
Step 4: Add Photos & Hearts To Twine
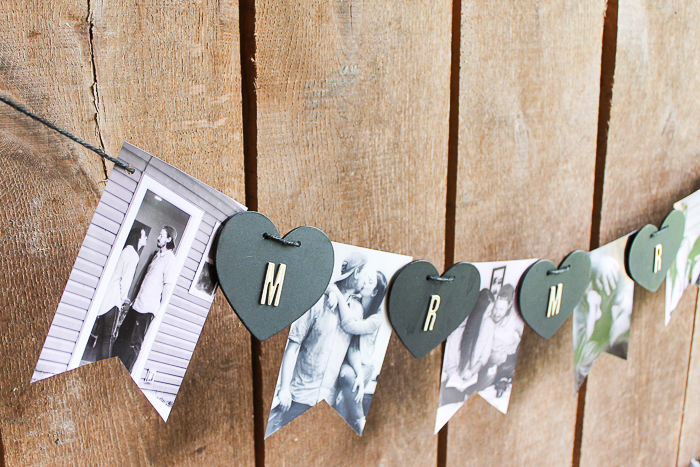
Then use twine to string your items together into a banner. Start with a photo and add one heart between each picture.
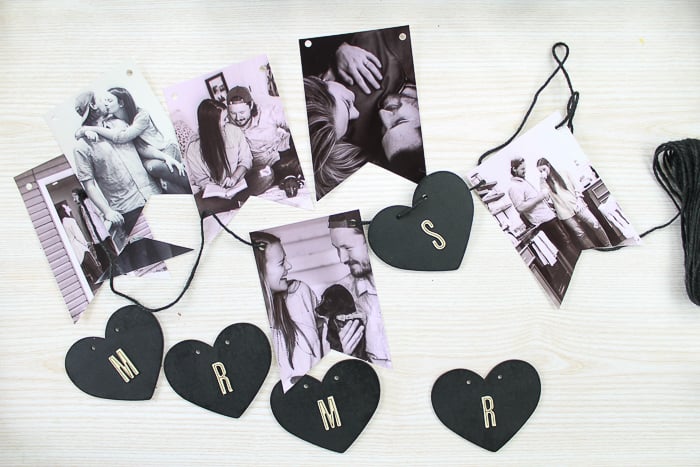
Continue alternating pictures and hearts until the end. Again, end with a photo just like you started.
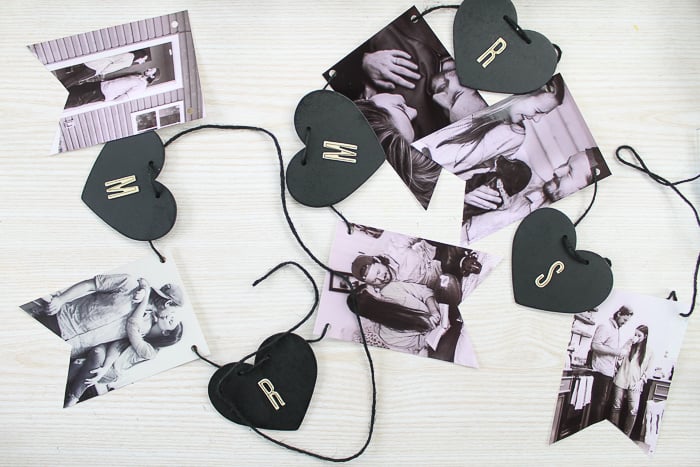
Then your wedding photo banner is ready to hang!
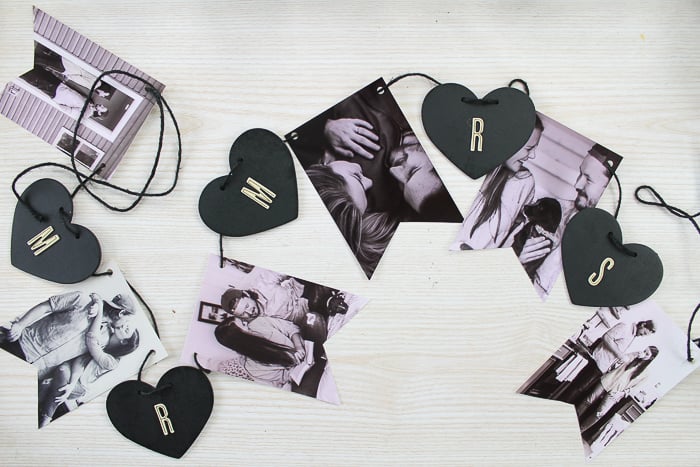
Use engagement pictures to make this photo banner extra special. Now that you know how to make a banner, you can make one for more than just weddings.
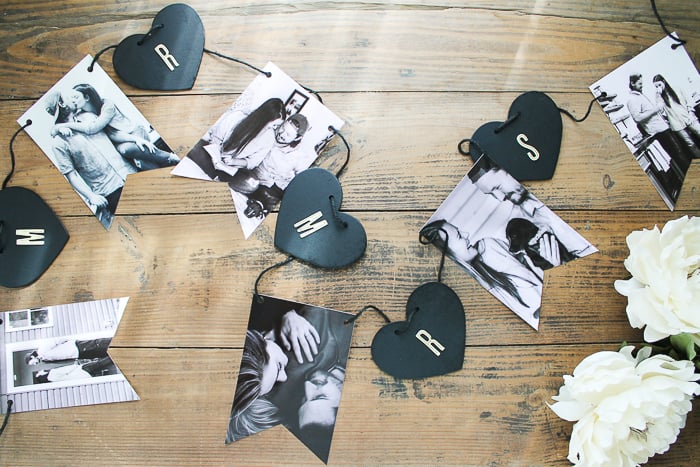
Add a banner to birthdays, graduations, baby showers, and so much more!

This personalized banner might just be the touch your event needs.
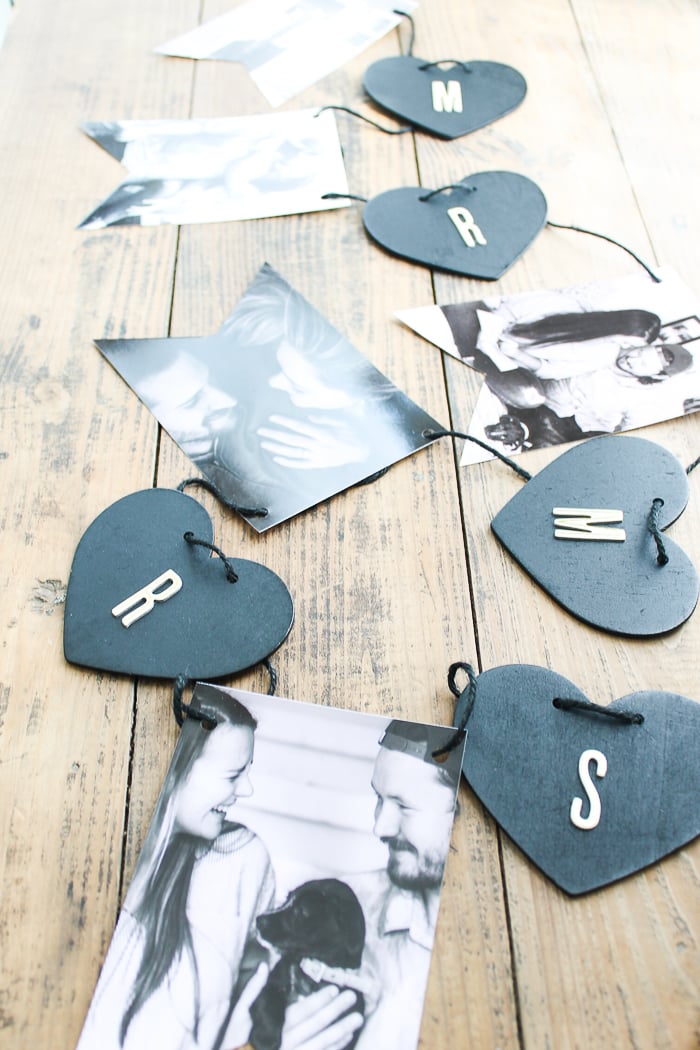
I love the way this one turned out as well as just how easy it is to make.
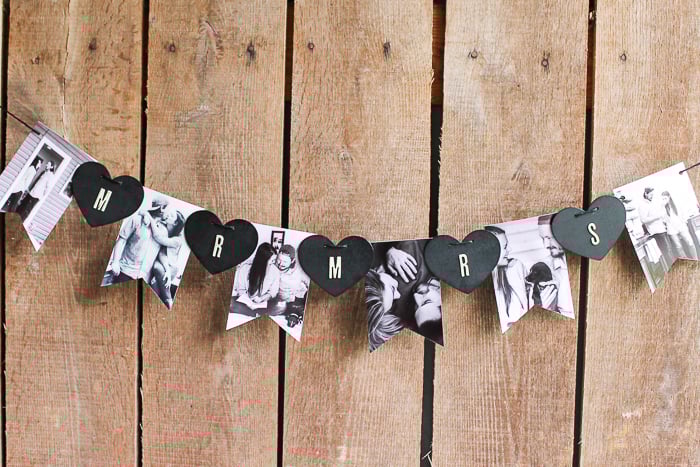
A quick and easy craft with a big impact is right up my alley!
FAQs About How to Make a Banner with Photos
If you have questions about how to make a banner with photos, I have answers for you! Please leave your question for me in the comments if you don’t see it already answered below!
What Printer Would You Recommend For Printing In General?
I love using this printer!
Do I Need To Use A Special Paper For This Project?
Tencianlly, no. I like using photo paper because it gives the photos a more professional look. However, you could use white cardstock instead.
Can I Print My Photos In Color?
Yes! As I mentioned before you can use color if you like but I wanted black and white for this project.
What Other Things Could I Spell Out For This Banner?
The sky is the limit when it comes to what you can spell out for the banner! Depending on the occasion, you could spell out the following:
- First name of the person
- Last name of the couple
- The name of the event (for example, retirement, graduation, etc.)
- A phrase related to the event (for example, love, happy birthday, etc.)
- Numbers (this could be someone’s birthday or someone’s graduation year)
5 Party Crafts
Did you love learning how to make a banner with photos and are looking for more party crafts? Then check out the projects below!
- Picture Centerpieces for Weddings or Graduation
- DIY Mimosa Bar
- Over 100 DIY Wedding Ideas — The Ultimate List
- Funny Printable Birthday Cards
- DIY Acrylic Cake Topper with the Cricut Maker
