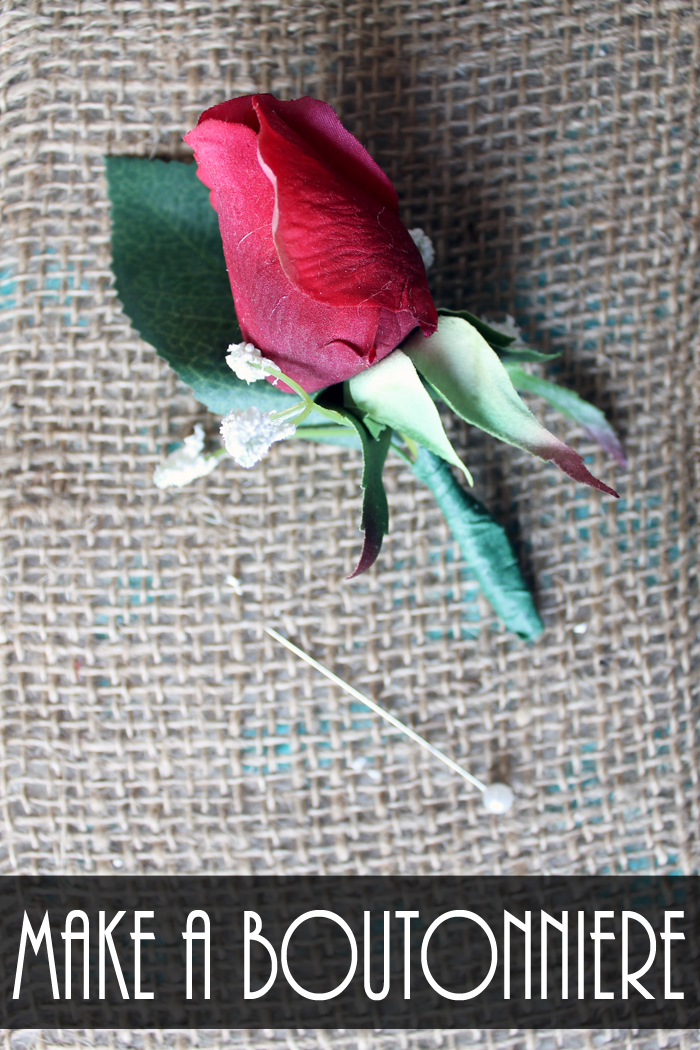
Learn how to make a boutonniere in record time with only 3 items! These are very simple to make and will save you a lot of money. Use a combination of real and artificial floral pieces to make your own boutonniere!
How To Make A Boutonniere
Sometimes I have to look up simple things like how to make a boutonniere. That search made me realize I should just take pictures of the process and show y’all how I ended up making boutonnieres for my daughter’s wedding. These are very simple and will save you from spending the money on pre-made versions. Grab a few flowers and make your own boutonnieres — trust me — it is so easy!
NOTE: There are so many great ways to DIY wedding decor that it’s almost crazy to spend the money any other way. If you are DIYing your wedding, you will definitely want to check out these posts!
Supplies Needed To Make A Boutonniere
- Flowers (here we used artificial rosebuds with baby’s breath)
- Floral tape
- Floral pins
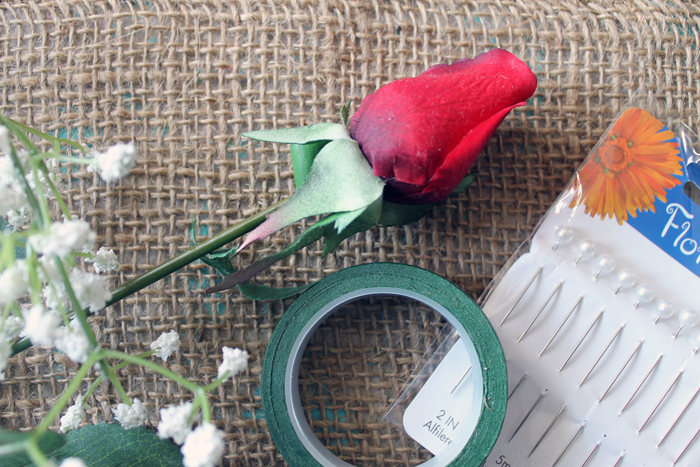
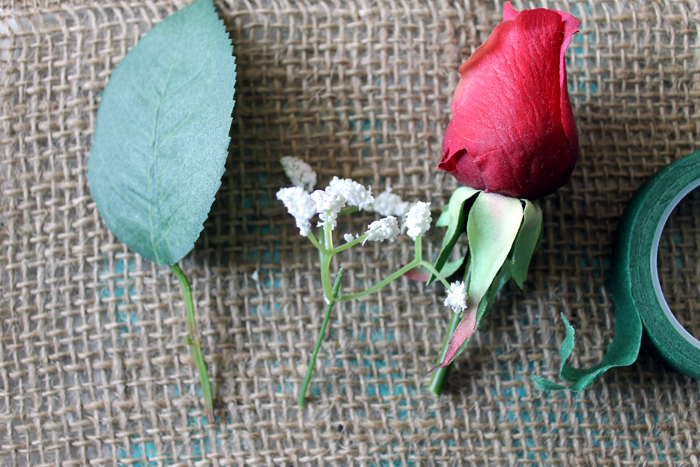
Step 1: Trim Florals
Start by trimming everything to the same length. We used a leaf from the artificial rosebud, a little bit of artificial baby’s breath, and the rosebud itself. Choose flowers that will match the wedding theme and the bouquets you have made or purchased.
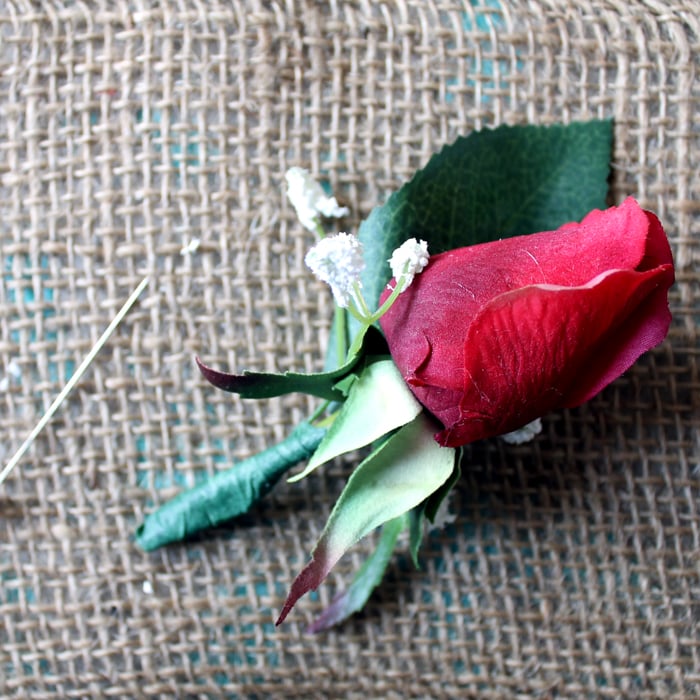
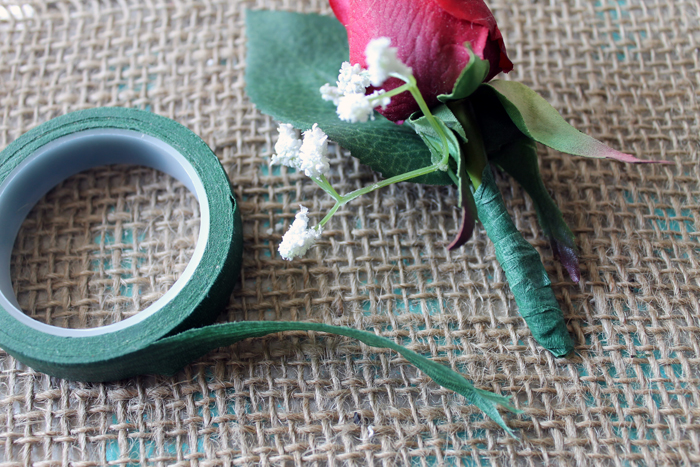
Step 2: Layer & Tape Florals Together
Layer the pieces together and hold the stems as you wrap them with floral tape. Remember as you stretch floral tape it becomes sticky. So, pull slightly as you wrap. Wrap the stems completely to get a finished look.
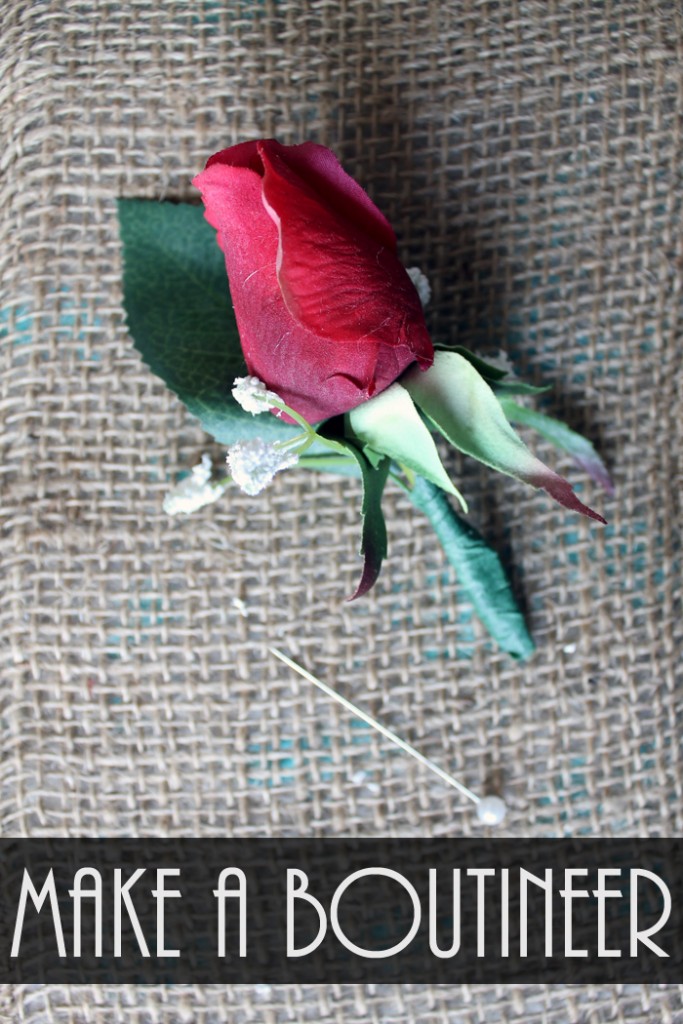
Step 3: Attach With Floral Pin
Use the floral pins to put on the groomsmen before your ceremony.
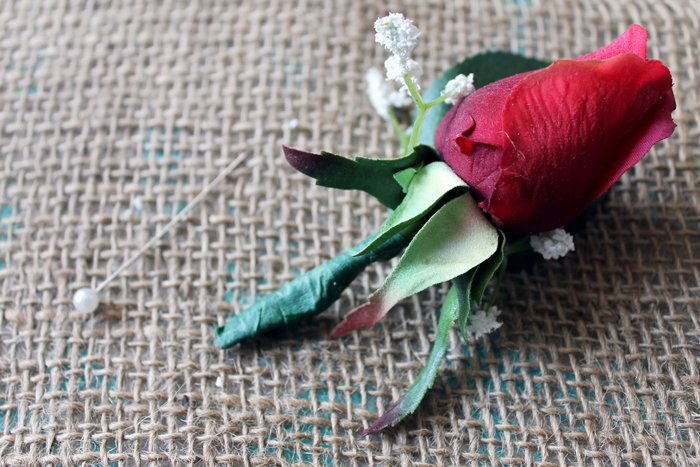
That is it! Your boutonniere is complete and ready for any wedding, prom, or other event. This simple project can be completed with any flowers that match your event.
Stay tuned as we have a few more wedding posts to go. In the meantime, use these instructions for how to make a boutonniere to save some money for your DIY wedding!
Tips and Tricks for How To Make A Boutonniere
Now that you’ve seen how to make a boutonniere, are you ready to make your own? Here are a few tips and tricks to ensure your project goes as smoothly as possible!
- Skip The Real Flowers – Boutonnieres made from real flowers are gorgeous, however, if you want to save your boutonniere for future memory projects or you don’t want to deal with the hassle of real flowers, use artificial instead!
- Choose A Statment Flower– If you are having a difficult time with the layout of your boutonniere, I recommend choosing one statement flower and two accent flowers or leaves. For example, in our case, the rosebud would be the statement flower, and the baby’s breath and leaf would be our accent flowers/leaves.
- Add Extra Hold With Glue – If you want to make sure your flowers are not going anywhere, you can add a little bit of floral glue or tacky glue to the middle stems while you are wrapping them with floral tape.
- Cover Up The Floral Tape – If you don’t like the look of the floral tape, you can cover it up by wrapping or gluing some twine or ribbon around it!
- Use A Brooch Pin Back – If you want to skip the floral pin you can use a brooch pin back instead. To use a brooch pin back, you can either add it with floral tape or glue it in place on the back of the boutonniere.
11 More Wedding DIYs
If you loved learning how to make a boutonniere, here are some other wedding DIYs that you won’t want to miss!
- Make a Bridal Bouquet
- How To Make A Cookie Box For Wedding Favors
- Wedding Guest Book Idea
- 20+ Fun DIY Outdoor Wedding Games
- Mr and Mrs Chair Signs
- 10 Free Wedding SVG Files
- Printable Wedding Planner
- Handmade Wedding Vow Books
- DIY Wedding Fans
- 20+ Cricut Wedding Card Ideas for Invitations & Gifts
- Mason Jar Wedding Centerpiece