Grab some felt and your Cricut machine and learn how to make a puppet! I am making mine with a monster theme but you can use this idea for any shape or character that you like!
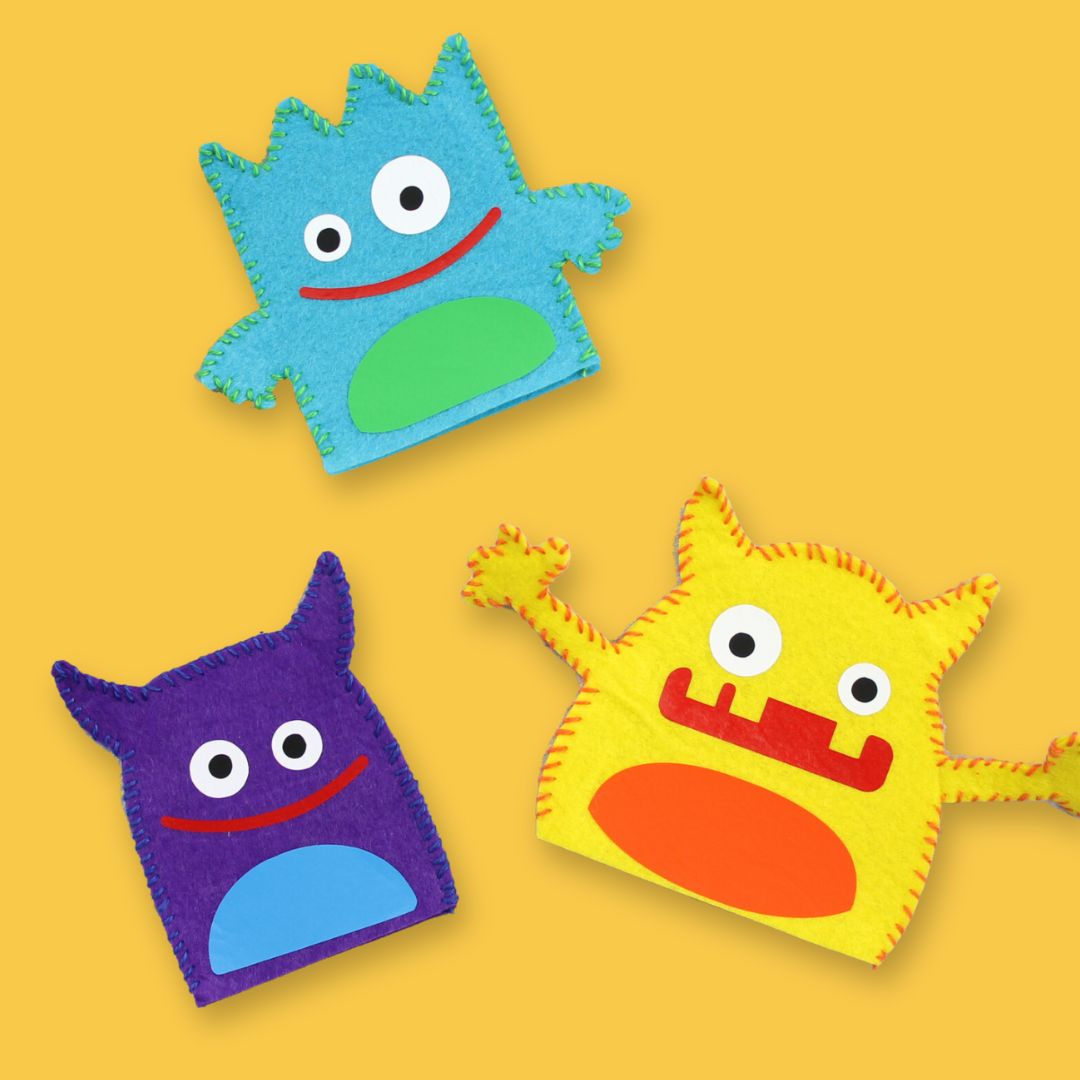
This is one of three Halloween gift ideas using a Cricut that I made in the video below. You can click play to see how to make these adorable puppets!
How to Make a Puppet
Sometimes you want a non-candy treat for the little ones coming to your door or to give out at a party. If your school has dietary restrictions, something without edible treats is perfect. So just use your Cricut Maker to whip up some adorable monster puppets.
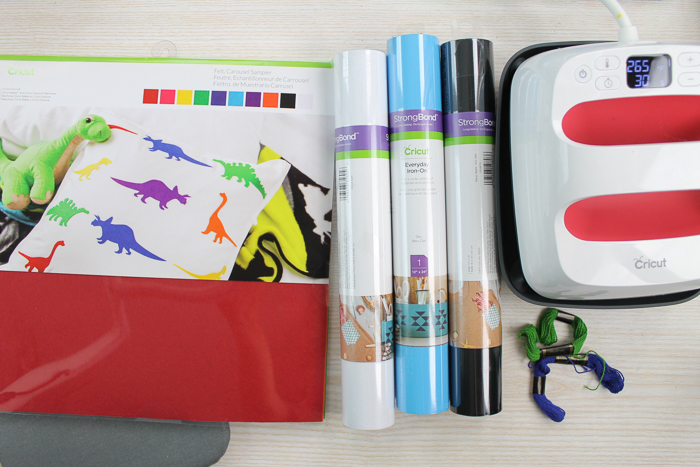
Supplies needed:
- Cricut Maker with the rotary blade (I have also had some luck with an Explore machine and stiff felt.)
- Cricut Felt in any color (carousel sampler has bright colors) (NOTE: If you cannot find Cricut brand felt, look for stiff felt if you are cutting with an Explore machine. A Maker machine can cut any type of felt.)
- Embroidery floss
- Needle
- Cricut EasyPress 2 and mat
- Cricut Everyday Iron-on in a variety of colors
- Cut file for Cricut Design Space
- Scissors
Step 1: Cut Felt and Iron on
Click here to open the file. Then cut the felt and iron-on with your Cricut Maker.
IMPORTANT: Be sure to mirror the cuts on the mats where you are cutting HTV or iron-on.
Cutting with Cricut Maker: Be sure to edit tools when cutting the felt and choose the rotary blade. The cut is so much better with this blade! Your felt will look amazing and the cuts will be so smooth.
Cutting with Cricut Explore: If you are cutting with an Explore machine, be sure you have stiff felt and that it is on your mat well. It will then cut with the fine point or bonded fabric blades.
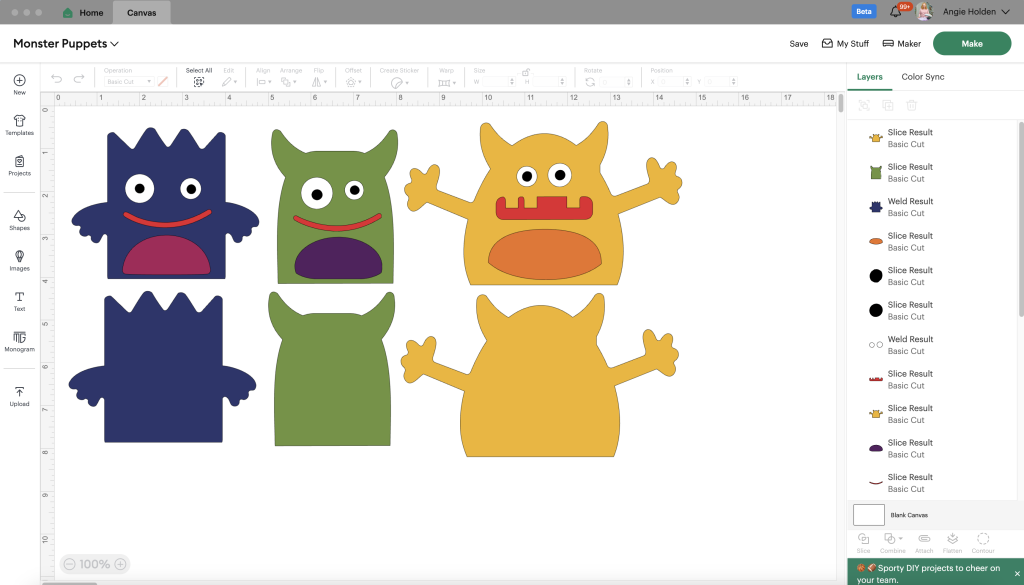
Step 2: Weed Iron-on
Weed away all of the excess from around the outside of all of the iron-on pieces. You want to be left with only what you want transferred to the felt.
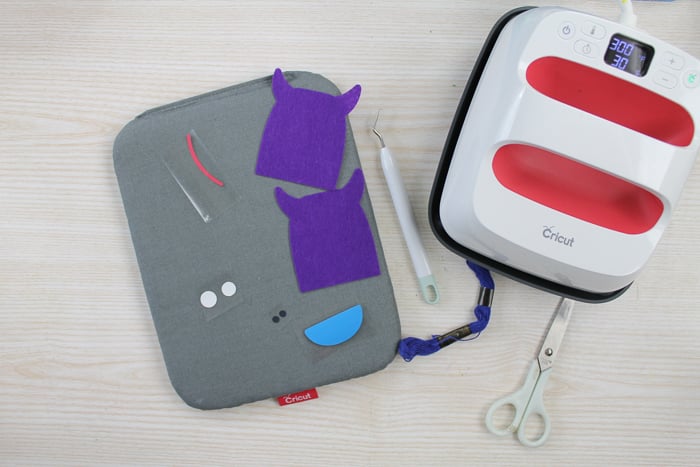
Step 3: Add Iron-On to Felt
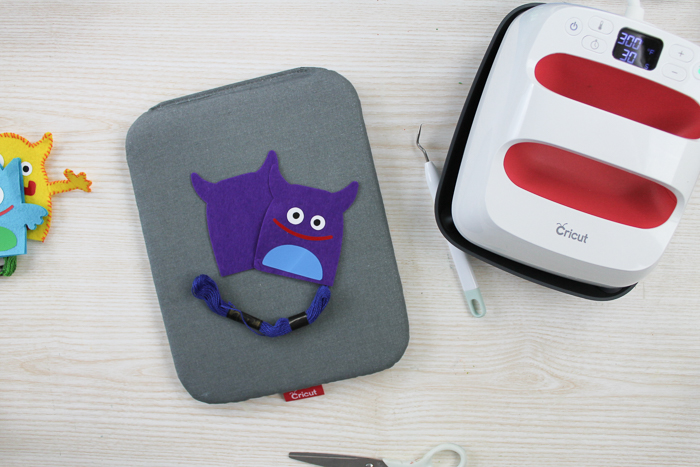
Trim the carrier sheets on your iron-on pieces so that you can press more than one at once. You can press everything in the first press except for the black parts of the eyes.
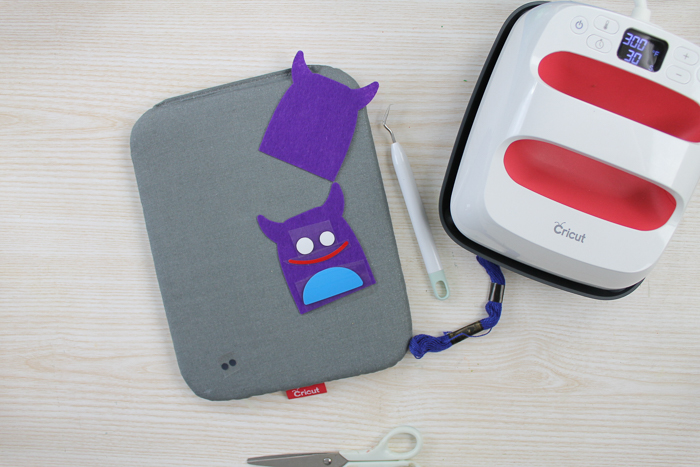
Preheat your felt, add the iron-on pieces, and then press according to the recommended settings for the EasyPress. Stop about 5 seconds before the end of your front press and do not press on the back yet.
Step 4: Adding Iron-On Second Layer
Peel back just the carrier sheet on the white portion of the eyes and add the black pieces. Replace the carrier sheet over the white to protect your iron-on.
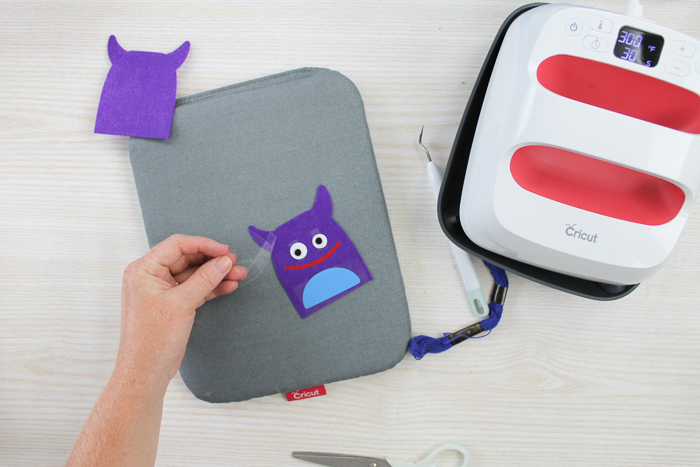
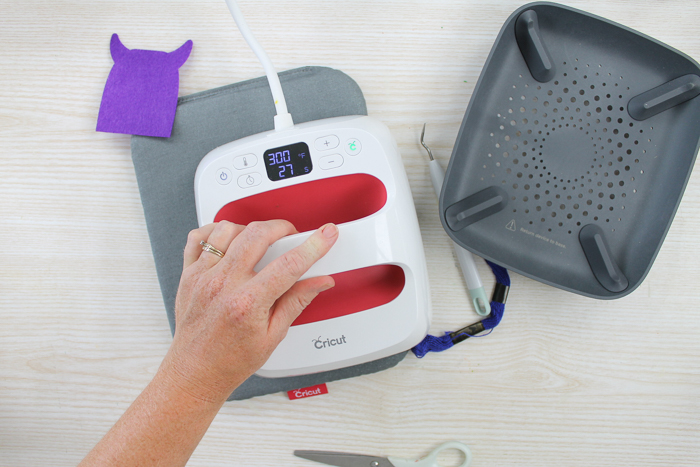
Then press on both the front and the back according to the recommended settings.
Peel back all of your carrier sheets.
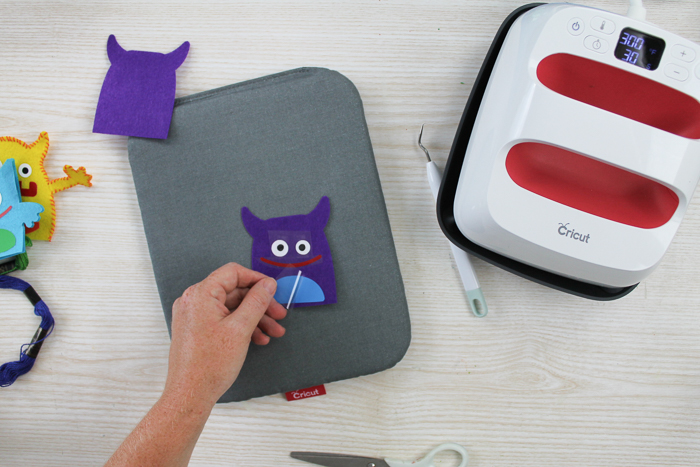
Step 5: Assemble Felt Puppet
Then use embroidery floss and a needle to whip stitch around three sides leaving the bottom open.
Repeat for as many monster puppets as you need to make for Halloween gifts!
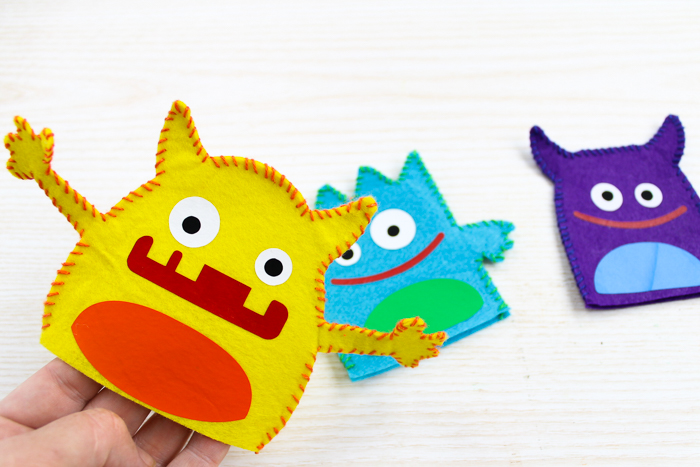
Now you know how to make a puppet with felt and your Cricut machine! These non-candy Halloween gift ideas are perfect for the little ones. I mean who doesn’t love playing with monsters?
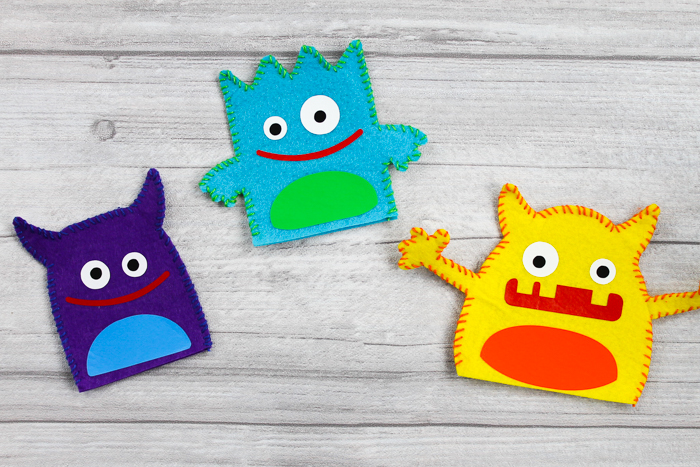
Now that you know how to make a puppet, will you make your version as monster shapes or do you have another animal in mind? Perhaps a cat puppet or even a llama puppet would be better?


Oh my gosh. These homemade felt puppets are so cute. They will make such nice DIY gifts to give to my nephews.
I’m so glad you like them! I hope you have fun making them 🙂