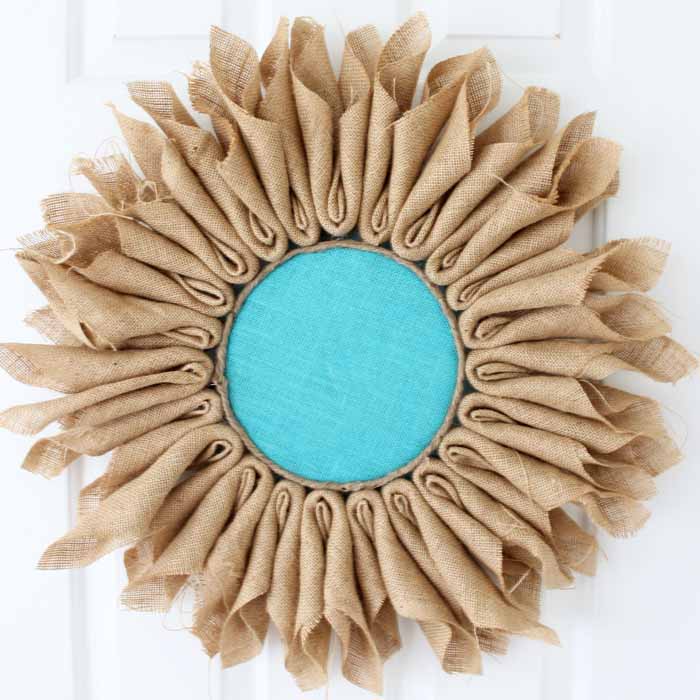
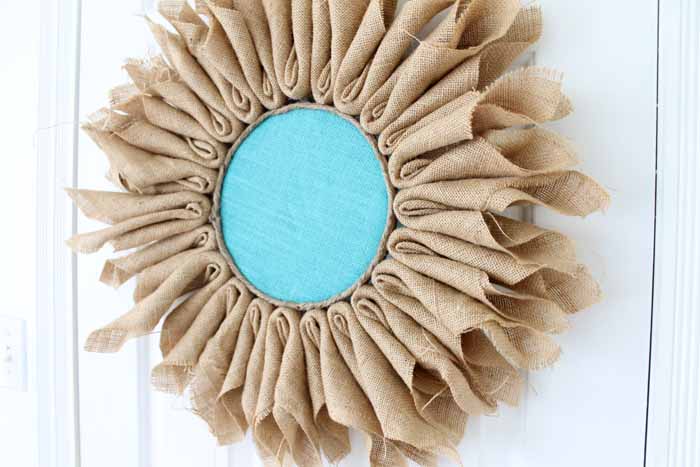
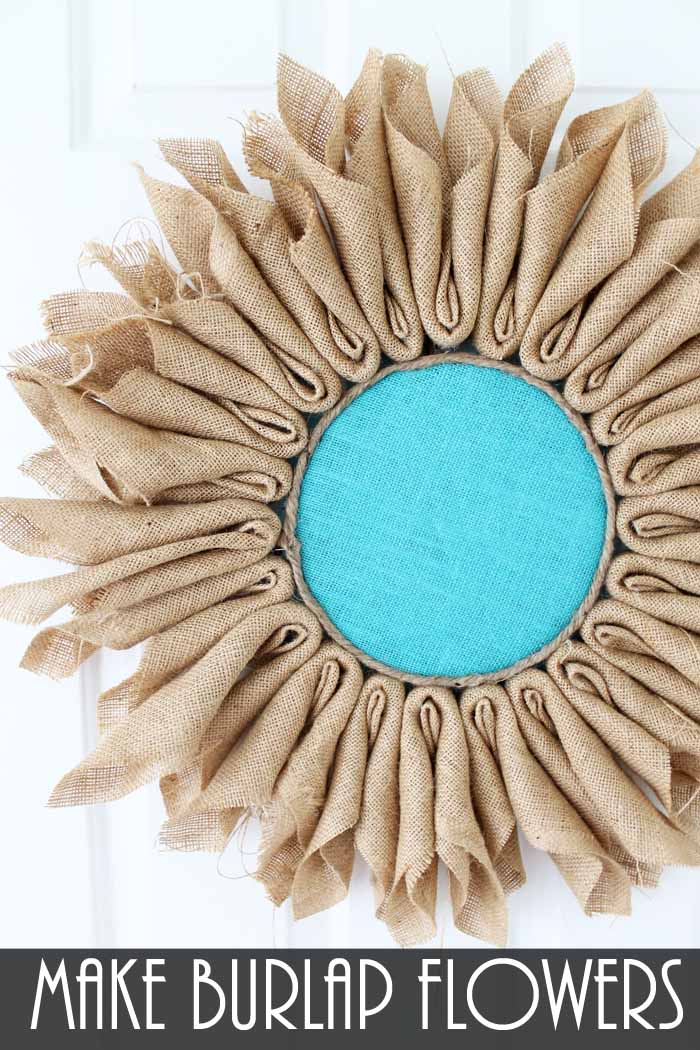
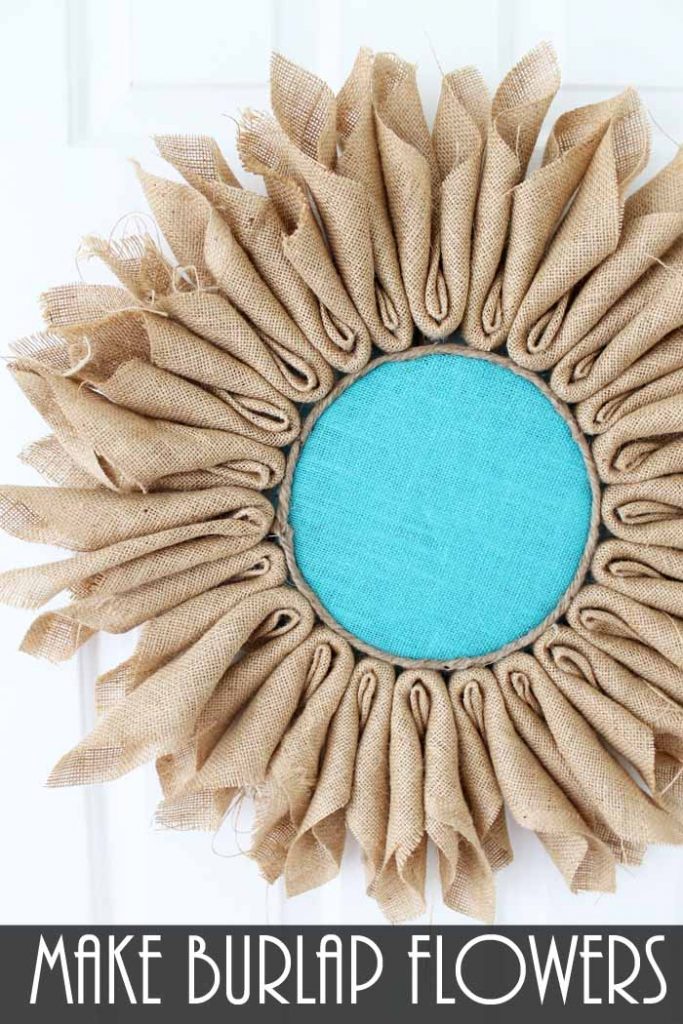
Are you ready to learn how to make burlap flowers? This quick and easy project is perfect for hanging on your walls or even adding to a door as a wreath. I used brown burlap for the petals and a colorful teal for the center. However, you can change up those colors to be anything you like. Make a sunflower or even a daisy!

Burlap Flowers Video Tutorial
You can see how to make burlap flowers in the quick video below. You won’t believe just how easy this is!
Awesome right? Can’t watch the video or miss some of the steps? Follow along below!
How To Make Burlap Flowers
As I mentioned before, you can change up the colors of the burlap in this project. For my burlap flower, I wanted more of an everyday look, but you could choose colors based on a certain season or holiday. Plus, if you really wanted to get fancy, you could customize the flower’s center with buttons or sequins.
The possibilities are endless, so have fun making your burlap flowers you’re very own!
Supplies Needed To Make Burlap Flowers
- Embroidery hoop (I used an 8 inch hoop)
- Colored burlap for center (about a 10 inch square)
- Burlap for petals (I used 23 squares that were 10 inches)
- Hot glue and glue gun
- Rope
Step 1: Add Square Of Teal Burlap To Embroidery Hoop
Add a square of teal burlap to the embroidery hoop and trim any excess from the back.
Step 2: Fold Square Of Brown Burlap
Fold square of burlap from corner to corner.
Step 3: Roll Brown Burlap
Roll from corner to long edge.
Step 4: Create Petal
Fold your roll to create the petal.
Step 5: Add Hot Glue To Petal
Add some hot glue in the center of your fold to keep the petal folded.
Step 6: Glue Petal To Embroidery Hoop
Add hot glue to secure the petal around the outer edge of the embroidery hoop.
Step 7: Repeat Steps 2-6
Repeat steps 2-6 until you have petals all the way around your hoop.
Step 8: Add Rope To The Center Edge Of Embroidery Hoop
Add rope around the center edge of the embroidery hoop and secure it with hot glue.
Step 9: Add Rope To The Back
Add a small piece of rope to the back with hot glue for hanging.
Step 10: Hang Burlap Flower
Hang burlap flowers anywhere you like in your home!

I love this simple flower and using it as a wreath on my front door. Where will you add a burlap flower to your home? Now that you know how to make burlap flowers you can put them anywhere you choose! Good luck and happy crafting!
FAQs About Burlap Flowers
If you have questions about how to make burlap flowers, I have answers for you! Please leave your question for me in the comments if you don’t see it already answered below!
Can I Change The Size Of The Embroidery Hoop?
Yes, you can! However, if you make this project bigger, you will need more burlap fabric for your petals.
How Many Burlap Squares Did You Use For The Petals?
For my 8-inch embroidery hoop, I used 23 squares that were 10 inches.
Can I Use A Different Type Of Glue For This Project?
Hot glue is ideal for crafting projects like this one because it’s affordable, dries quickly, and has a strong hold. However, you could use frabic or super glue if you don’t have a hot glue gun.
When using other types of glue, just be aware that the setting time may be longer, and you’ll need to hold items in place until the glue sets.
What Other Types Of Burlap Flowers Can I Make?
As I mentioned before, you can easily change the colors of the burlap to make any flower that you choose! However, if you are looking for some inspiration, check out the ideas below!
- Daisy – Yellow burlap center with white petals
- Sunflower – Brown burlap center with yellow petals
- Fall Flower – Orange burlap center with brown petals
- Poinsettia – Gold burlap center with red petals
5 More Burlap Crafts
Did you love these burlap flowers and are looking for more burlap crafts? Then check out the projects below!
- Cross Decor with Burlap
- Monogrammed Burlap Wreath
- Burlap Garden Flag
- How to Make a Burlap Wreath
- Flower Wreath from Burlap


That is just lovely! I cannot wait to try one and my mind is full of new ideas for this too. Thanks!
Oh my gosh Angie this is so awesome, love how easy and quick can be, even rolling 23 squares of burlap to make petals. You come up with such wonderful affordable projects which are so doable.
Have been working on several projects to get myself back into creative mode. Was having such long dry spell especially after our grandson died last June 8th.. 2016.
Am going to have to avoid news on tv and on here as what’s going on is just making me so upset and annoyed, incredulous at what’s happening to our country have to find some way to avoid all of it. Enuf is enuf. Ready to head to Canada or Mexico.
Enjoy your blog so much, you are such a talented lady. Enjoy your week and stay cool.
Hi Angie! Thank you so much for your tutorial. I love the flowers! They look really nice. Btw, love your blog too. It’s always so inspiring!
SO pretty!!
I would love for you to share this with my Facebook Group for recipes, crafts, tips, and tricks: https://www.facebook.com/groups/pluckyrecipescraftstips/
Thanks for joining Cooking and Crafting with J & J!
Hi Angie! These are adorable! Thanks for sharing!!
This is a fun and country type of design… thank you for sharing it. 🙂
Thanks for the tutorial video. I can’t wait to make one. I am thinking a sunflower for fall.
Oh wow! That is the most adorable craft. I love that you used burlap to create the petals – very clever! And the video makes it seem so easy to recreate. Makes me love burlap all over again 🙂
Your burlap flowers are so pretty Angie – congrats – you are one of our Featured Guests at Inspire Me Monday at Create With Joy this week! 🙂
You did it again Angie. The wreath turned out lovely and your instructions are super easy to follow. Thanks so much
what kind of burlap did you use for the petals
It was just burlap by the yard from the craft store.