Welcome spring with this fun carrot button craft that’s perfect to do with kids. Use buttons to make this carrot craft and add it to your spring decor!
Spring is such a fun time to make crafts with the kids because there’s SO much you can use for inspiration! From flowers to vegetables, sunshine, rainbows, and more. The possibilities are endless!
I love carrots – they are just so much fun to create in the garden and in the craft room. In fact, I have a few different carrot-themed ideas on the site, including my Carrot Spring Wreath, Easy Spring Carrot Burlap Garland, and Reversible Sign for Spring and Summer!
For today’s craft, I was brainstorming ideas for Craft Lightning week. Anything I decided to make had to be ready in 15 minutes or less. I took inspiration from my Button Candy Cane Christmas Ornaments and decided to make this carrot button craft.
Feel free to indulge in a few Carrot Cinnamon Rolls or Carrot Cookies while you work!
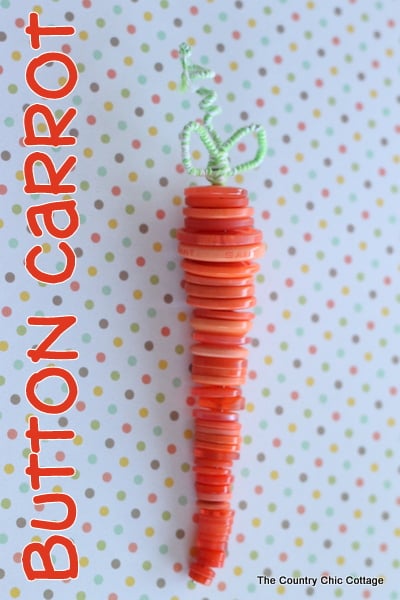
How To Make This Quick Carrot Button Craft
Here are the supplies you’ll need to gather and the steps you’ll need to follow in order to make your own DIY button carrot craft.
Supplies Needed
Gather up these things to start making your carrots. I’ve included some handy links to help you find some items faster and easier.
- Orange buttons (lots of them – in different sizes!)
- Floral wire
- Green baker’s twine
Instructions
Just follow these steps, and in a few minutes, you’ll have a beautiful and one-of-a-kind carrot button craft to add to your spring decor!
Step 1
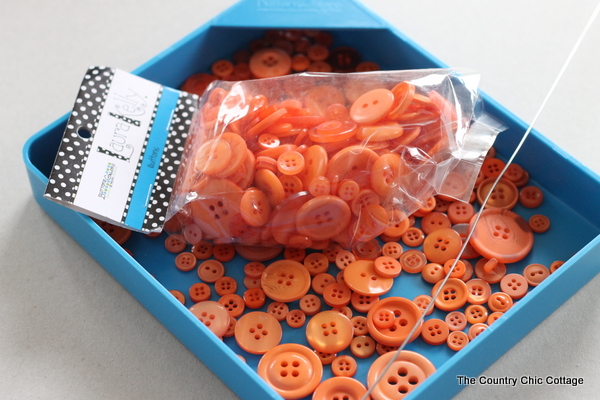
First I needed orange buttons…lots of different orange buttons in many different sizes. Buttons Galore and More sent me this assorted pack of orange buttons!
I love that you can get reasonable packages of assorted buttons that are all similar in color. My head just spins with thoughts of button projects when looking at them!
Step 2
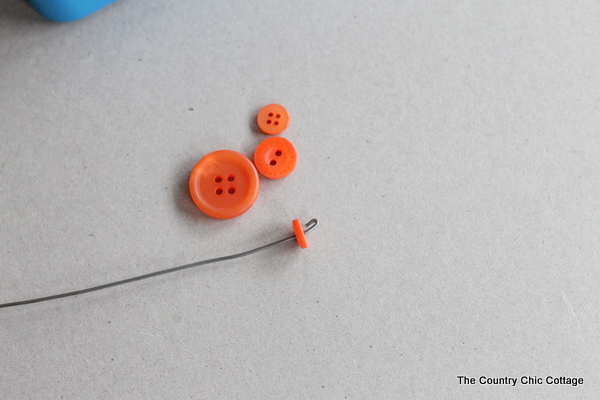
I took a piece of floral wire that I had on hand and put a small “hook” on one end.
Then, I started sorting buttons from smallest to largest. The hook insured that the buttons would not fall off.
Step 3
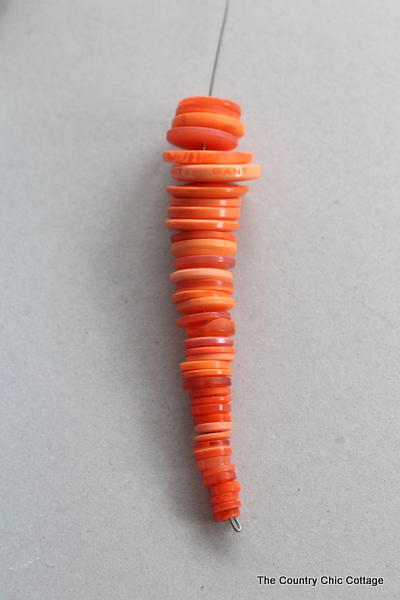
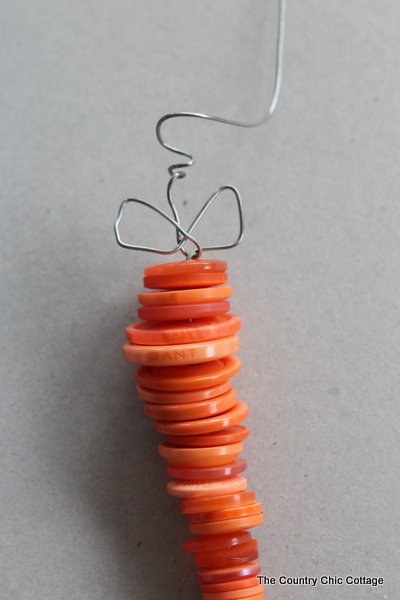
Run the wire through the buttonholes and stack up buttons until you feel your stack is “carrot” like. I used slightly larger buttons as I went all the way up.
But at the very top, I put a couple of the slightly smaller buttons.
Step 4
When you are done stacking, just twist the wire into a pretty shape and cut off any excess wire.
Step 5
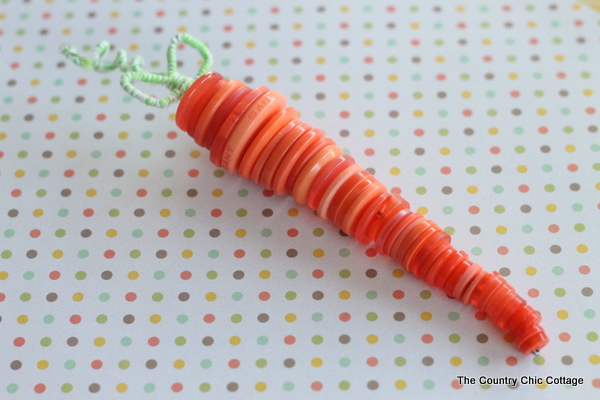
Wrap the wire in baker’s twine for a beautiful finishing touch!
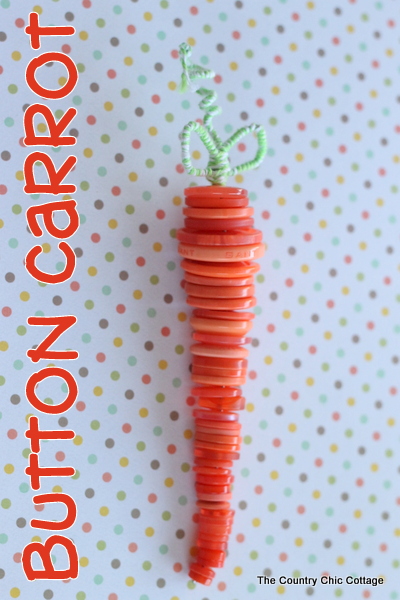
Have you ever thought to make a carrot out of buttons? Yep, it almost looks good enough to eat. 🙂
And, it’s definitely a great project to get the kids involved in doing.
Craft Notes
- If you can, let the kids practice their sorting and stacking skills with the buttons.
- Also, it will even help the kids develop those important fine motor skills!
- If you want to change things up slightly, use a variety of yellow, orange (and maybe even some beige) buttons. Or make multiple carrots, each a different color (orange, yellow, or purple).
There are so many options!
FAQs
Here are a couple of questions that I see readers ask regarding how to make a carrot button craft like this one. If you have a question, please check to see if it’s already answered below. Don’t see it down below? Leave it for me in the comments!
Could I glue this craft together instead of using wire?
Maybe, but it wouldn’t be the same. The wire is a superior choice for this button craft because it has a little “give” and allows you to complete the stem at the top as one cohesive project.
In addition, there are other benefits to using wire for kids, such as developing hand-eye coordination and fine motor skills that they won’t get from gluing.
Can I use floral wire instead of silver?
Yes! If that’s what you already have on hand, please just use that. Another benefit to using green floral wire is that you won’t need to wrap the baker’s twine around the wire at the top because it’s already green. I have to admit, though, that I do like the way the baker’s twine looks – very bright a spring-like!
This button craft is perfect for your spring decorating. Add it to your mantle, wreath displays, or centerpieces!
I hope you love this craft as much as I do! The carrot trend is fun since it’s very spring-like but slightly different than the standard pastel decor you see for spring.
Love quick crafts? Be sure to subscribe to THE COUNTRY CHIC COTTAGE so you don’t miss a thing! Check out our quick and easy project gallery for even more crafts and tutorials that can be completed quickly and easily.
Want More Spring Projects?
- DIY Spring Decor with Clay Pots
- Spring Wreath Ideas: A Fairy Garden on Your Door
- Over 20 Spring Burlap Crafts for Your Home
- Easy DIY Spring Burlap Wreath
Supplies
- Orange buttons in a large variety of sizes
- Floral wire plain or green
- Baker's twine green
Instructions
- Gather your buttons. You'll need quite a few.
- Take a piece of floral wire and make a hook at one end.Sort your buttons from smallest to largest, reserving a couple of smaller ones for the very top.
- Begin running the buttons through the buttonholes until your stack looks "carrot-like". Add the couple of smaller buttons you reserved to the top to round out the carrot shape.
- When you're done forming your carrot, tie the wire at the top in a pretty shape.
- Wrap the wire in baker's twine for a beautiful finishing touch.



These are so adorable.
This is adorable-I love it!
What a great idea! A few of these in a bucket would be fabulous!!!
That’s a great project for old folks too to sharpen their skills. Love your carrot, the orange is so cheery and bright and so easy. Gives me an excuse to order buttons, which I love to play with.
You have so many exceptional projects on your blog I could be on here all night looking at all your posts. Happy Days Angie
That is such a fun carrot!!! I love button projects… Ann is sending me one of her pillows that has a button heart on it. I can’t wait!!!
I have loved buttons forever…I have bags and jars of them but not many are orange! Great job on your quick craft. :o)
What’s up doc?! This is the cutest thing ever!
Kelly
OMG this is sooooooo cute!!!
Wonderful!!!
Wonderful! I love it
I’ve always made these with twine but I really like the idea of using the wire. It sounds much easier and faster. I’m going to try tying green ribbon to the wire at the top also.
I can’t wait to hear how yours turn out!