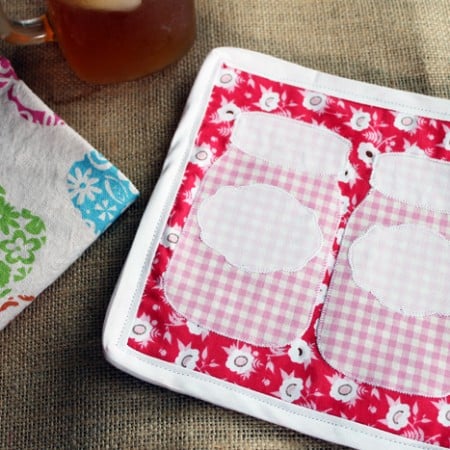
A mason jar pot holder is the perfect addition to your modern farmhouse decor. Use this tutorial to learn how to make a pot holder you can customize and display in your home!
I love mason jars. They’re endlessly versatile, so they are as equally “at home” in practical uses as drinking glasses or for canning as they are for crafting.
And if you’re inclined toward displaying modern farmhouse or rustic decor, mason jars are a perfect fit! I personally love using mason jars around my home and in multiple crafting applications.
When I redecorated our modern farmhouse kitchen, I used mason jars in several different decorative and practical ways. I love my mason jar utensil organizer and mason jar sign!
Mason jars also make terrific vases and luminaries.
When I was decorating my newly updated kitchen, I wanted to find other ways to add mason jars to the decor. After some thought, I decided to make Mason Jar Tea Towels and now DIY mason jar pot holders!
Note: If you love mason jars as much as I do, check out our DIY Mason Jar Bathroom Set, Mason Jar Fairy Lights, and Mason Jar Herb Planter projects!
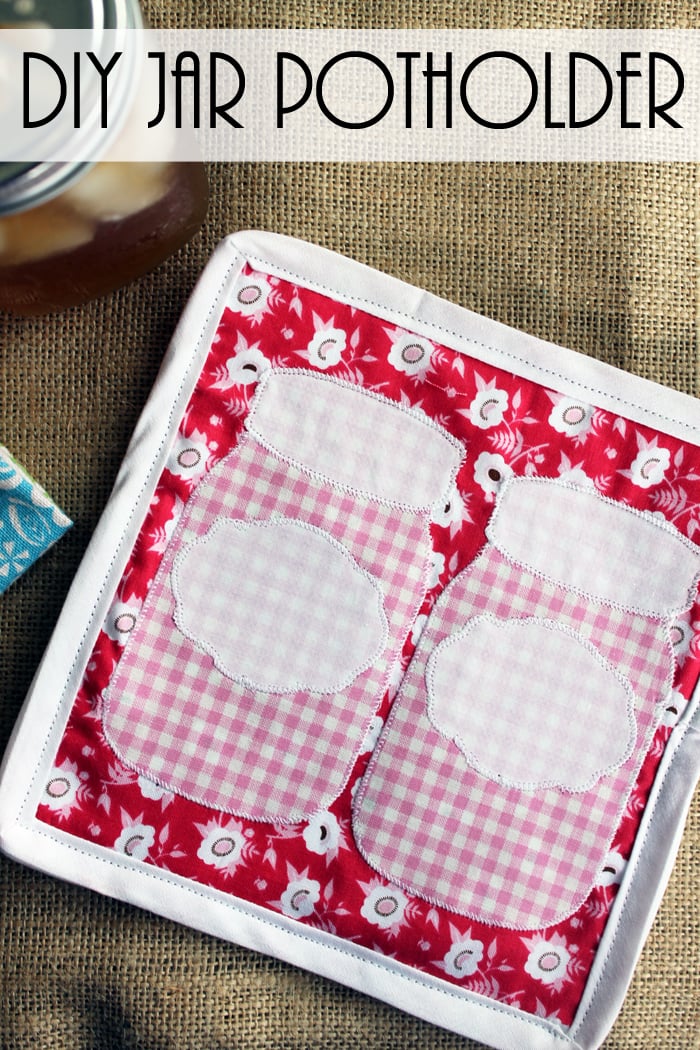
How To Make A Pot Holder With A Mason Jar Design
This tutorial includes instructions for making DIY potholders and adding a decorative mason jar element.
Note: A little sewing is needed to make this pot holder, but it’s easy enough that even a beginner can do it.
Supplies Needed
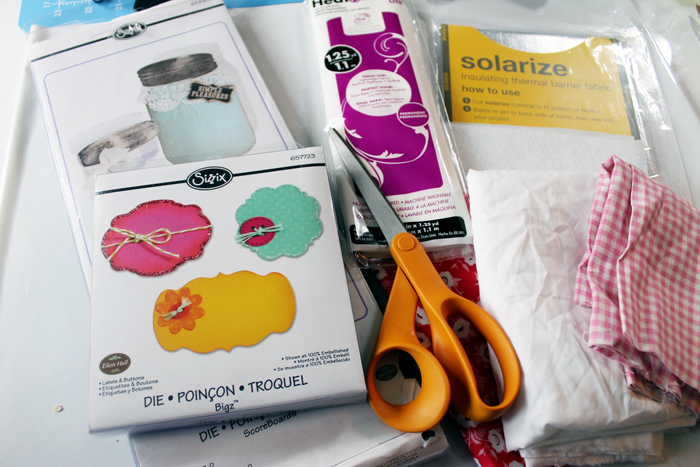
Here’s everything you’ll need to complete this project. I’ve also included some handy links to make finding certain items easier.
- Fabrics of your choice (I used three different fabrics)
- Solarize liner
- Fusible fleece
- Heat ‘n Bond Lite
- Scissors
- Mason jar die (discontinued by Sizzix) Search Mason Jar in Cricut Design Space for a replacement
- Labels die (discontinued by Sizzix) Search Mason Jar label in Cricut Design Space for a replacement
- Sizzix – if you have the dies or use your Cricut Cutting Machine to cut the mason jar and label shapes from fabric
- Iron
- White biased tape (double fold)
- Sewing machine and thread
Video Tutorial
Start by watching the video below on how to make a potholder. I tried to fit everything into a short video for you.
Sometimes I think it is easier to WATCH how to make something like this than it is to read and follow the instructions. I am also including the step-by-step instructions below the video as well, so if you miss something, give that a try!
Instructions For Making A Potholder
I made this DIY jar potholder with some fabric I already had on hand. It turned out great, so I thought I would share the easy method with y’all. Grab some fabric and get started making your own potholders today.
Note: The process looks long and complicated, but that’s only because I broke every step down to keep it very simple for beginners to follow. No matter what your skill level is, I encourage you to try making your own potholders!
Step 1
Cut fabric to the size you wish to use for your potholder.
Step 2
Iron on fusible fleece to one side of the potholder (this becomes the back).
Step 3
Iron Heat ‘n Bond to a coordinating fabric.
Step 4
Cut jars from fabric with Sizzix, Cricut Cutting Machine, or just scissors.
Step 5
Iron Heat ‘n Bond to the white fabric.
Step 6
Cut jar lids and labels from fabric.
Step 7
Peel backing paper from shapes and place on pot holder front (without fleece).
Step 8
Iron to adhere each piece to the fabric.
Step 9
Sew around the outside of the applique with a zig-zag stitch.
Step 10
Sew bias tape to the front of the pot holder.
Step 11
Sandwich your potholder front, solarize the lining, and potholder back (with fleece).
Step 12
Turn bias tape to where it wraps your sandwich.
Step 13
Sew around bias tape again.
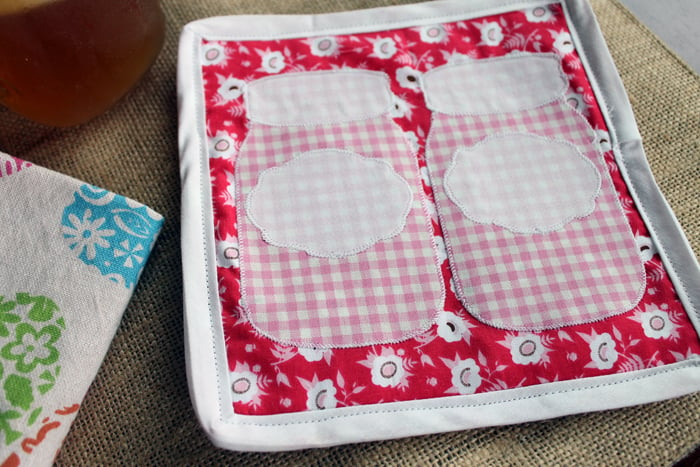
You now have a gorgeous pot holder!
FAQs
Here are a couple of questions that I see readers ask when learning how to make a pot holder. If you have a question, please check to see if I’ve already answered it below. Don’t see your question? Leave it for me in the comments!
What can I use instead of the solarize lining?
Insul-Bright is another brand of the thermal lining that works well for making pot holders. I recommend using a couple of layers (to get good heat protection) if you want to use your pot holders for more than decorations!
What type of fabric is best for making pot holders?
Natural material such as 100% cotton fabric is the best choice to use for potholders because you need something heat-resistant that won’t melt when it comes in contact with hot items. I recommend avoiding synthetic materials like polyester because they will melt.
Learn more about heat-resistant fabrics to help you use the right material every time.
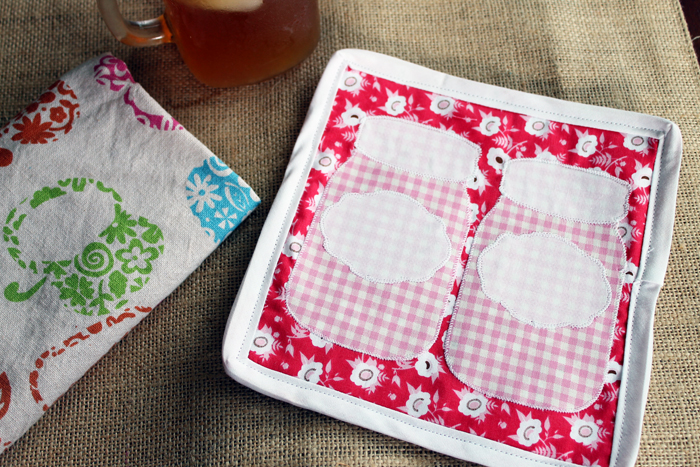
I hope this simple tutorial helps you learn how to make a pot holder that’s perfect for your home decor. Give this DIY mason jar potholder a try, or get creative and make your own design. The steps will basically be the same.
More Mason Jar Fun
Check out these popular projects if you love this project and want more mason jar crafting inspiration!
Supplies
- Fabric three different fabrics of your choice
- Solarize liner
- Fusible fleece
- Heat ‘n Bond Lite
- Scissors
- Mason Jar Die
- Labels Die
- Electronic Craft Cutter to cut shapes optional instead of using dies
- Sizzix
- Iron
- White Biased Tape (double fold)
- Sewing machine and thread
Instructions
- Cut the fabric to the size you want your pot holder to be.
- Iron the fusible fleece onto one side to create the back of the pot holder.
- Iron on the Heat ‘n Bond to the coordinating fabric of your choice.
- Iron Heat ‘n Bond to the white fabric in preparation to cut out shapes.
- Cut label shapes and jar lid shapes out of fabric.
- Peel away the backing paper from the back of the fabric shapes and apply them to the front of the pot holder (without fleece).
- Adhere each piece to the fabric by ironing it on.
- Sew a zig-zag stitch around the outside of each applique to secure it.
- Sew bias tape to the front of the pot holder.
- Layer together your pot holder front, Solarize lining, and pot holder back (with fleece).
- Wrap the bias tape over the edges of your layers of materials.
- Sew around the bias tape again. Your pot holder is finished!
A Year of Jar Crafts

Sign up for our email list to get a FREE book with an entire year of jar crafts! 12 months, 12 crafts, tons of fun!


