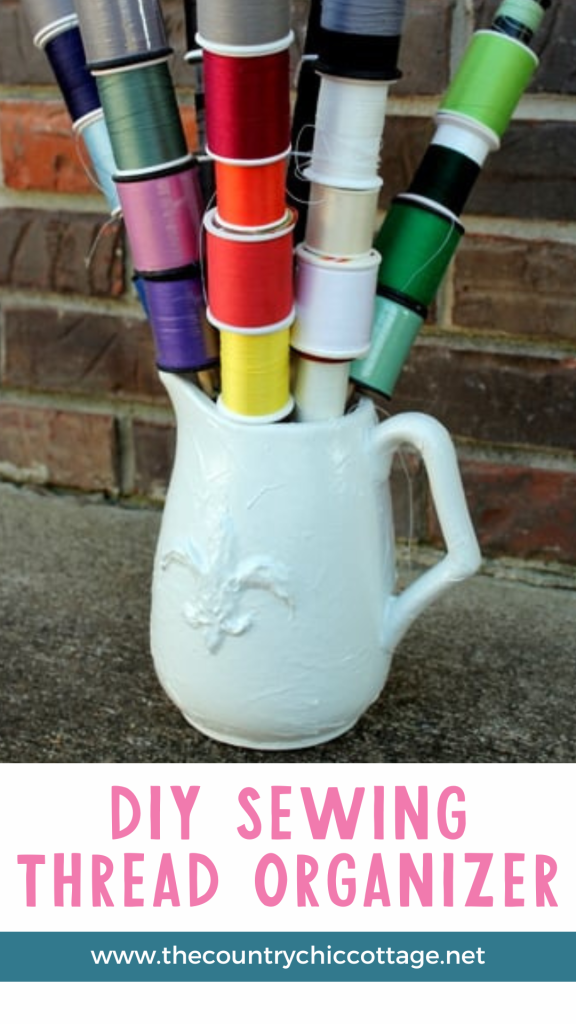
Are you a sewer looking for an easy way to organize and store your threads? Look no further! This tutorial will show you how to make your own sewing thread organization in just a few simple steps. With this project, you can keep your sewing room tidy and organized. Plus, it won’t take long to make, so that you can return to your sewing projects sooner!
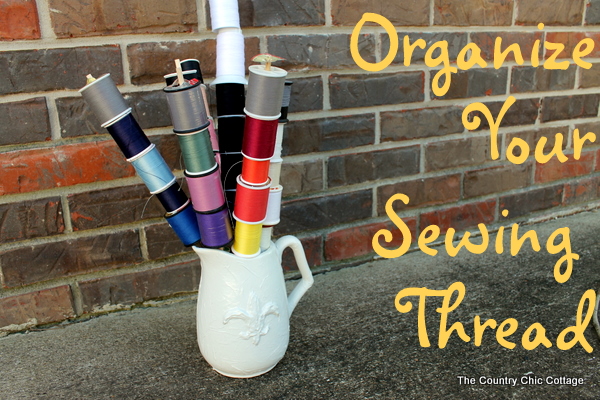
How To Make Your Sewing Thread Organizer
Creating a thread organizer can revolutionize your sewing experience! It provides a neat and orderly space for your sewing threads, reducing clutter and saving time searching for the right color or type. It also prevents threads from tangling, so they are always ready for use.
Plus, a thread organizer can extend the lifespan of your threads by protecting them from dust or damage.
Oh, and let’s not forget the most important part! It allows for customization, meaning you can design it to suit your specific needs and preferences.
So why wait? Let’s get started on creating your very own thread organizer!
Supplies Needed To Make Sewing Thread Organization
- Mod Podge Pitcher
- Styrofoam Cone
- Dowels
- All of your threads!
Step 1: Prepare Your Pitcher
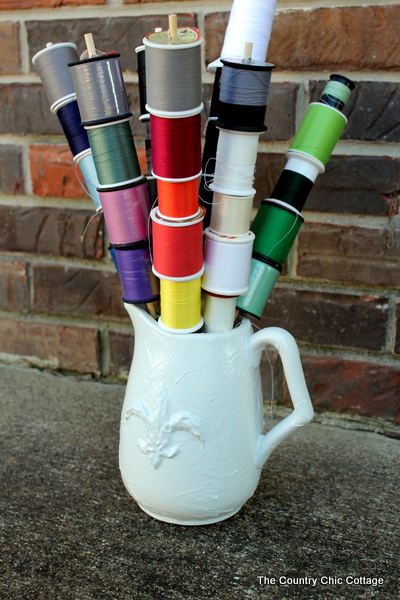
I decided to make my own Mod Podge Pitcher to use for this project. It’s easy to make, and you can customize it however you like. You can also skip this step and buy your own container or pitcher from a local store.
Step 2: Prepare Your Threads
Go through your threads and make sure you have enough for your project. Place the spools of thread on a flat surface in the order they will be going into the cone. This will help to keep them organized while you work!
Step 3: Add The Styrofoam Cone
Place the styrofoam cone upside down in your pitcher so that it is standing on its tip. Make sure the cone fits securely in the pitcher.
You can use a bit of Mod Podge to secure it if needed.

Step 4: Insert The Dowels
Starting from the base of the cone, insert a dowel for every spool of thread. Make sure the dowels are spaced evenly and securely in place.
Step 5: Add The Threads
Place all of your threads on the dowels, keeping them organized by type or color. This will make it easier to find the one you want when it’s time to use your thread organizer.
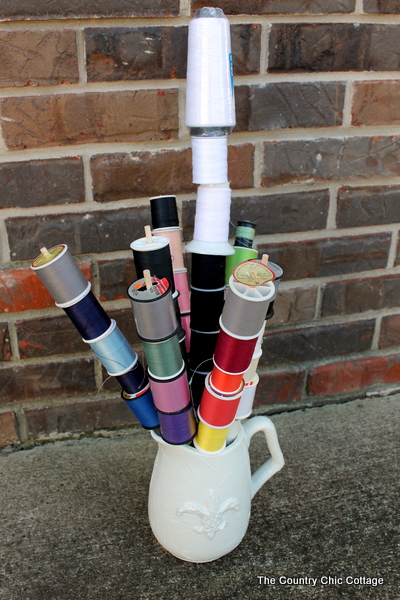
Step 6: Display Your Sewing Thread Organizer
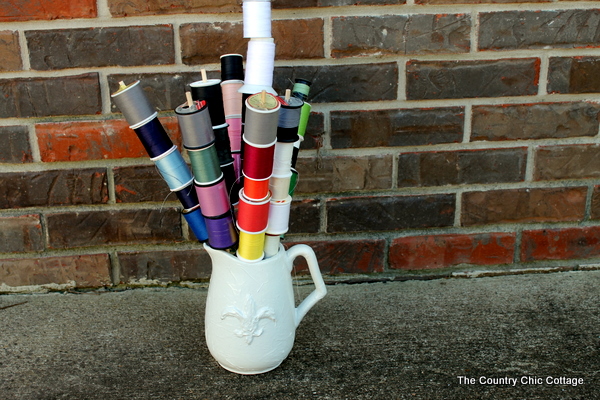
You just made an awesome sewing thread organizer – great job! Now it’s time to display your organizer in your craft room!
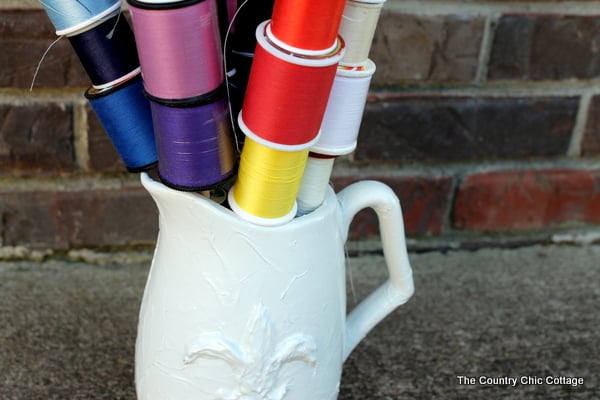
All of your threads are safely tucked away in a neat and organized way! Whenever you need them, you know exactly where to find them!
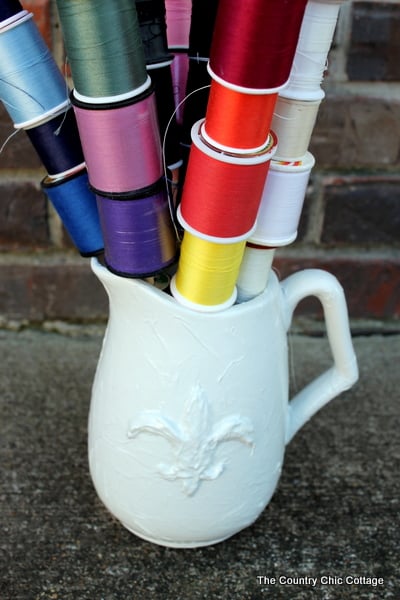
This is such an easy and affordable project – plus, it looks pretty great in your sewing space. This is a must-have craft room accessory!
FAQs About Sewing Thread Organization
Here are a few common questions that I often see readers asking about making this seeing thread organizer. If you have a question, please check if I’ve already addressed it below. If you don’t see your question listed, please leave it in the comments!
What Kind Of Container Should I Use?
I used a Mod Podge Pitcher for this project, but you can use any container or pitcher you have on hand. Just ensure it’s large enough to hold the styrofoam cone and dowels. It should also be clear, if possible, so you can easily see your threads!
What Kind Of Dowels Should I Use For This Sewing Thread Organization?
You can use any dowel you have on hand. However, ensuring they fit snugly in the styrofoam cone is essential. I recommend using wooden dowels for this project.
How Much Thread Should I Use?
That depends on how many spools of thread you have and how large your styrofoam cone is. Make sure to measure the sizes of both and plan accordingly before you start.
Can I Make This Sewing Thread Organizer For Mini Spools Of Thread?
Yes, you can! However, just be sure your wooden dowel can fit through your mini spools of thread before you begin your project.
5 Craft Room Organization Ideas
Did you love this sewing thread organization and want more craft room organization ideas? Then check out the posts below!
- Cricut Craft Room: Ideas for Organizing
- Craft Room Organization Ideas + Craft Room Reveal!
- Take Your Craft Room Storage to the Next Level
- Small Space Craft Room Storage Ideas
- 25 Craft Room Ideas: Gorgeous Inspiration for Your Space
Declutter Your Home in 31 Days!

Clear the clutter and organize your home with our daily emails! Every day for a month we will send you a prompt to declutter! Sign up for our email list below to get started.


If I sewed more and had to have my thread at arms reach…I’d DO THIS!
Your thread organization is ‘PITCHER’ PERFECT…;)
What an easy to organize those spools of thread. It’s a great use for STYROFOAM Brand Foam, too — it will hold those dowels upright for a long, long time. Sharon
I love it! I have a case for my thread, but this is a super fun alternative!I love that you can get thread from just one if you want, without taking it off.
What a cute idea Angie!
Brilliant & beautiful idea!