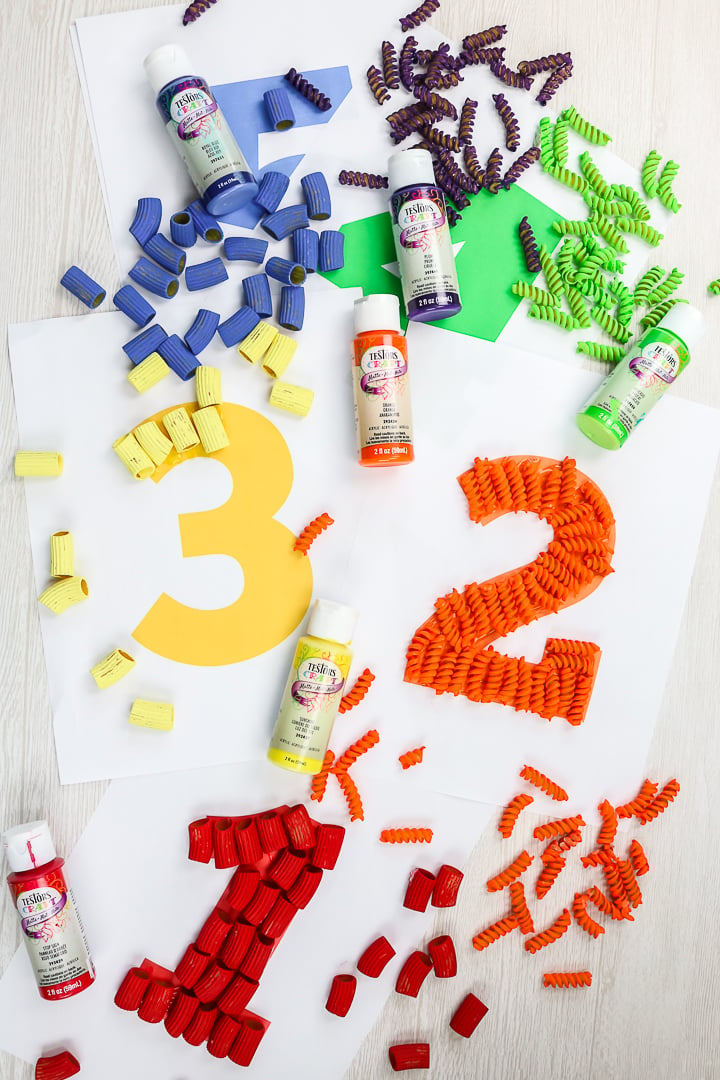
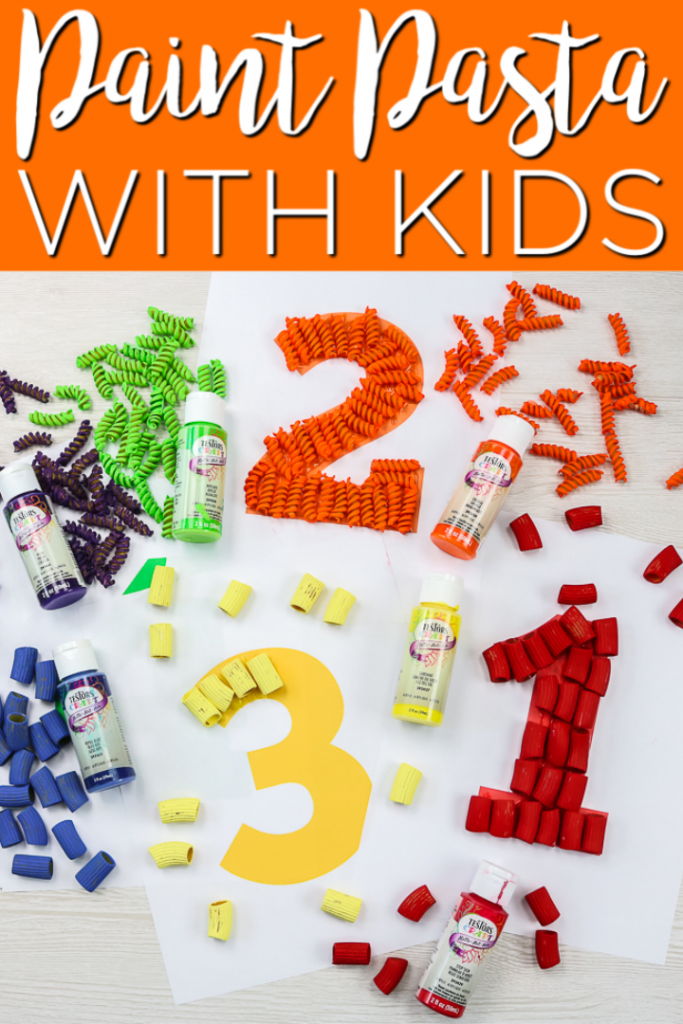
Are you ready to learn how to paint pasta? This is a super easy craft idea to get the kids involved with. They can actually paint the pasta with this “less mess” technique then use it in a wide variety of craft ideas. I have one idea for you below with a free printable and so many more listed as well. That way you can paint all of the pasta for a few days worth of craft projects. You can even use your leftover paint for some clay pots!
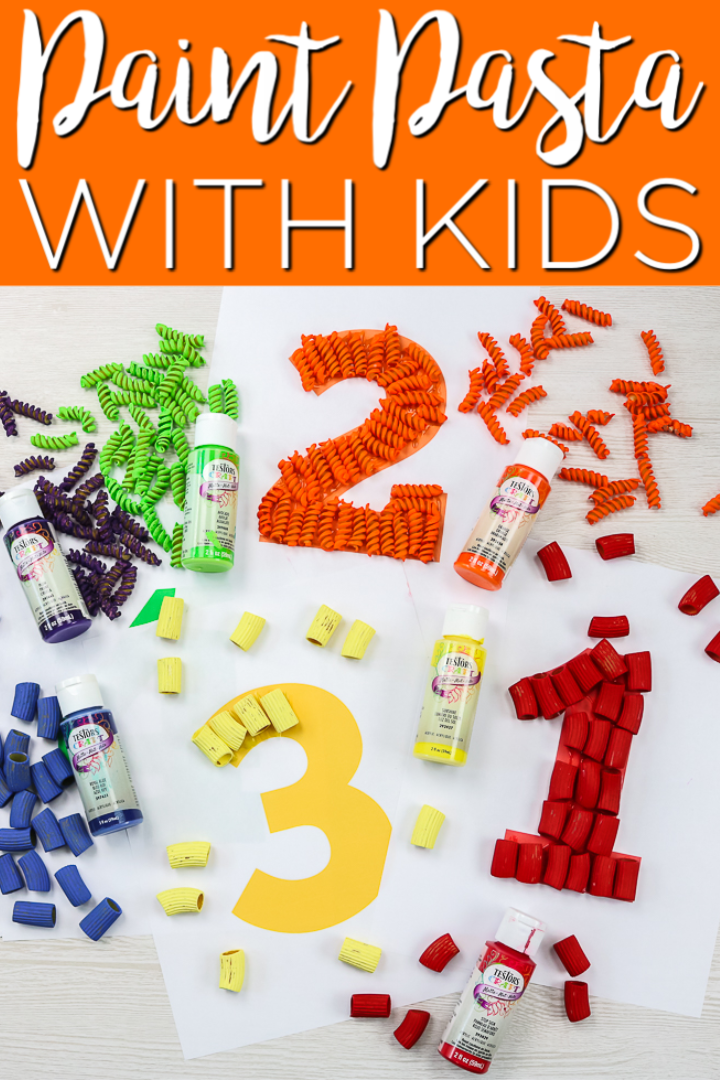
How to Paint Pasta
First, we are going to paint the pasta itself. Then, you can scroll down further to get the craft ideas to use with the pasta once it is dry.
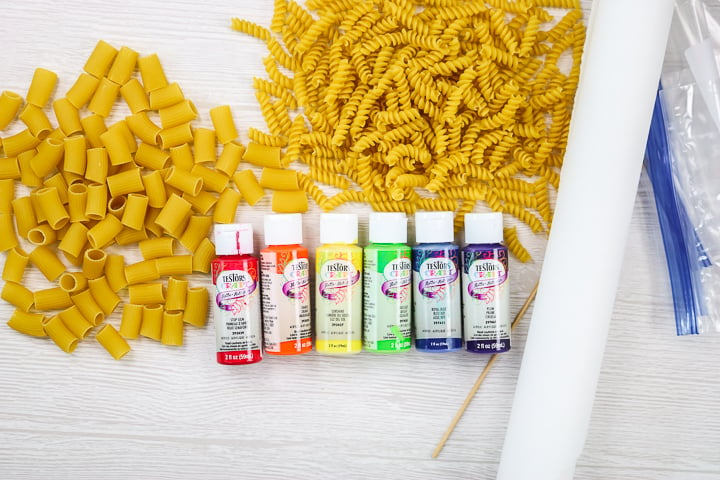
Supplies needed:
- Testors Craft paint
- Zip topped bags
- Pasta (any size or shape)
- Paper (butcher, parchment, or waxed paper)
- Wood skewer or other disposable stick
No Mess Pasta Painting
I did promise it would be “less mess” right? It is just about no mess and the kids can even help. The secret is those zip topped bags. You can actually watch me paint the pasta and make the craft project in the video below.
Can’t watch the video or missed some of the steps? Follow along with the instructions below and you can even print them if you need to.
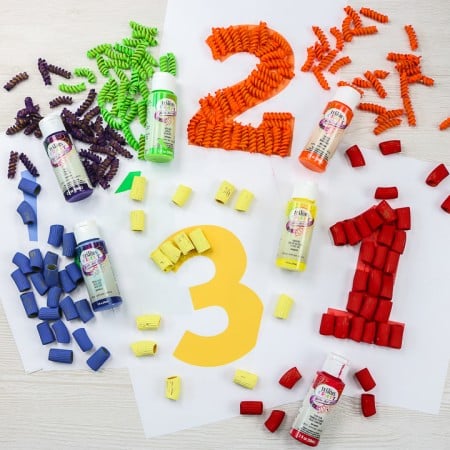
Supplies
- Testors craft paint
- Zip topped bags
- Pasta any size or shape
- Paper butcher, parchment, or waxed will work
- Skewer or other disposable wood stick
Instructions
- Add 1 to 1 1/2 tablespoons of paint to a zip topped bag. You do not have to measure this! Just add a couple of good squirts of paint to the bag.
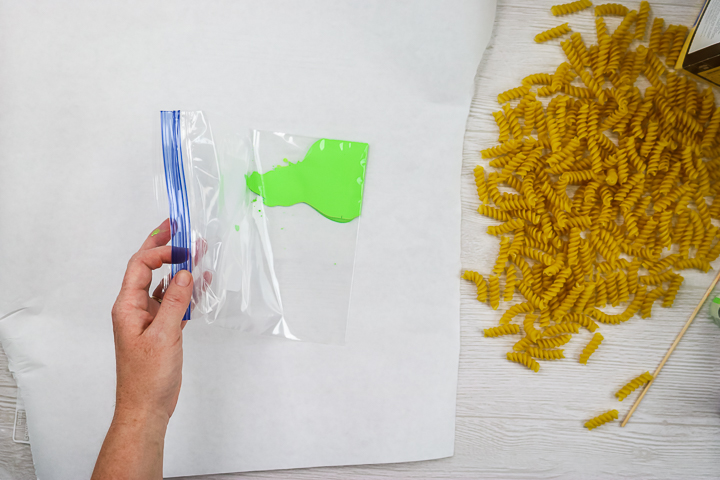
- Add about 4 handfuls of pasta to the bag. Again, you do not have to measure this! This project is really forgiving.
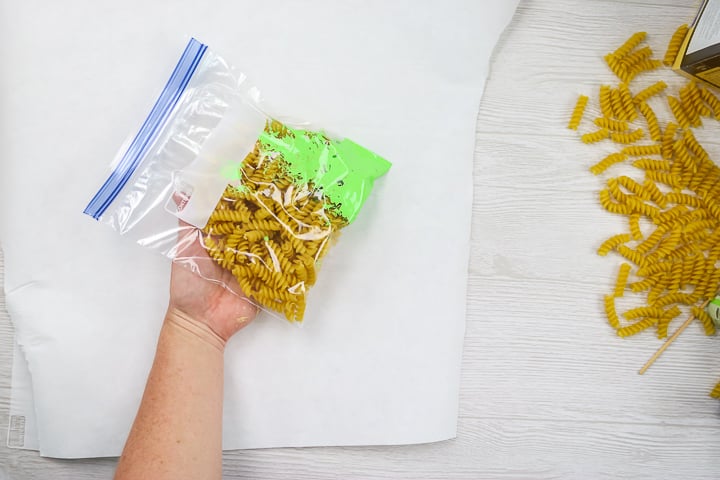
- Seal up the bag and then let the kids have it if you want. Just squeeze and shake the bag until the pasta looks covered.
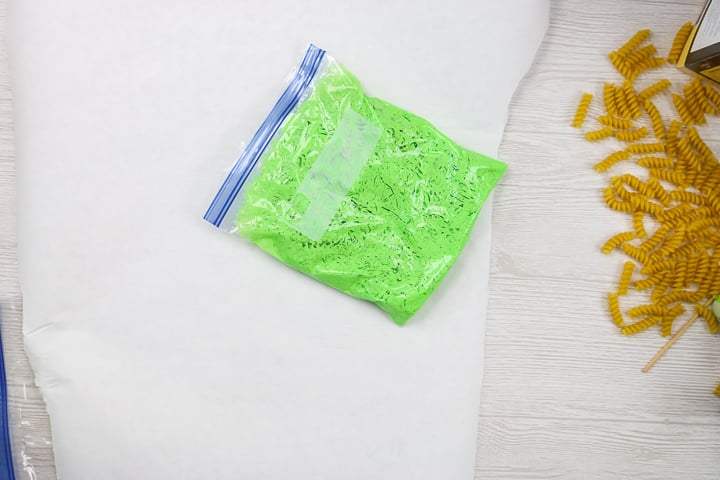
- Open the bag and check to make sure you have fairly good coverage. You can seal it up again and shake more or even add a bit more paint. Remember you don't want the pasta to get overly wet. Once coated, pour the pasta out onto some paper.
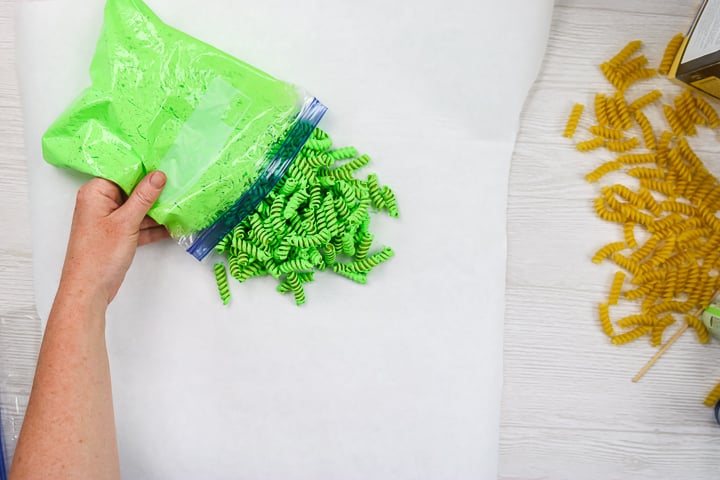
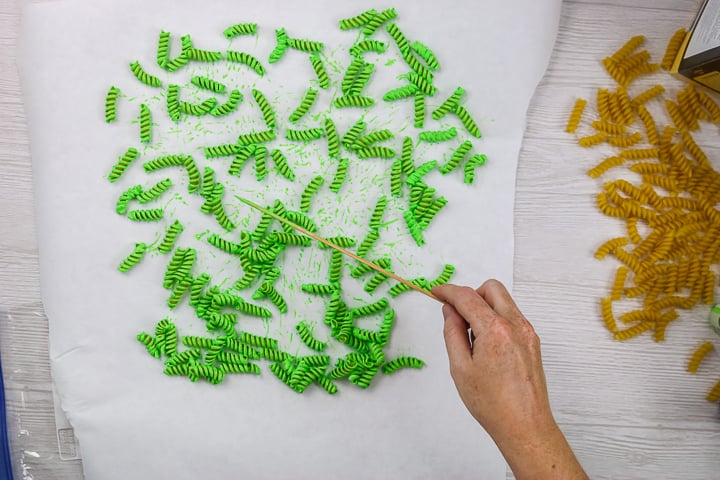
- The spread the pasta out so it is not touching to dry. I just used a skewer to move the pieces around so my hands did not touch the wet paint. Then allow the paint to dry for a few hours or even overnight.
Once you have painted your pasta, you can use it for all sorts of craft ideas. I have one completed project along with several ideas for you below.
Ideas for Crafts with Painted Pasta
Now that you know how easy it is to paint pasta, you might be left with a ton of it for craft projects. Here are a few ideas to get you started:
- String for necklaces or bracelets
- Add to pictures with glue for “hair”
- Fill in various pictures with the pasta
- Make a color wheel
- Glue to the top of a box for a fun gift container
- Make napkin rings
- Glue around a picture frame
I did want to give you one idea in this post to get you started. I made number printables one to six in different colors. Paint the pasta that color then have the kids glue it onto a number. This teaches colors, numbers, and even dexterity. Ready to get started? Sign up for our newsletter below to get the free printables.
Once you have your download, print onto regular copy paper or even white card stock.
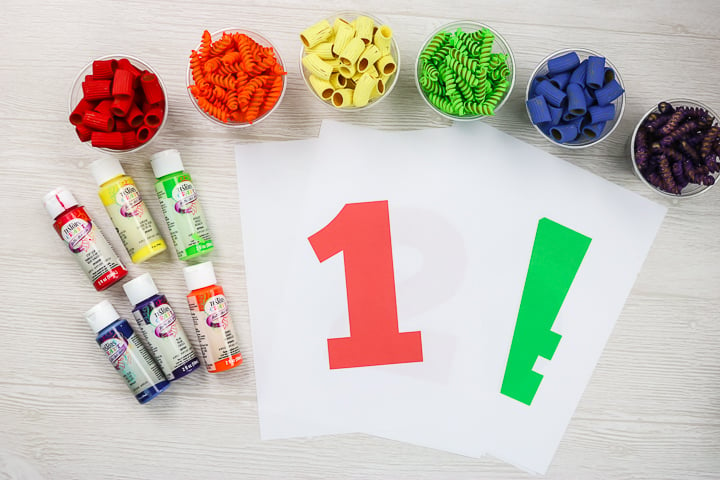
Then just add on any glue. School glue works great! The kids can definitely do this as there is no “wrong way” to do it.
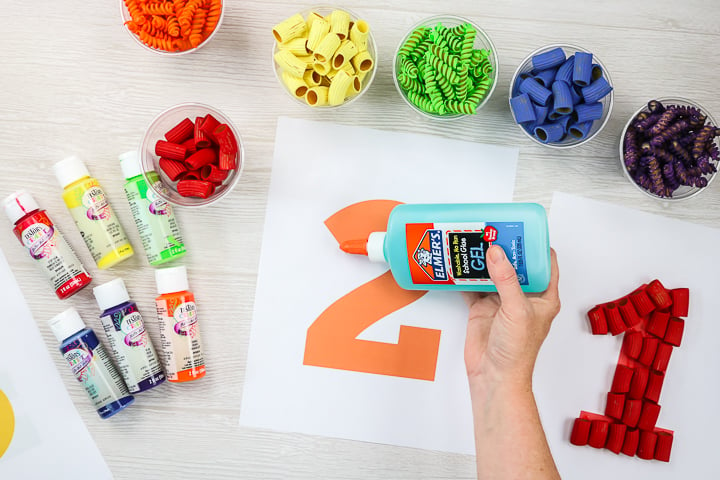
Just add the pasta to the glue on the number in any way you wish.
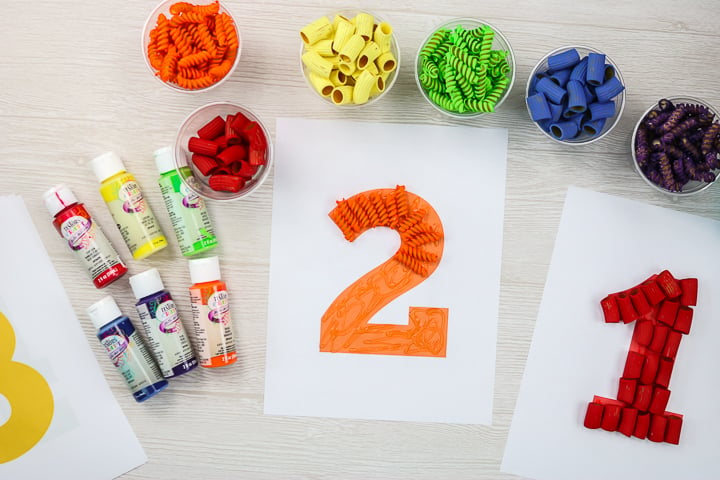
Once you have filled in the number, allow the glue to dry and then put your painted pasta art on the fridge!
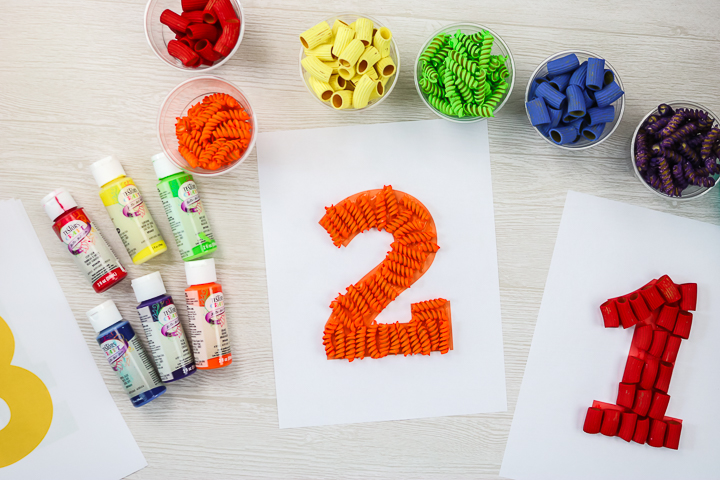
Let the kids continue with each of the numbers or come up with even more pictures you can print to use this same technique.
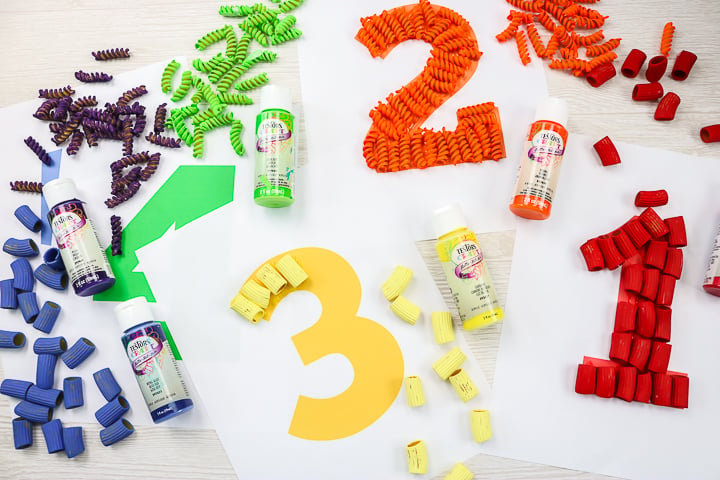
Now that you know how to paint pasta, what will you make with your kids? There are so many options with this craft and I love that it is super inexpensive.
