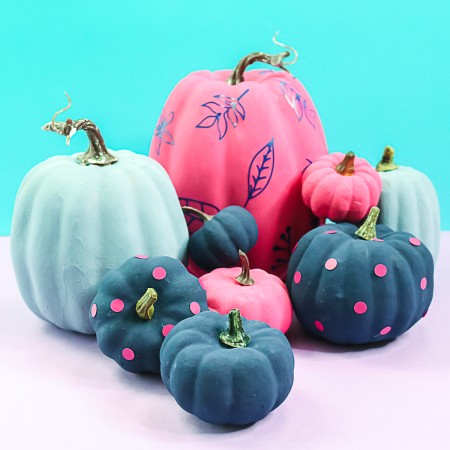
It is that season so I thought I would show you how to paint pumpkins with a little bit of texture. This method of painting makes pumpkins look like stone or concrete and it just makes me so darn happy! If you have ever wanted some bright and colorful pumpkins in your life, this is the tutorial for you. Plus, I even added vinyl to some of them for a little something extra special. This post is sponsored by Testors, however, all projects and opinions are my own.
Love this and want more? You can try adding a pumpkin door hanger to your front door this all as well!
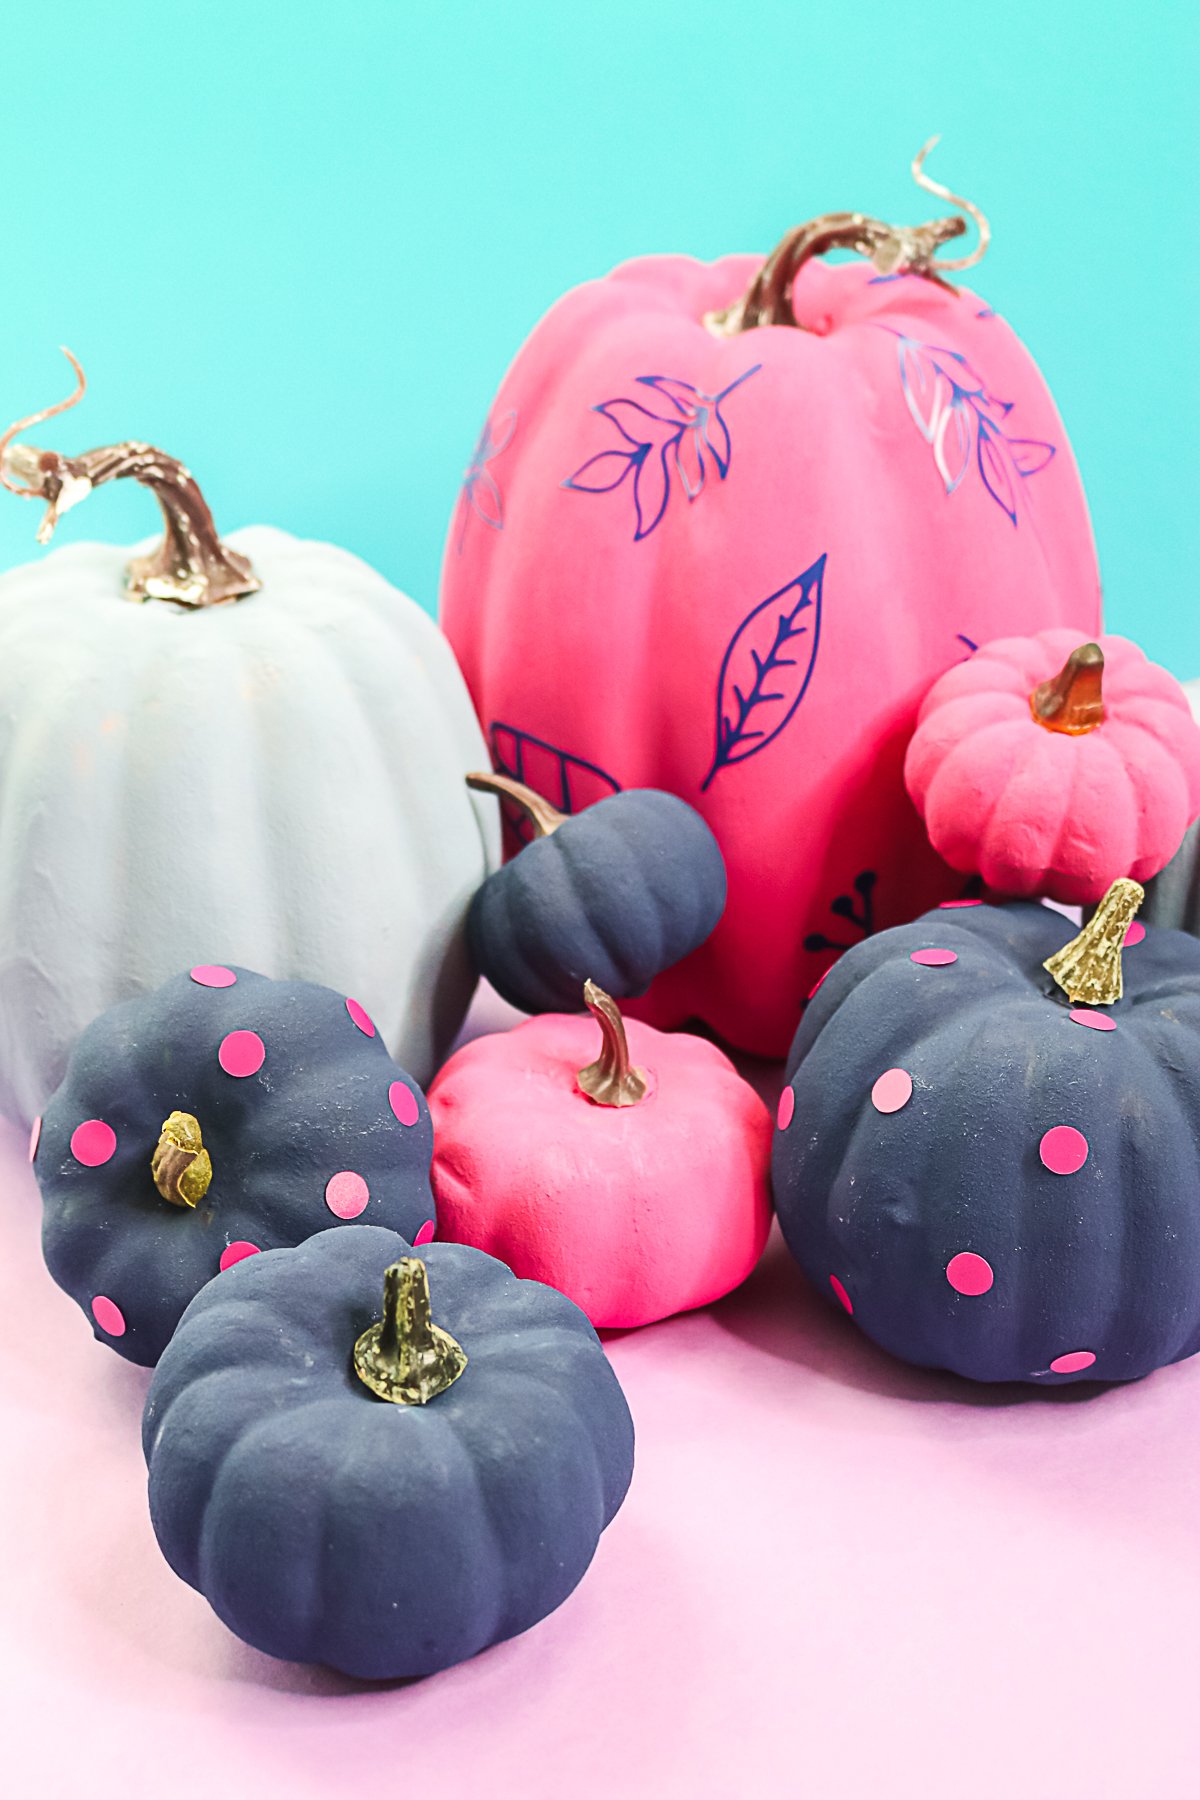
How to Paint Pumpkins
You can actually watch me use this painting technique in the video below. The trick is to mix baking soda with your acrylic paint to add that texture and feel to your painted surface. I absolutely love this look on pumpkins for fall!
Can’t watch the video or missed some of the steps? You can also follow along below.
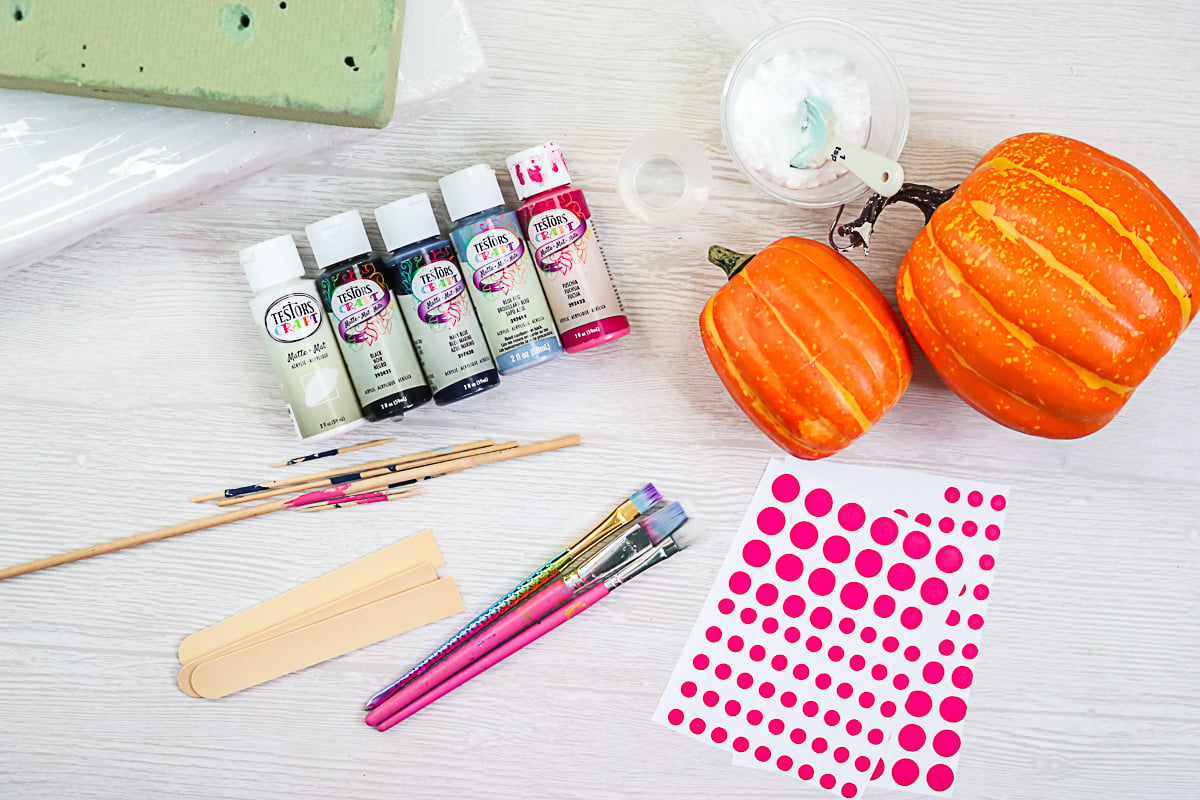
Supplies needed:
- Testors Acrylic Paint
- Baking Soda
- Pumpkins
- Cricut machine (optional)
- Cricut vinyl (optional)
- Decoupage (optional)
- Paintbrush
- Mixing cups
- Stir sticks
- Dowel rods and/or toothpicks
- Styrofoam
Baking Soda and Paint Mixture
First, you will want to mix your paint. Put about 1 tablespoon of the Testors paint in a mixing cup.
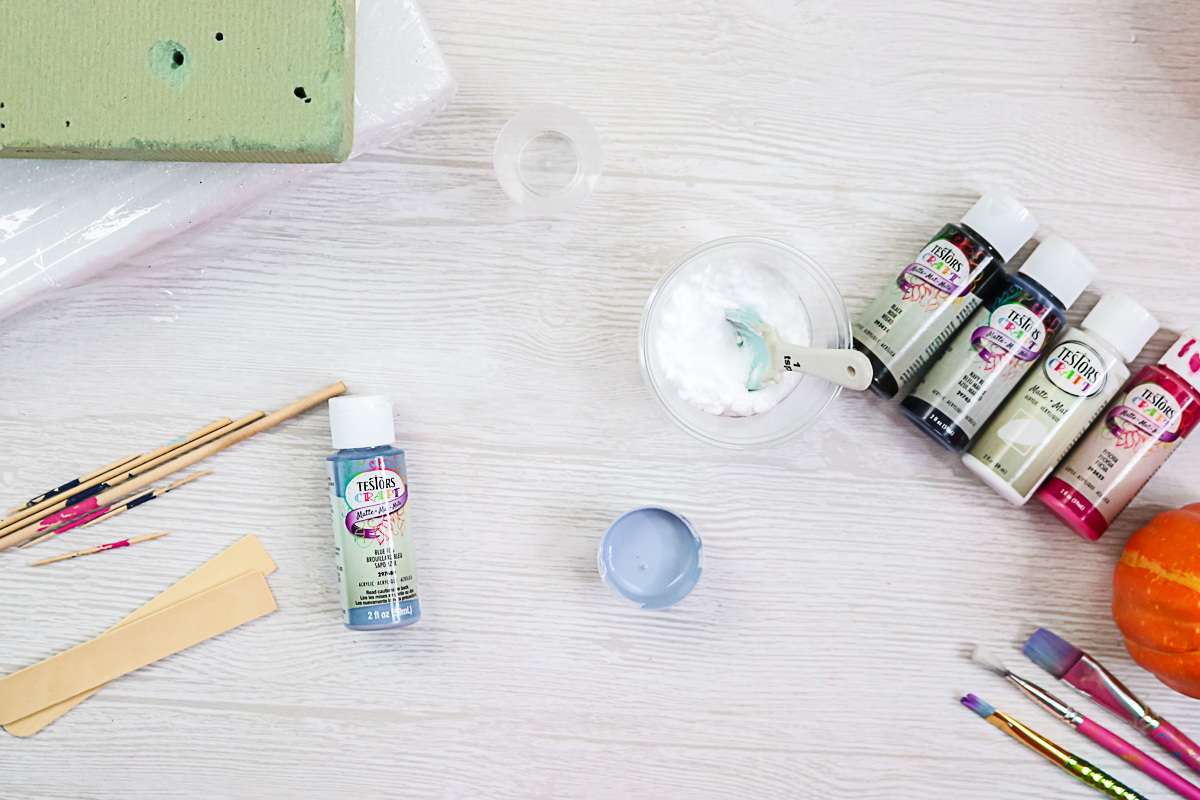
Then add about 2 teaspoons of baking soda to the paint. I added one teaspoon at a time and mixed well just so I wouldn’t spill as much. You can actually add as much or as little baking soda as you would like. The more you add the more texture your final product will have. However, the paint can get really thick so be careful not to add too much.
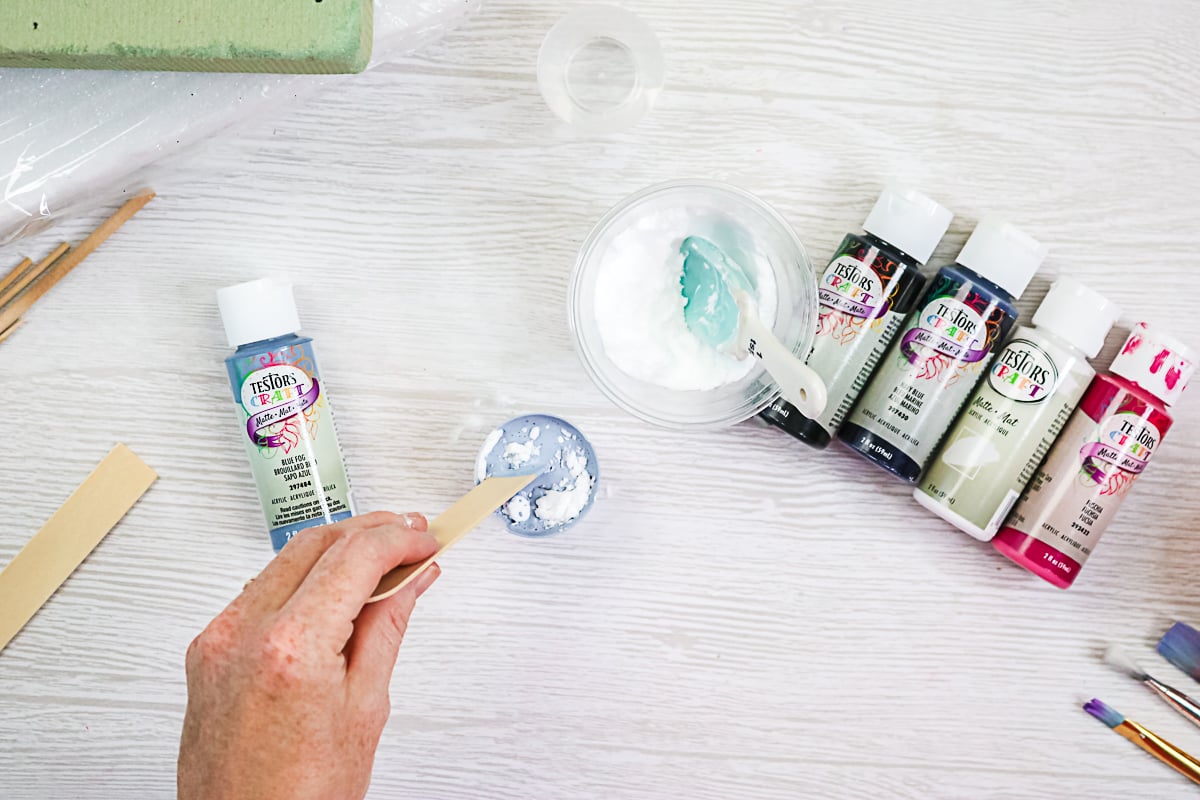
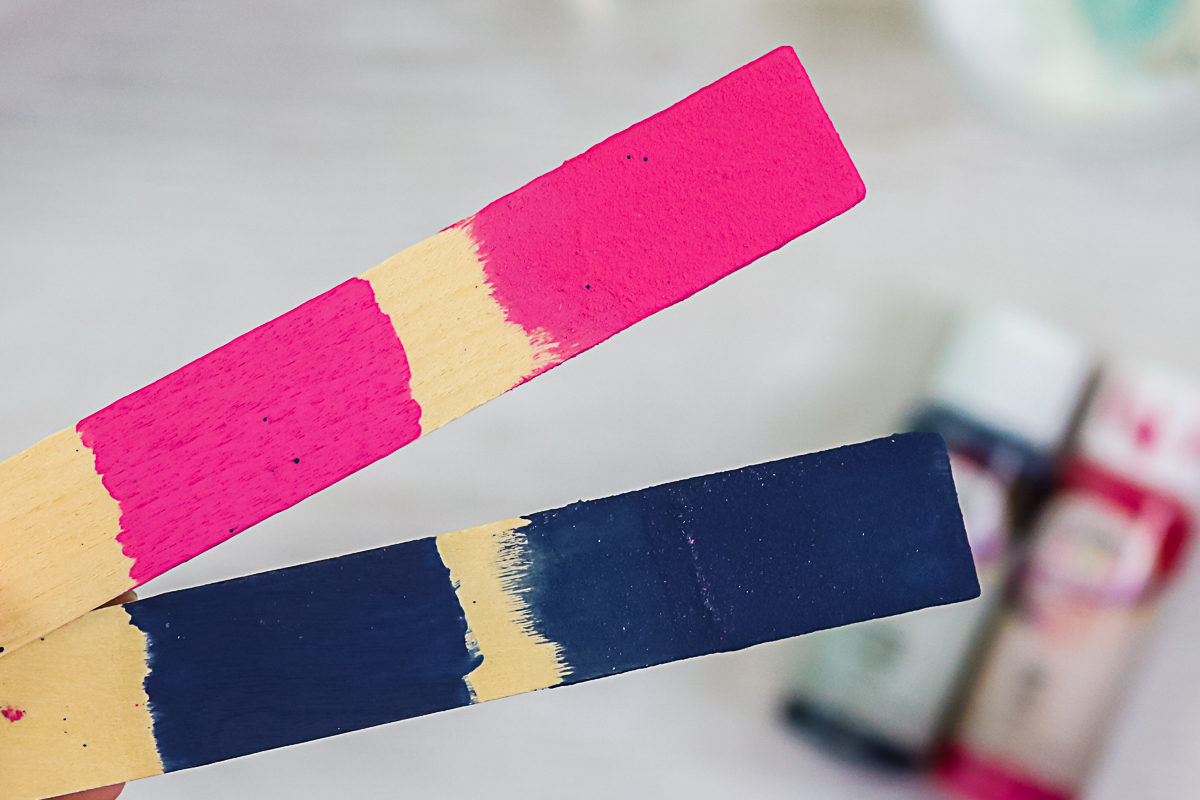
You can actually see a little bit of what the baking soda does to the paint in the image below. The very end of the sticks are painted with textured paint while the center is painted with paint right out of the bottle. You can hopefully see that texture coming through the end where baking soda is applied.
Painting Pumpkins
Now that your paint is mixed, it is time to coat the pumpkins. I do have a few tips and tricks for painting fake pumpkins that may help you. I like to remove the stem from my pumpkins before painting. For me, an unpainted stem looks better so I just add this back later. Just pull to remove the stem from the foam pumpkin.
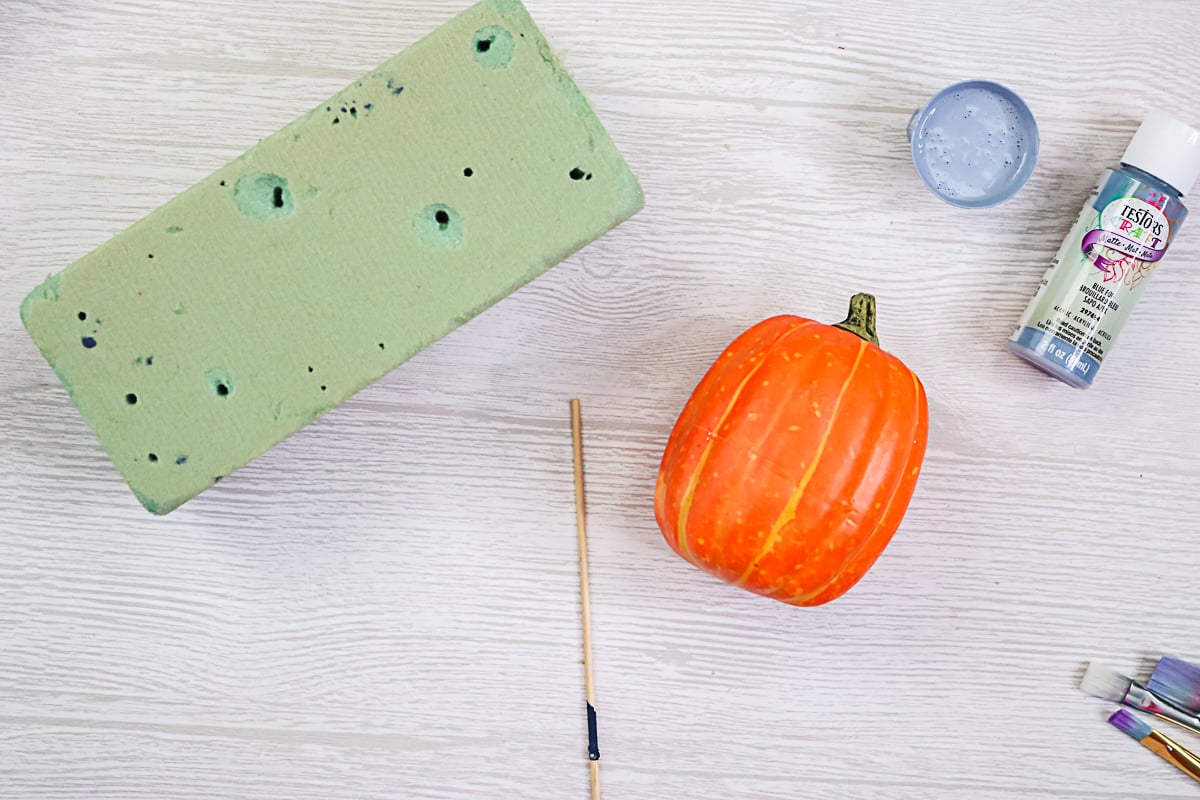
I then add a dowel rod or even a toothpick into the stem area. This will give you something to hold while painting so you can paint the entire pumpkin at once.
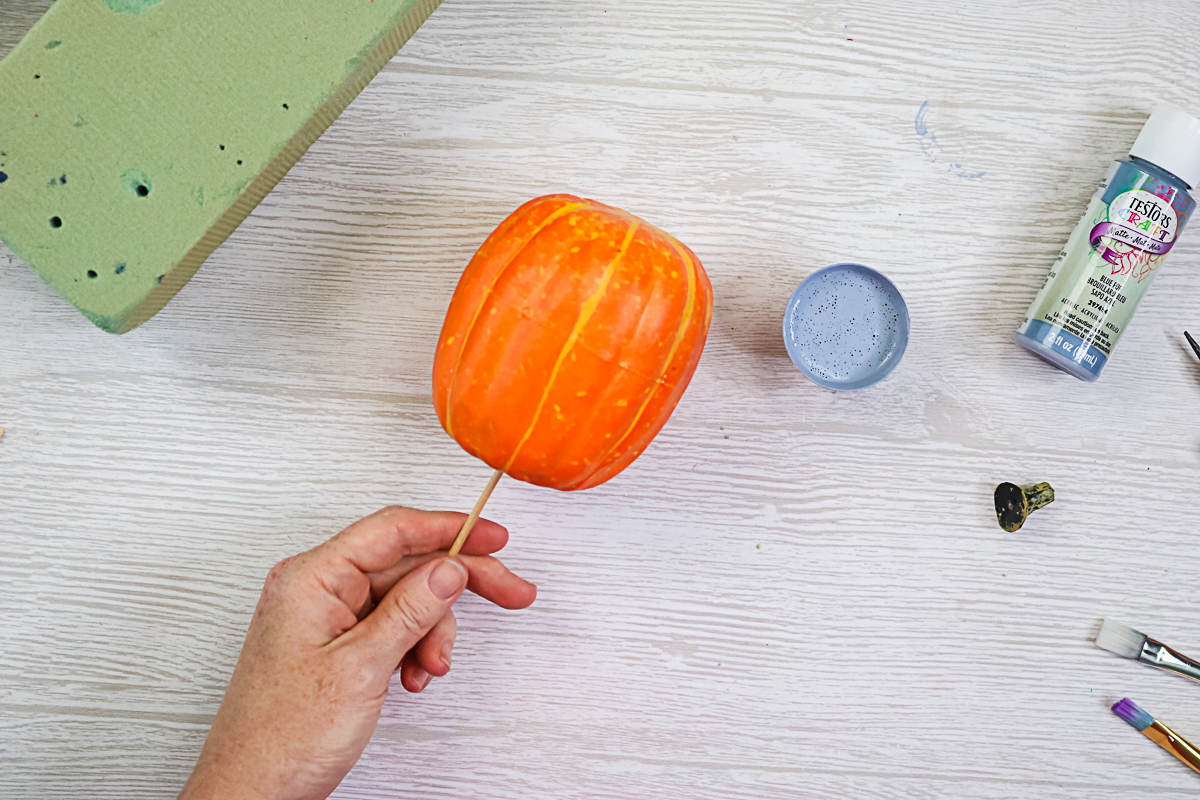
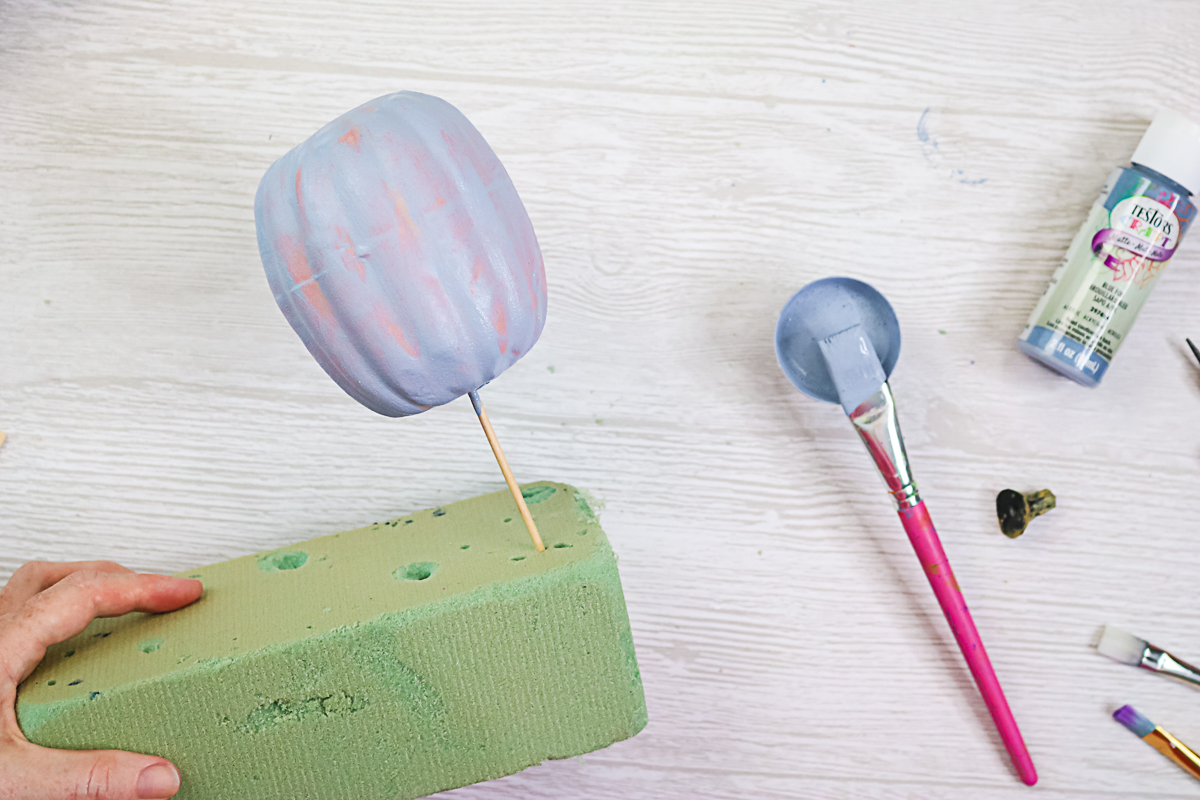
You will also want to have a foam block handy for when you are done painting the pumpkin. This will be used to add the other end of the dowel rod to hold the pumpkin while the paint dries. Then just give your pumpkins one good coat of paint all over the entire surface.
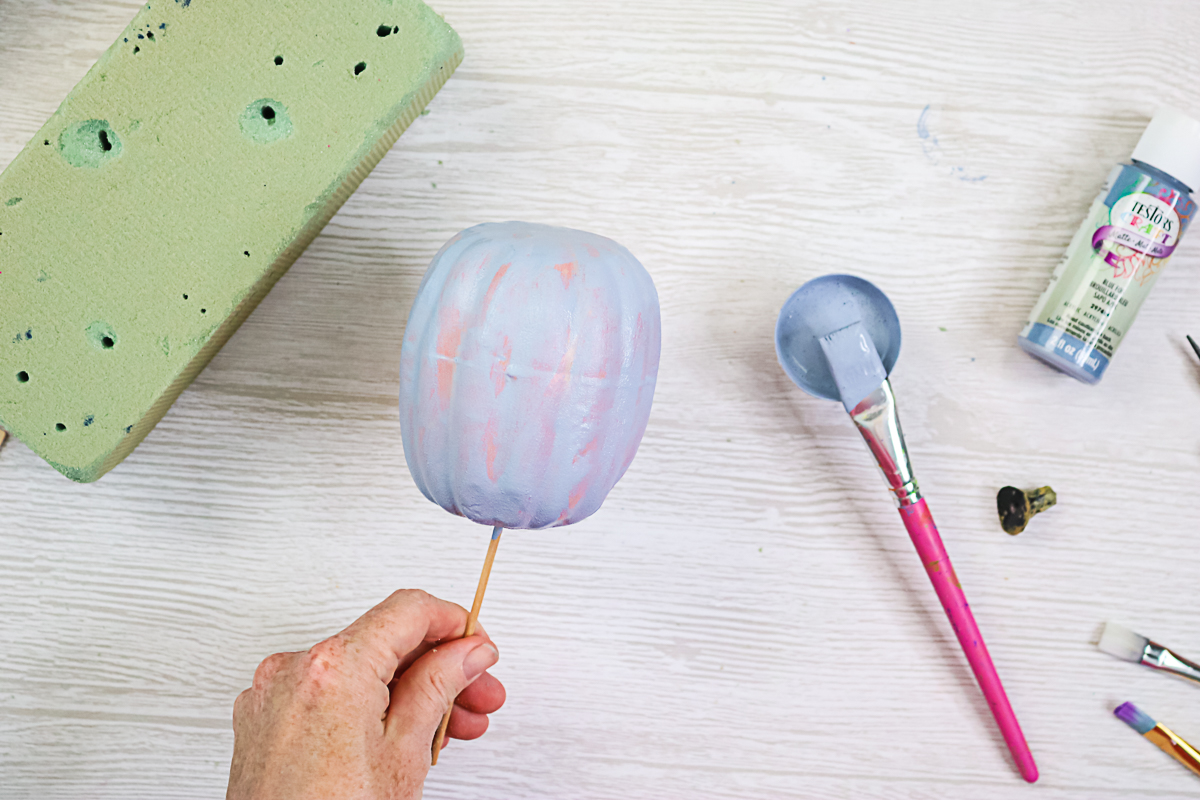
Add the dowel to the foam so that the pumpkin is held upright while it dries. You will need several coats of paint to get good coverage. Depending on the color of your pumpkin and the color of your paint, you could need 3 coats of paint to cover the surface. Be sure to allow the paint to dry completely in between coats.
Adding Vinyl to Painted Pumpkins
Once the paint is dry, you can add cut vinyl if you would like. This step is optional but can add some fun to your project. After all, once you learn how to paint pumpkins, you will want all of the fun in your fall decor! I cut some vinyl with my Cricut machine. You can cut the vinyl into any shape that you like.
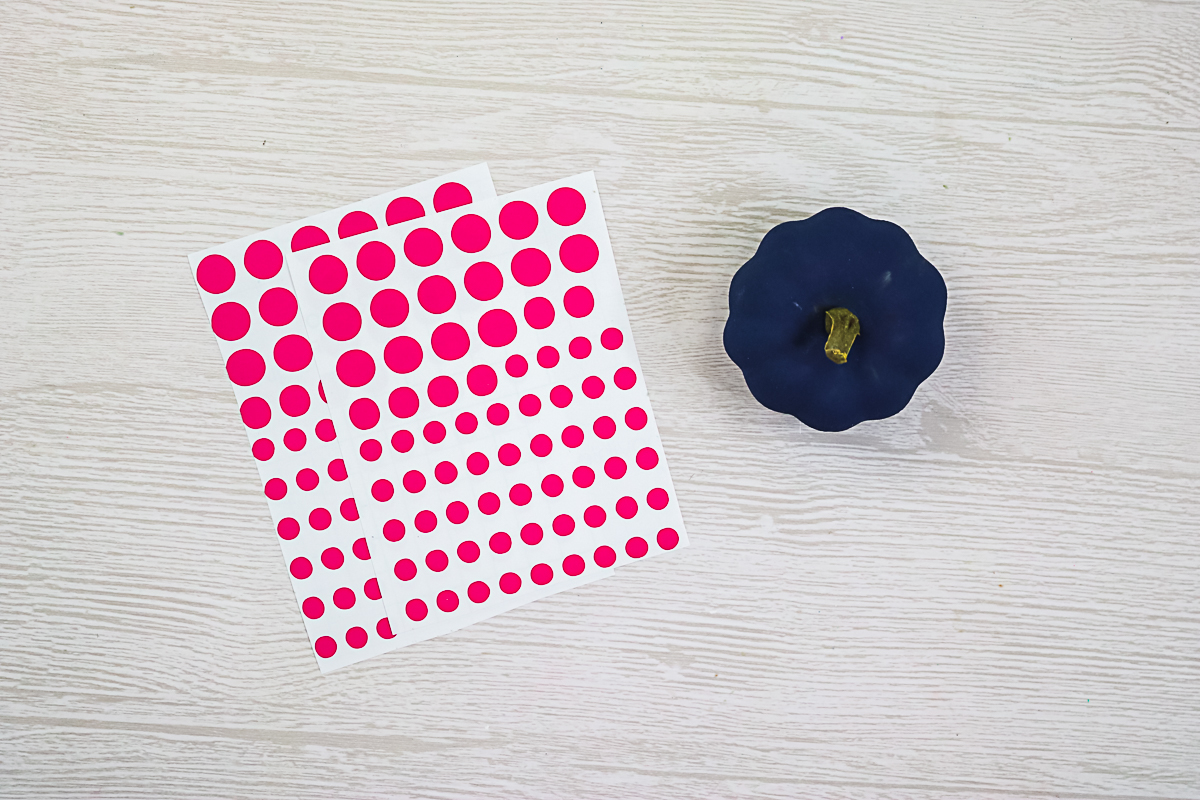
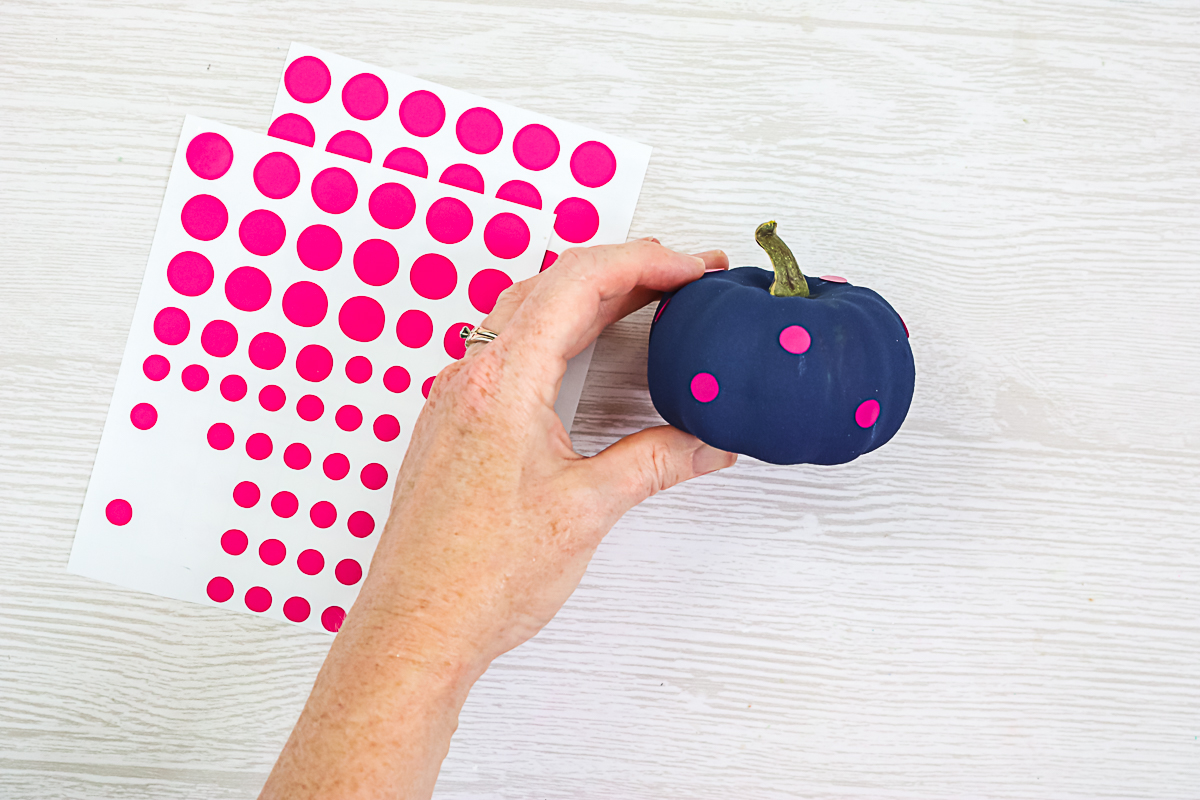
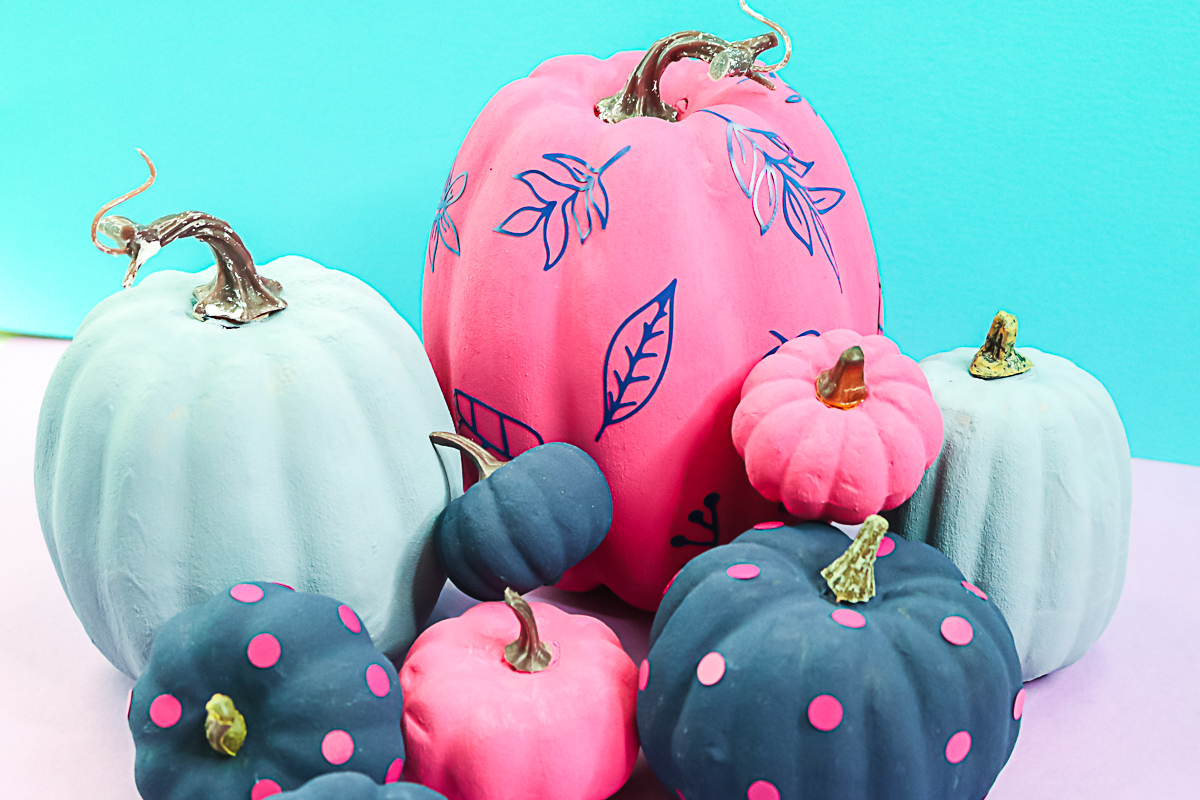
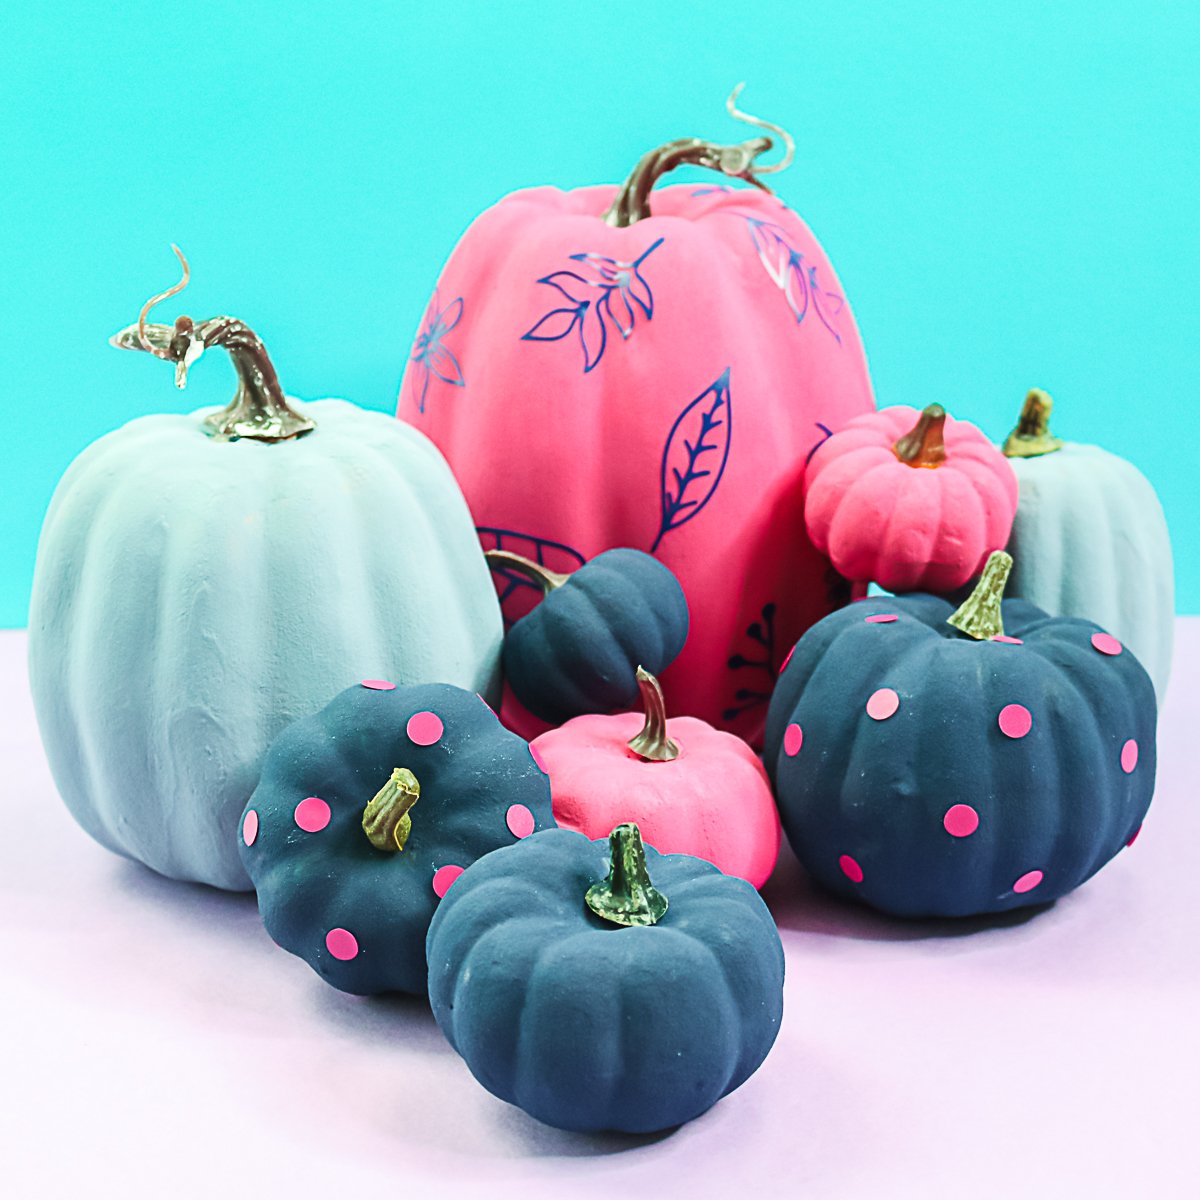
Then just peel and stick the vinyl onto your surface. Here I added random dots all over these small navy blue pumpkins.
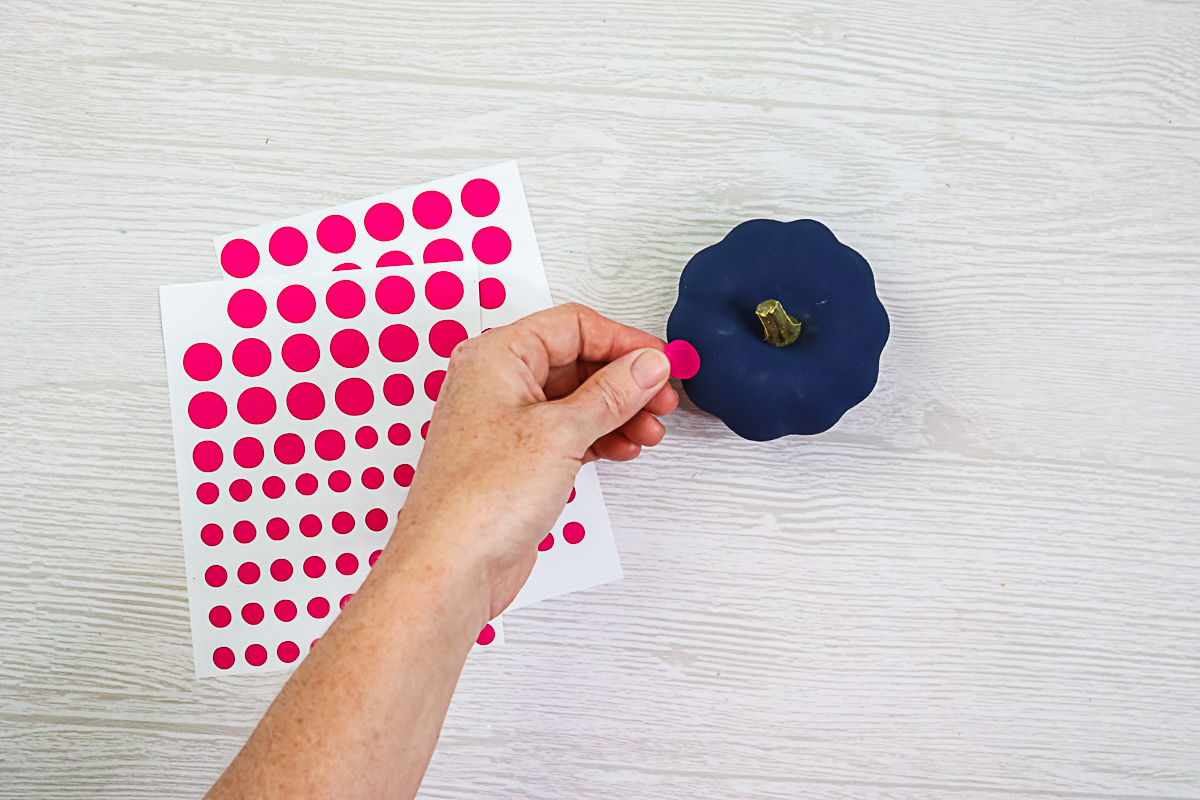
I would caution you that vinyl can lift from textured surfaces. I would use permanent vinyl and go over the top of your surface with a few coats of decoupage to make sure everything stays in place. If you are going to use these outdoors, make sure you use decoupage that is intended for outdoor use.
Adding Texture to Paint
Now that my pumpkins are complete, I am ready to put them anywhere in my home! I thought I would show you a few close-ups of the texture that this painting method creates.
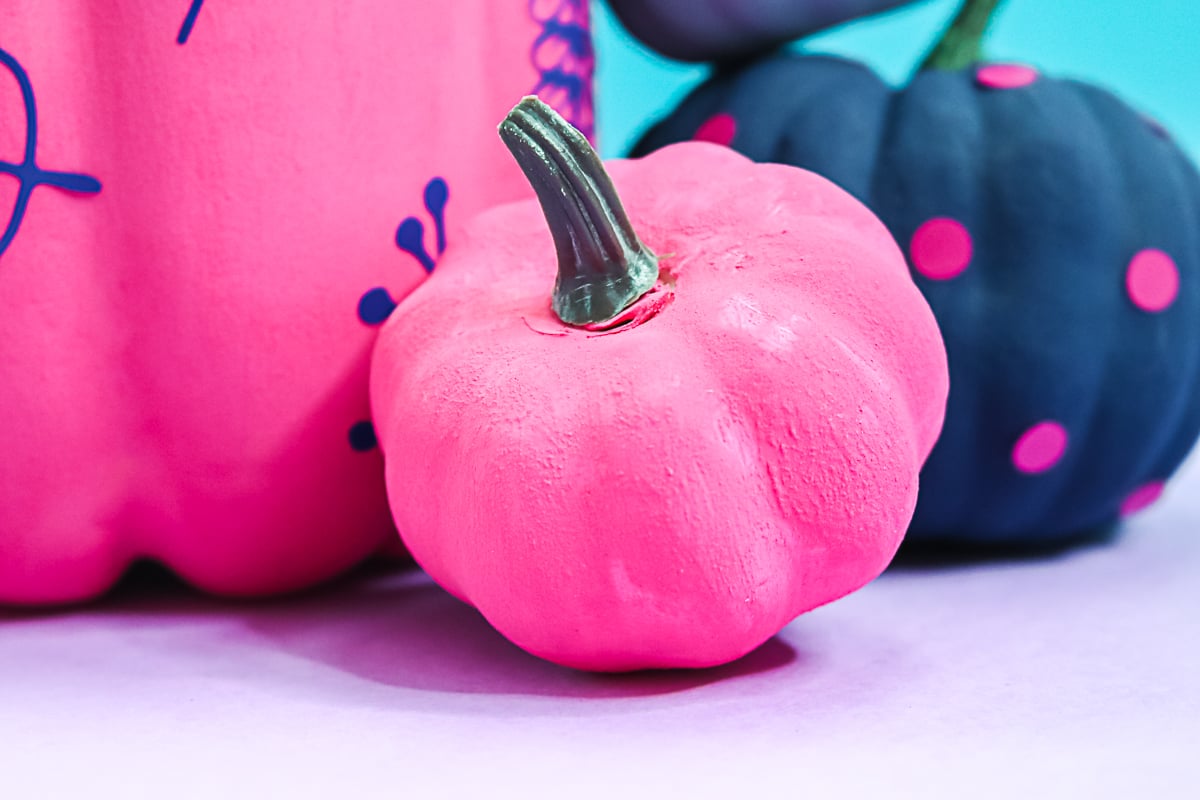
To me, it makes the pumpkins look like they are made from stone or concrete which is simply stunning.
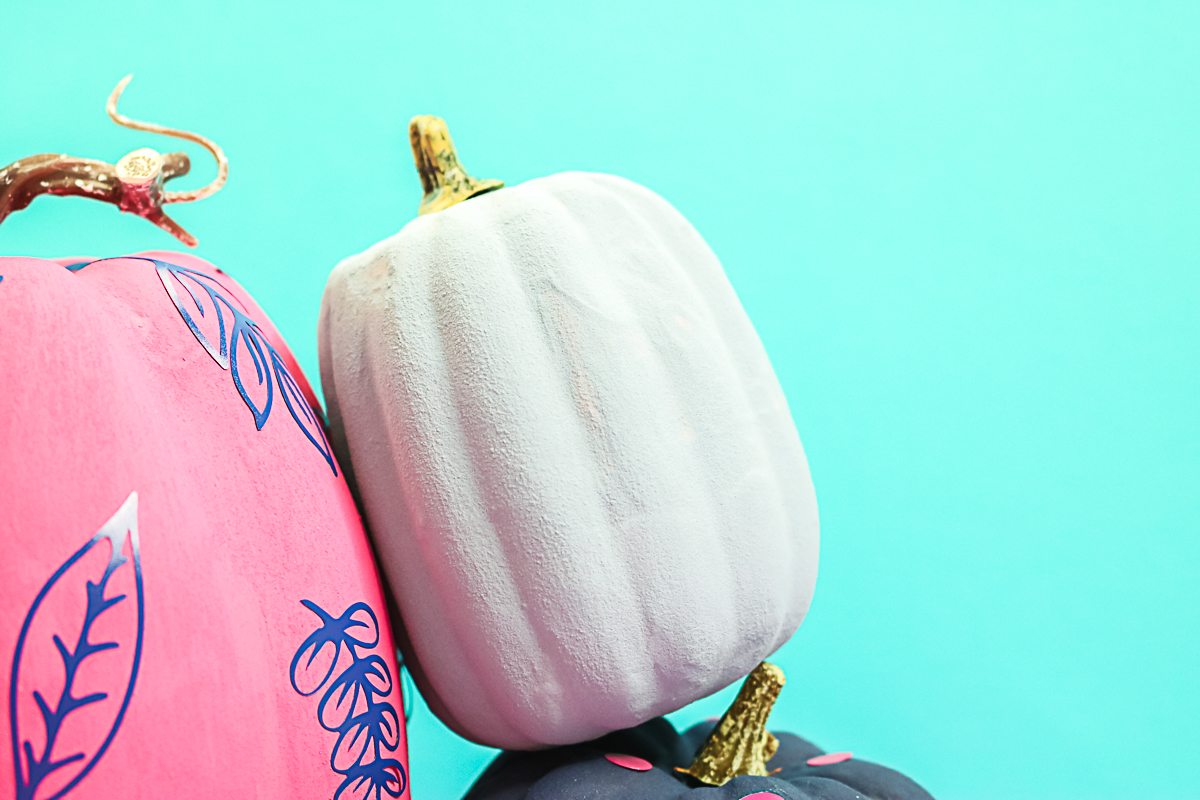
Remember you can use any colors that you like for this project. I went completely non-traditional but you can use any color of Testors craft paint with this method to make pumpkins for your home.
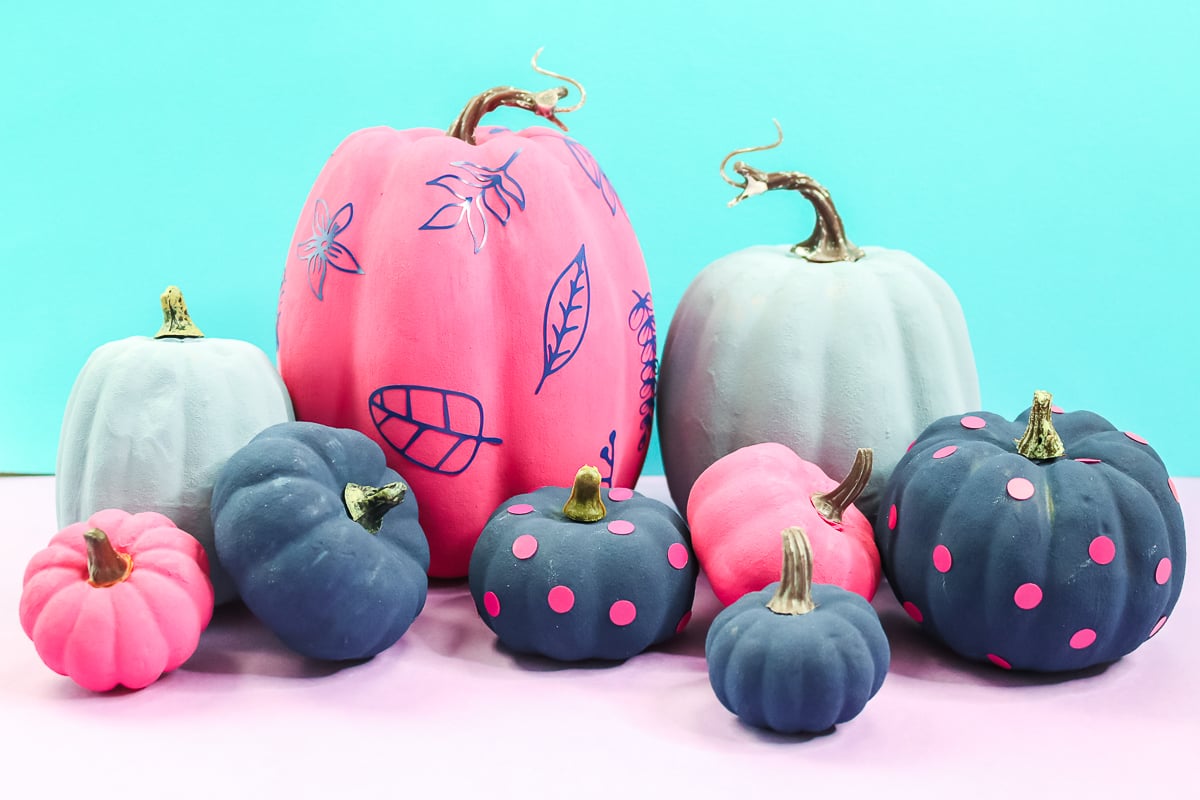
In fact, you can use this textured paint technique for other objects around your home as well. Paint vases, frames, planters, and so much more. This is not just for pumpkins so you will want to pick up lots of paint and baking soda!
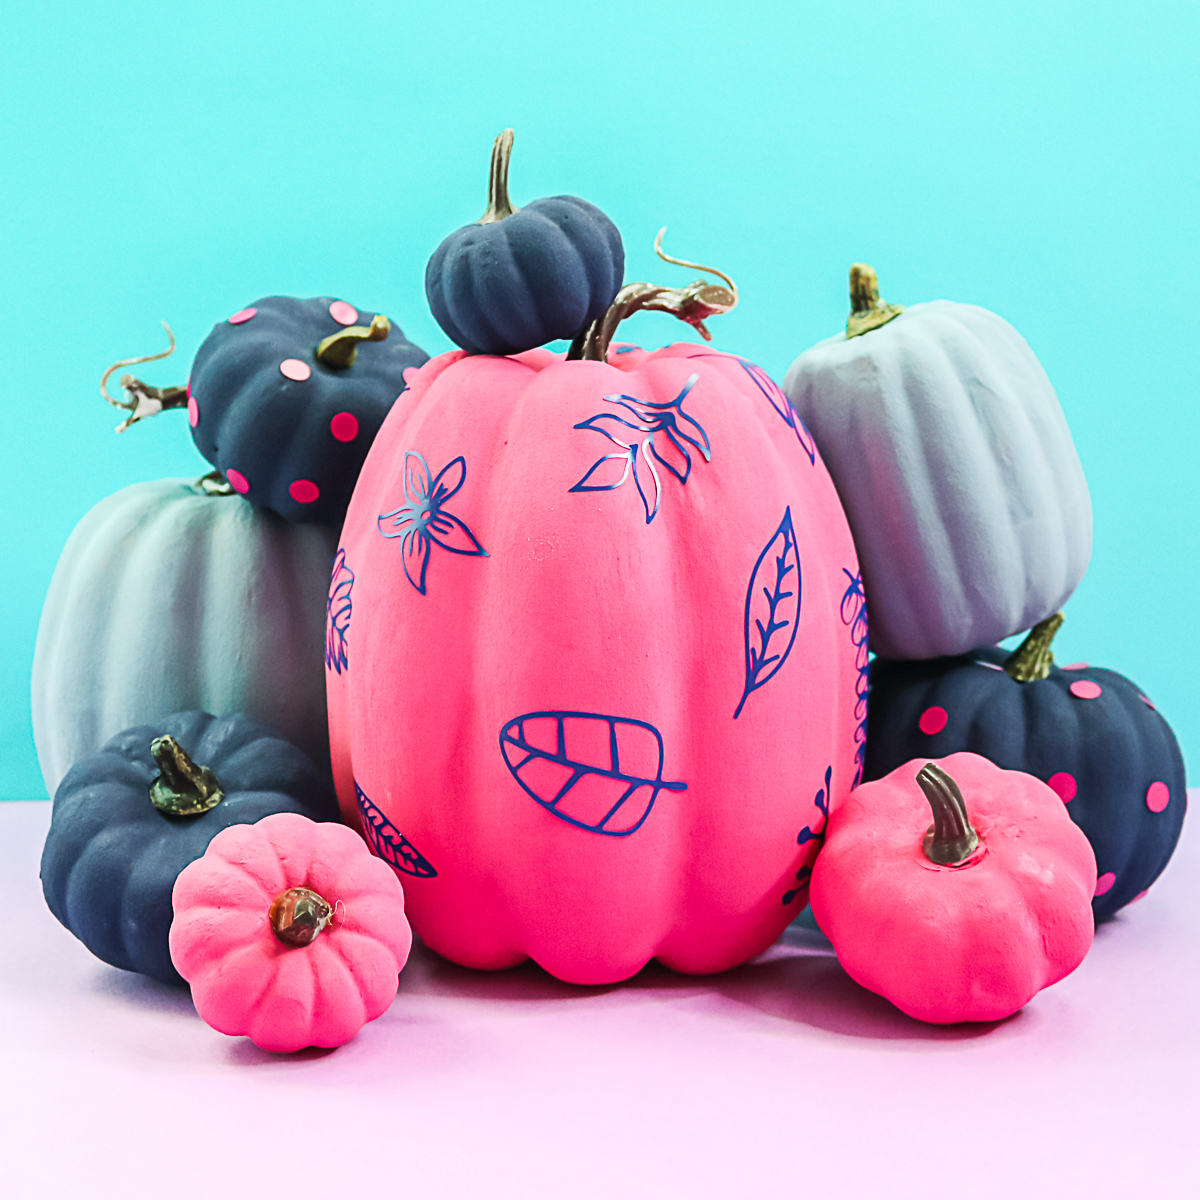
So, now that you know how to paint pumpkins, what colors will you be adding to your decor this fall? I wanted these bright and colorful pumpkins in my craft room, however, you can use more traditional colors for your mantel or even go with all neutrals.
However you choose to use this technique, I think you will find that the texture is a ton of fun and really makes your pumpkins stand out.
If you need me, I will be dreaming up new ways to use this paint technique on other surfaces. I might even head to the thrift store and pick up a few things to upcycle. Learning how to paint pumpkins was really just the beginning!
Love this project and want more craft ideas with paint? Try the links below!
Use the card below to print the instructions on how to paint pumpkins.
Supplies
- Testors Acrylic Paint NOTE: You can find this paint at Menards, Do It Best, and True Value.
- Baking Soda
- Pumpkins
- Cricut machine optional
- Cricut vinyl optional
- Decoupage optional
- Paintbrush
- Mixing cups
- Stir sticks
- Dowel rods and/or toothpicks
- Styrofoam
Instructions
Baking Soda and Paint Mixture
- First, you will want to mix your paint. Put about 1 tablespoon of the Testors paint in a mixing cup.
- Then add about 2 teaspoons of baking soda to the paint. I added one teaspoon at a time and mixed well just so I wouldn’t spill as much. You can actually add as much or as little baking soda as you would like. The more you add the more texture your final product will have. However, the paint can get really thick so be careful not to add too much.
Painting Pumpkins
- Now that your paint is mixed, it is time to coat the pumpkins. I do have a few tips and tricks for painting fake pumpkins that may help you. I like to remove the stem from my pumpkins before painting. For me, an unpainted stem looks better so I just add this back later. Just pull to remove the stem from the foam pumpkin.
- I then add a dowel rod or even a toothpick into the stem area. This will give you something to hold while painting so you can paint the entire pumpkin at once.
- You will also want to have a foam block handy for when you are done painting the pumpkin. This will be used to add the other end of the dowel rod to hold the pumpkin while the paint dries. Then just give your pumpkins one good coat of paint all over the entire surface.
- Add the dowel to the foam so that the pumpkin is held upright while it dries. You will need several coats of paint to get good coverage. Depending on the color of your pumpkin and the color of your paint, you could need 3 coats of paint to cover the surface. Be sure to allow the paint to dry completely in between coats.
Adding Vinyl to Painted Pumpkins
- Once the paint is dry, you can add cut vinyl if you would like. This step is optional but can add some fun to your project. After all, once you learn how to paint pumpkins, you will want all of the fun in your fall decor! I cut some vinyl with my Cricut machine. You can cut the vinyl into any shape that you like.
- Then just peel and stick the vinyl onto your surface. Here I added random dots all over these small navy blue pumpkins.
- I would caution you that vinyl can lift from textured surfaces. I would use permanent vinyl and go over the top of your surface with a few coats of decoupage to make sure everything stays in place. If you are going to use these outdoors, make sure you use decoupage that is intended for outdoor use.


