See how I made this stencil table runner using a simple table runner and stencil. Using a stencil and your favorite table runner, you can make this quick and easy project that is completely customizable.
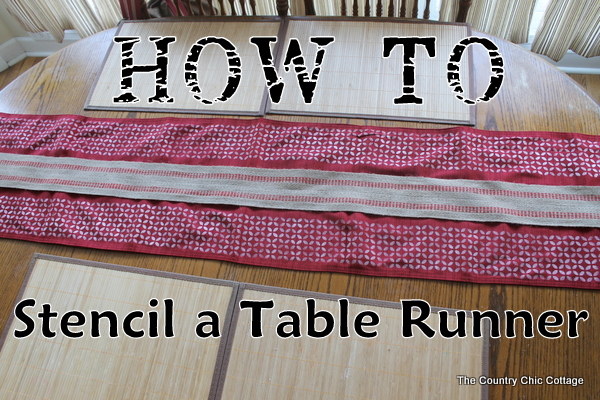
Yesterday I showed you how to spray paint light fixtures, and gave you a teaser with a picture that included my new table runner.
This simple no-sew table runner can be done with minimal materials and without taking up a lot of time.
You can purchase a stencil or make a stencil using a Cricut machine.
Time for all of the details! Let’s get busy and learn how to stencil a table runner.
Supplies Needed to Make A Stencil Table Runner:
- Table runner
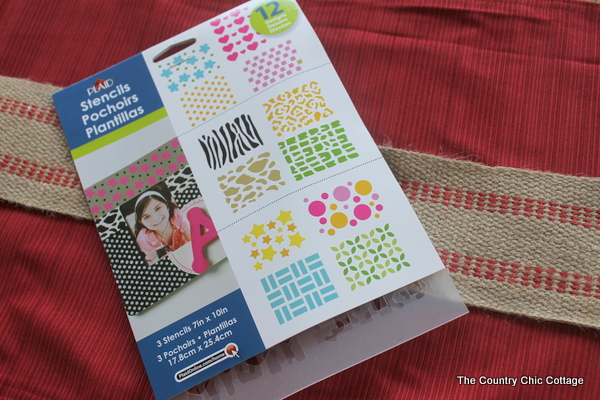
- Stencils
- Acrylic paint
- Jute webbing
- Stencil brush
Note: if you love stenciling as much as I do, check out our DIY Stenciled Flour Sack Towel, Burlap Pillows with Stenciled Designs, and Stenciled Bookcase with Chalky Finish Paint projects.
How to Make A Stencil Table Runner
The stencil was super easy to use. Follow these tips to make your own!
Step 1
I picked which pattern I wanted. The great thing about this pack of stencils is you get a ton of variety all for one price.
Step 2
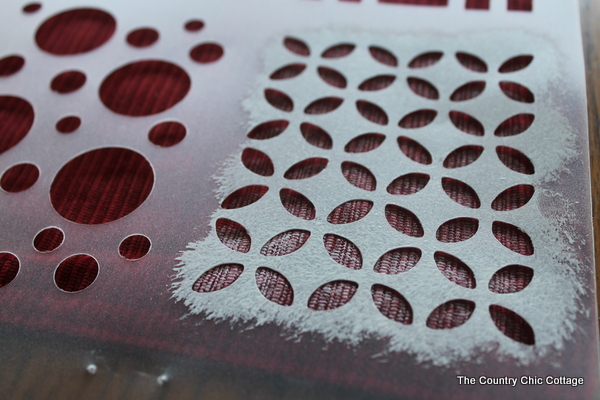
Then, I laid the stencil on my runner and with a very dry stencil brush and applied white paint.
Step 3
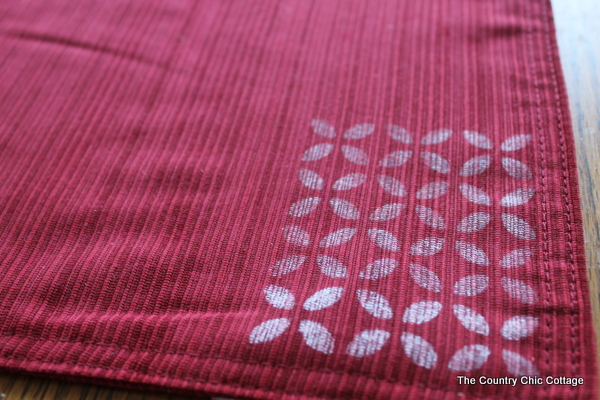
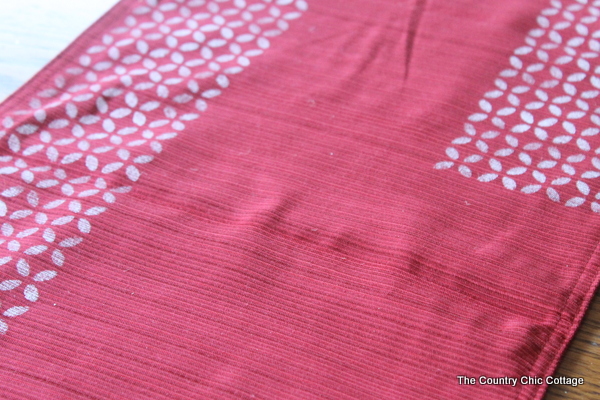
After removing the stencil, you can see my awesome pattern. I then overlaid the stencil onto the last row so that I lined up my pattern for the next set. This pattern reminds me of a quilt, which is why I chose it.
Step 4
I went all the way down both sides of the runner. This maybe took my 30 minutes.
It was super simple and the stencil was a breeze to use. I did not use any stencil adhesive. Just make sure your brush is VERY dry every time by getting rid of any excess.
I also “pounced” my brush straight down.
Step 5
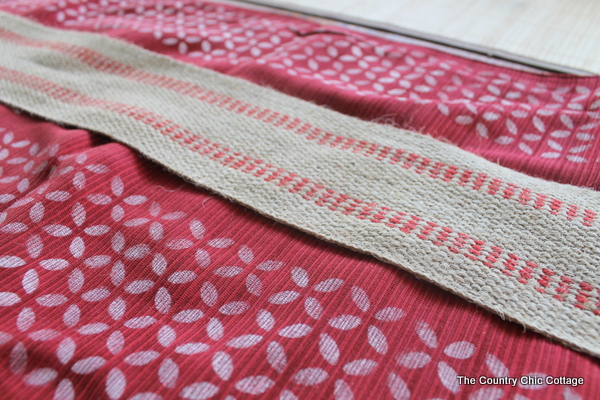
After my stencil was dry, I added my jute webbing right down the center. I actually sewed down the center but I think you could totally glue this using some fabric glue.
I then showed it off yesterday with my freshly painted light fixture.
My eat-in kitchen area is looking great!

Supplies
- Table runner
- Stencil
- Acrylic paint
- Stencil brush
- Jute
Instructions
- Choose which pattern you want to use. The great thing about this pack of stencils is you get a ton of variety all for one price.
- Then, lay the stencil on the runner and with a very dry stencil brush and applied white paint.
- After removing the stencil, you can see my awesome pattern. I then overlaid the stencil onto the last row so that I lined up my pattern for the next set. This pattern reminds me of a quilt which is why I chose it.
- I went all the way down both sides of the runner. This maybe took me 30 minutes.It was super simple and the stencil was a breeze to use. I did not use any stencil adhesive. Just make sure your brush is VERY dry every time by getting rid of any excess.I also “pounced” my brush straight down.
- After my stencil was dry, I added my jute webbing right down the center. I actually sewed down the center but I think you could totally glue this using some fabric glue.


What a great idea! There are some great plain table runners here that would be perfect for stencilling
Angie–your table runner looks great! I like the stencil you chose.
gail
Love this idea and your blog! Thanks so much for stopping by and for following my blog. I’m now following yours as well!
So easy, and SO simple! You’ve done a fabulous job and your table looks so comfy and inviting!
xx
Lia
Smart n Snazzy