I have gotten a ton of questions on how to use a sublimation printer. I thought I would do a basics guide covering what you need to know to jump into dye sublimation. Personally, I have loved jumping into this craft medium since I converted an Epson EcoTank printer into a sublimation printer.
Plus many of you have gotten your own sublimation printer and started making shirts, mugs, and so much more. Read on if you haven’t yet started with sublimation or want some more tips and tricks for your sublimation crafting.
Can’t watch the video or missed some of the information? You can also follow along below for more details.
What is a sublimation printer?
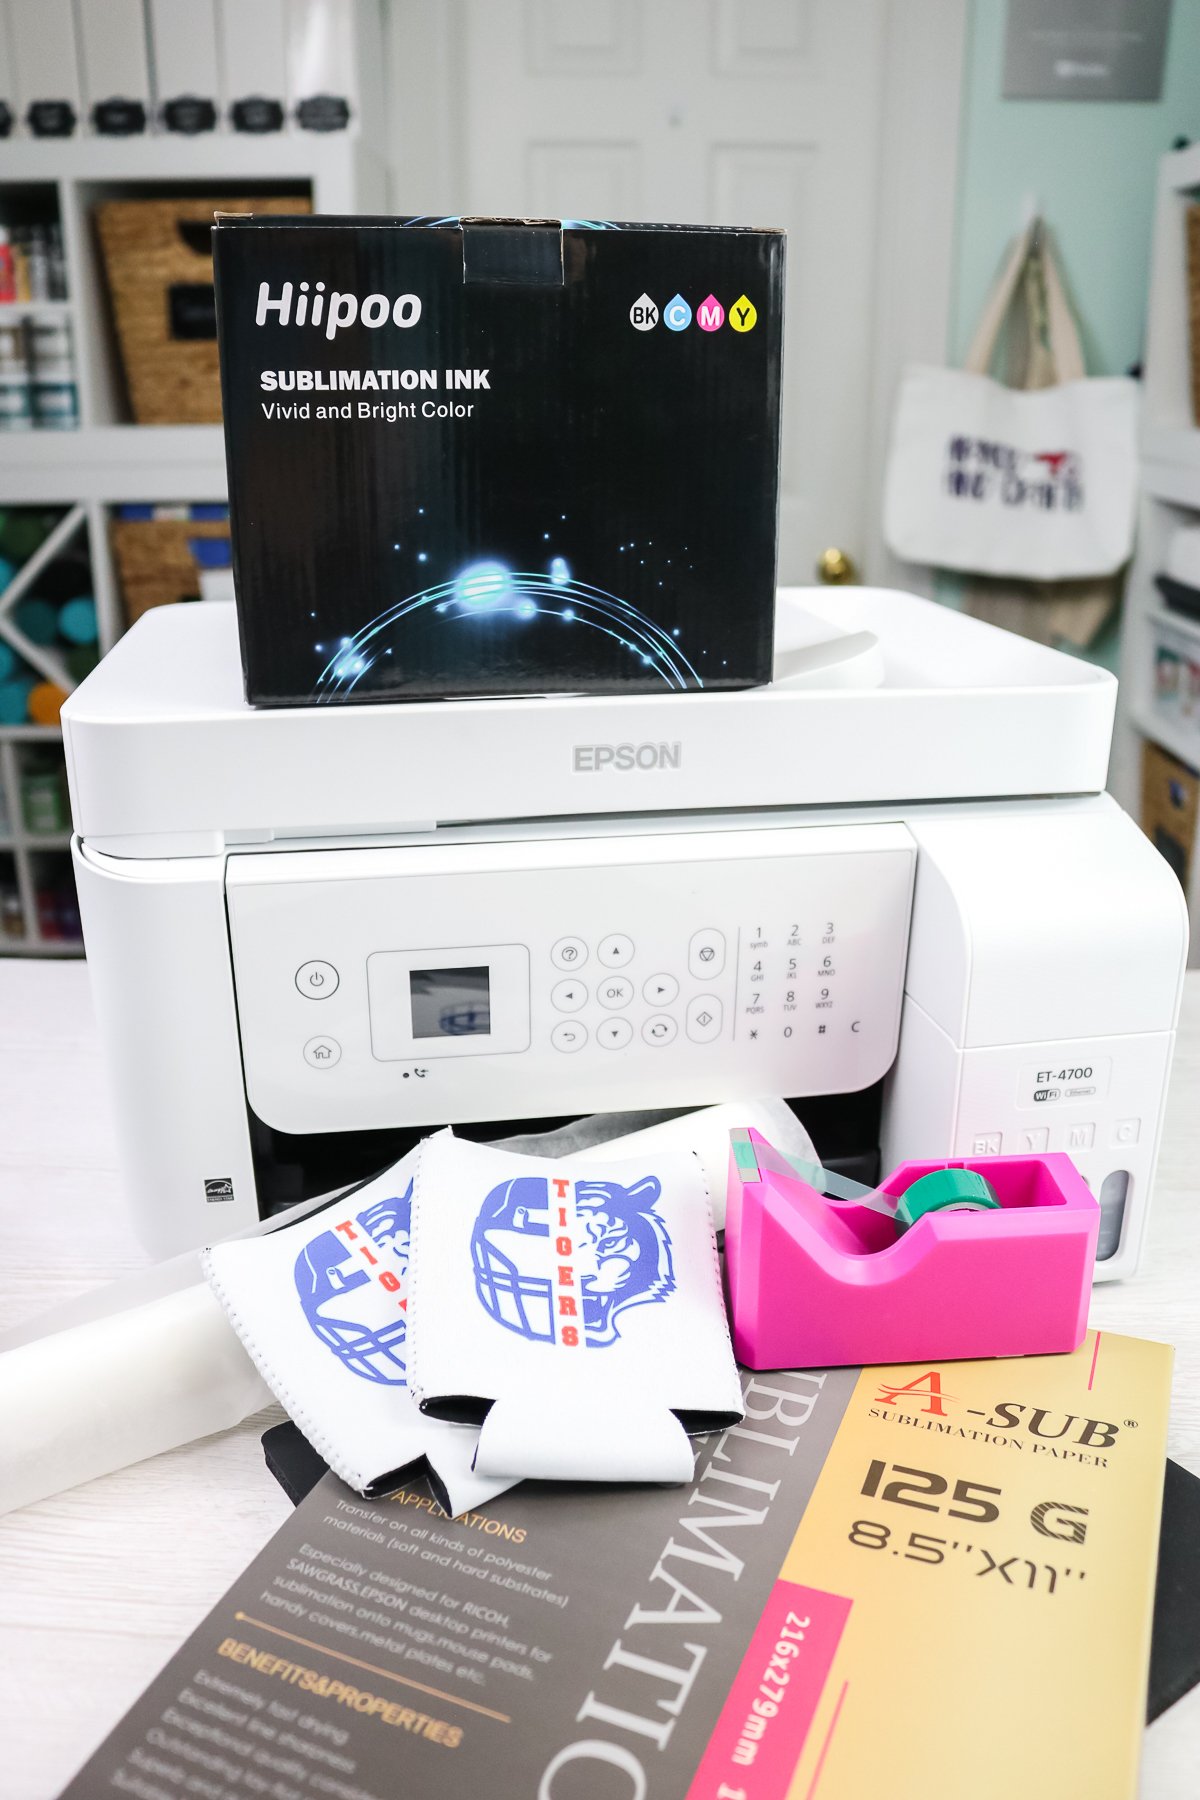
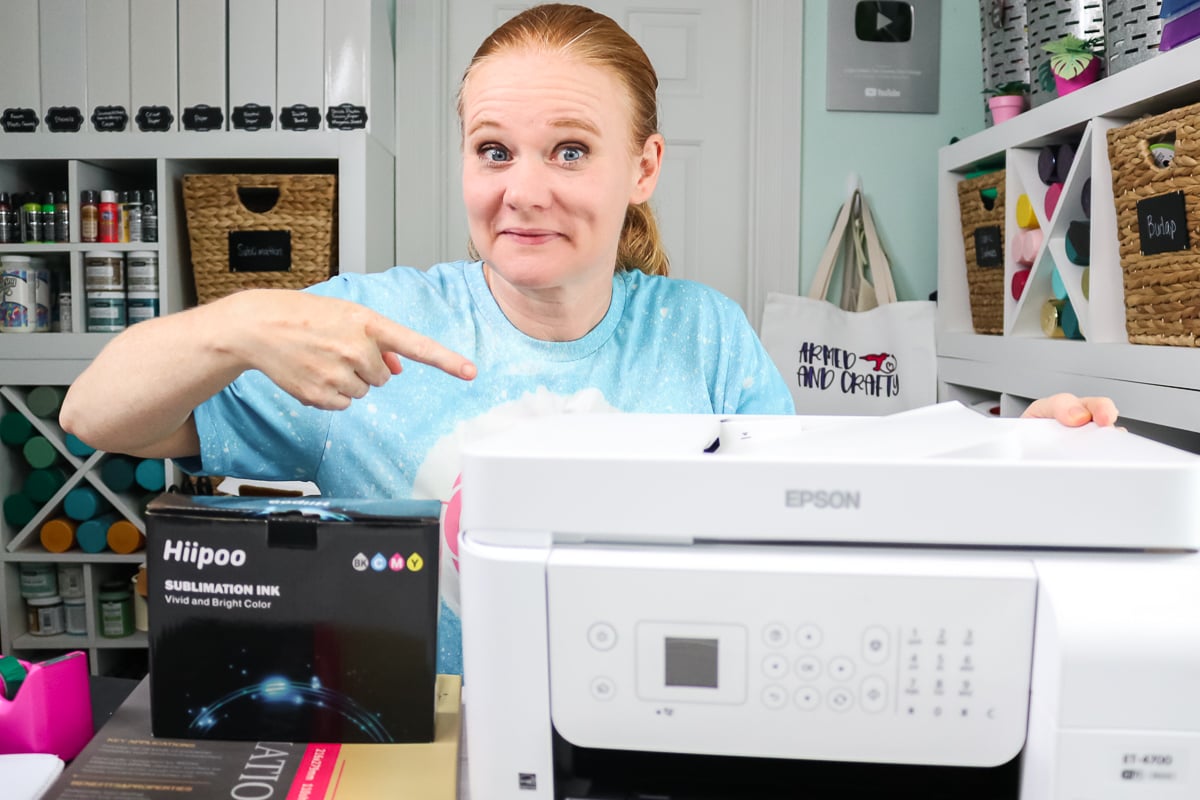
First, what is sublimation and why would you want to use this method for making your crafts? You can read more about sublimation here. To do sublimation, you need a sublimation printer with sublimation ink installed. I am using the following printer combination:
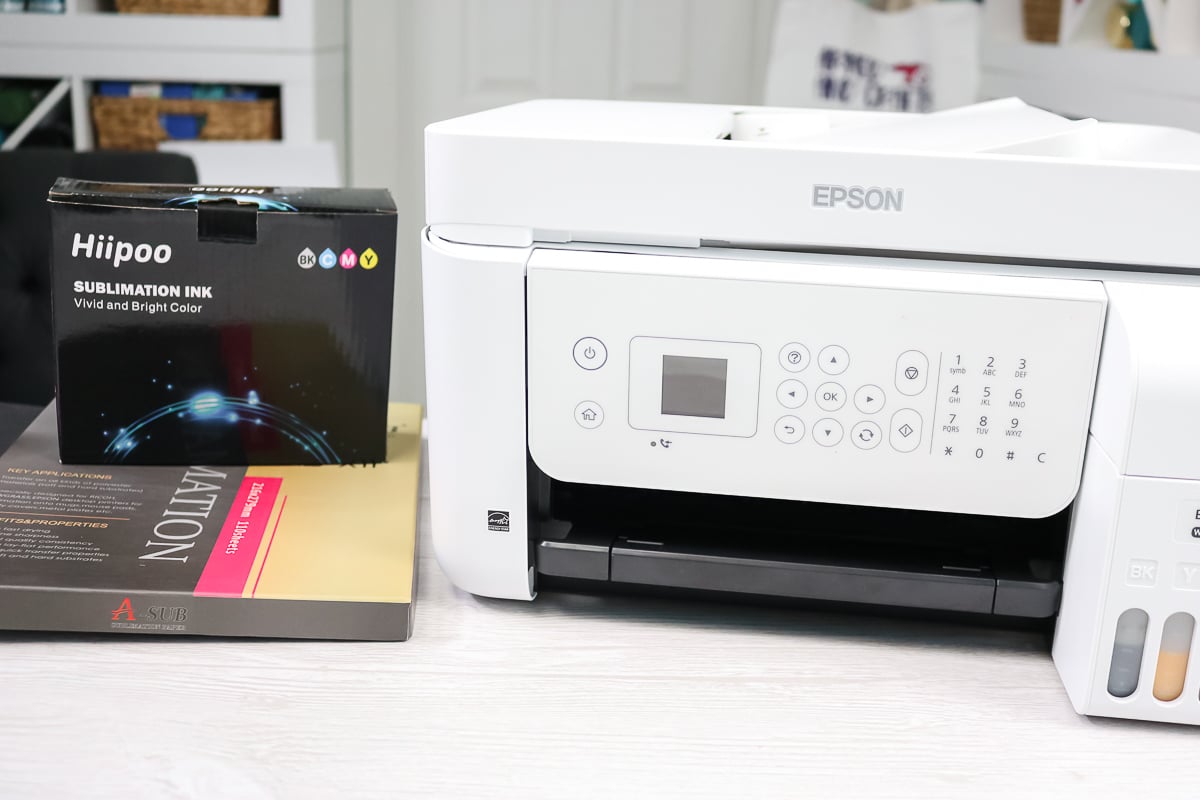
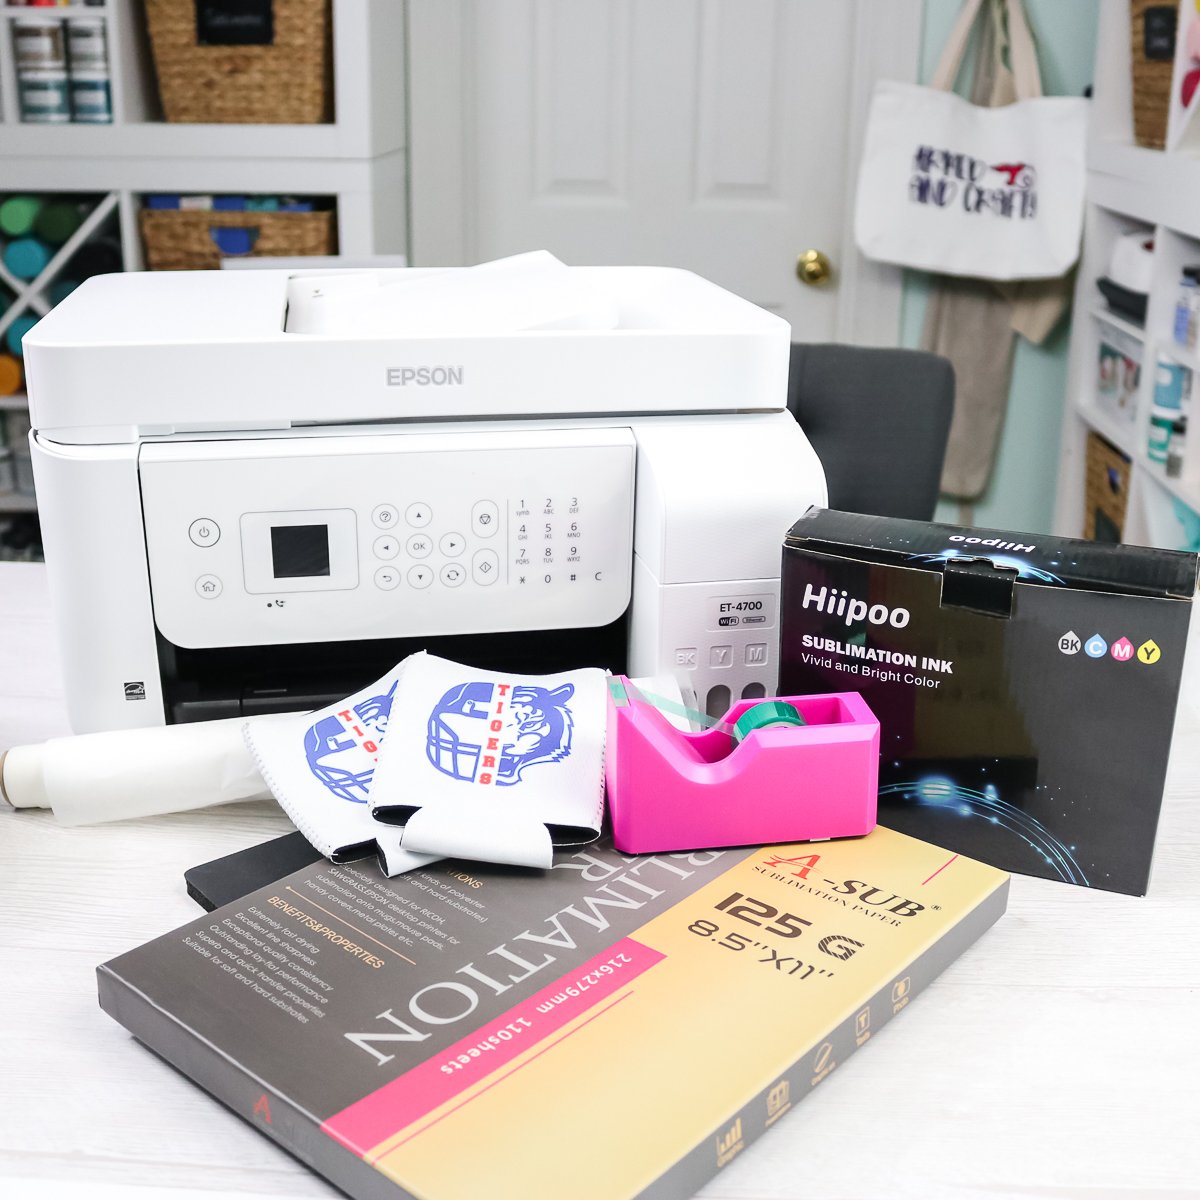
- Epson Eco-Tank Printer – I have the ET-4700 and here it is on Amazon and from Target. You can see how I converted my printer here.
- Hiipoo Sublimation Ink
I will note that my printer prints a maximum size of 8 1/2 x 14 inches. That is fine for me for now and a great size for getting started. They do make sublimation printers that are much larger that you can purchase if you would like.
Other supplies needed for sublimation:
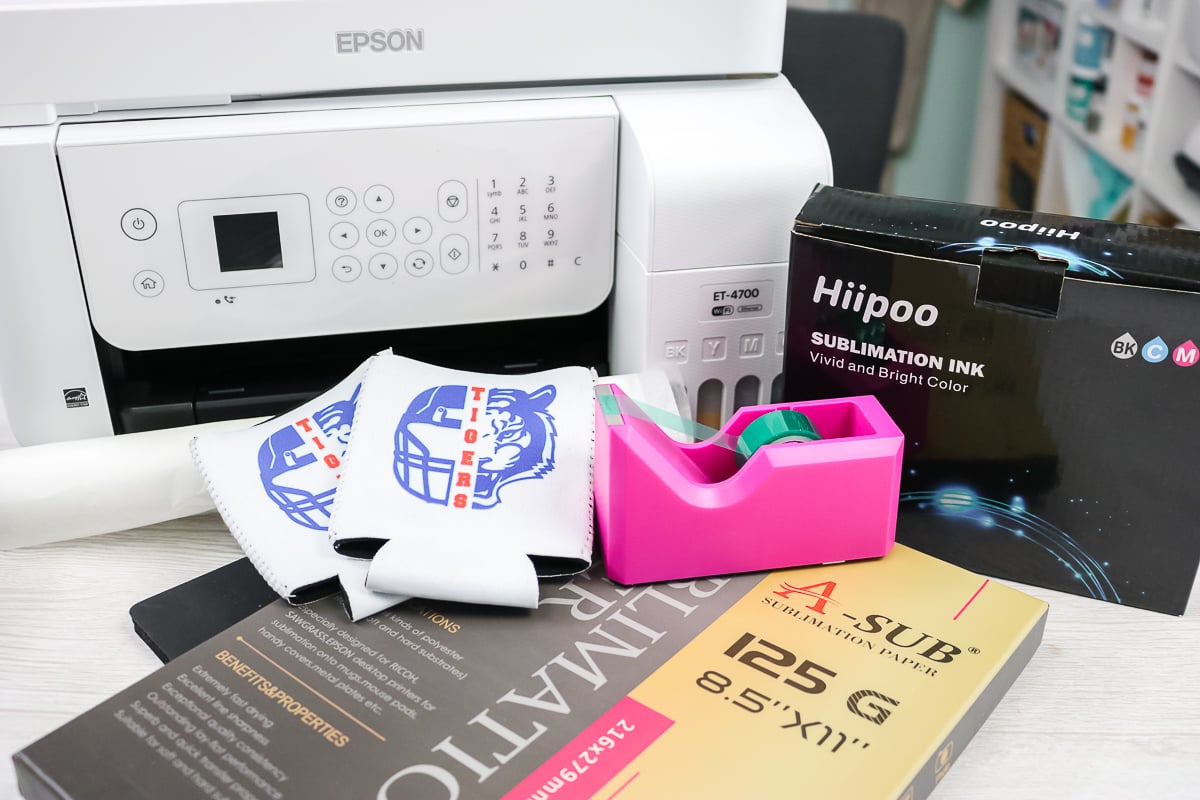
In addition to a sublimation printer with sublimation ink installed, you will also need a few other supplies when working with sublimation. I have a partial list below but you can also see my post on sublimation supplies here.
- A-Sub Sublimation Paper
- Heat Press or EasyPress (See my post on which heat press to buy here.)
- Sublimation Mat
- Protective Paper
- Heat Resistant Tape
- Can Koozies or some other sublimation blank (Remember that sublimation needs polyester to work so you will want to be sure you have the right type of blank.)
- Foam roll (See how to use this to prevent press lines here.)
- Heat Resistant Gloves
- Lint Roller
How to Size Your Designs for Sublimation
Now that you have all of your supplies, you will want to print your designs to add to your blank. To do that, you will probably need to resize the image in order to print it correctly. I have some options for you below for doing this.
Cricut Design Space
This is a free program and you don’t have to have a Cricut machine to use it. Just download and pull up the program on your computer. You will need to make sure Explore or Maker is your machine choice to use the print then cut function. Then watch the video above to see how to resize images or follow along with the simple instructions below.
- Upload your image. You can see how by watching the video above.
- Insert onto your canvas.
- Then resize your image using either the arrow to drag or typing in exact dimensions. NOTE: Maximum print then cut size on the Cricut is 6.75×9.25 inches.
- Click make it and then continue.
- Use the button to send to the printer. Be sure to pick your sublimation printer and uncheck add bleed. You will also want to use system dialogue in order to make sure your printer settings are correct.
There are a few benefits to using Cricut Design Space for your printing. This includes easily being able to change the color right in design space by highlighting your object and picking a new color. This does only apply to text or objects you have uploaded as an SVG file. You can literally flatten any text or image in this program and use it as a print. The program is also free which is a huge benefit as well.
The drawbacks include the size restrictions and always printing a black box around your design when using this program. You will need to cut this away before pressing. This also wastes your sublimation ink. You also cannot use custom ICC profiles with Design Space so you are stuck with the colors that are set with your printer.
Canva
Again this is a free online program and you can click here to start using it. This one has some limited features but for a free program, it is definitely useful when resizing to print. Watch the video above to see how to resize images or follow along with the simple instructions below.
- Click create a design and change to 8.5×11 inches for a custom design. These dimensions need to be the size of your paper.
- Then click upload and upload your pictures into Canva.
- Insert the images by clicking them.
- Resize the images to however large or small you want them to be.
- Download your design as a print quality PDF.
- Then open that PDF and print as usual. Be sure to check your print settings.
The benefits of Canva include no size restriction and no black box around the outer edge. You can also print whatever size you want for free. I also love that I can move the objects around the paper to get more room in between my prints.
The drawbacks are that you cannot change colors when uploading to Canva. So, whatever colors your image has are what print to the printer. You also cannot use custom ICC profiles so you are stuck with the colors that are set with your printer.
Photoshop
This is a paid program but definitely the most powerful program we are talking about in this post. You can buy Photoshop or get a monthly subscription to the entire Adobe suite. Then follow along with the video above for instructions or follow my simple steps below.
- Click create new and make the size the same as your paper. I would also use 300 pixels per inch.
- Click file and open. Then find the file you want to print. This will open up another window with your image.
- Click the layer on this file and click duplicate layer.
- Then click the file that is just the paper you made in step 1. This will make a copy of the image on your sized paper.
- Resize the image by clicking the square in the corner. Be sure to lock the proportions. Then you can type in a dimension or drag to size.
- Once the image is the right size, click file then print. You can also use ICC profiles with Photoshop. You can see how to get those and use them here.
The main benefit of Photoshop is that you can correct your colors when printing. It still makes the images in whatever size you would like. You can also easily change colors of literally ANY image in Photoshop before printing. You can actually see how to change colors in the video above if you want to see those steps. I also love that I can move the objects around the paper to get more room in between my prints.
The drawbacks are that it is a paid program so you will need to add that to your cost of crafting or running your small business. It is definitely the best program for sublimation printing in my opinion.
How to Use Templates
Templates are useful for things like full-wrap tumblers. With a template, you can make your print the exact size you need before printing. I cover exactly how to use templates with all three programs in the video above or you can follow the quick steps below.
Cricut Design Space
- Upload your template in the same manner as any image.
- Resize as needed and always double check the size. Be sure not to unlock your template but you will want to check the sizing as uploads to Design Space tend to be off in size.
- Pick your template as well as the image you want to be printed then click slice. Slice will ONLY work with two objects so be sure you only have two objects.
- Delete away all of the layers you don’t need. You want just your template with the design to be left in the end.
Canva
- Upload both the template and your design.
- Add your design to your paper then put the template over the top.
- Make the template ALMOST as large as your paper. Remember that sizing of templates could be off so you may want to measure or test the template before printing on your sublimation printer.
- Then download as a print quality PDF and print.
Photoshop
- Open both the template and the design you want to print.
- Then size your design to the template. I would always double check the size of any template before printing on a sublimation printer.
- Be sure your design is in back and your template is in front.
- Then print as before. Again, you can use your ICC profile if desired.
How to Make a Sublimation Project
Now that you have learned how to use a sublimation printer, I thought I would run through a quick project so you can see how to put what you printed onto a blank.
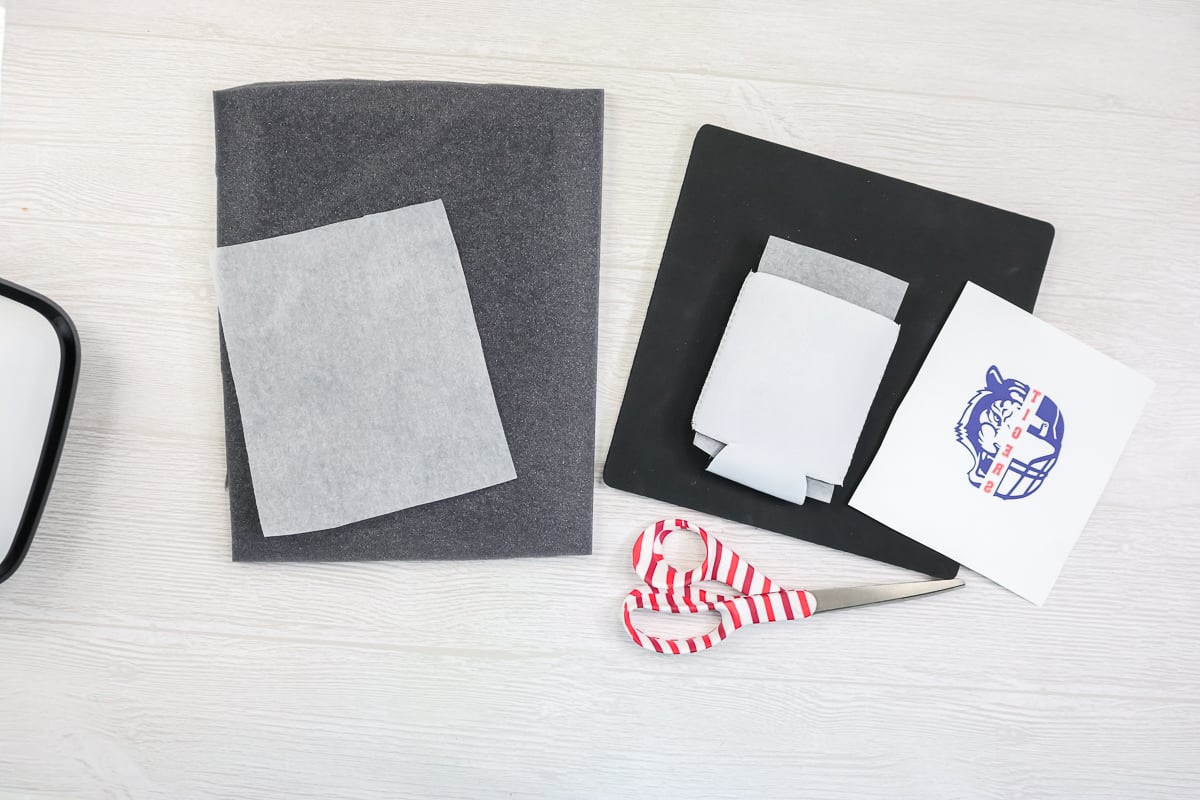
- Preheat your press to the right time and temperature. You can find the right settings wherever you purchased your blank. If they don’t come with instructions, I generally use the recommendations that are included in my sublimation paper pack.
- Lint roll your blank.
- Add protective paper and prepress.
- Then locate your design and tape it into place. Make sure you use heat-resistant tape. You can see more about how to tape and locate your design to prevent press lines here.
- Add protective paper both inside your blank and on top of your print.
- Then press with your heat press. Be sure to follow any recommendations for pressure for the blank.
- Then peel back using heat-protective gloves.
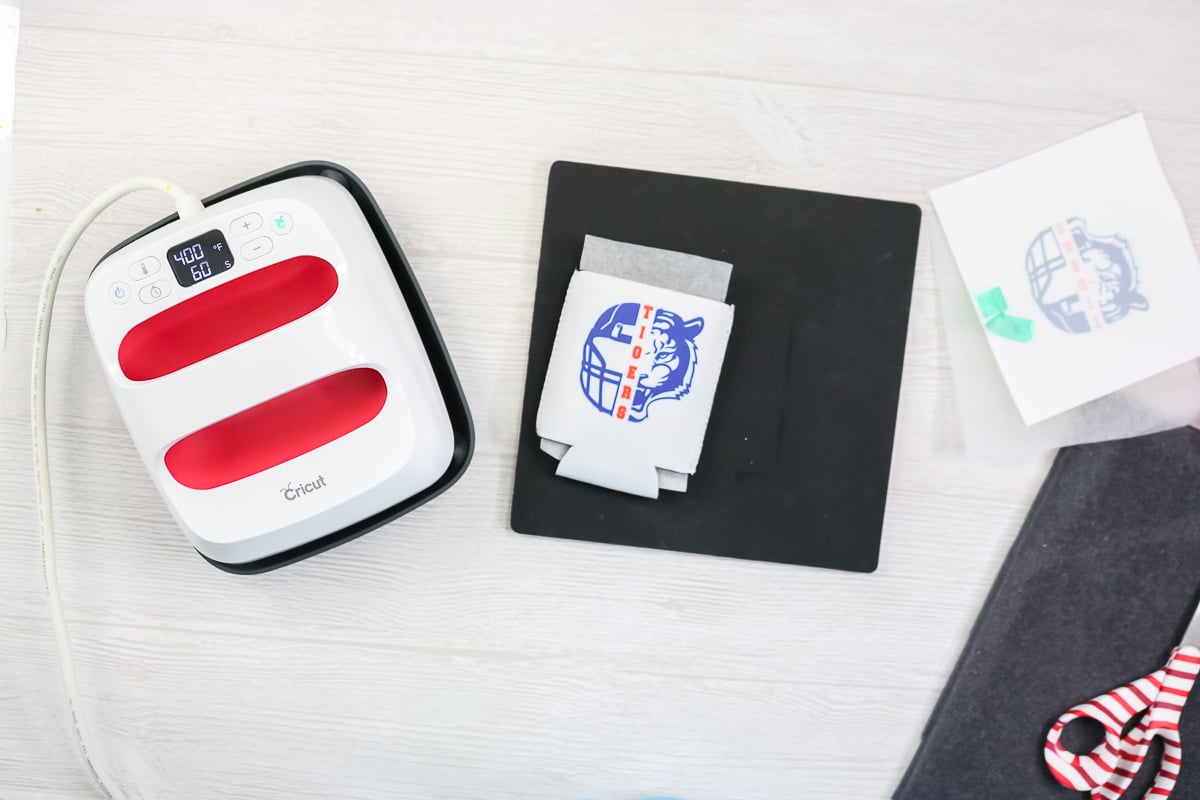
Congrats! You have just learned how to use a sublimation printer and made your first project! I bet you didn’t even know it was that easy to make professional crafts right at home.
For me, sublimation printing is one of the easiest crafts and it produces super professional results. It does take some investment and knowledge to get started, however. I hope this guide helps you on your way to becoming a sublimation expert.
What do you do now? Start using your sublimation printer to make some amazing crafts. I know you will love how they turn out. Now that you know how to use a sublimation printer, there is no limit to what you can do!


Help! I am new to this and I just bought the Epson 2800 and converted it. My colors are dull, any suggestions on how to get them more vibrant?
If you just converted it, I would print 5 full color prints first to make sure the ink is all the way in the printer. Then check your settings. Turn off high speed, turn on best quality printing, and pick a matte paper setting. Then print another and press it to 100% polyester to judge the colors. If they are still dull, I have a post on color correction that may be helpful.
Hi, Angie. I’ve used so many of your videos!! Thank you so much. I purchased the Epson 4700 for my sublimation. Which software to you use? I’ve always used CDS for my stuff but it doesn’t let me pick the quality or stuff required. My Mac seems limited with trying to size out stuff.. like say a sublimating bookmark. Size is 1.5 x 4.7 but I can’t get that specific? Is there software that you prefer or am I missing something??
Just what is in this post!
I got the Epson Ecotank ET2800. However I misunderstood what I needed to do to make it a sublimation printer and loaded the Epson ink that came with it. How can I convert it to use sublimation ink?
You’d have to do a Google search and watch a few tutorials on how people have removed the ink. I haven’t done it myself and I’ve heard mixed reviews. I’m sorry that happened!