Are you ready to dive in and learn how to use a tumbler press? The press I am using can be used for a variety of tumblers as well as mugs. I am going to show you how to set up the press and use it to make some 20 oz skinny tumblers. Plus, I will share some of the benefits as well as drawbacks to this type of press. If you have wondered about purchasing a tumbler press, this is the post that you need! Already bought a press for tumblers? Follow along to see how to use it correctly!
NOTE: This press was given to me free of charge, however, all projects and opinions are my own.
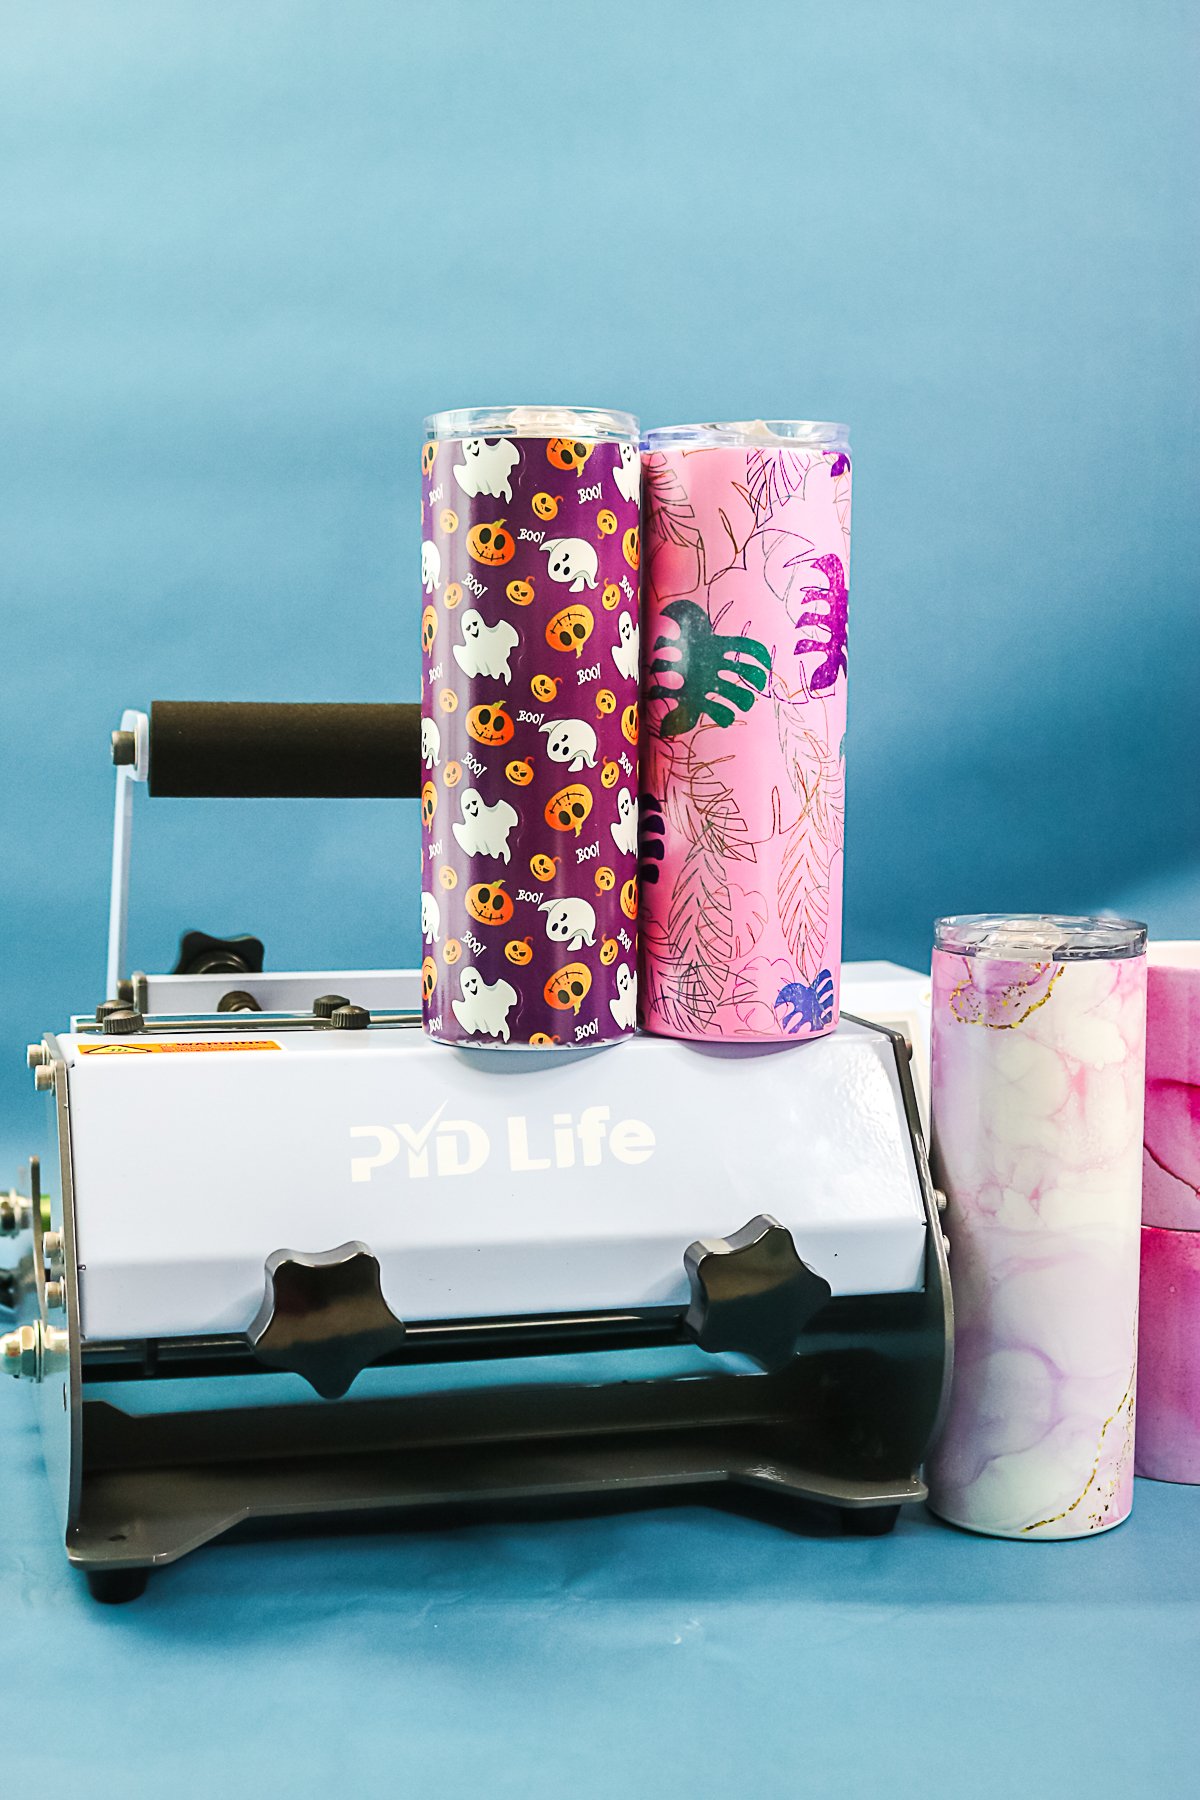
How to Use a Tumbler Press
You can actually see the full video below where I explain the tumbler press as well as make a few projects with the version that I have. You can find the press that I am demonstrating here.
Can’t watch the video or missed some of the steps? You can also follow along below.
Supplies Needed
- Tumbler press
- Heat resistant gloves
- Heat resistant mat Use code CCC10 for 10% off
- Sublimation printer – NOTE I am using an Epson EcoTank Printer (I have the ET-4700 and here it is on Amazon NOTE: Any EcoTank Printer should work with these same steps.)
- Sublimation paper
- Sublimation ink
- Heat resistant tape
- Protective paper Use code CCC10 for 10% off
- Glow in the dark tumbler
- Heat changing tumbler
- UV color changing tumbler
- Lint roller
- Tumbler with handle
Tumbler Press Details
Let’s start with a few details about the tumbler press I am using. I am including restrictions below so you will know what blanks to purchase or if this press will work for your needs.
Size Restrictions
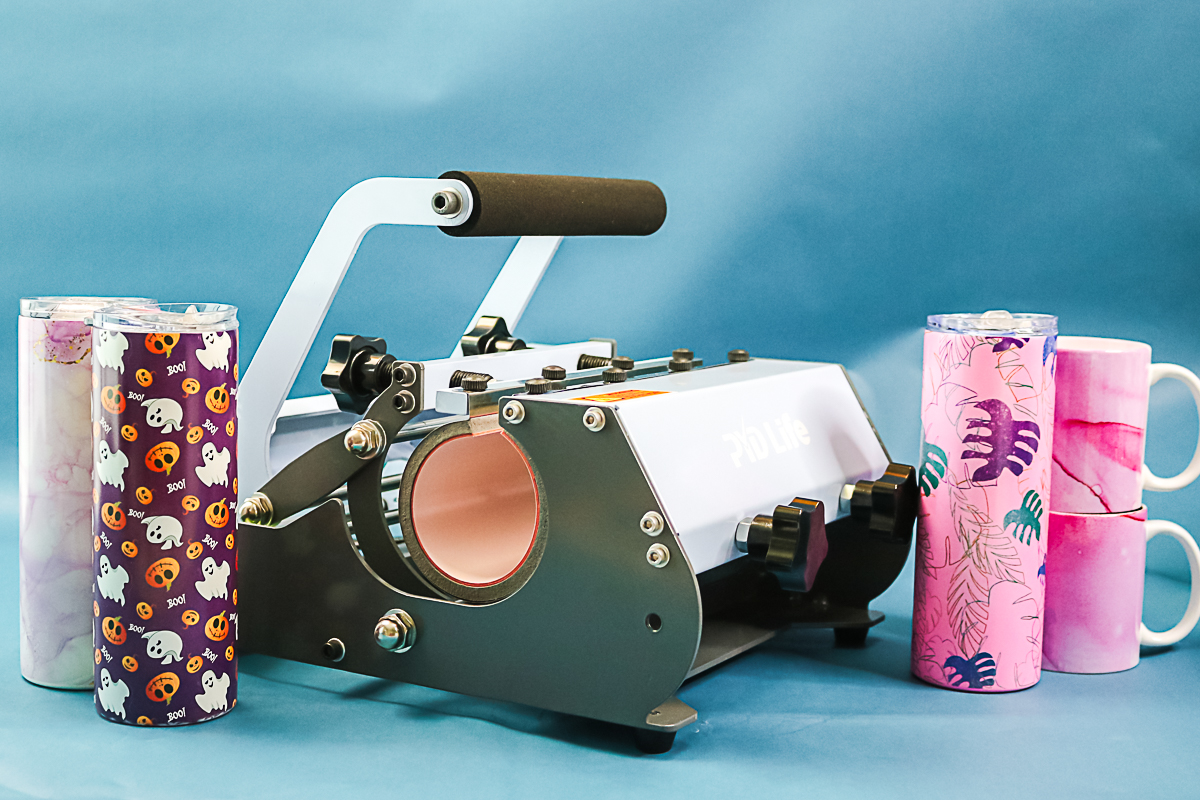
The diameter restrictions for this tumbler press are blanks that are 2.64 inches to 3.43 inches in diameter. That means it can do 16 oz, 20 oz, 30 oz tumblers (as long as they have a straight wall, are not tapered, and fit within those diameter restrictions). You can also do mugs as long as they’re within that diameter restriction and have a straight wall. This can actually press two mugs at a time. They recommend an 11-15 oz mug, but just watch that diameter requirement when you’re picking your mugs.
Temperature and Time Restrictions
This press has a maximum temperature of 464 degrees Fahrenheit and the maximum amount of time is about 999 seconds. That covers most applications so you should be fine with both of those.
Tumbler Press Components
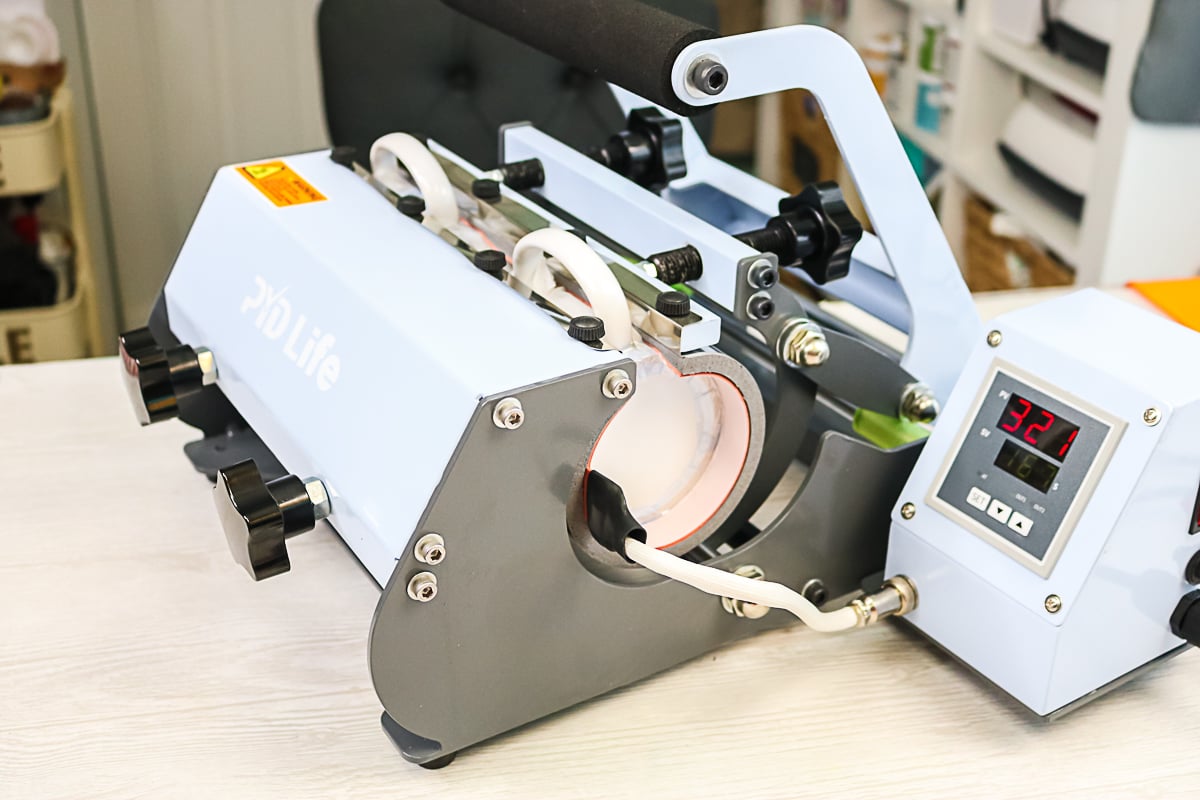
The heating element is on the inside and is connected by a cable to the control panel. The power button is on the side. You can adjust the size and the pressure with the black knobs on both sides. While the press is cold, add in a tumbler and adjust the knobs until you get the desired pressure when the press is closed. I like to adjust both knobs about the same amount so I can get even pressure. I also like to get as little of a gap as possible across the top. You may not be able to close the gap completely, especially if you have a handle, but I like to minimize the gap.
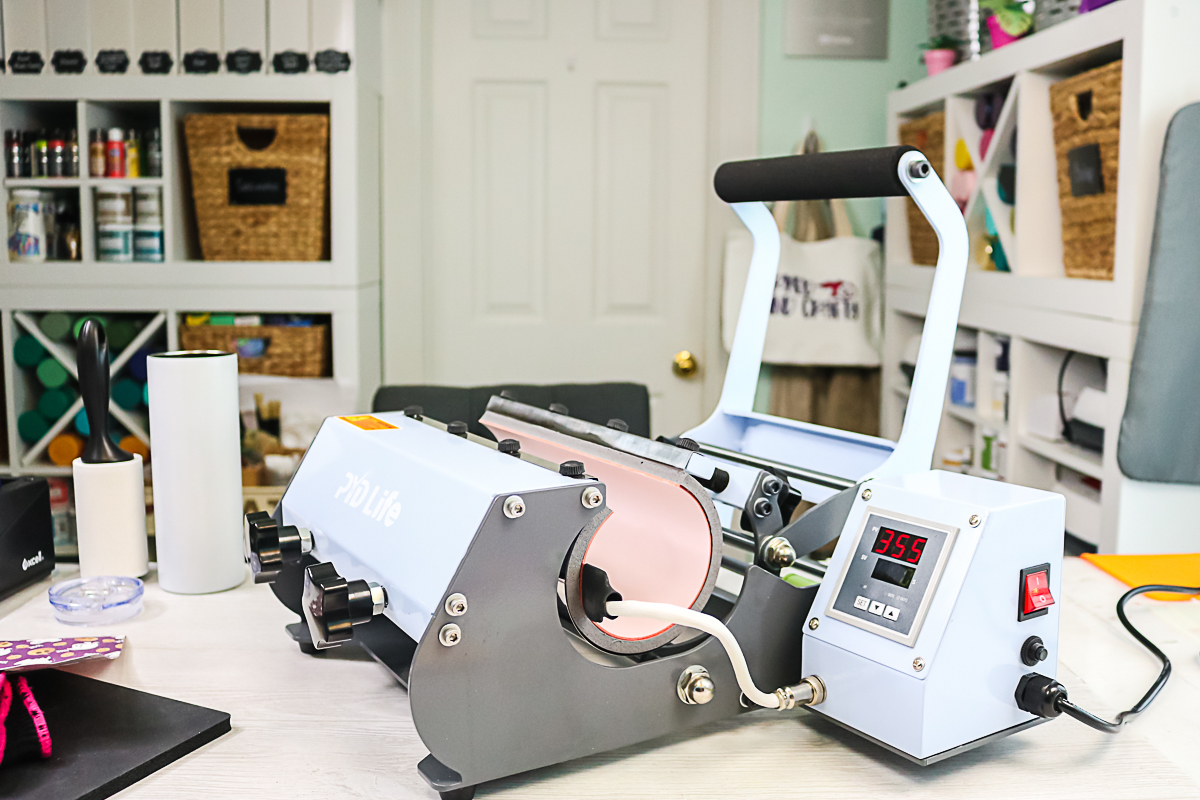
Setting the Time and Temperature
Plug in the heat press in and flip the switch to turn it on. To change from Celsius to Fahrenheit, hold the set button for five seconds and AL1 will show on the top screen. Press the set button nine times until it says CTR. One indicates Fahrenheit and zero indicates Celsius. Use these arrows to toggle between the two. Then press set for five seconds to exit out.
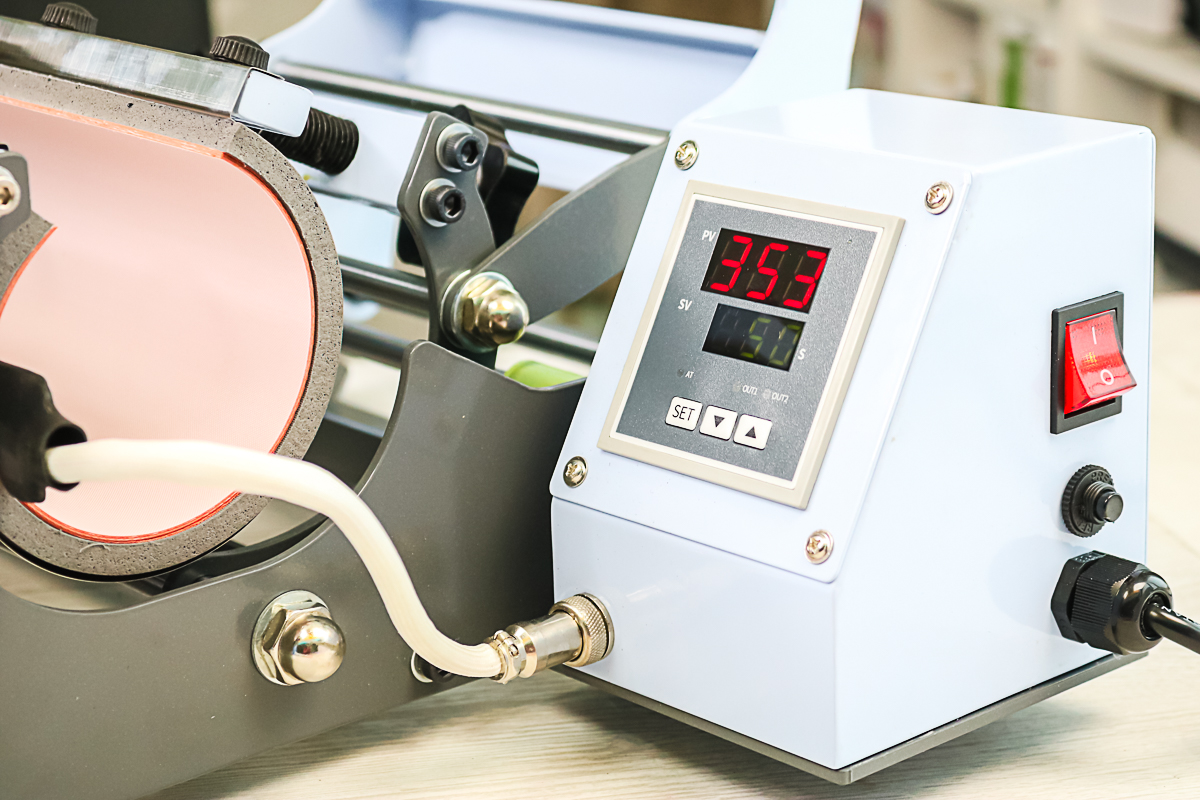
To set the time and temperature, press the set button and the temperature at the top starts flashing. Press the arrows to get the desired temperature. Then press set again and the bottom starts flashing, which is the seconds. Again press arrows until the desired time is displayed. If you hold the arrow button down, it will go faster than pressing it one by one. When you get your time, press set again and you are ready to press. The readout at the top will now tell you what the temperature is currently. You will need to wait for it to heat up before pressing.
Not sure which heat press is for you? Heat Press Roadmap has your answer! This extensive course is designed to guide you on your journey to deciding on the best heat press for your needs, space, and budget.
Join Angie Holden and Cori George as they explore 17 heat presses in 27 videos. Get the details and sign up for Heat Press Roadmap here!
How to Make a Full Wrap Tumbler
This tumbler press can make full wrap tumblers which means that the design is all the way around. You will need to press twice to do that as there may be a gap at the top when you’re pressing. However, you will just roll it over and press the second time to get the rest of that area that wasn’t heated the first time.
Preparing Your Tumbler
Clean the surface really well with a lint roller to get any debris off of the sublimation surface. Then remove the lid from the tumbler.
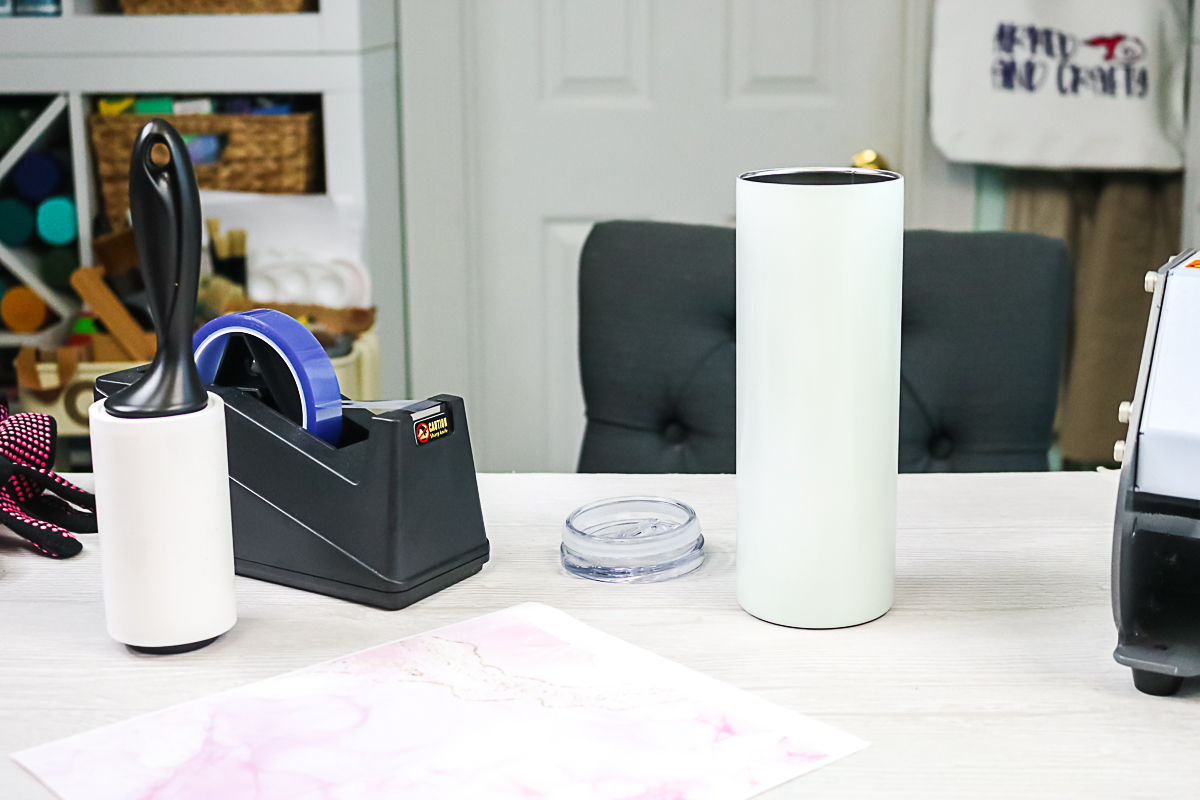
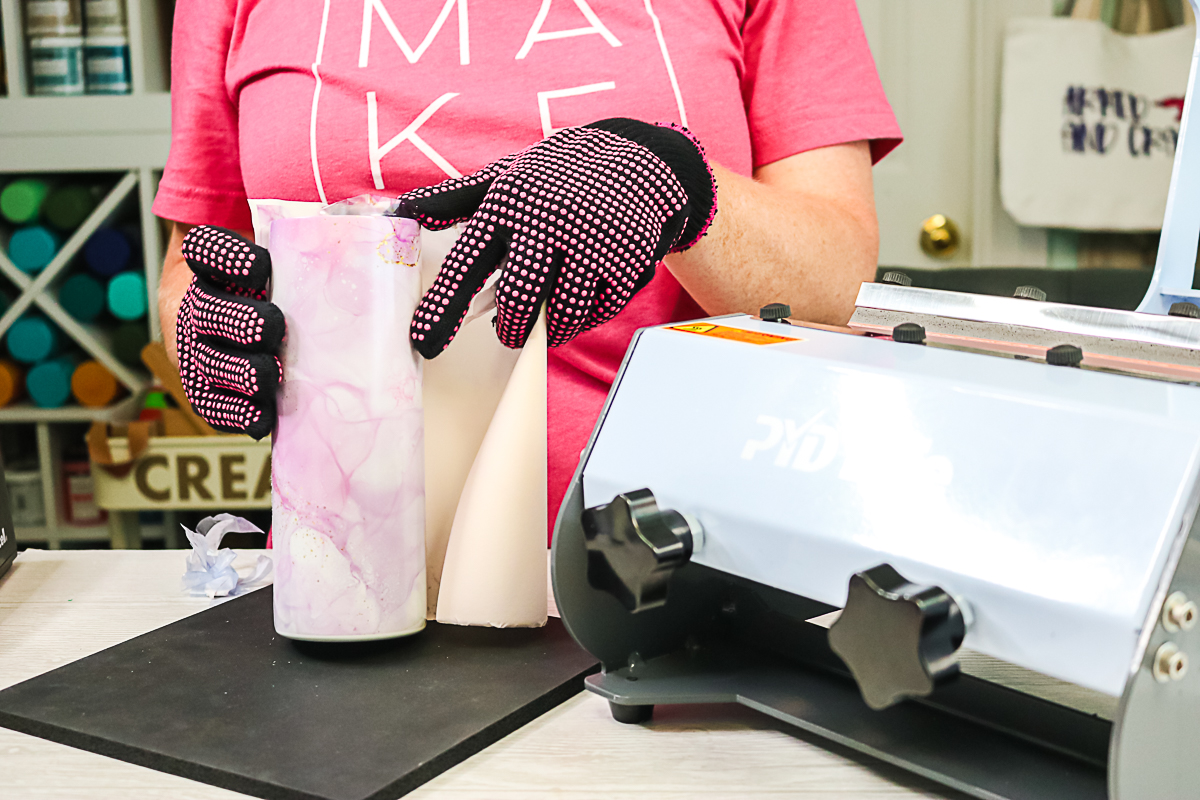
Add the sublimation print. You will want to print from a sublimation printer with sublimation ink onto sublimation paper. Be sure to mirror your design as well. You can trim any white space around your print with a pair of scissors. You can see more about using templates for printing here. NOTE: I did find it best to leave a little white area on the bottom of my print to get a cleaner bottom edge. Set the tumbler on a table and place the print around the outside. This allows you to rest the bottom of the print on the table as you wrap so you can keep everything straight. Wrap it all the way around and add heat-resistant tape. Secure the print into place all the way down the seam.
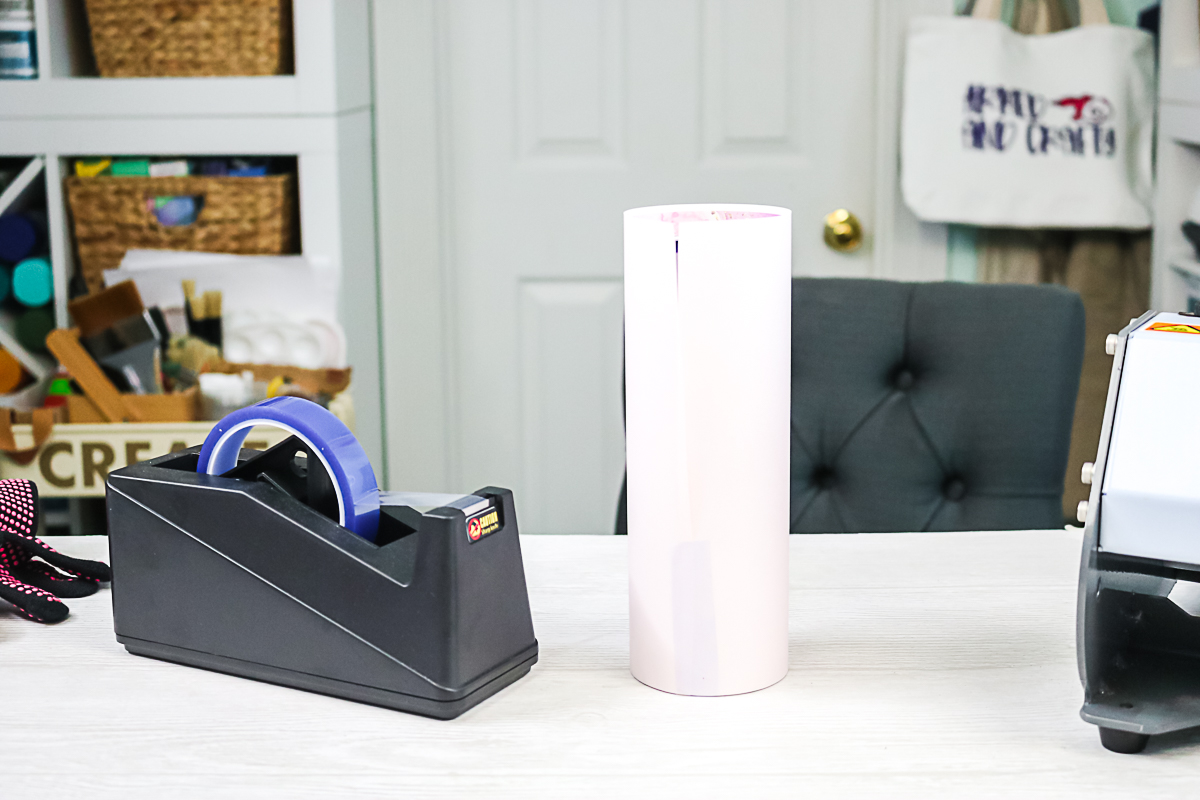
Then add tape all the way around the bottom of the tumbler. You want to make sure to get everything tight. I also like to add a few pieces of tape at the top to secure the inside of the print into place so it doesn’t move.
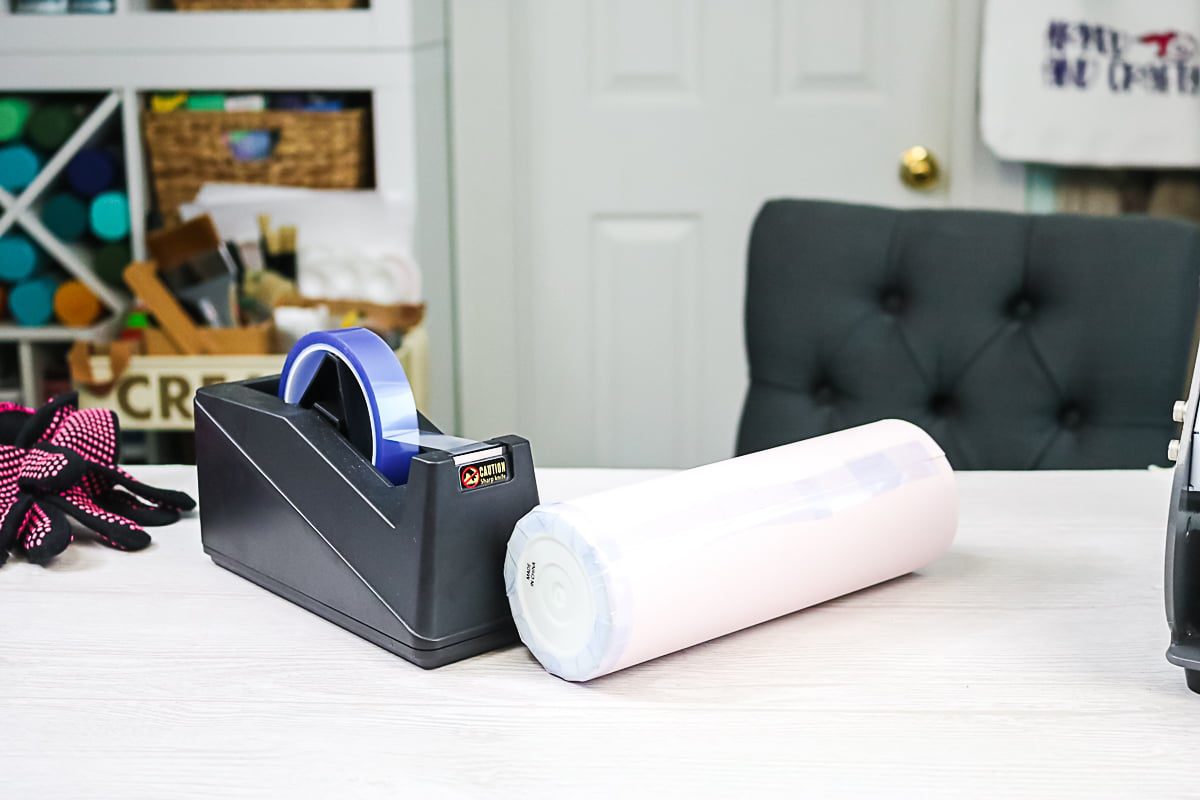
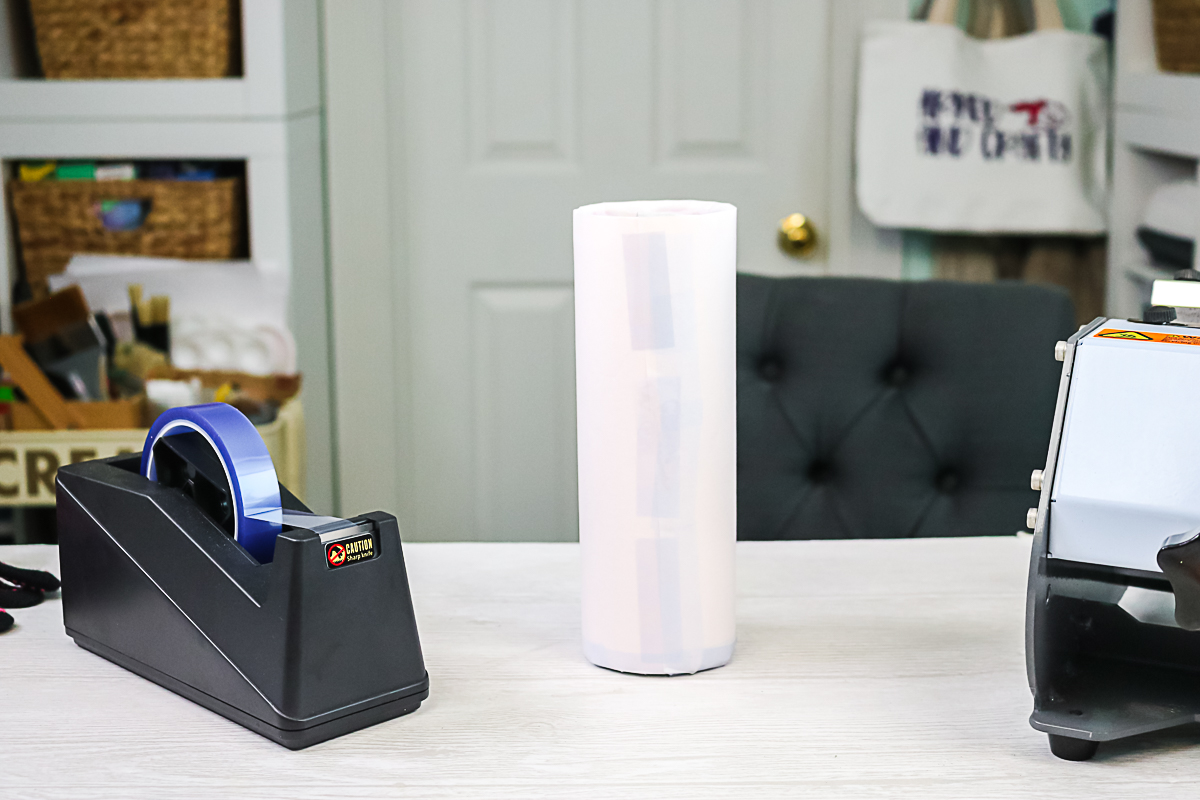
I then like to be extra precautious and use protective paper around my tumbler. Your sublimation paper will probably hold the ink and keep it from coming out, but I like to just be safe and add a strip of paper. Just wrap the tumbler with a strip of paper and add a few pieces of tape to keep it secure. I like to line up the seam on the sublimation paper with the seam on the protective paper so I know how to orient the tumbler in the press.
Pressing a Tumbler
NOTE: When the press came to temperature, it did not beep or anything. Add in your tumbler seam side up.
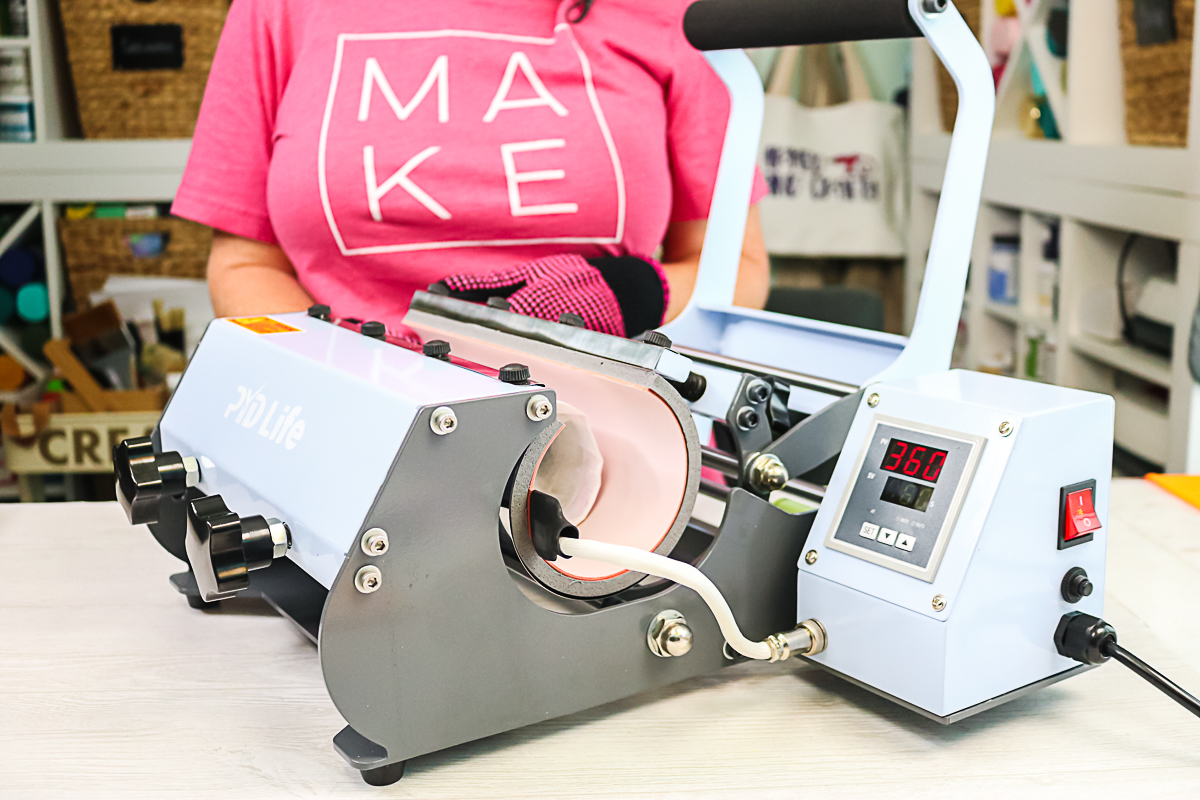
Then close the press. Once the press is closed, the timer starts automatically. I’m doing 360 degrees Fahrenheit for 50 seconds.
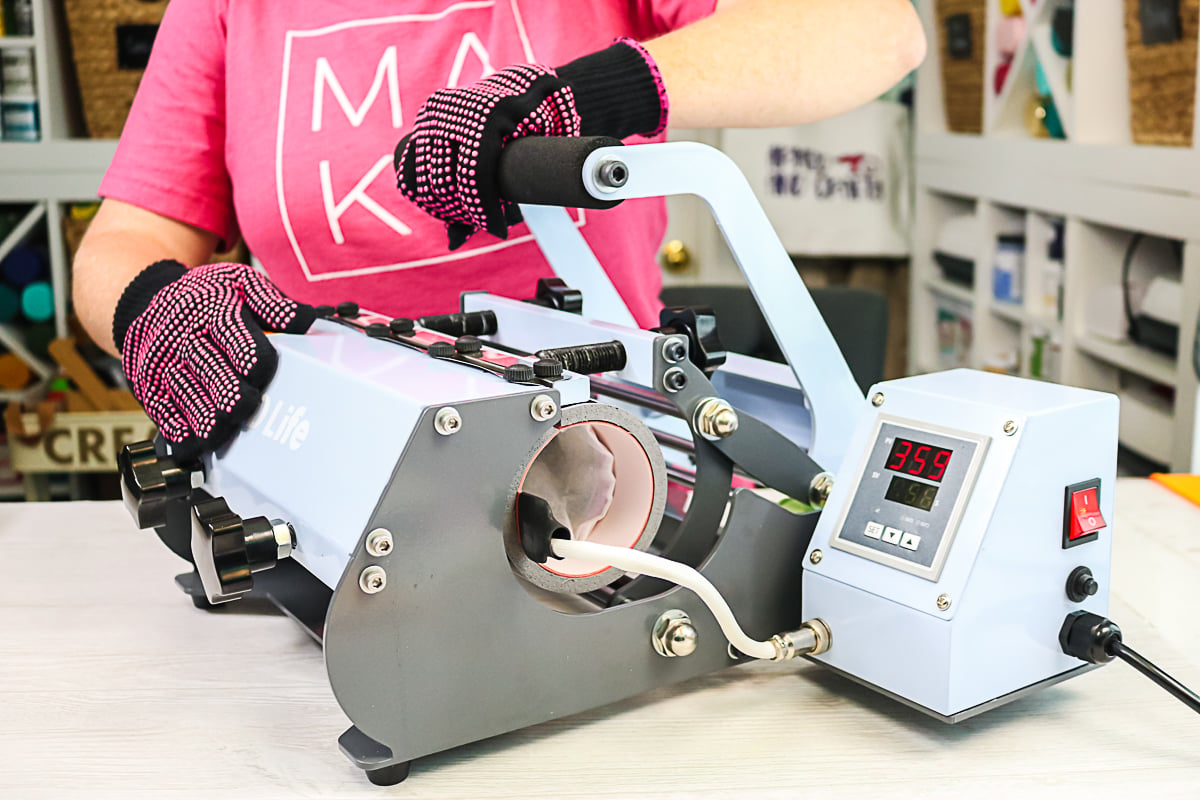
Once the time is up, the press does not beep but a light does come on. Open the press and rolled the tumbler over until the top is on the bottom. Remember to wear heat resistant gloves as this will be HOT!
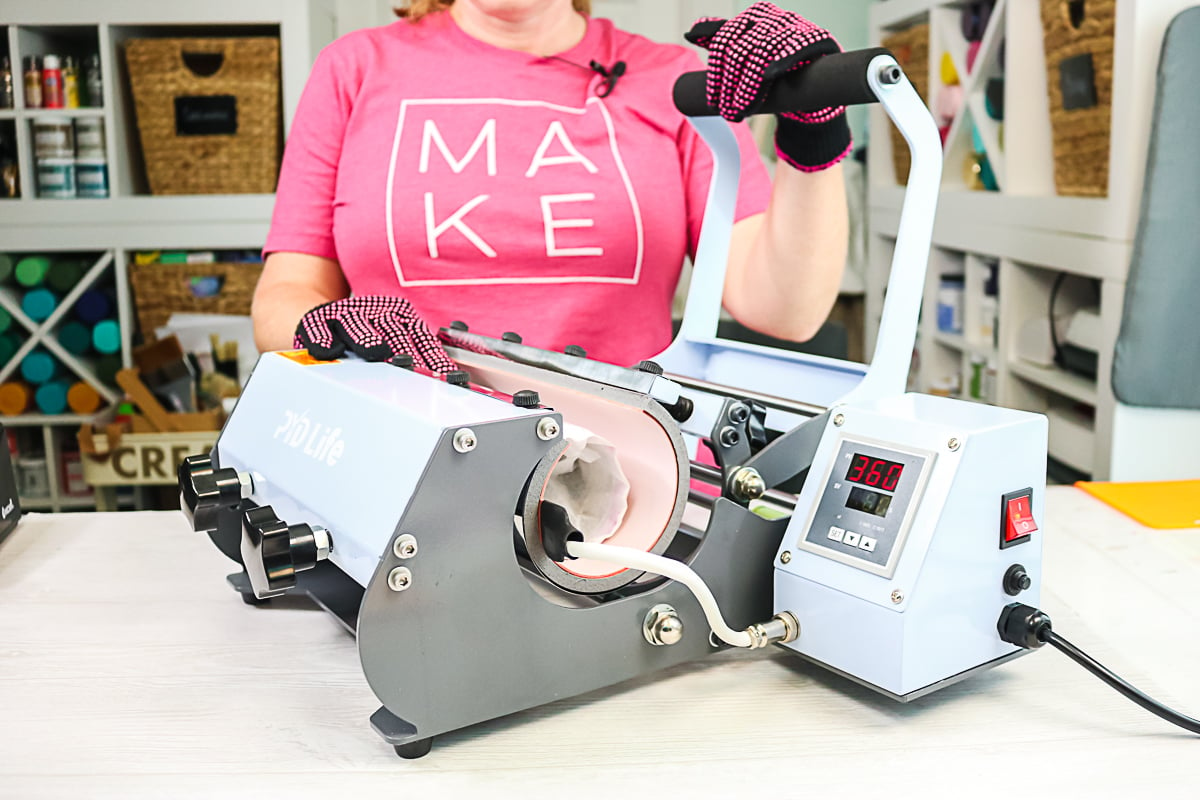
Then close the press to heat again. Once it is done for the second press, lift the arm up and pull the tumbler out completely. Set it on a heat-resistant mat and let it cool for just a few seconds.
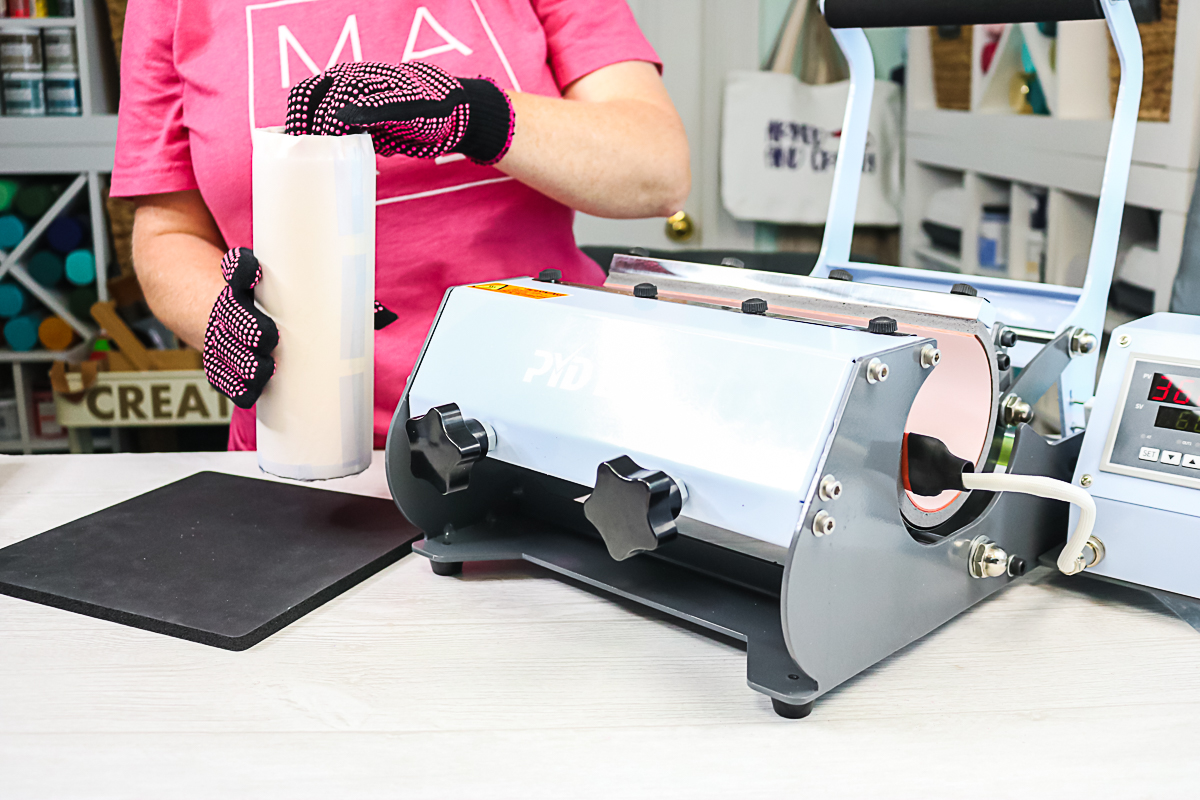
You can then remove the protective paper as well as the sublimation print. I like to wear my heat resistant gloves for this portion as well. If there is no ink on your protective paper, you can reuse it. That is it! Once you have pressed the tumbler it is done and ready for use!
Pressing Mugs in a Tumbler Press
You can also press mugs in the tumbler press. Let’s take a look at how to press two mugs at one time in this machine.
Adjusting the Press for Mugs
Adjust the press to where two mugs fit in with one on each side. Screw the knobs on both sides to adjust the diameter as well as the pressure. For mugs, you will want to have the handle sticking out of the press so you should allow for that when adjusting. NOTE: The handle is going to stick out of the top, so you would not be able to sublimate under the handle. That would only be something that you could do in an oven.
Pressing a Mug
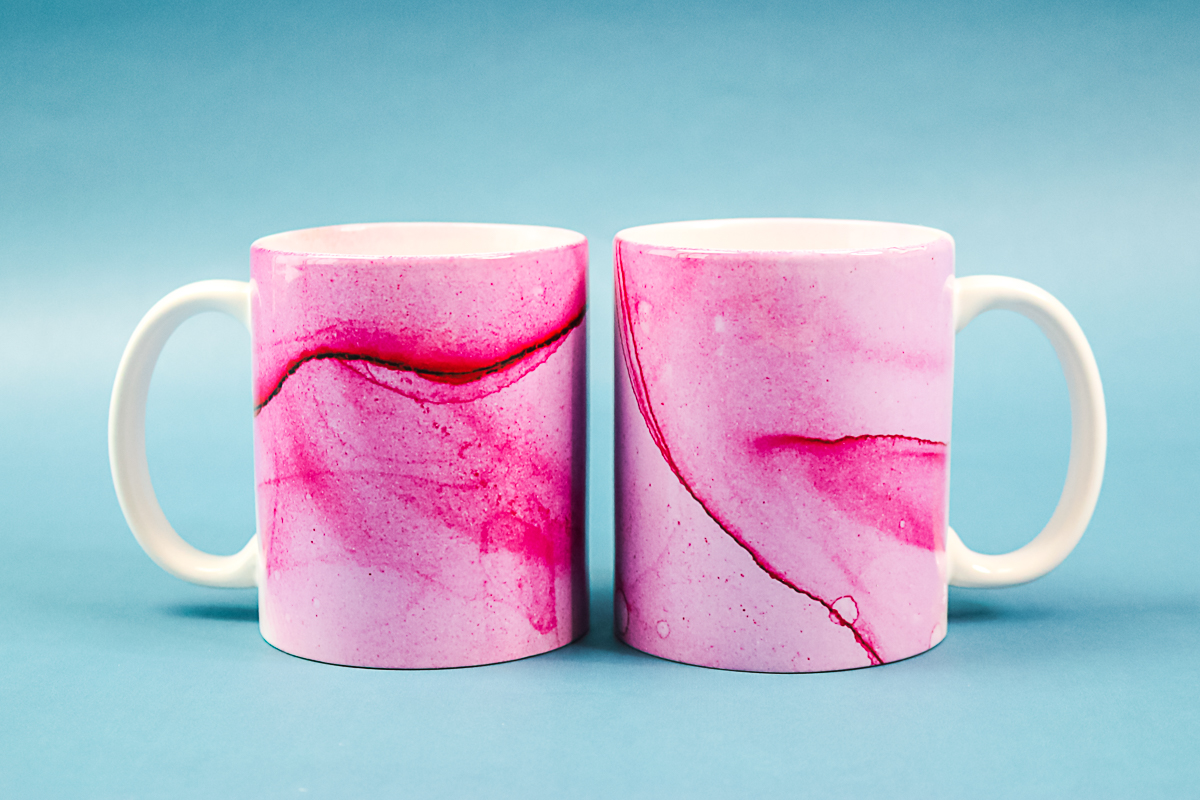
Wrap your mugs with a sublimation design similar to the way we wrapped a tumbler above. I use the same procedure, however, with mugs, you will want to stop on either side of the handle with your print. I am using 360 degrees for 200 seconds. NOTE: When I turned the heat press back on, it remembered the time and temperature from the last time I used it.
Then just add both of the mugs to the press and close. Once the time is up, remove and allow them to cool slightly. Then just pull back the protective paper and sublimation print to reveal your mug design. For these mugs, I actually tore the edges that are next to the handle for a really cool effect. I will note that the press did both mugs the same and I didn’t see any differences.
Types of 20 oz Skinny Tumblers
There are several different types of skinny tumblers on the market. I thought I would share a few of the speciality types that I have made so you can see some of the options. Please note that all of these will work with the tumbler press with the same process that was mentioned above.
Glow in the Dark Tumblers
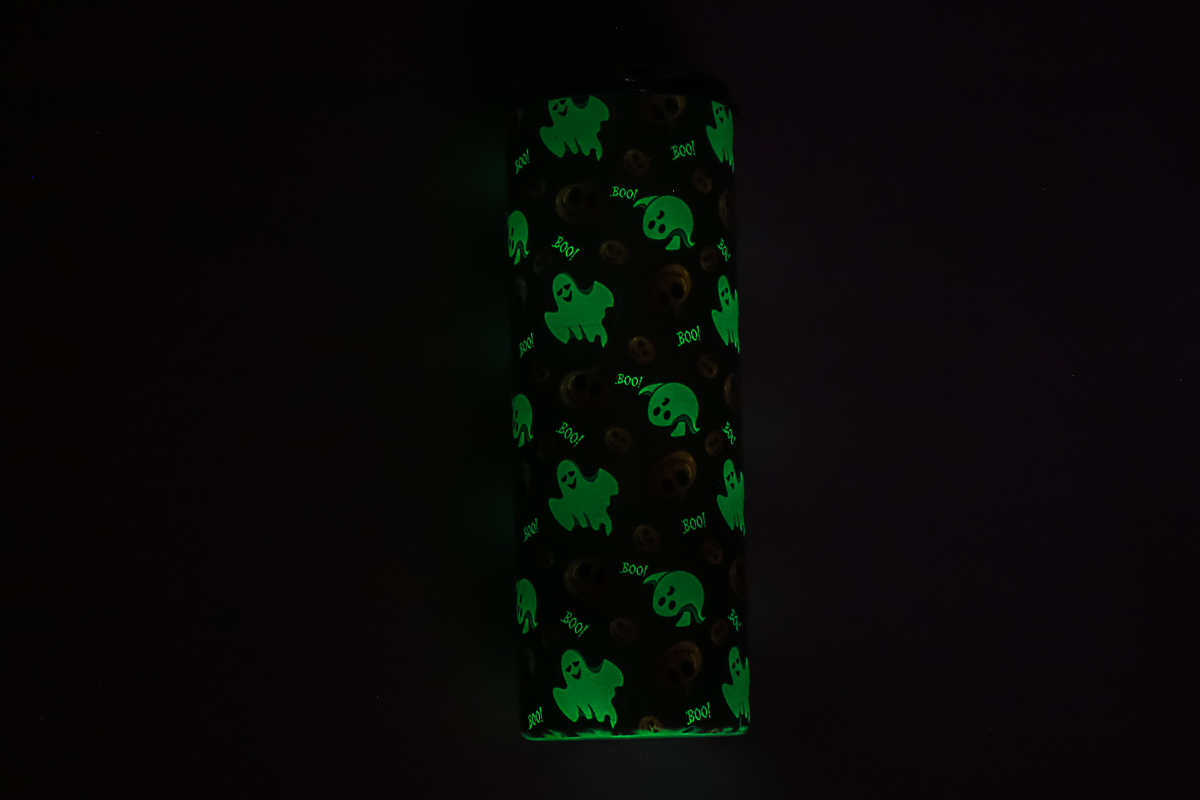
Yes, this one glows in the dark. All of those white ghosts will glow in the dark once this one is out on Halloween night filled with your favorite beverage!
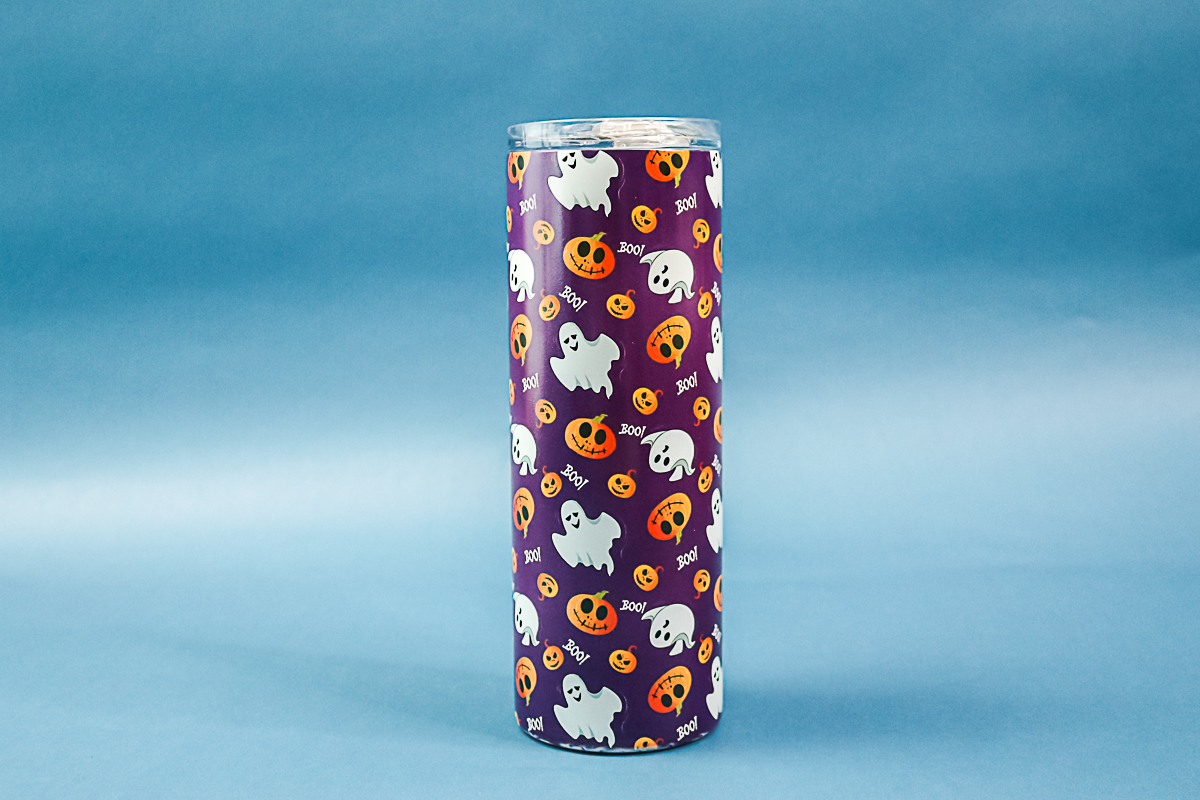
Just add a sublimation design to the front that has some white in it and the tumbler will glow through once the lights are out.
Heat Color Changing Tumblers
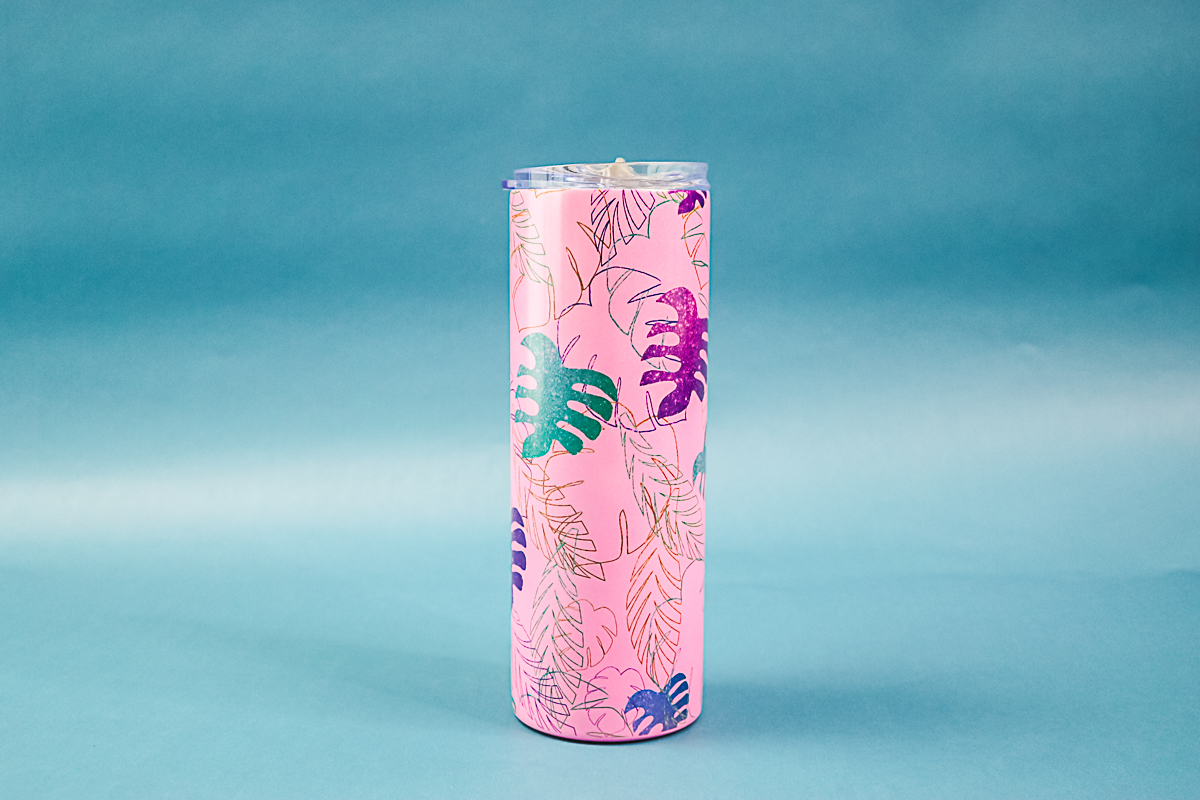
This tumbler is blue until it heats up and then it’s pink. So, once you press your design it will be pink all over.
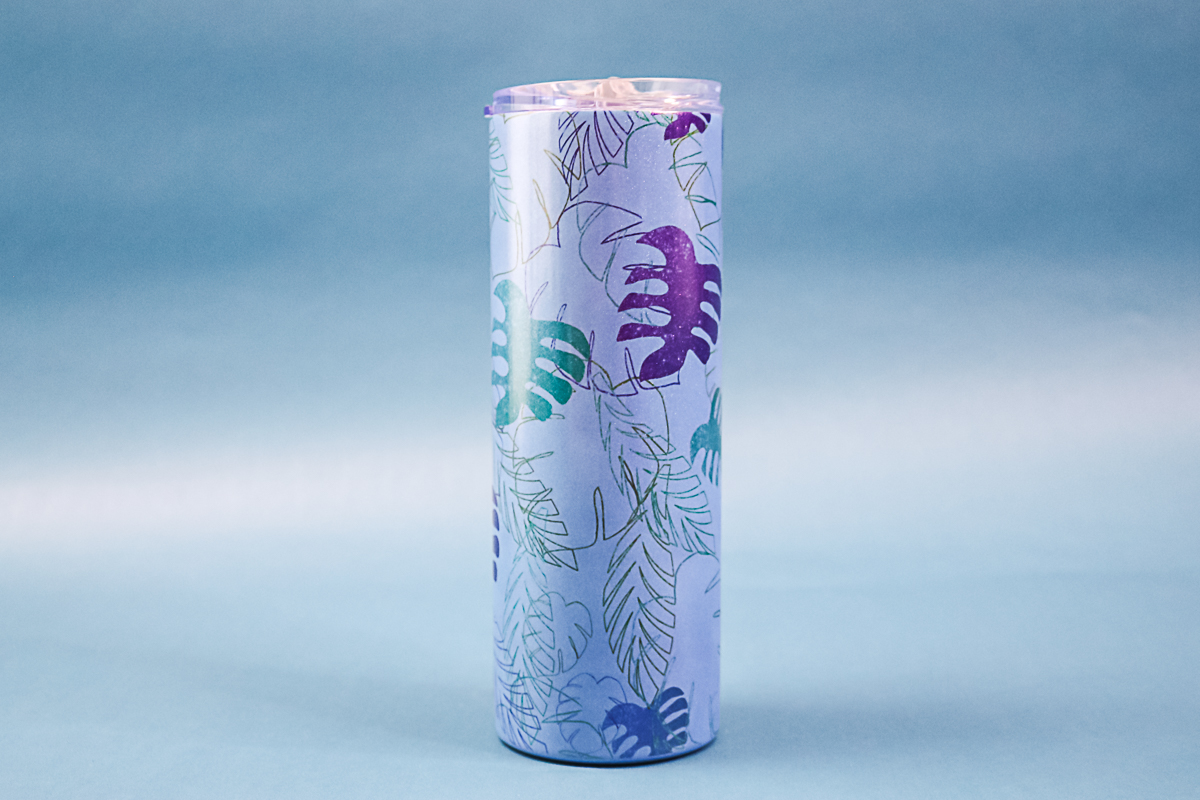
Once it cools, it will go back to blue.
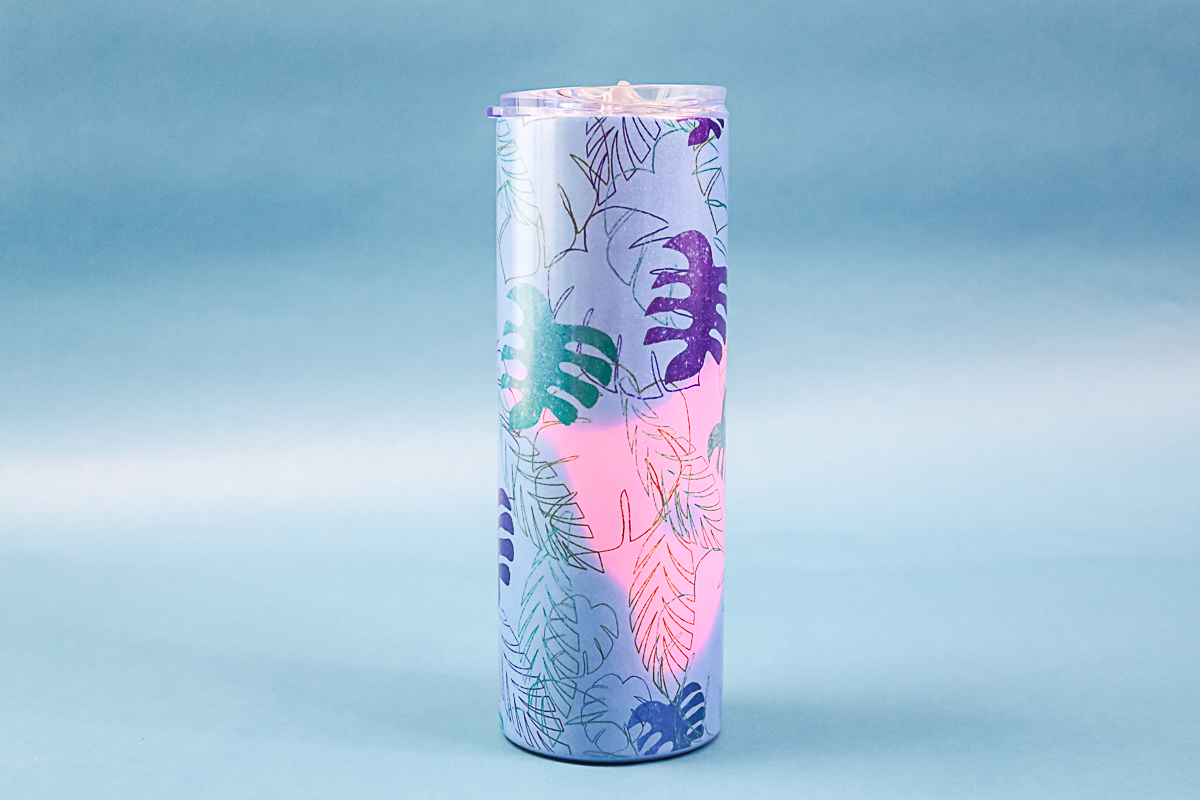
Then once something like the heat of your hand touches it, you will see pink once again. These are really fun and come in a variety of colors.
UV Coloring Changing Tumblers
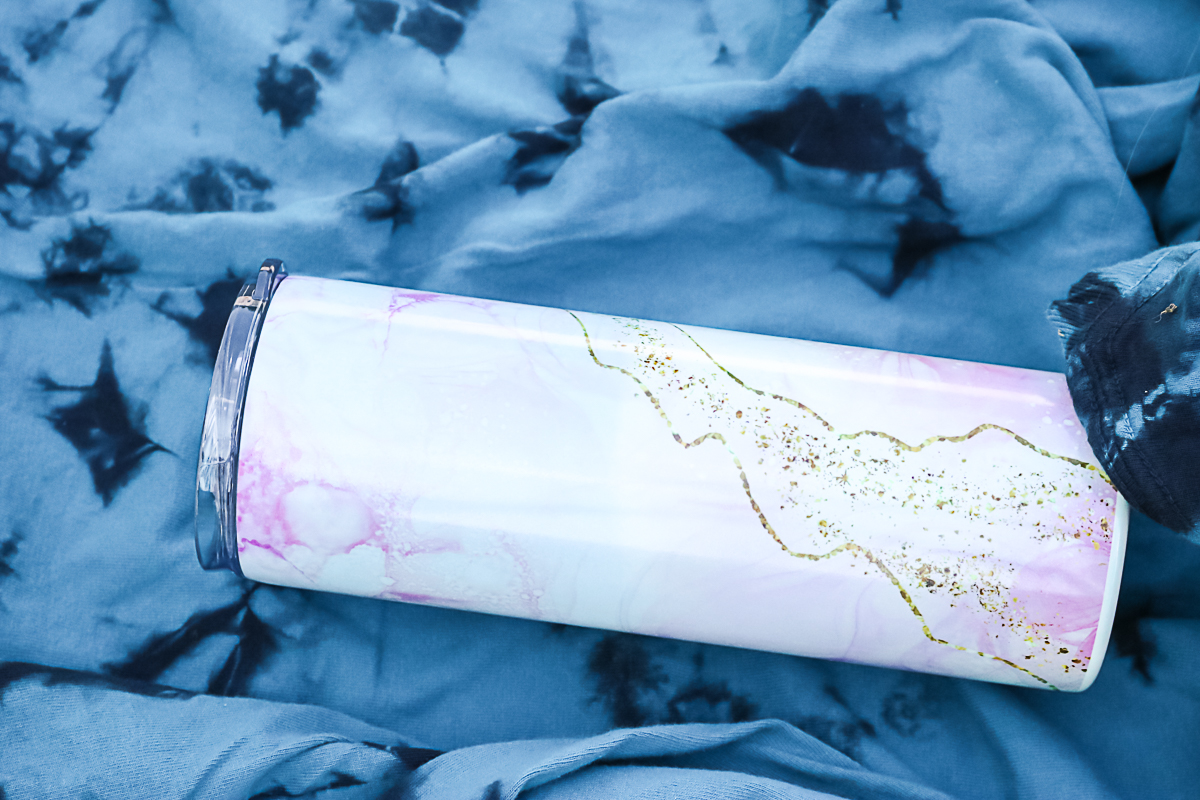
This tumbler changes color in the sunlight. When you expose it to UV rays, it changes to a different color. Again, there are tons of color options on this one. This one is white indoors.
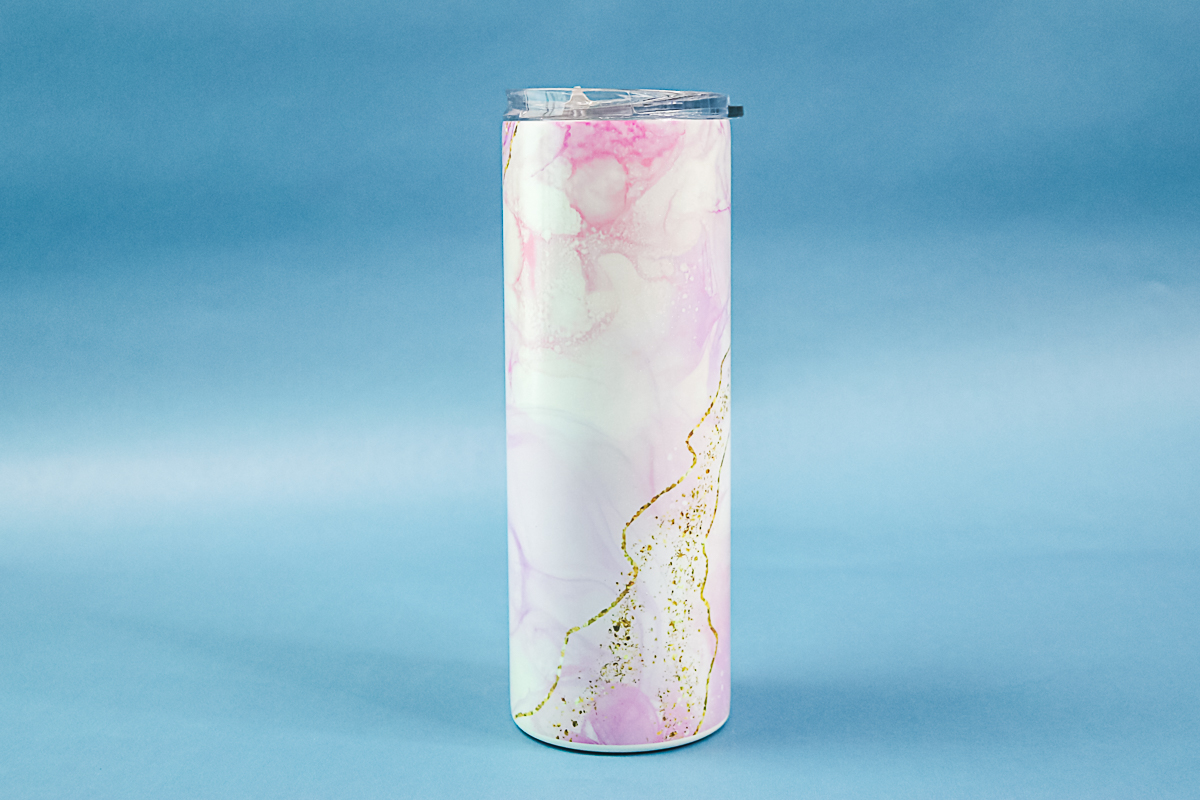
Once you take it outside it changes to a pale blue color. These are great for outdoor sports or even the beach!
Comparison to Cricut Mug Press
So, now that I have showed you how to use a tumbler press, how does it compare with something like the Cricut Mug Press? Let’s take a look and compare the two.
Size
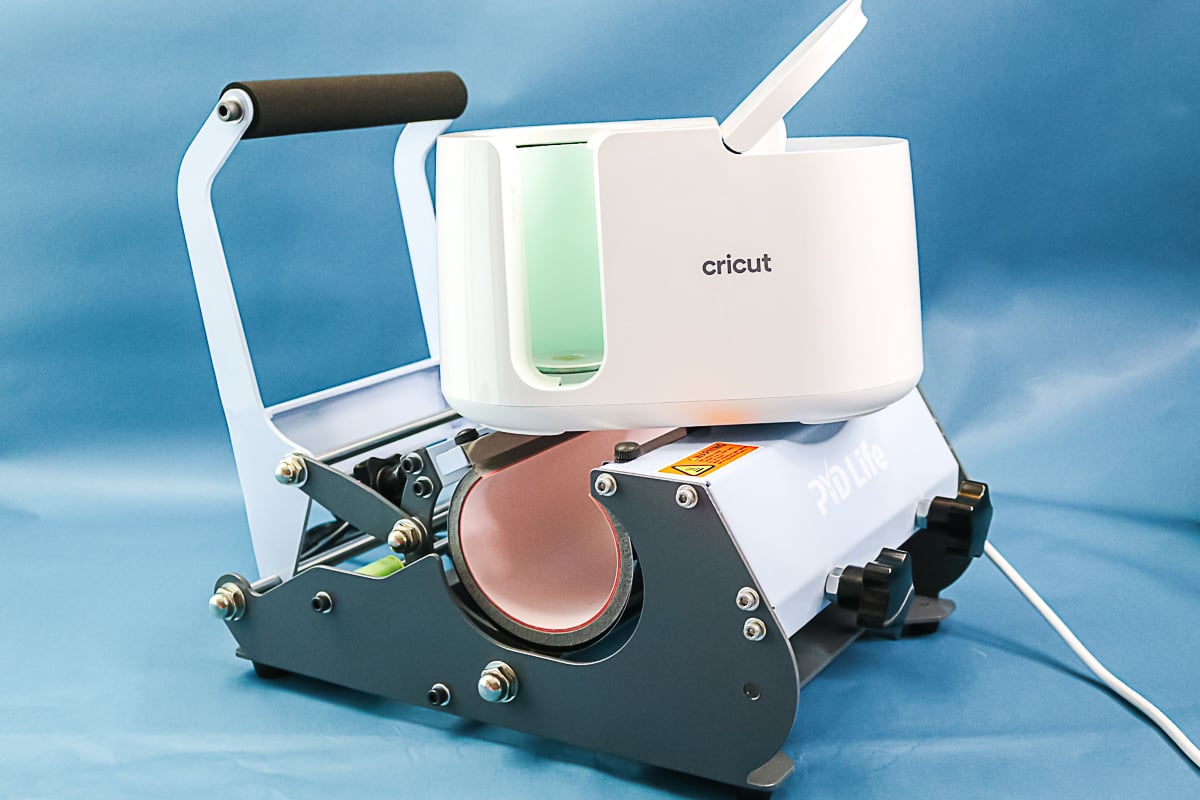
The tumbler press is quite a bit larger than the Cricut Mug Press. This press also weighs about 27 pounds while the mug press is very light. So, both size and weight are less if you want to get the Cricut Mug Press, however, there are some other factors to consider below.
Blank Sizes
The PYD Life press will fit a broader range of sizes including skinny tumblers. The Cricut Mug Press fits a smaller range and does not close tight enough around 20 oz skinny tumblers.
Ease of Use
With the Cricut Mug Press, you just turn it on and you get started. You don’t have to worry about time, temperature, or any of that. I do like how simple and easy it is to use. It’s a really great press, especially if you’re getting started.
If you want to grow your business and you want to expand into making the 20 oz tumblers to sell or for family and friends, you could also go with an oven where you can wrap the tumblers. I have another video on that here.
The PYD Life tumbler press makes it way easier to make a 20 oz tumbler. You do, however, have to find a time and temperature for each blank you are using. I don’t think you can go wrong with any of the options. I have been successful in making mugs and various sizes of tumblers in my Cricut Mug Press. I have been successful in making mugs and even 20 oz skinny tumblers in a convection oven. And, as you have seen here, I’ve been successful in making all of these things with the PYD Life tumbler press. You can be successful with any of these machines it just depends on how much you want to spend and how much you want to invest in yourself or in your business.
Deciding Between the Options
Try asking yourself a few questions to make a decision on which press you need for your crafting:
- How often are you going to use it?
- Are you going to make things for yourself, to give as gifts, or to make and sell?
- What size of blanks do you want to use?
- Do you want something simple or are you willing to learn something a bit more complicated?
With the answers to those questions and the information above, you should be able to decide on which press is right for your crafting needs.
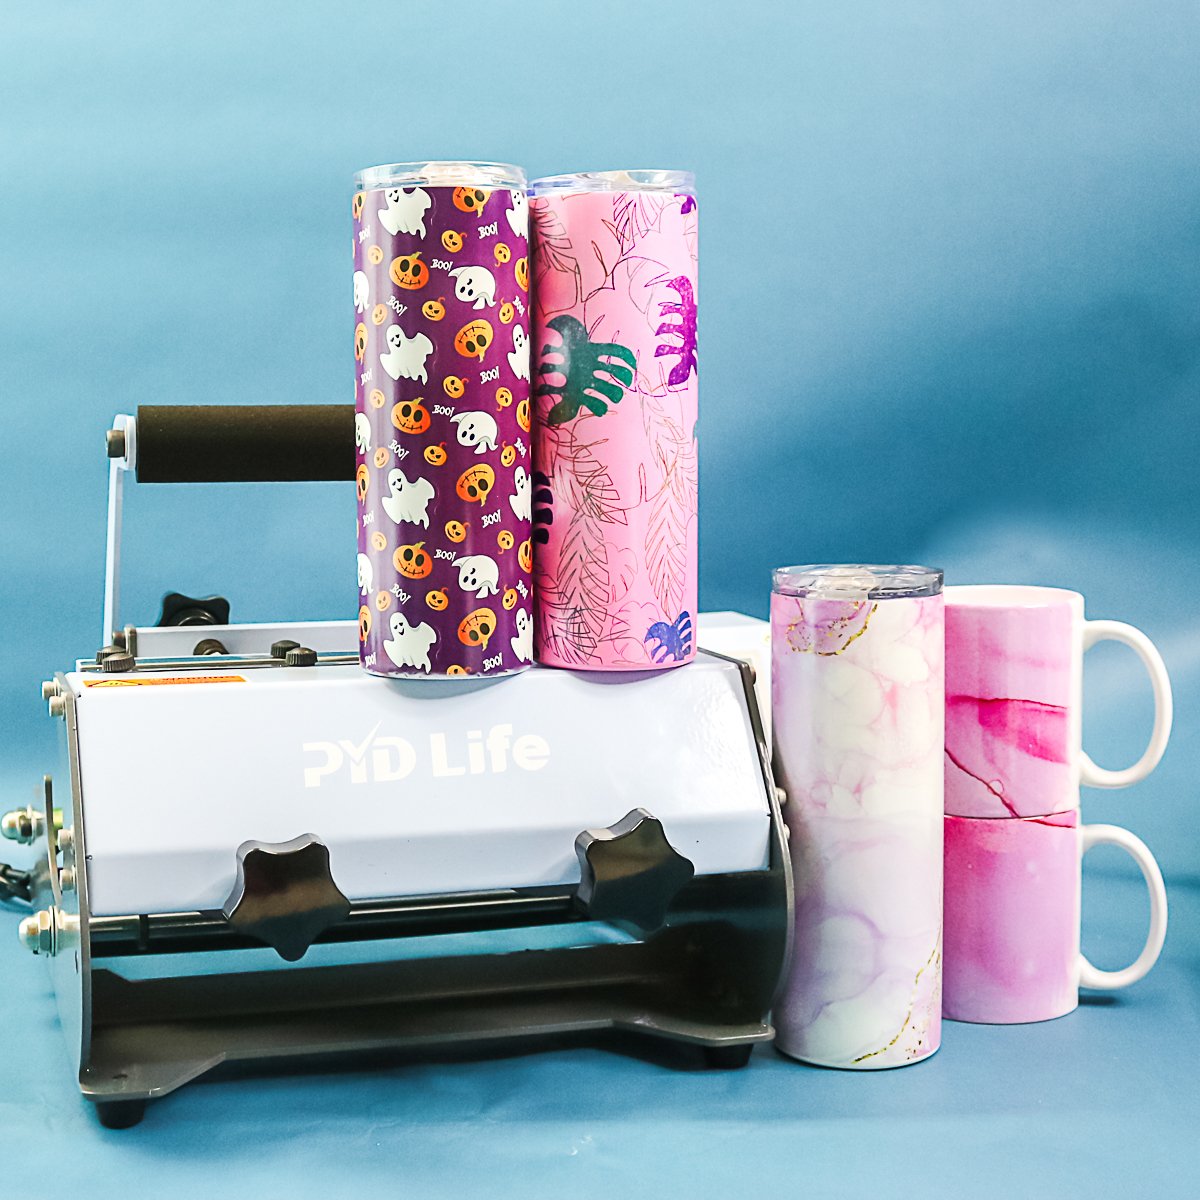
Overall, I am in love with the PYD Life tumbler press for my tumblers. I really love it for making these super popular skinny tumblers because you just stick it in there and go.


Hi! My tumbler press is just like this but does not say PYD life…I am able set the Celsius and ferenheit the exact same way but when I go to adjust temp instead of flashing the degrees in shows up sp and I cannot figure out how to change the temp! Any ideas?! TIA
Sorry I only know how to use this one. There should have been a book with your tumbler press.
Hi Angie! I love all your videos. I am totally new to sublimation. I just started using my Tumbler press. I have had 3 main issues. #1 I have had small areas with a rough texture after pressing. #2 I had a section on one tumbler where the ink barely transferred from the paper to the tumbler. #3 My press says to always preheat with a tumbler inside. I did press both of my projects twice, rotating 180 & repressing. Can you overheat your project? Could that cause the texture to appear? Should you pre-heat with a different tumbler? Why might the ink not transfer well in one area? Thank you in advance!
It could be the blank you’re using. I would not preheat with the tumbler I am using as you would have to wait for it to completely cool before adding the print which would add to your total project time.
The rough texture would most likely be from the blank itself. If the ink isn’t transferring well it is usually because it isn’t taped down well and there is an air gap between the blank and the print.
You can overheat a print but I’m not sure that would cause the blank texture to change.
Thank you. I’ve been trying to find the correct temp for ceramic mugs for the PYD Life. I’m using toner sublimation and this worked perfectly!
I’m so glad you found it helpful 🙂