Wondering how to use Cricut iron-on vinyl to make shirts with your EasyPress? Look no further! I have everything you need to know about Cricut Iron-on glitter vinyl and so much more!
Using iron-on t-shirt vinyl with your Cricut is really simple. We will go into the basics as well as more advanced techniques like layering your iron-on to make more intricate designs. You will be ready to make your own shirts once you are done with this post!
This was first posted on February 12, 2019, however, I am republishing with more information.
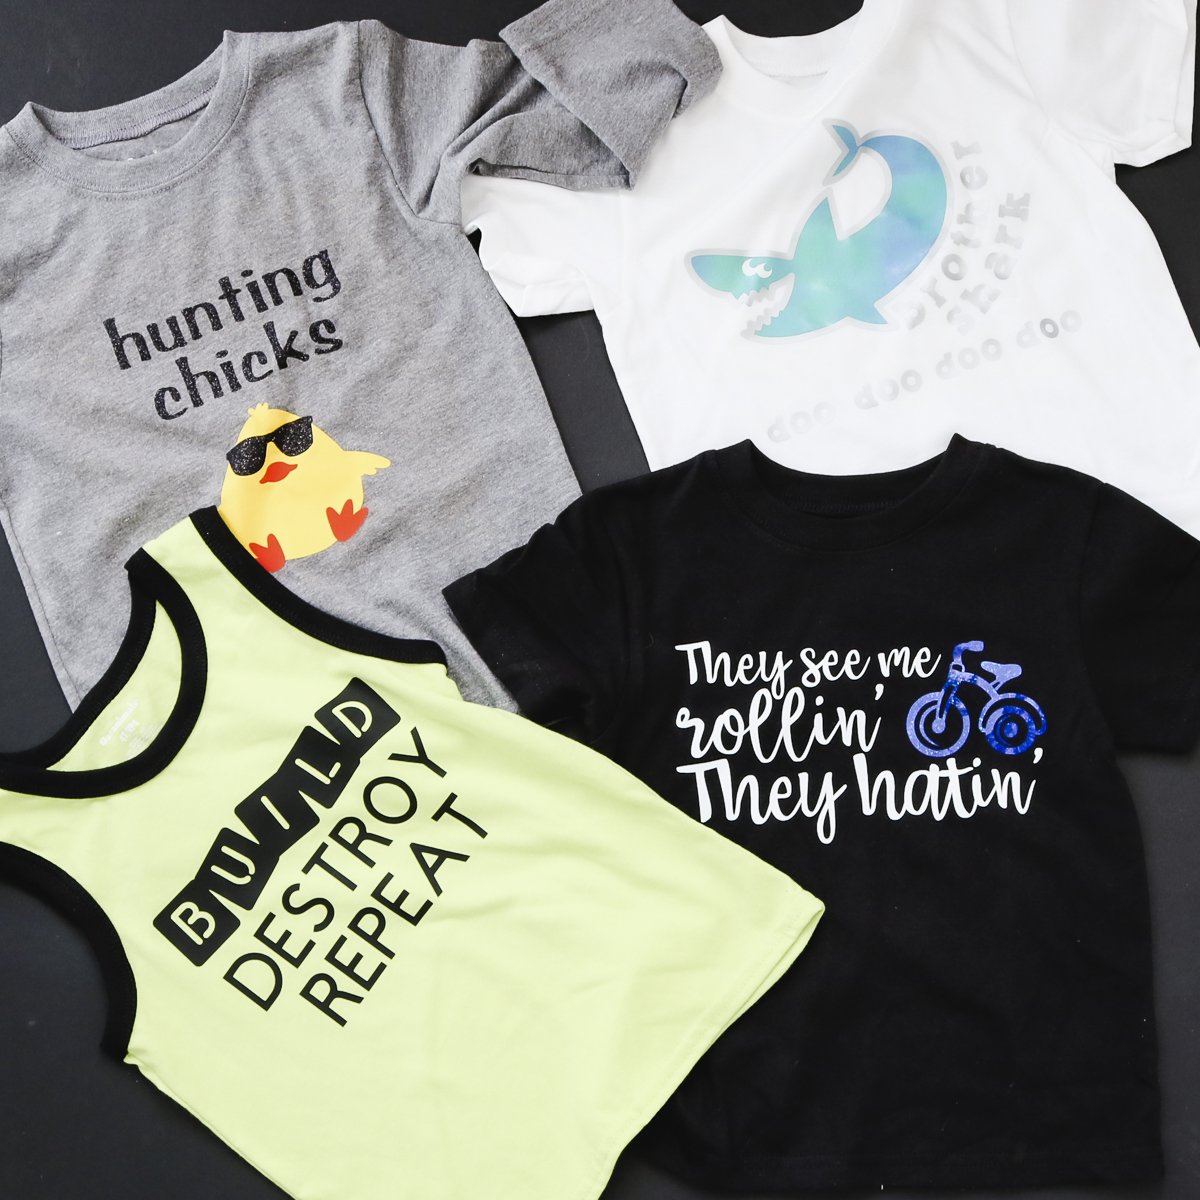
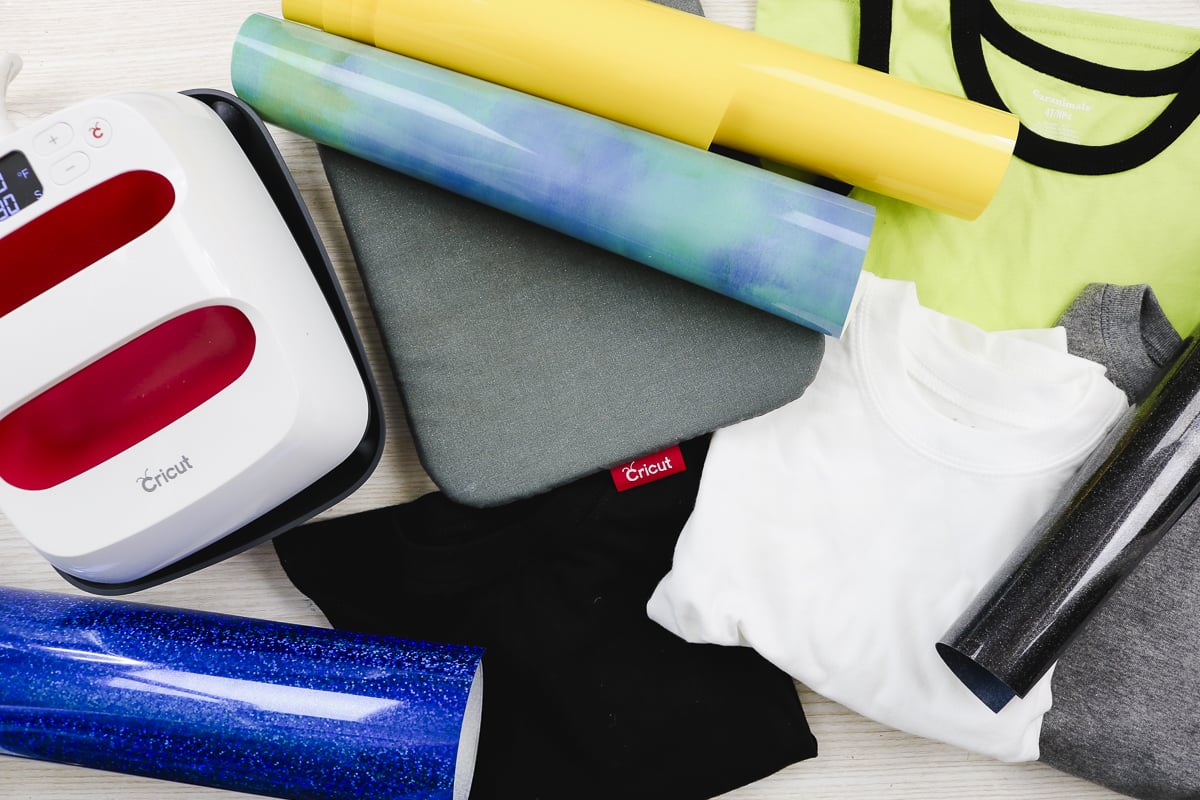
Supplies needed:
- Cricut Iron-on (we will use a wide variety of types including everyday, patterned, holographic, and glitter) I actually have a reference list for what iron-on to use on what material here.
- Shirts
- Cricut EasyPress
- EasyPress Mat
- Weeding Tools
- Cricut machine (any will work when cutting HTV or iron-on vinyl)
- Cricut cut files (you can find those below)
Cricut Design Space Cut Files
You will first need the cut files for each of the designs shown. You can click on those below and they will open in Cricut Design Space.
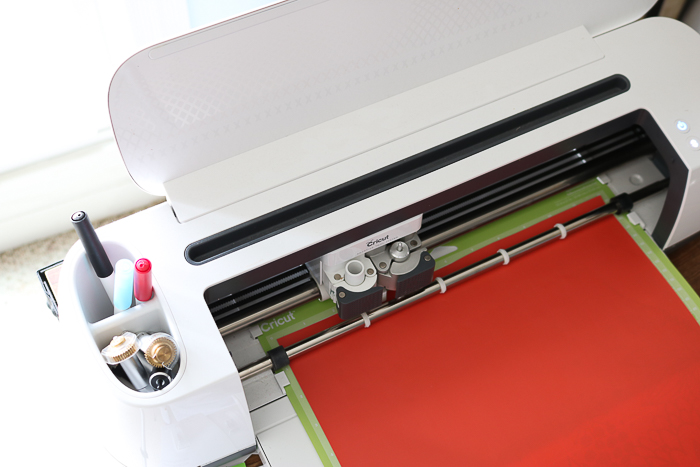
Step 1: Cut Iron-On Vinyl
Once you have your file you can cut the iron-on vinyl with any Cricut machine. Place the iron-on “good” side down on the mat.
Both sides may have a color so this will be the “shiny” side or the side with a carrier sheet.
Size the graphics to fit the shirt you are using then click “make”.
Be sure to mirror the image on the mat before cutting.
Pick the appropriate “iron-on” product you are using from the list as the settings do vary. Then cut your design.
Step 2: Weed Iron-on Vinyl
After it is cut, you will want to weed your image. This is the process of removing all excess from the image from around the outside and also from the centers of letters.
You can get more tips and tricks for weeding vinyl here.
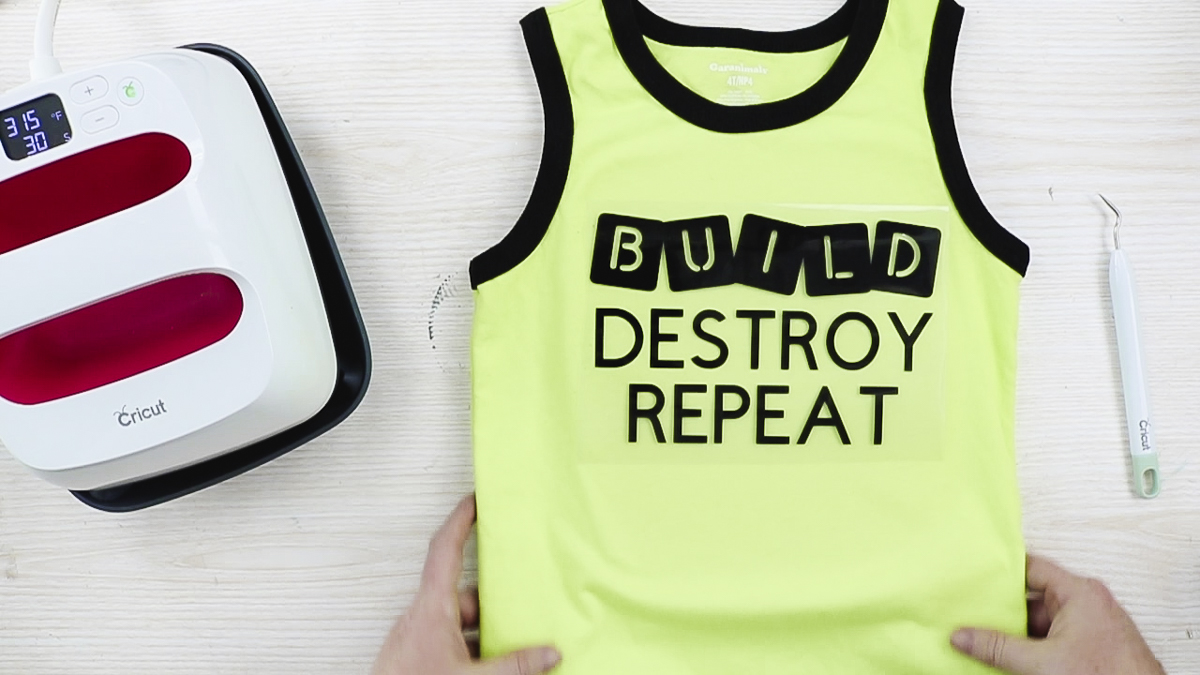
Step 3: Press Iron-On to Shirt
Then you will want to press your Cricut iron-on vinyl to your shirt. I use my Cricut EasyPress for this job.
You can see the comparison of the Cricut EasyPress versus the iron here and the Heat Press versus the Cricut EasyPress here. The Cricut EasyPress makes this process super simple.
- Turn on Cricut EasyPress.
- Check the Cricut interactive guide for the correct settings. Be sure to indicate whether or not you are using the EasyPress mat.
- Use the buttons on the EasyPress to set the time and temperature.
- Put your shirt on the EasyPress mat if you have it.
- Pre-heat your material according to the directions on the guide.
- Add your Cricut iron-on vinyl to the shirt.
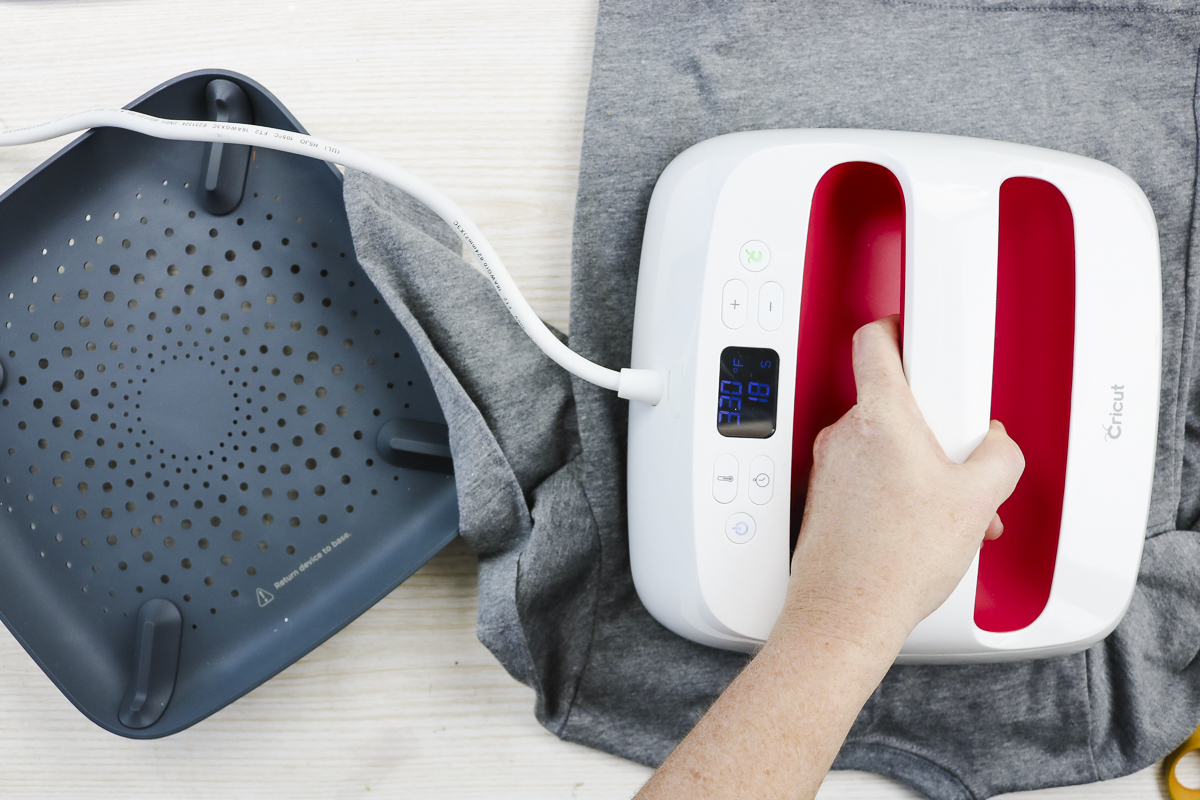
- Put your EasyPress on top and hit the “C” button to start the countdown on the time. Put pressure on the handle during the press.
- Then flip your shirt over and press from the back for the time indicated on the interactive guide. (If instructed to do so.)
- Allow to cool according to the instructions then peel back the carrier sheet on your design.
- If for some reason some of your iron-on lifts, just press again!
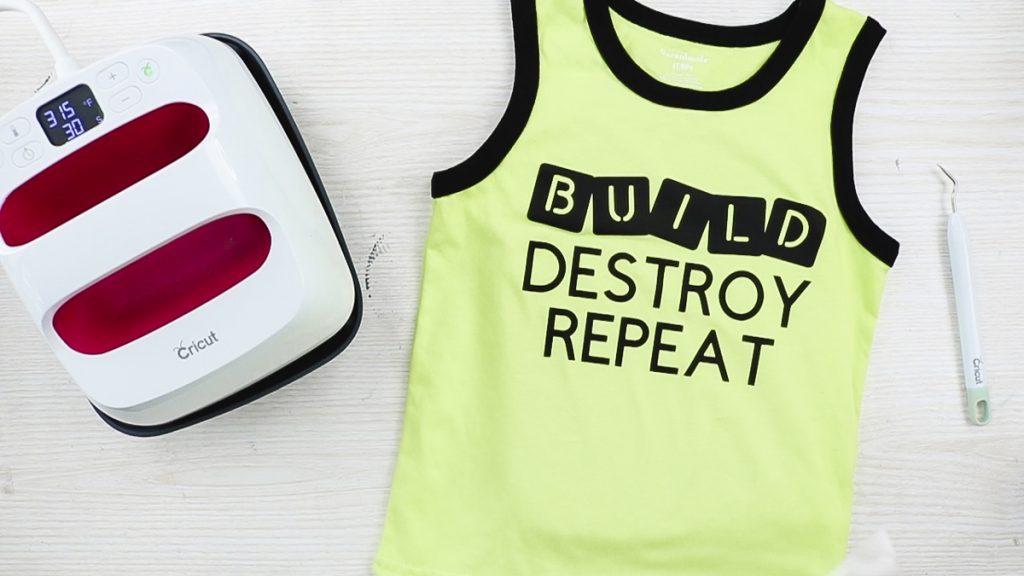
More Advanced Iron-On Techniques
The above method works for a single color design that is all once piece. If you want to make more intricate shirts, you may want to combine a variety of colors and types of iron-on vinyl.
Working with 2 Types of Cricut Iron-on
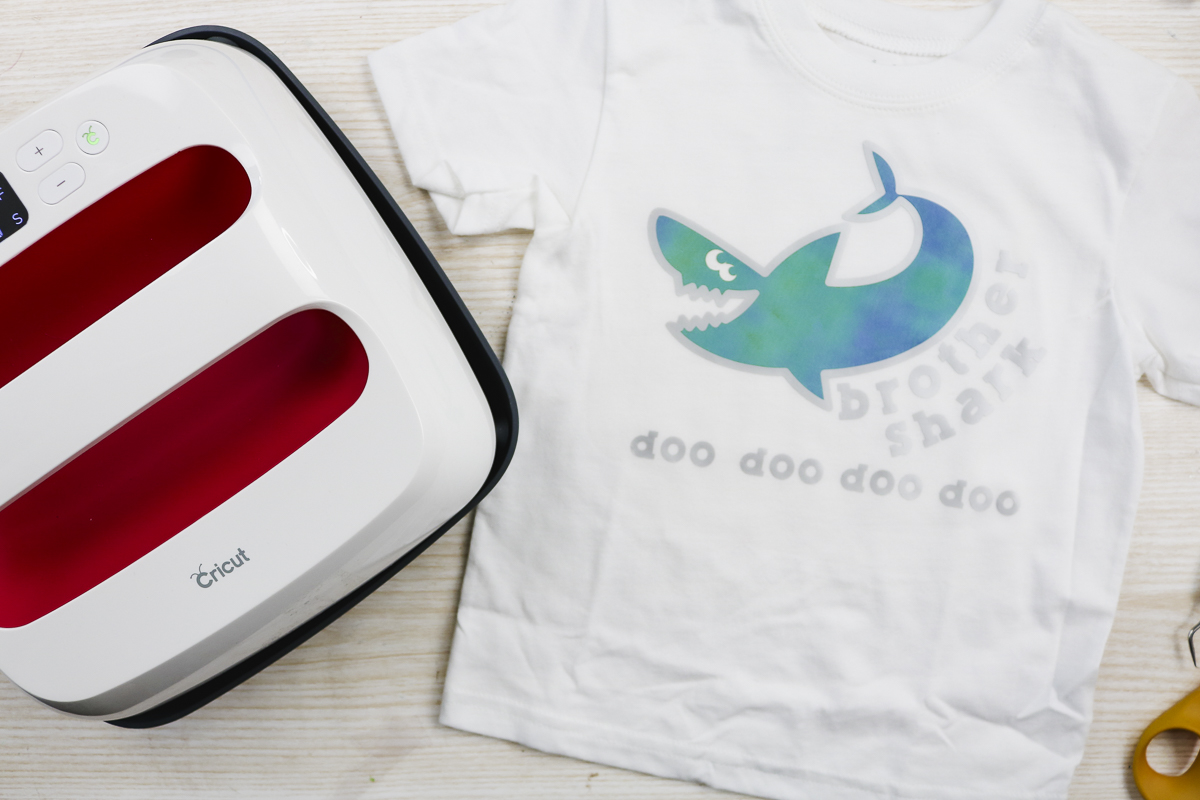
Now we are going to combine everyday iron-on with holographic. How do you do this when there are two different times and temperatures? You can do this two ways.
- You can press each individually doing the one that requires a higher heat/longer time first. Just press from the front and do not flip to the back. Then add your second type to the shirt and press a second time for the time/temperature for the lesser of the two. This time you will press from the front and the back. Be sure to protect the iron-on you have already pressed with either the carrier sheet or an iron-on protective sheet.
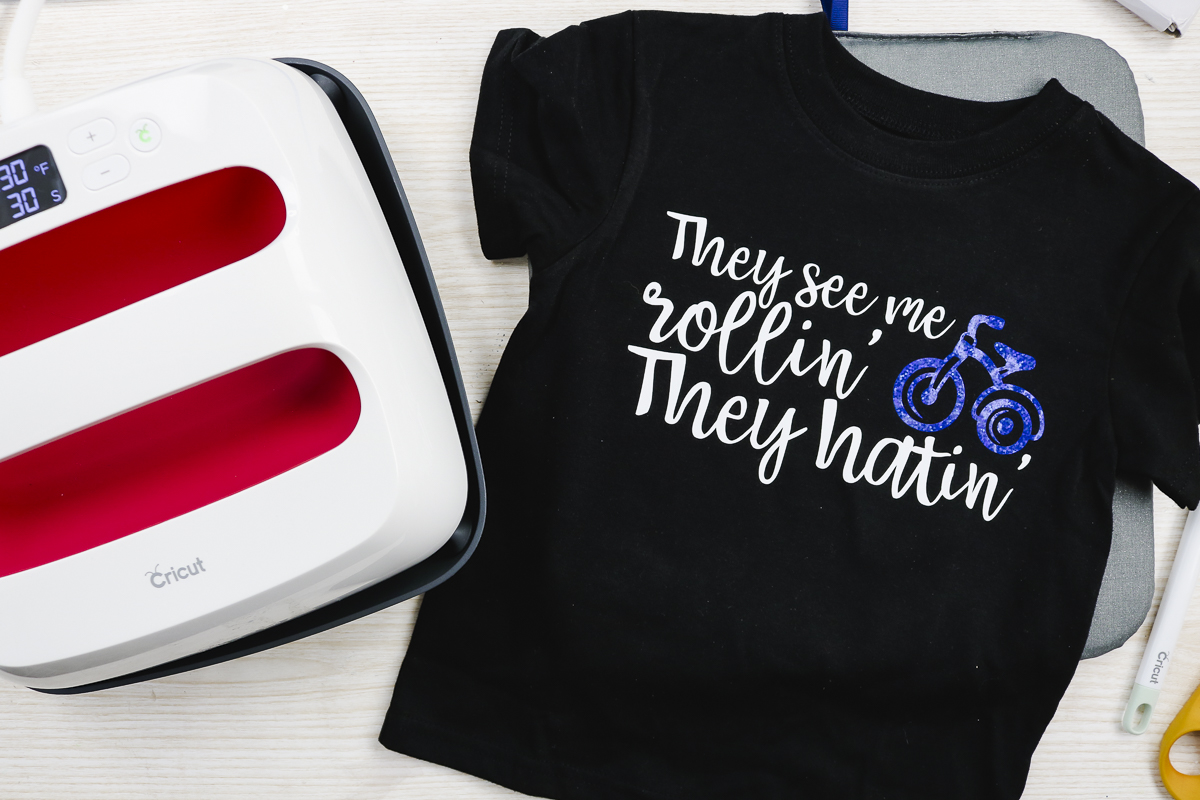
- Secondly, you can also press them both together. So in the example below I was able to do both at the same time as the two types do not overlap. Just make sure that you trim the carrier sheets so that they are not under another type of iron-on. Then press for the time/temperature recommended for the higher of the two on both the front and back.
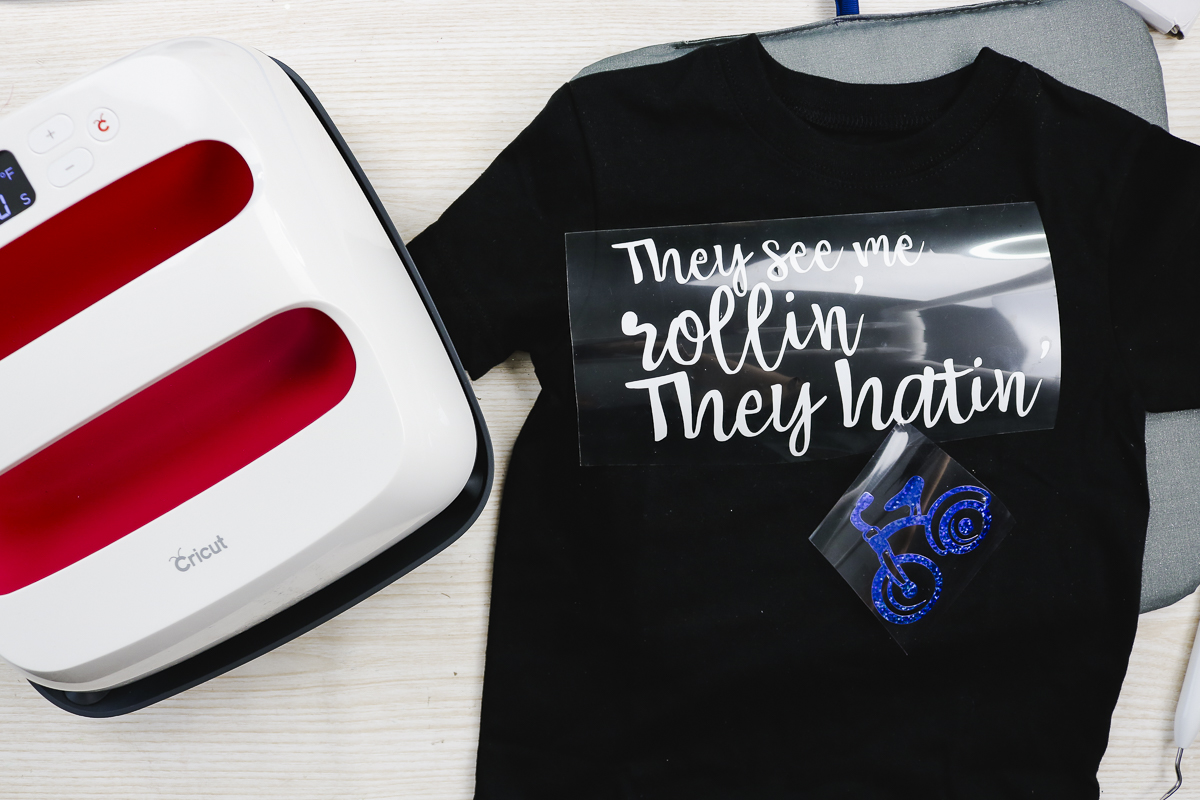
Don’t be afraid to mix types as it can really make a project pop!
Working with Cricut Patterned Iron-on
Next up is layering the Cricut patterned iron-on vinyl with regular everyday.
For this one, you would follow the same advice above. The only thing I will say is that you can’t press both of these at once. Also, the patterned is a really high heat for a really long time.
So, for my first press, I did the appropriate heat for a little over half the time. This was enough to get it stuck to the shirt.
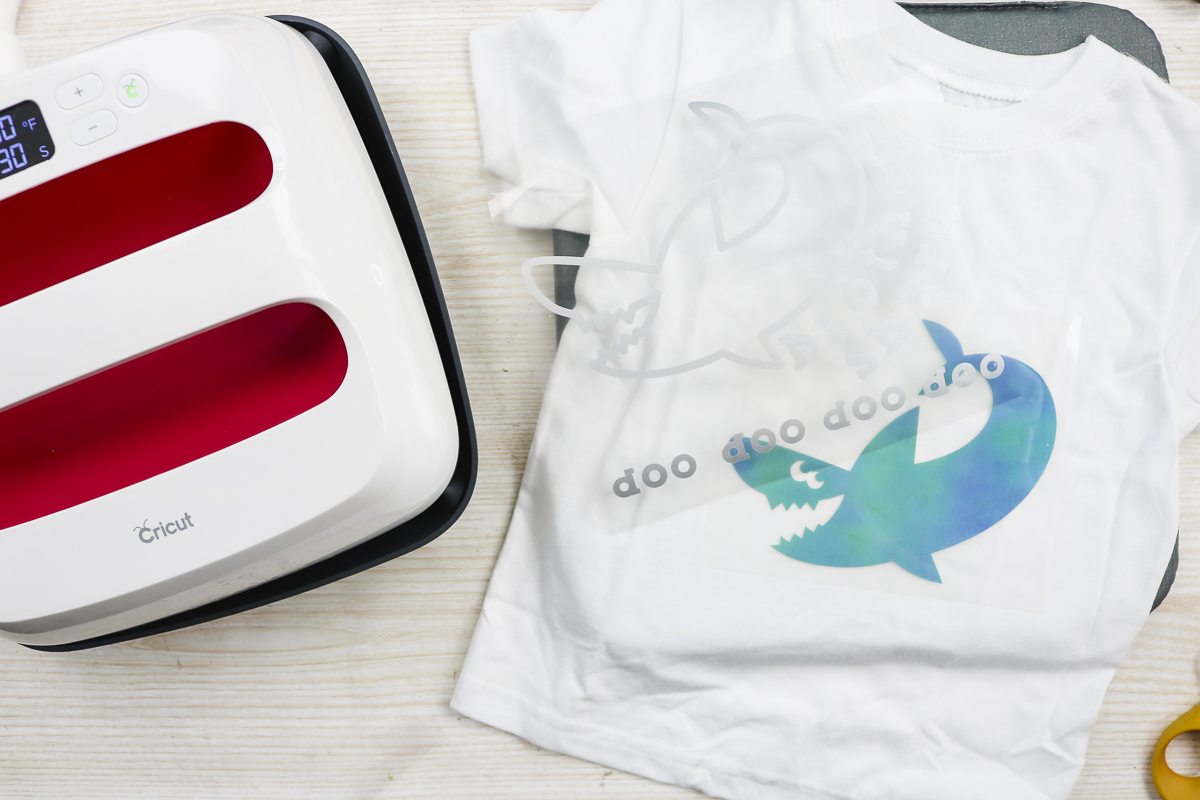
Then I put that second layer on top and did a press for the full time and temperature for the everyday which means that the patterned got plenty hot and was able to bond with the material.
Working with Cricut Iron-On Glitter Vinyl
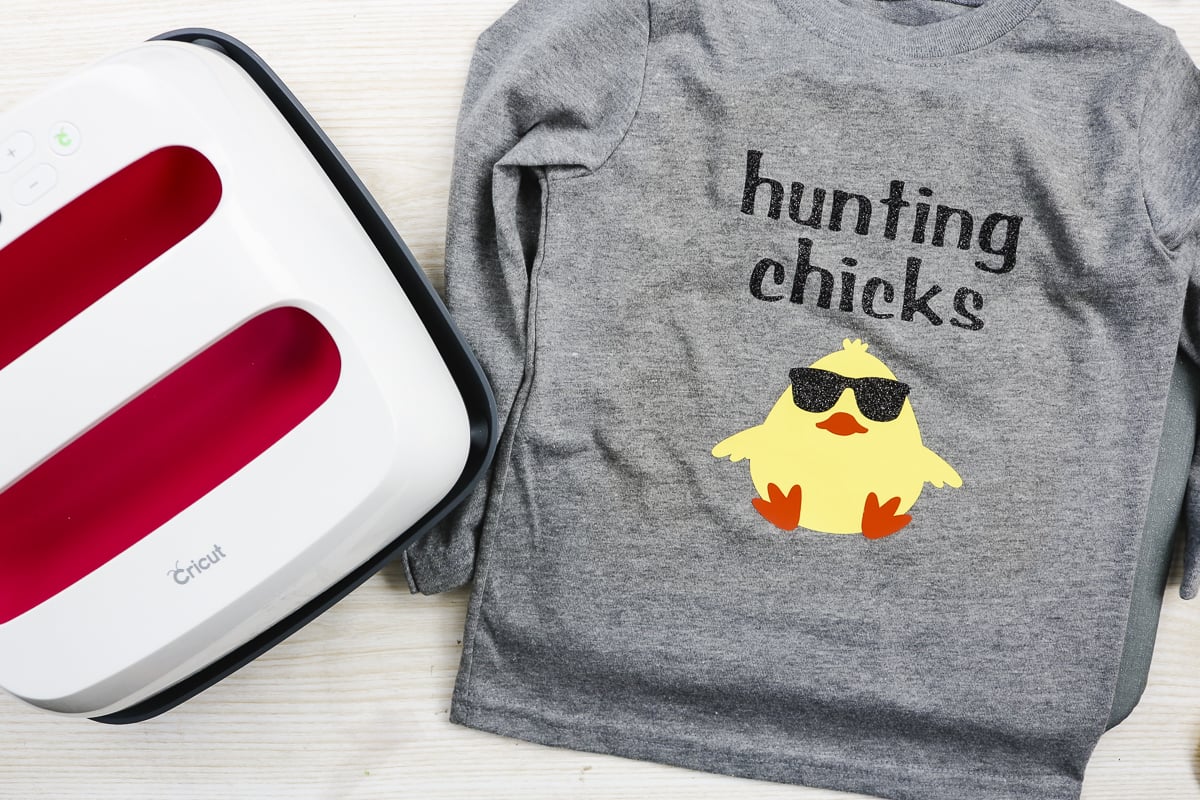
Oh yes, glitter! This time we are using three colors on one shirt. The yellow and orange are everyday and the black is the glitter iron-on. You can follow the same steps for layering above but always remember that you should not layer on top of the glitter iron-on as your bond will not be as strong.
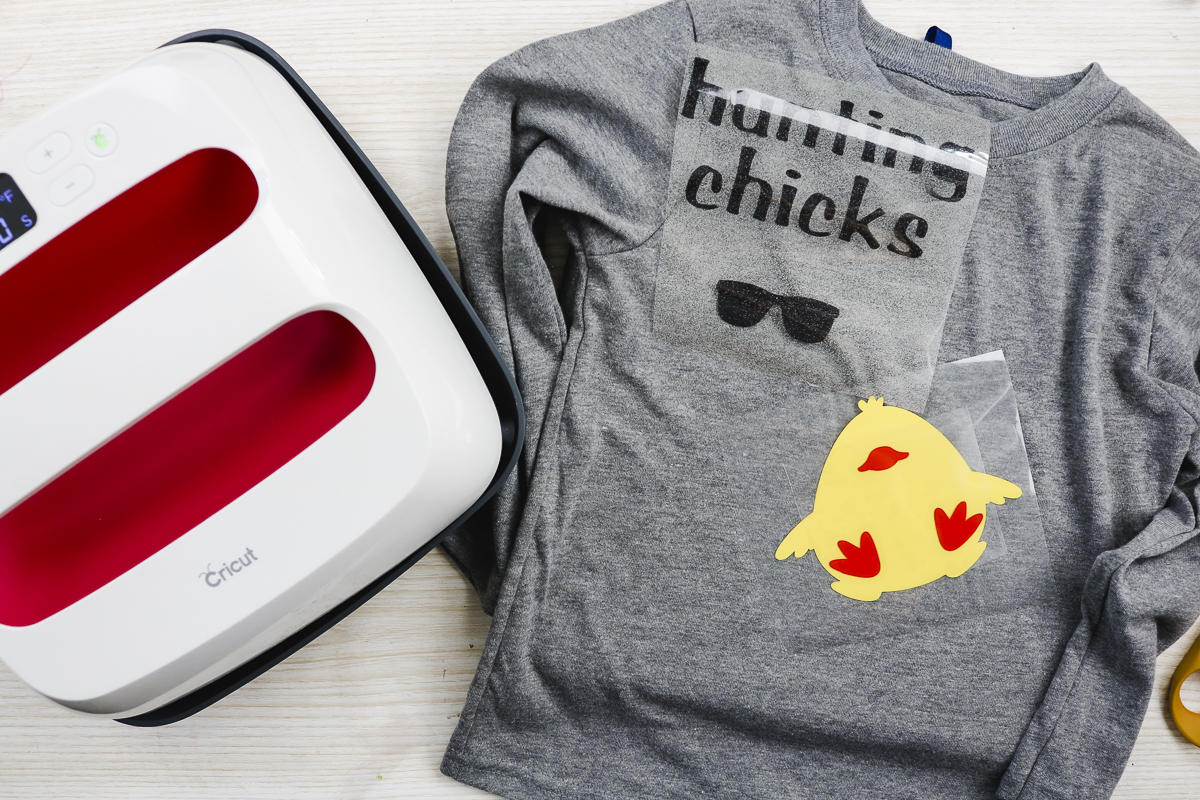
For this one, I added the yellow chick first then pressed the orange and black glitter at the same time.
That is one cute Easter shirt in minutes with Cricut iron-on glitter vinyl!
Which is the best HTV or iron-on vinyl for Cricut?
First, I personally love the Cricut brand of iron-on for my projects. I feel it works well and they say it will outlast 50+ washes! Now that is longevity you can count on for all of your gift-giving needs.
Another HTV that I really love is the Siser brand. This is another one that I have found applies easily and works really well.
Second, the variety of colors and patterns of the Cricut Iron-on Vinyl is amazing! You will never run out of options or ideas! I have shared just a few types in this post but you can see even more by clicking here.
Again you really can’t go wrong with Siser here either! Both Cricut and Siser are readily available in a wide variety of colors and types.
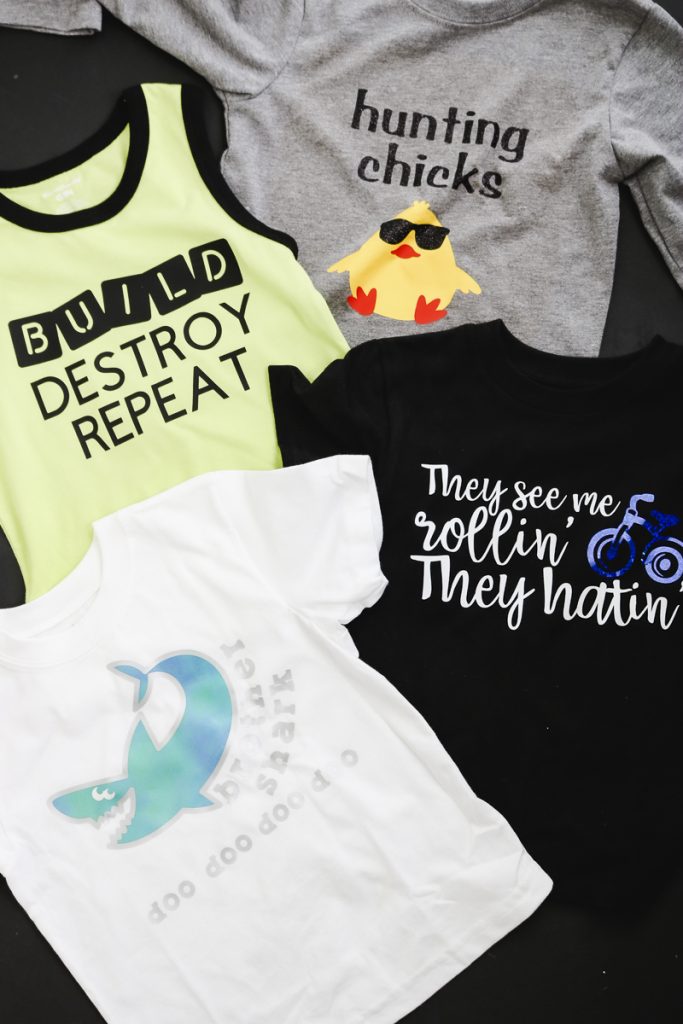
So, which of these fun shirt designs is your favorite? Which will you make first?
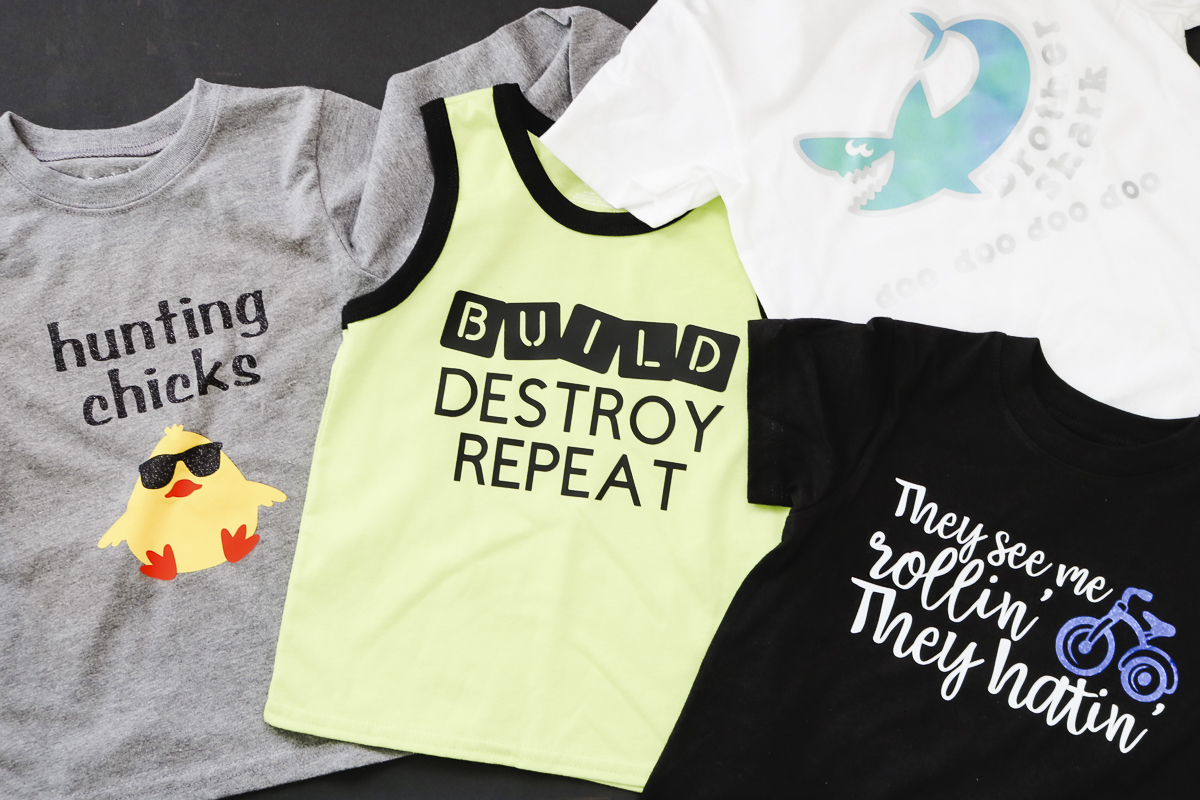
My personal faves are a tie between the chick and that tricycle. Both make me smile every time I see them! I hope you have learned how to use iron-on vinyl and will start using it for all your craft projects along with the EasyPress 2, of course!
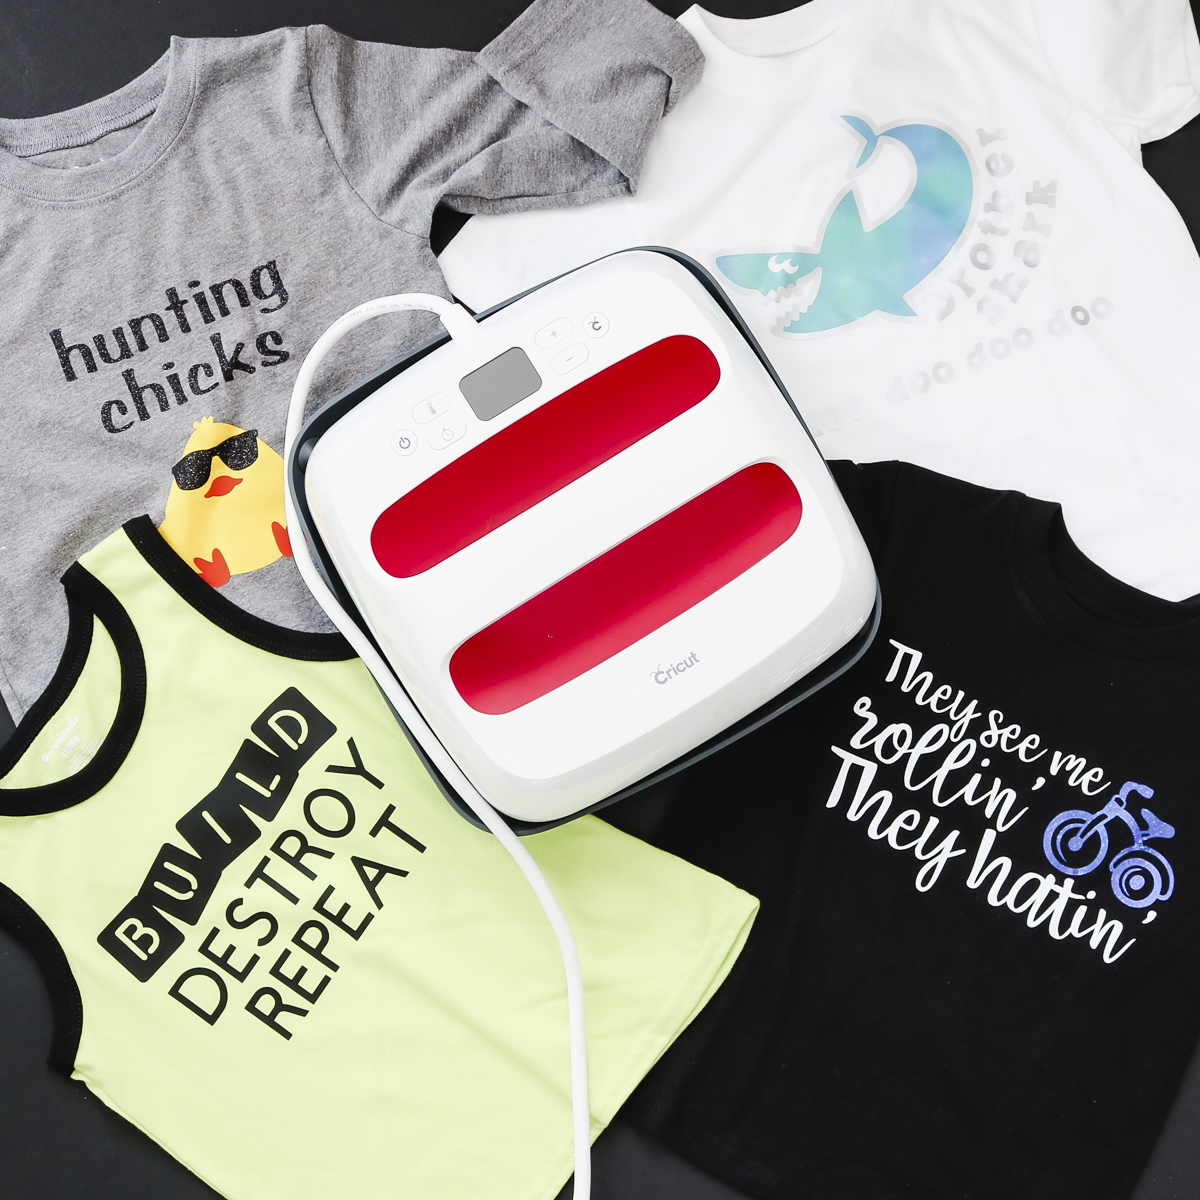
Iron-on vinyl and HTV projects are some of my favorites and I know you will love them as well! So break out that EasyPress and get started!
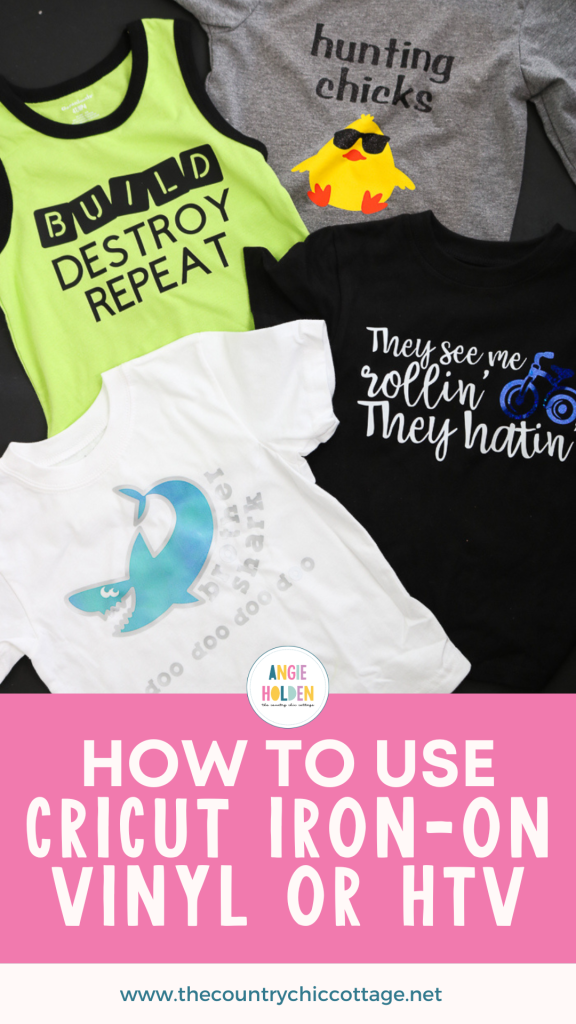


Any way you could share the SVG for these files so that those of us that don’t use a Cricut can use these super cute files as well??
Any way you could share the SVG for these files so that those of us that don’t use a Cricut can use these super cute files as well??
I tried clicking the brother shark but design space comes up in a blank canvas . What did I do wrong ? Thanks
Hmmm. It should work. Are you doing it on a computer or on a phone?
What’s the fonts used in “They see me rollin?
You can actually click the link to open in Cricut Design Space and see the font there!
When I click the link to the “Cricut interactive guide” so I can find the settings information, it says the link is no longer active. Is there another way to get this information?
I fixed that link. Here it is for you – https://www.thecountrychiccottage.net/heat-guide-aff