Have you heard of inkjet printable heat transfer paper? With this product, you can print any image with your at-home printer and add it to fabric. I thought I would show how this product works along with running a few tests on which brands work best. This product is similar to printable heat transfer vinyl and I will be running tests comparing the two soon so stay tuned! For now, let’s learn how to use heat transfer paper.
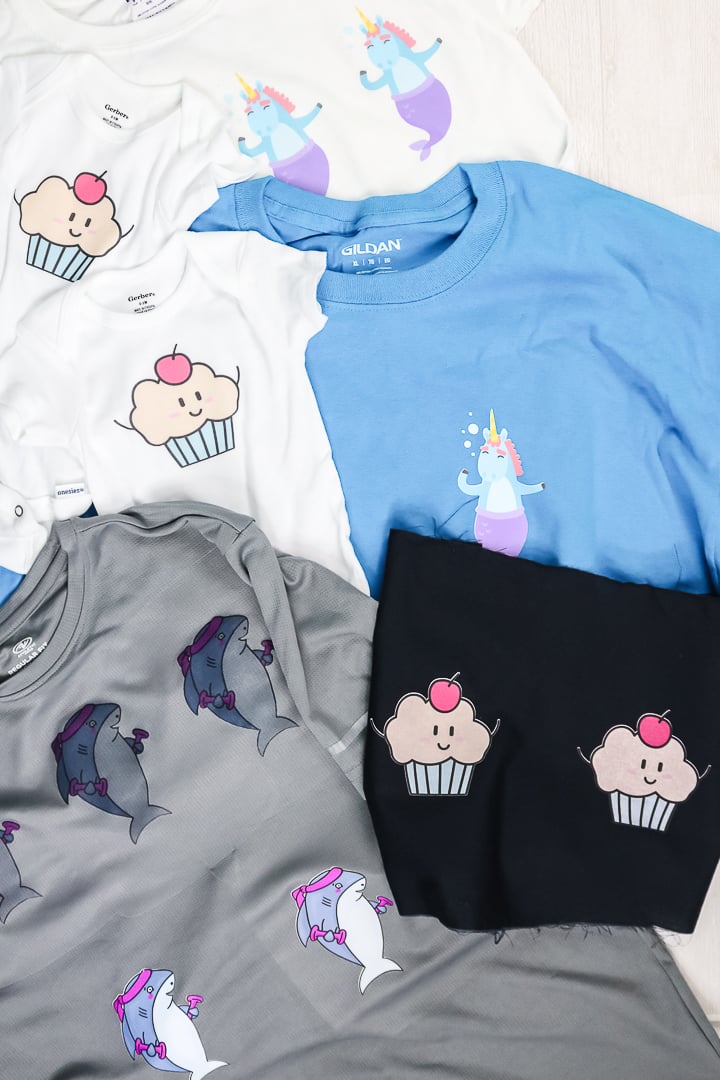
What is Heat Transfer Paper
Heat transfer paper takes a design that is printed on an inkjet printer and transfers it to fabric. This means that you can take any photo or image on your computer and print on your home printer to make craft projects. There are a two types of heat transfer paper as well as different brands. Let’s dive into the differences.
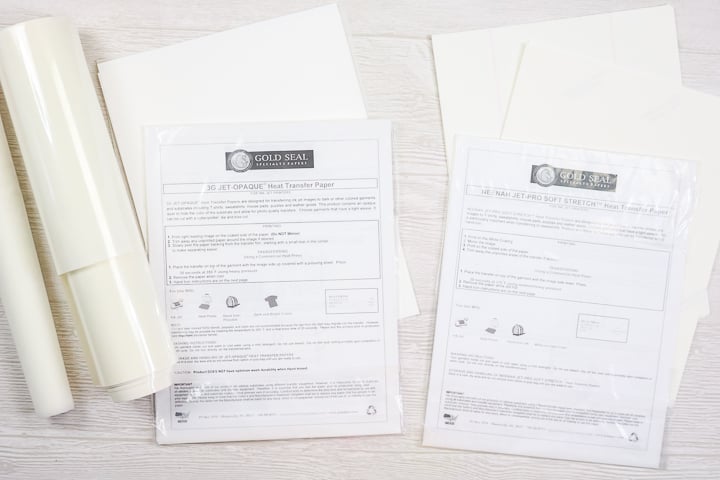
Heat Transfer Paper Light
This version is for light-colored fabrics only as you will be able to see the background fabric color through your transfer. For light colored heat transfer paper, you will need to mirror your image before printing.
Heat Transfer Paper Dark
This version can be added to dark fabrics as the background is not as transparent. There is actually no need to mirror your image with this one but, if you have a complicated print, you may want to consider transfer tape that can withstand heat to get your design onto your fabric correctly.
Brands Tested
I tested the following brands in the post and video below:
- Neenah Inkjet Light Jet-Pro SoftStretch Paper
- WALAPaper Inkjet Light
- WALAPaper Inkjet Light Smooth
- Neenah 3G Jet Opaque
- WALAPaper Inkjet Dark
What printer can you use?
You can use a standard inkjet home printer with this product. I am just using an HP inkjet printer. You can find my printer comparison here if you need one! Everything was printed on best quality print settings and there were no issues with streaking on any of the brands that I used.
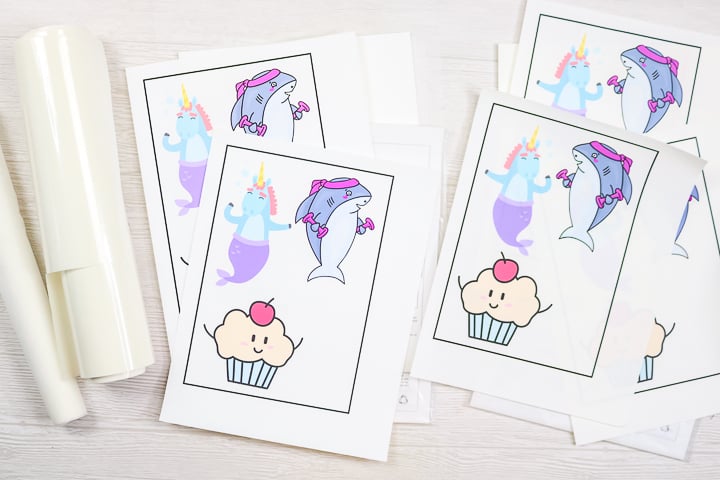
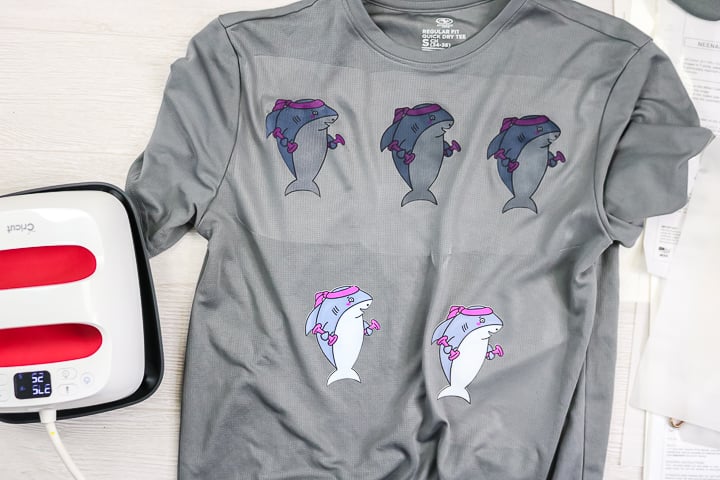
NOTE: There is a black box around the prints below because I used my Cricut to cut out the designs. This is not required if you are just using scissors.
How to Use Heat Transfer Paper
Ready to watch me use heat transfer paper on several different surfaces? I have everything you need to know in video below so just click play!
Can’t watch the video or missed some of the information? You can also read about the results in the post below!
How to Use Heat Transfer Paper Light
Here are the general directions for using light heat transfer paper. Always check the packaging or website for the brand you buy to ensure the directions are the same.
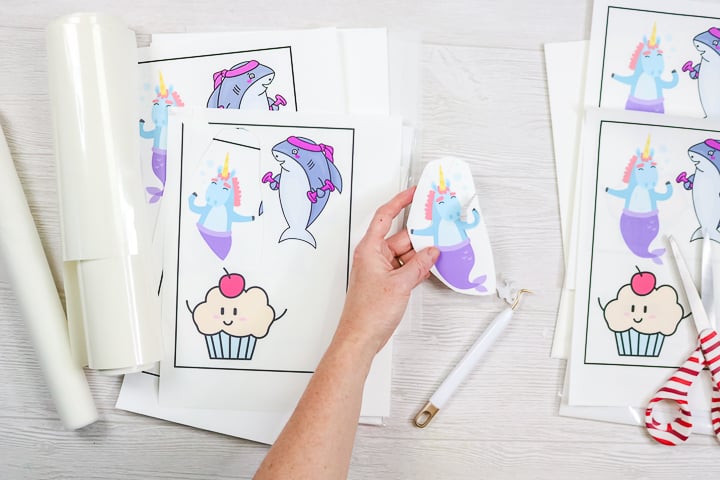
- Print onto the matte side of the sheet. The side that should NOT be printed on is usually marked. Be sure to mirror your design before printing. Be sure to print on the best quality for optimal results.
- Cut around your design. You can use a Cricut machine for this or you can cut with scissors. A little white around the edges is okay but I like to remove as much as possible. Remove the excess material around the cut lines if you cut on a Cricut machine.
- Press the fabric for a few seconds before adding your design to remove moisture and wrinkles.
- Then put your image face down onto your fabric and press at the time and temperature indicated for the product you are using. You will also want to check and see how much pressure you need to apply with your press. I have used an EasyPress with all of my tests so it will work as will a heat press. An iron will probably work as well but be sure to check for separate pressing instructions in that case.
- You will then peel back the backing paper to reveal your design. Be sure to check the instructions to see if it needs to cool before removing.
- While warm, you can also gently stretch the fabric for a softer feel on your final project.
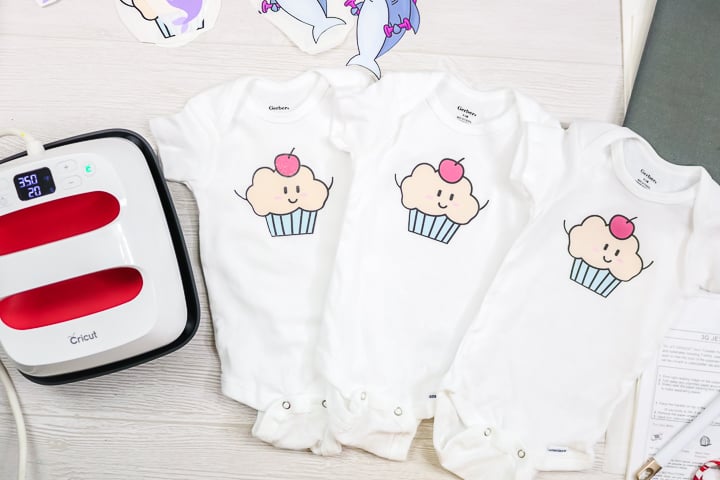
How to Use Heat Transfer Paper Dark
Let’s take a look at what is required to use dark heat transfer paper. Again you should always check the packaging or website for the brand you buy to ensure the directions are the same.
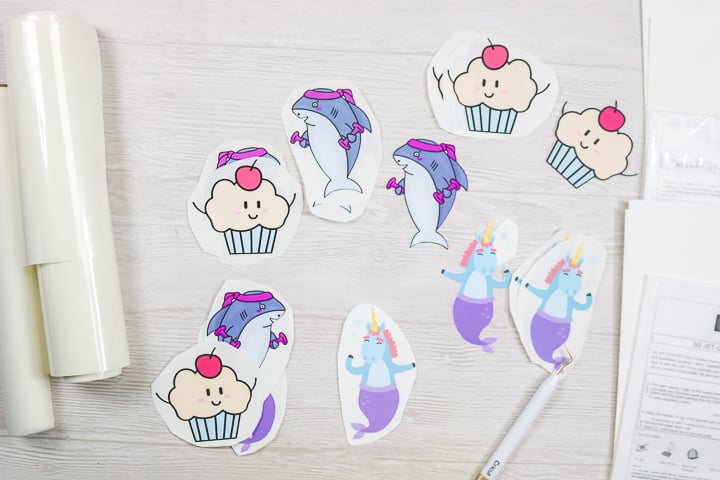
- Print onto the matte side of the sheet. The side that should NOT be printed on is usually marked. You want to be sure to NOT mirror your design. Be sure to print on the best quality for optimal results.
- Cut around your design. You can use a Cricut machine for this or you can cut with scissors. Remember that with this one any white remaining will show on your final design. Remove the excess material around the cut lines if you cut on a Cricut machine.
- Press the fabric for a few seconds before adding your design to remove moisture and wrinkles.
- Remove your image from the backing paper and place it on your shirt. If your design has multiple pieces, you will probably want to use transfer tape to keep them in place. Cover the design with protective paper before pressing.
- Press at the time and temperature indicated for the product you are using. You will also want to check and see how much pressure you need to apply with your press. I have used an EasyPress with all of my tests so it will work as will a heat press. An iron will probably work as well but be sure to check for separate pressing instructions in that case.
- Remove the protective paper to reveal your design. Be sure to check the instructions to see if it needs to cool before removing.
- While warm, you can also gently stretch the fabric for a softer feel on your final project.
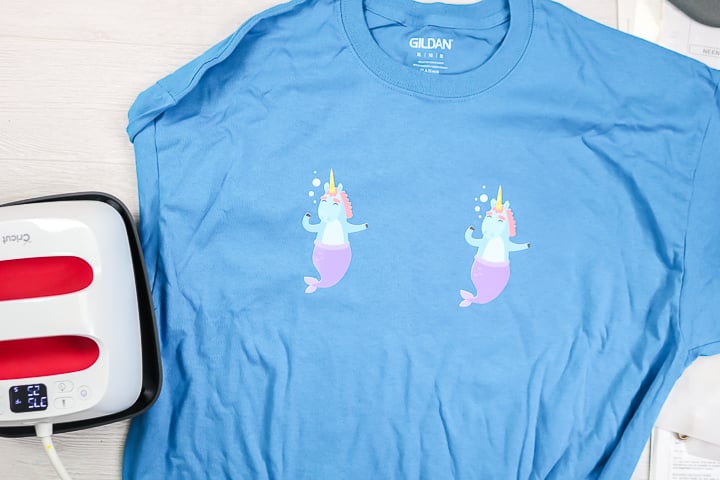
What Brand of Heat Transfer Paper is Best
So, I used these instructions to press a few brands to a variety of shirts to determine which I like best. Here are the brands I used and my opinions on each.
Neenah Inkjet Light Jet-Pro SoftStretch Paper
This one is very difficult to weed! I hated removing the excess around the outside. It didn’t transfer well either as I had some areas that didn’t transfer completely. I also don’t really love the feel of this one on the fabric. For me, this one is not one that I would use again.
WALAPaper Inkjet Light
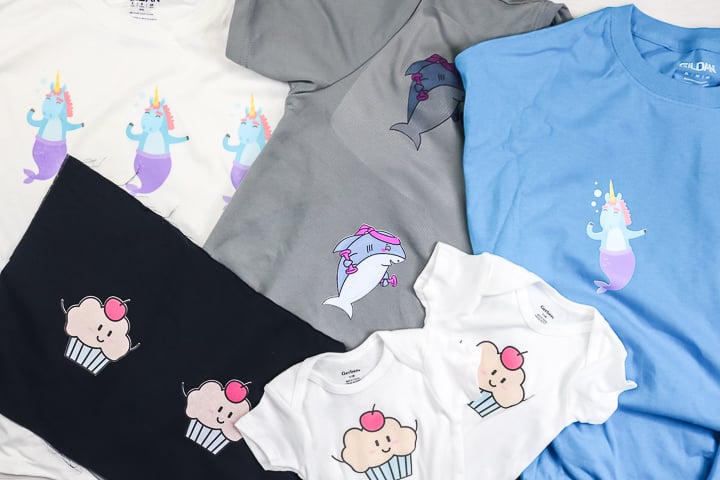
This weeds great and I had zero issues with that. It also pressed completely and the feel is amazing on the shirt. I really love this one for putting designs on fabric. I will say that all of these for light fabric, I would only use on white fabric. Otherwise, I would use the dark.
WALAPaper Inkjet Light Smooth
This also weeds easily and again I didn’t have any issues. Again it pressed really well and transferred great. I really can’t tell a difference between this one and the one above. Again, I only like these light versions on white fabrics.
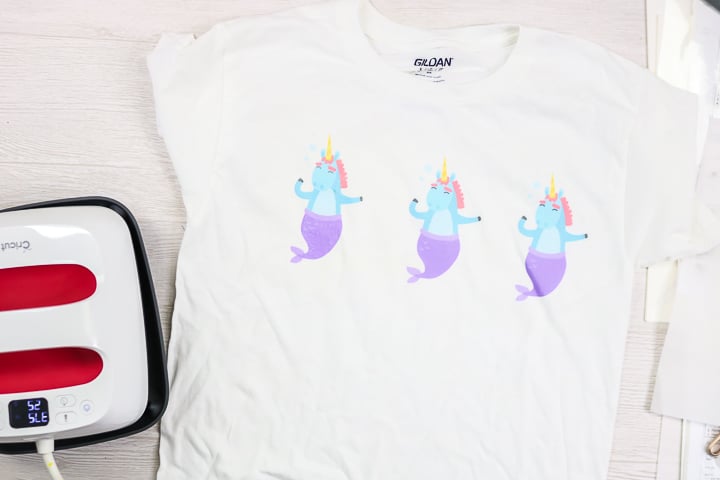
Neenah 3G Jet Opaque
Again, this is so hard to get off of the liner. It took me a long time to do the projects that I made with this product and I probably would not use it again. Also, you have to use protective paper over the top of this and it doesn’t not come with the product which is a little annoying.
WALAPaper Inkjet Dark
This one weeds easily and it comes with protective paper for covering. I do like this one much better when pressed as well. I actually love the dark on light-colored and white fabrics as well. So, if you only want to buy one, this is definitely it! I will note that I didn’t like this one on black fabric. I would probably use printable heat transfer vinyl on black.
Where to Buy Heat Transfer Paper
You can find all of the ones I used in the list below. I would definitely recommend the WALAPaper Inkjet Dark if you can only buy one transfer paper. If you want a light, either WALAPaper will work great!
- Neenah Inkjet Light Jet-Pro SoftStretch Paper
- WALAPaper Inkjet Light
- WALAPaper Inkjet Light Smooth
- Neenah 3G Jet Opaque
- WALAPaper Inkjet Dark
How Well Does Heat Transfer Paper Hold Up
I am currently running some tests on a variety of heat transfer products so you will want to stay tuned. Now that you know how to use heat transfer paper, should you use it for your projects? Stay tuned to find out exactly how it holds up and how it compares with other heat transfer products. You won’t want to miss that video and post!
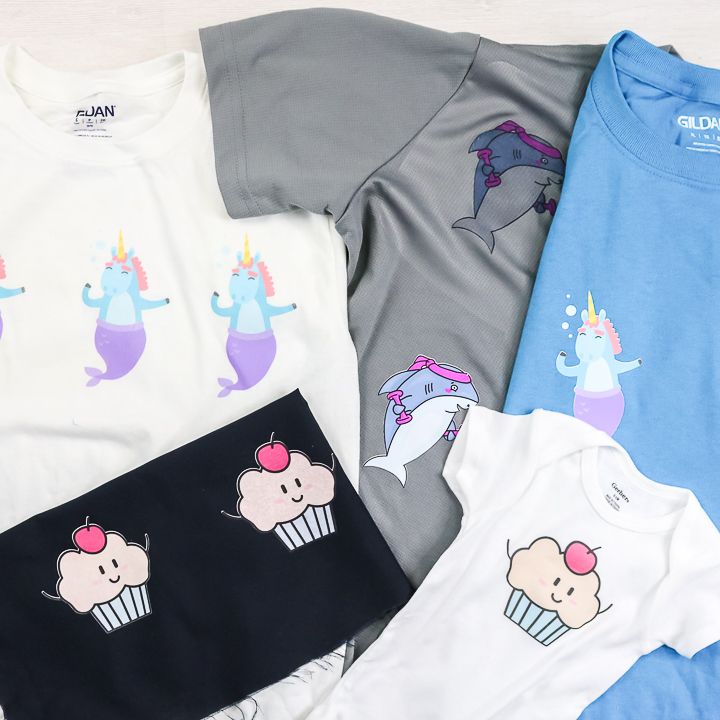
I hope you enjoyed this guide to heat transfer paper and will give it a try on your next project! I really think you will like the results!
Other videos and links you may like!
Here are a few other links that you may love!
Designs I used:
Other videos you might like:



How did you get the cut so good? I can’t seem to master this. Trying to print a dinosaur and it just doesn’t cut right.
I didn’t have issues cutting it with my Cricut.