If you have ever wanted to apply sublimation to dark colors or cotton fabrics, this post is for you! Today I’m going to teach you about Siser EasySubli and how it works on dark colors and cotton! While this isn’t exactly like using regular sublimation, it’s a great way to use sublimation with your favorite t-shirt no matter what color it is or what it’s made of.
If you’re new to sublimation and want to learn why you need light colors and polyester fabric to use it, check out my beginner’s guide here.
How to Use Siser EasySubli
Siser EasySubli is different than regular sublimation paper and HTV. Depending on the sublimation printer you have, you can print directly onto the EasySubli surface or you can use it as a base HTV to apply a sublimation print to.
I’m going to walk you through the steps for both options here. You can also watch me make projects using both options and learn more about EasySubli, just press play on the video below:
Supplies Needed:
- Siser EasySubli & Mask or Siser EasySubli without Mask
- KTM Mask (I like this heat mask better than the Siser version.)
- Sublimation Paper (for second method ONLY)
- Cricut Machine
- Shirt – I am using a black cotton shirt
- Weeding Tool
- Scraper
- Sublimation Printer – Options include Sawgrass, Epson SureColor F170, Epson EcoTank converted for sublimation
- Sublimation Ink
- Heat Press
- Heat Resistant Tape
- Artesprix Protective Paper save 10% with code CCC10
- Heat Resistant Gloves
- Tape Dispenser
- Lint Roller
- Sublimation Design (I am using this merry and bright design.)
What is Siser EasySubli?
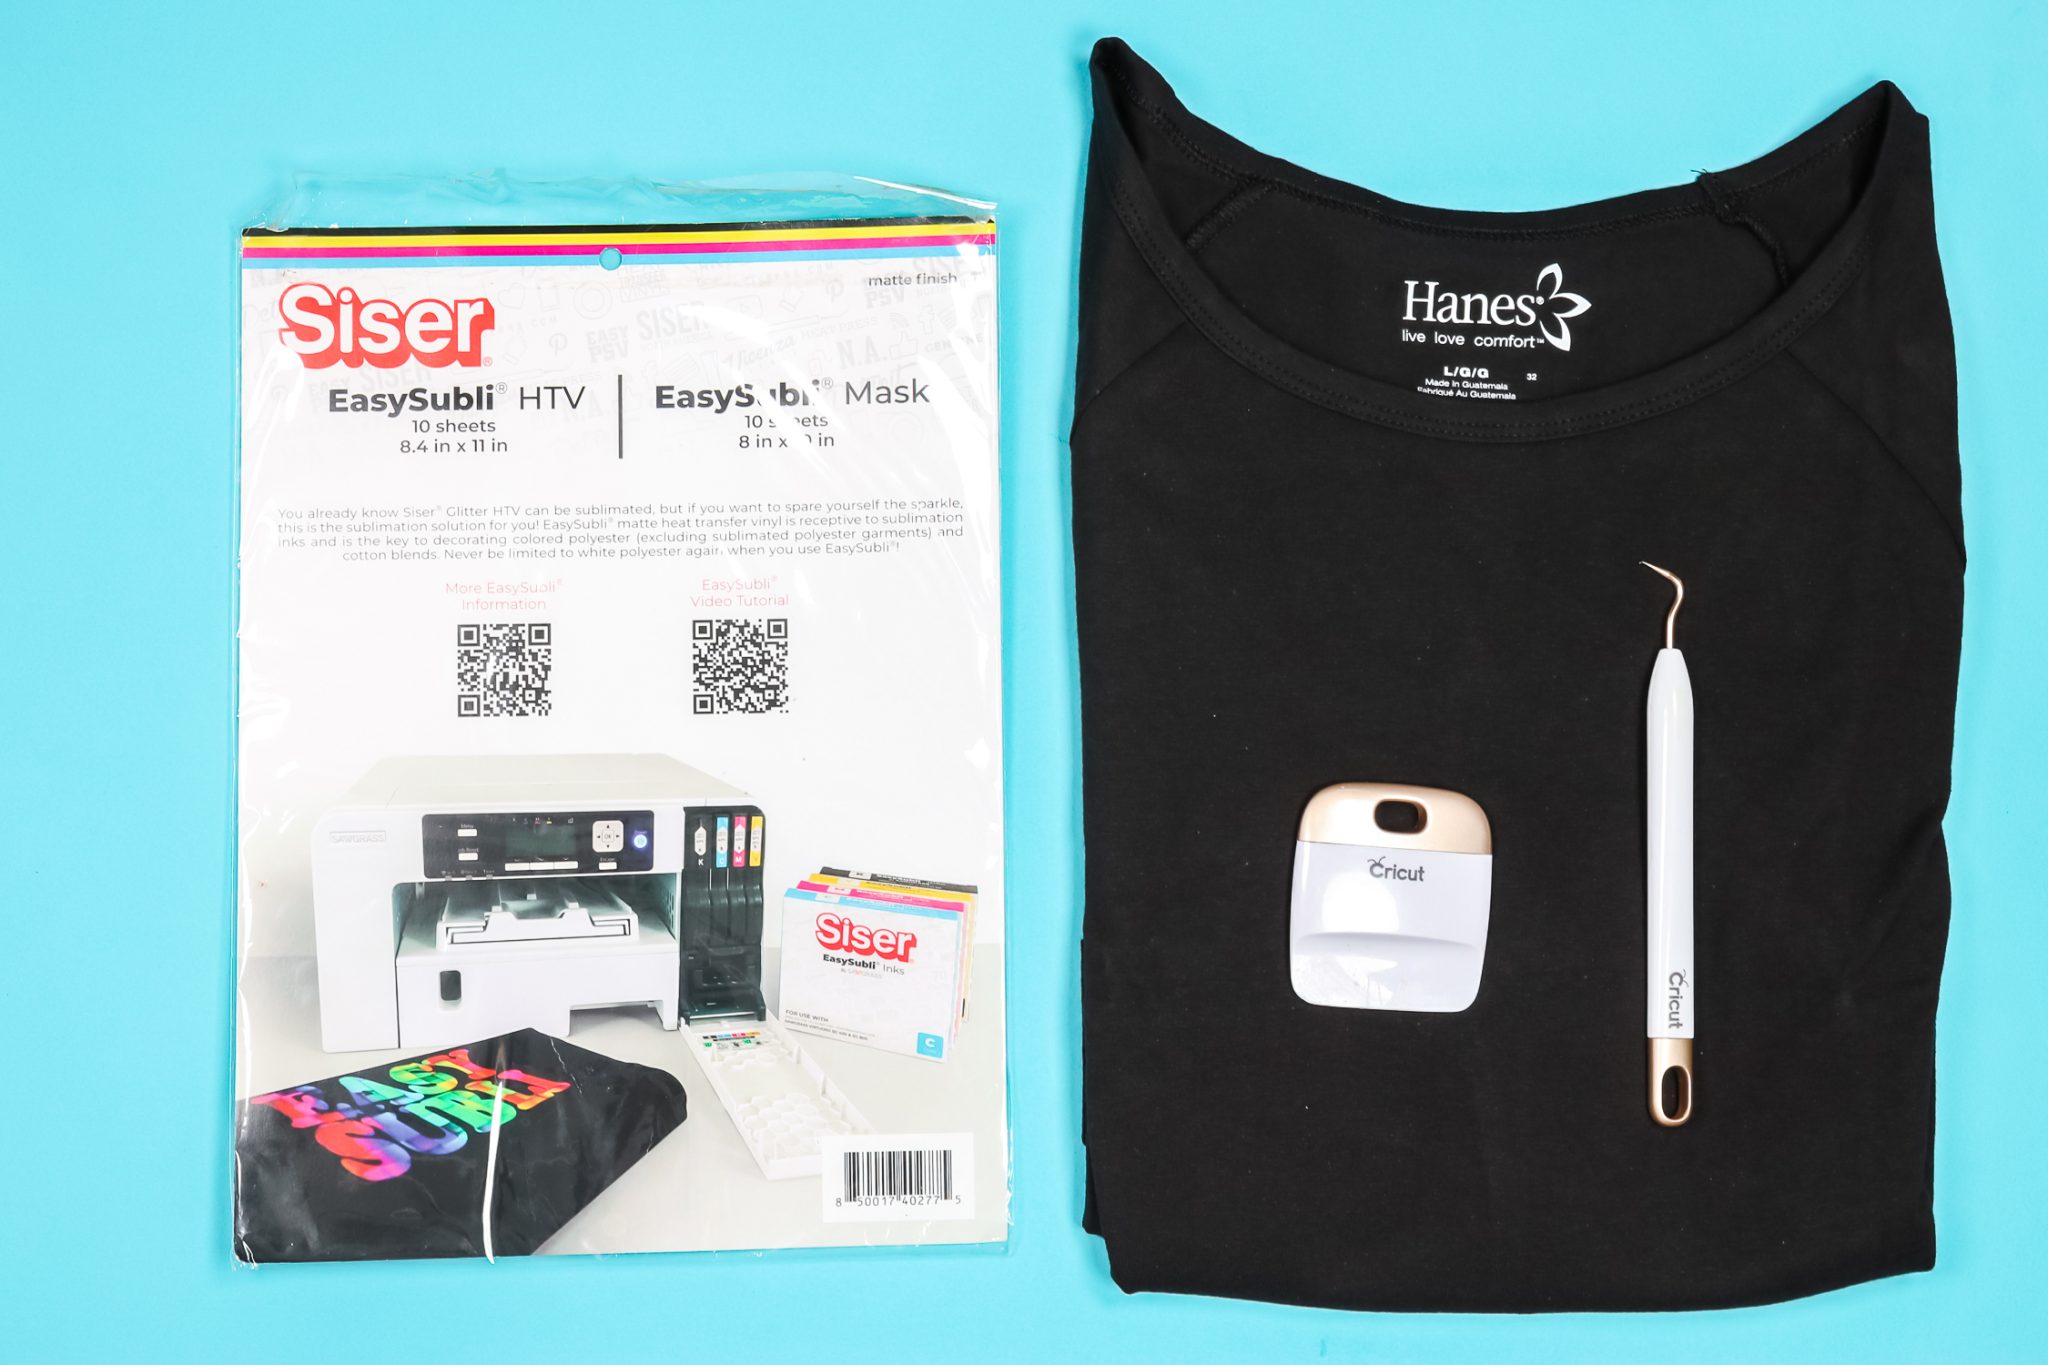
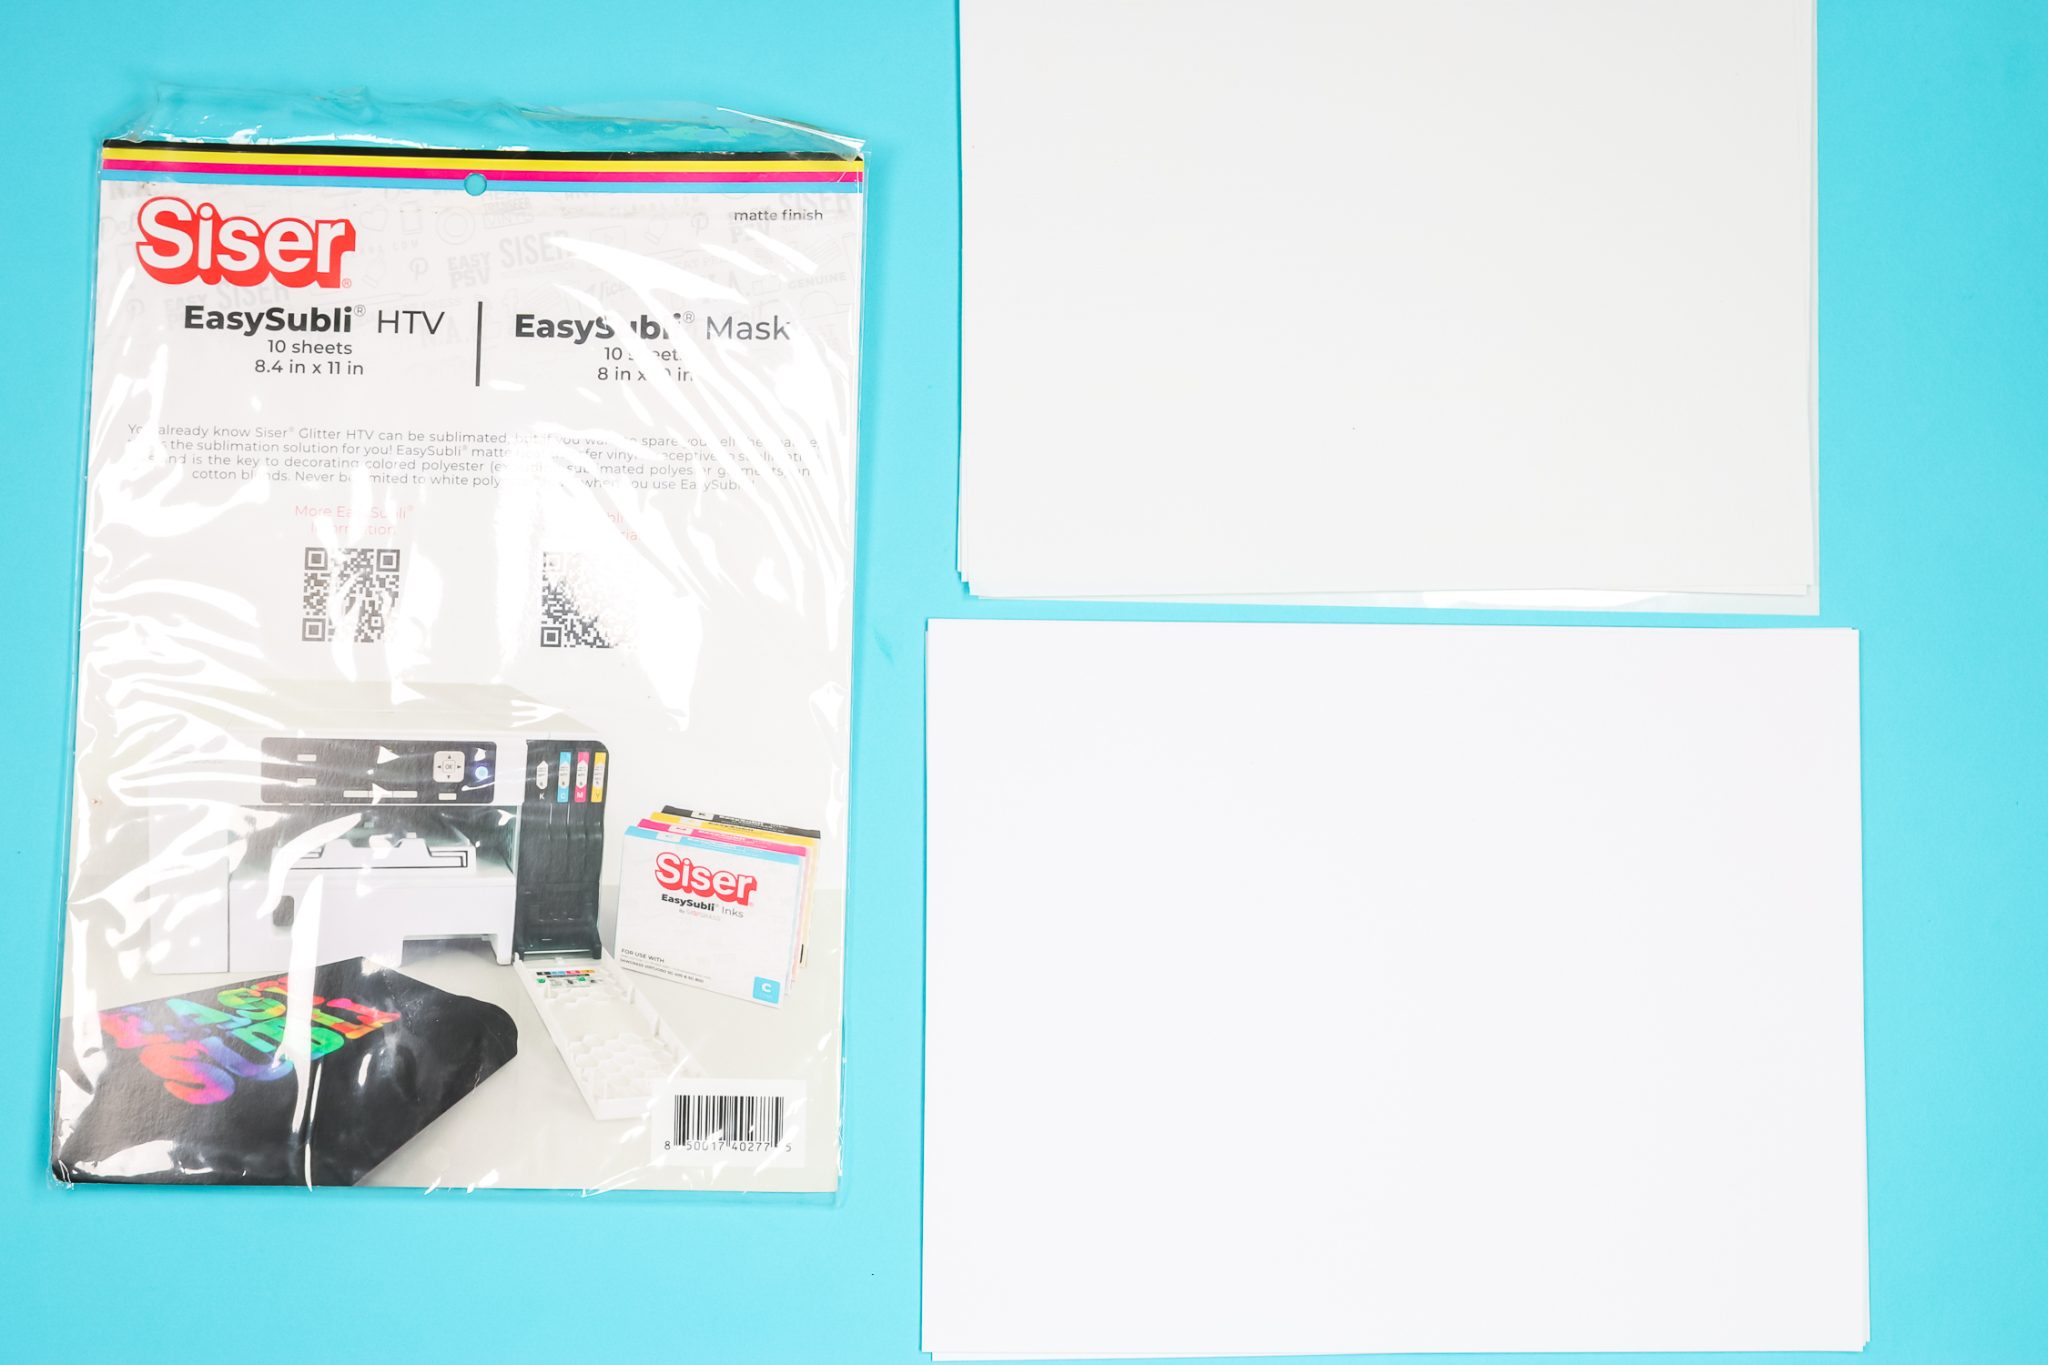
Before we start printing and cutting, let’s look closer at the EasySubli material. Depending on which package you purchased your order may include just sheets of EasySubli or sheets to print on and the mask.
If you have both, the smaller sheet that is 8 by 10 inches is the mask. The mask will be sticky when you peel back the liner if you’re not sure which is which.
The other material is the EasySubli that we want to print on. When printing on EasySubli, you’ll print directly onto the rough side of the material, not the smooth shiny side. The smooth shiny side is the carrier sheet. You want to print onto the white material itself.
How to Use EasySubli with a Sawgrass Printer
For our first EasySubli project, we will use a Sawgrass Printer and print our image directly onto the EasySubli paper. I have not had luck with this method with any of my Epson printers and I’ll show you why that is below.
We’ll use Design Space to size our image, send it to the printer, and use our Cricut machine to cut the image out. You can use other machines or even scissors to cut the material.
Upload Image Into Design Space
We’ll begin by uploading our image into Design Space. I choose complex and then click continue. This image was already a png file with the background removed so I don’t have to do anything extra.
NOTE: If your image has a background, you’ll need to use the tools on the left side of the screen to remove it.
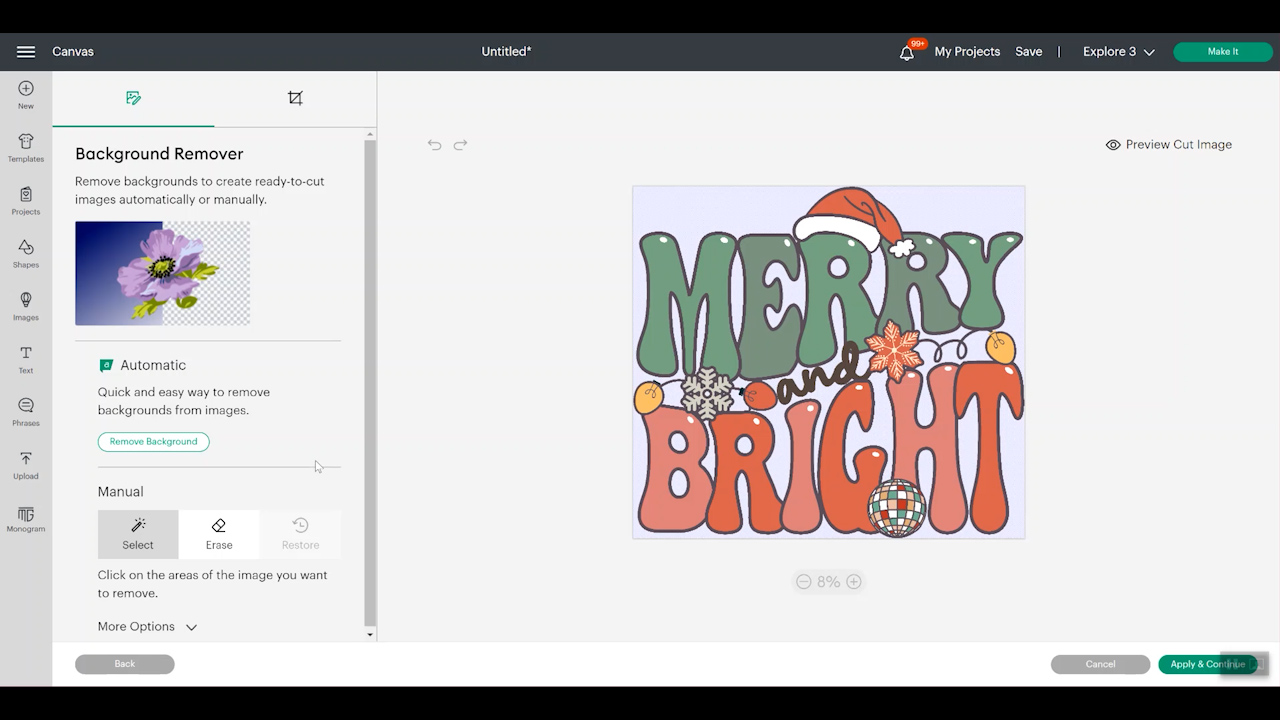
Save the image as a print then cut and click upload. After the image is uploaded, click add to canvas. Once it’s on the canvas, you can resize it for Print-then-Cut.
Print-then-Cut Size and Printing
The maximum cut size for Print-then-Cut is 6.75 by 9.25 inches. For this image, I set the height to the maximum and let the width auto-adjust to match that height.
Print-then-Cut works with every Cricut machine except the Cricut Joy. That means you can use EasySubli with all Explore and Maker machines.
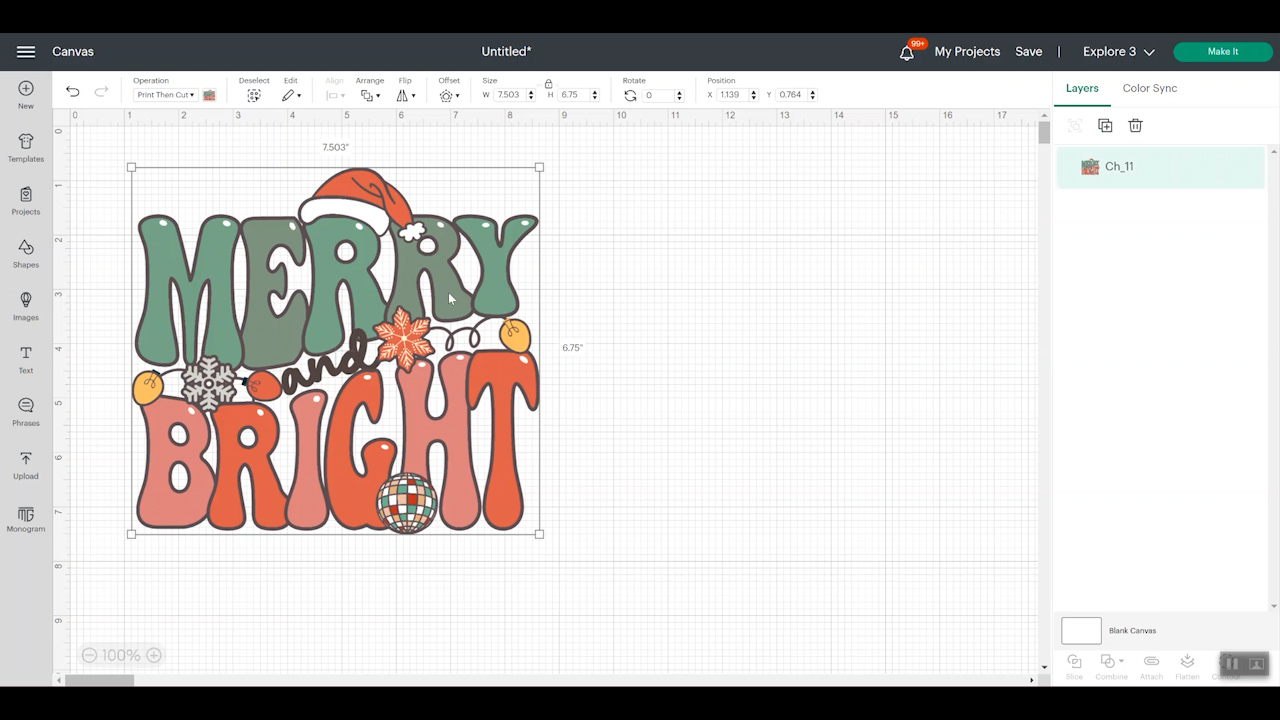
Click Make It and do not mirror your design. When printing directly onto EasySubli it’s different than using regular HTV, do not mirror the image. Click continue.
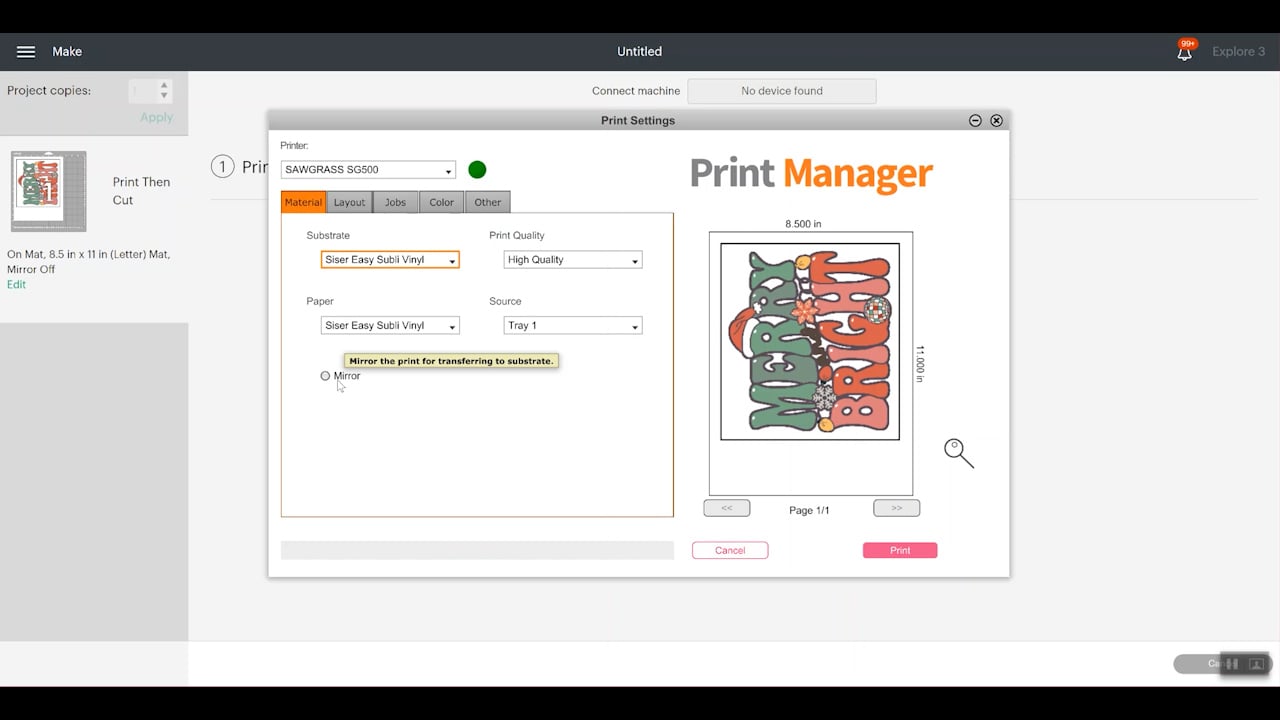
Next, we’re going to click send to printer and select the printer you’re using. I am using my Sawgrass printer. I’ll select add bleed and click print.
In Sawgrass Print Manager, choose Siser EasySubli vinyl, and again make sure mirror is not checked. Do not want to mirror! On the layout, you want to make sure that you have “preserve layout from designer” checked. We want the black box to be in the right location so your Cricut machine cuts in the right area.
Then we’re going to click print. I already had my Siser EasySubli in my Sawgrass printer.
Drying EasySubli
Before trying to cut EasySubli, you want it to be as dry as possible. If your print is wet coming out of the Sawgrass printer, you can dry it by placing it under your heat press and not closing it.
Set the AutoPress to the EasySubli recommended temp which is 311 degrees. I laid the print inside the press and pulled the top so it hovers over the print without touching it at all. I keep mine under the heat for one to two minutes. You can test the corner of the box to see if it’s dry enough.
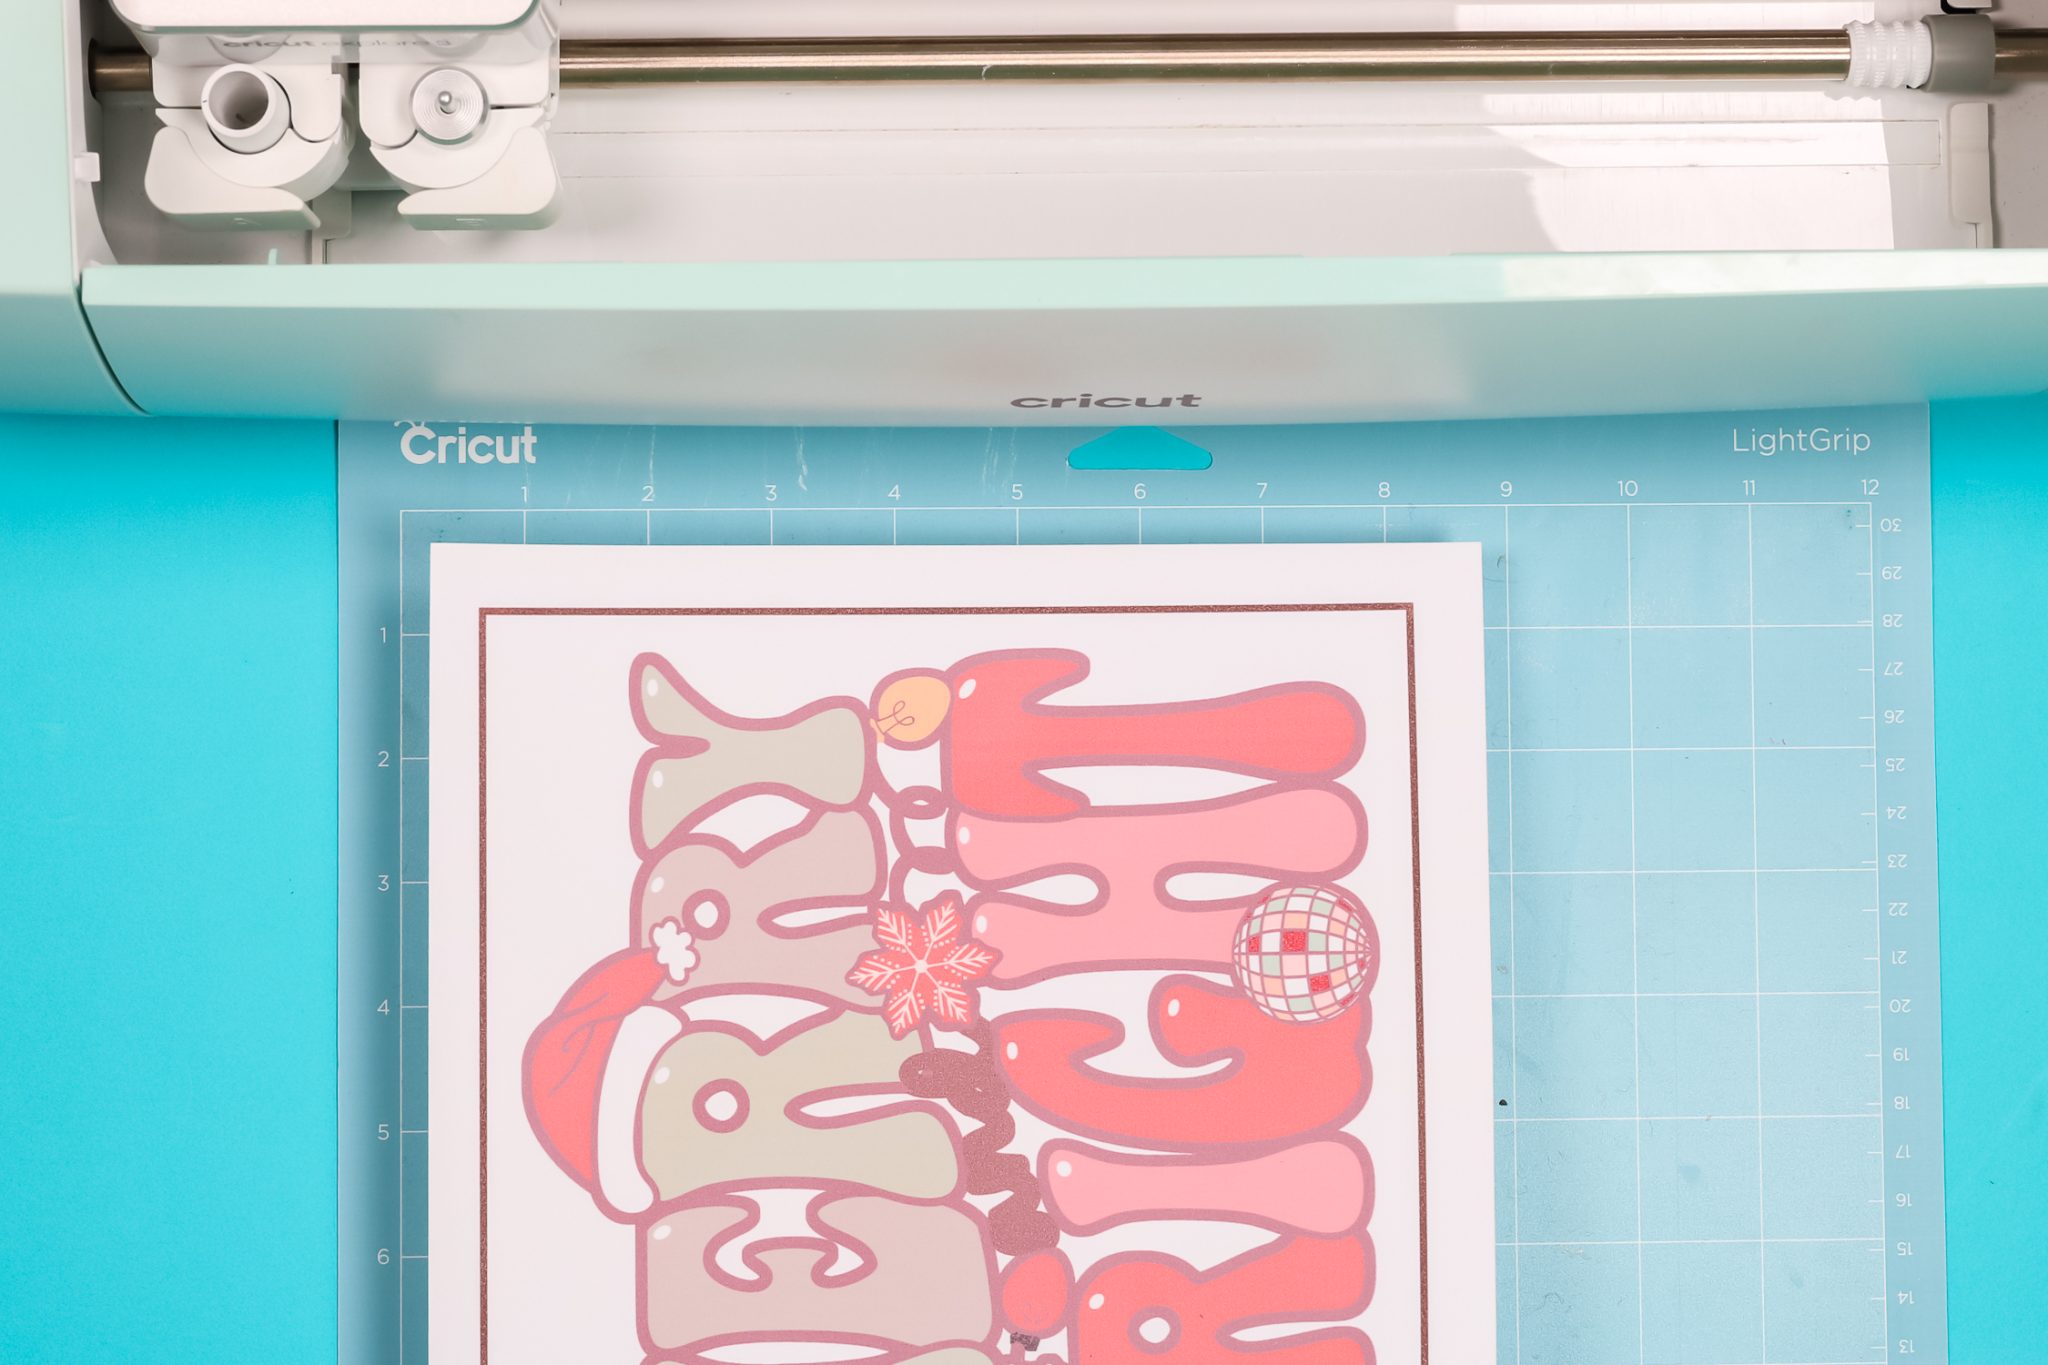
I like to just touch the corner with my finger to make sure the ink isn’t lifting. Once it’s dry enough, apply it to your Cricut mat and press it down well.
Cutting EasySubli
If you haven’t cut Siser EasySubli before, make sure you do a test cut. I am using the Everyday Iron-on setting and I have moved all my star wheels all the way over to the right. If any ink is damp this will hopefully prevent any smearing because the wheels aren’t rolling over the ink.
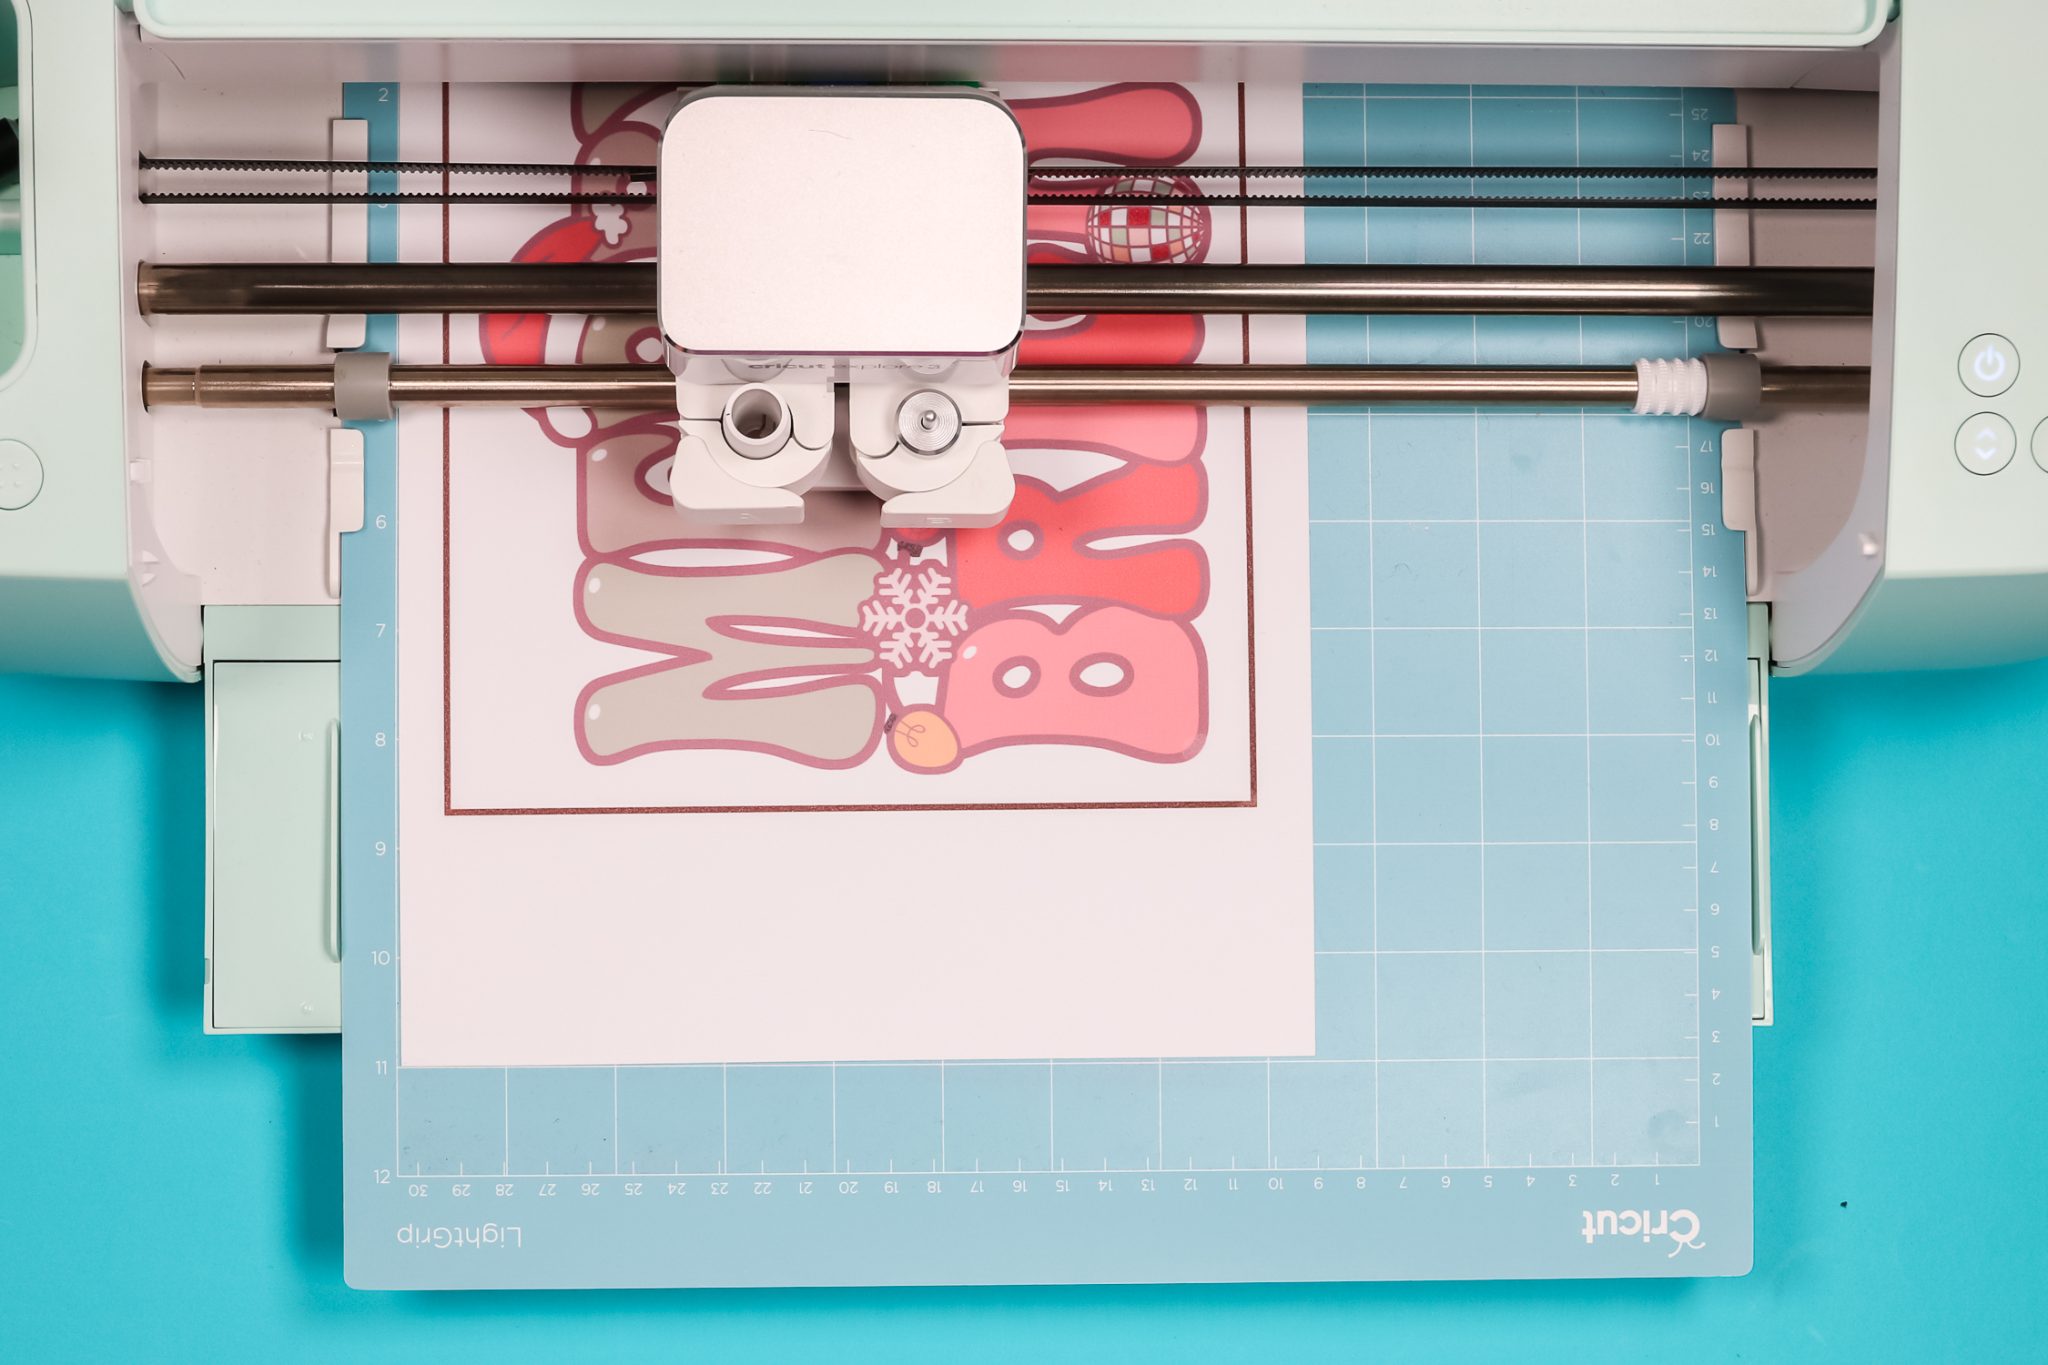
Your machine will cut your design just like it cuts other Print-then-Cut projects. You’ll use the fine point blade and your machine will use the sensor to find the box around the image.
If you have an Explore Air 2, your machine could have trouble reading the box. If you find that is happening, you can use a black permanent marker and darken the line so it’s easier to read. This is only an issue sometimes with the Air 2 because the sensor isn’t as sensitive as the Maker, Explore 3, and Maker machines.
After it reads the box, it will start cutting your design. Then once it’s done cutting, remove it from the machine.
Weeding EasySubli HTV
Weeding EasySubli is similar to weeding other HTV materials. Remove all the outside excess and then remove anything in the center that you don’t want to be transferred to your project. Paying attention to the insides of letters or other open spaces.
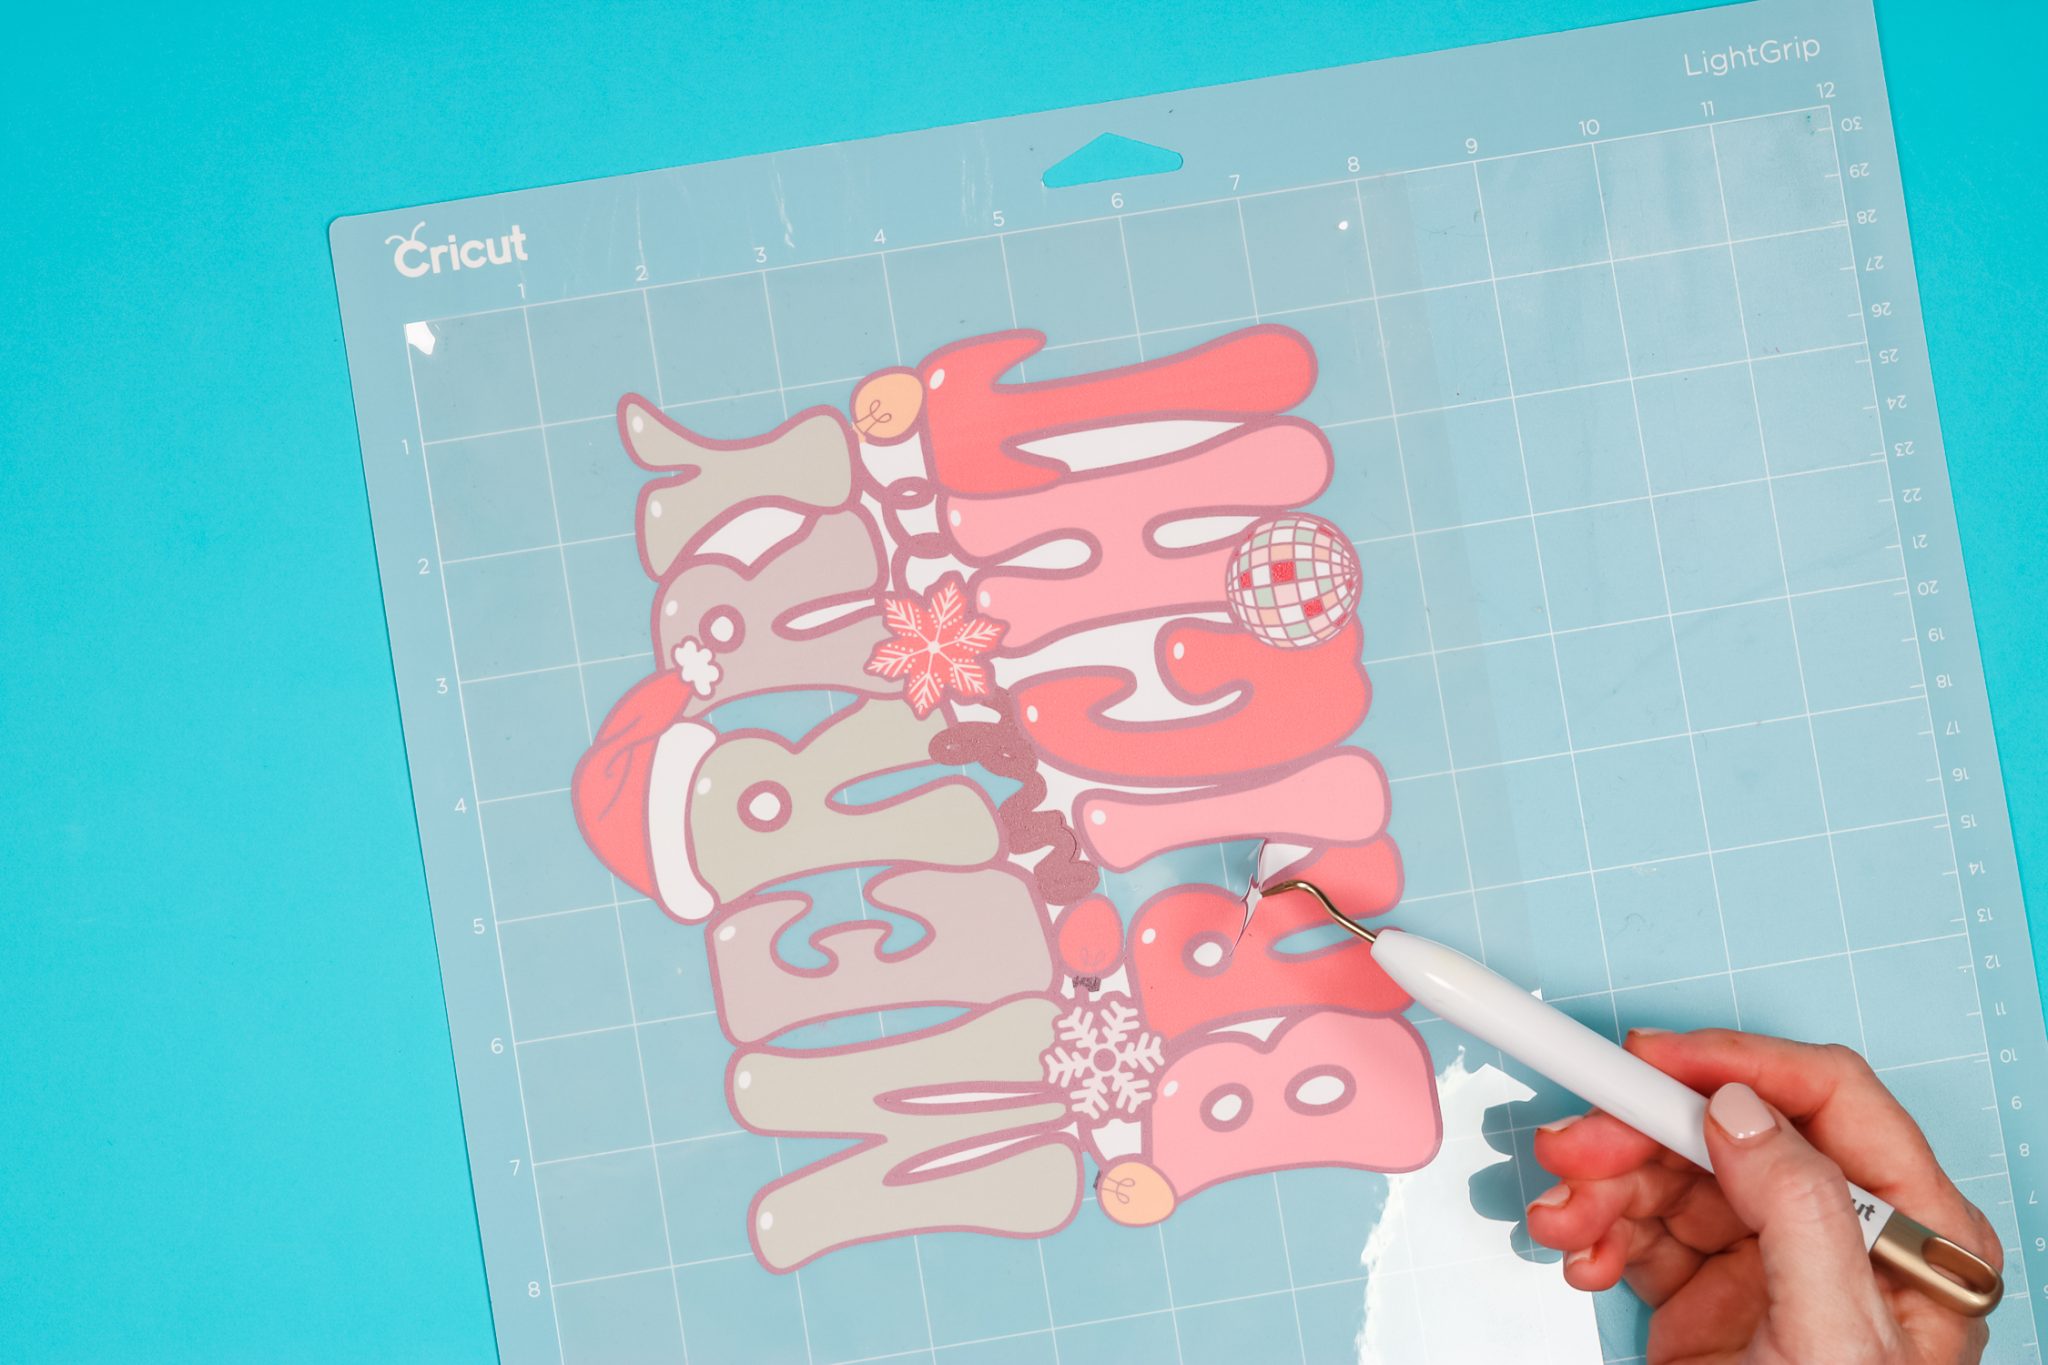
How to Use a Mask with Siser EasySubli
Using a mask with EasySubli is optional. If your design is simple, like a circle or square, you could lift it and place it with your hands. If your design is more complicated, you’ll want to use a mask. The mask is like an HTV transfer tape. This design is fairly complicated so I am using the mask.
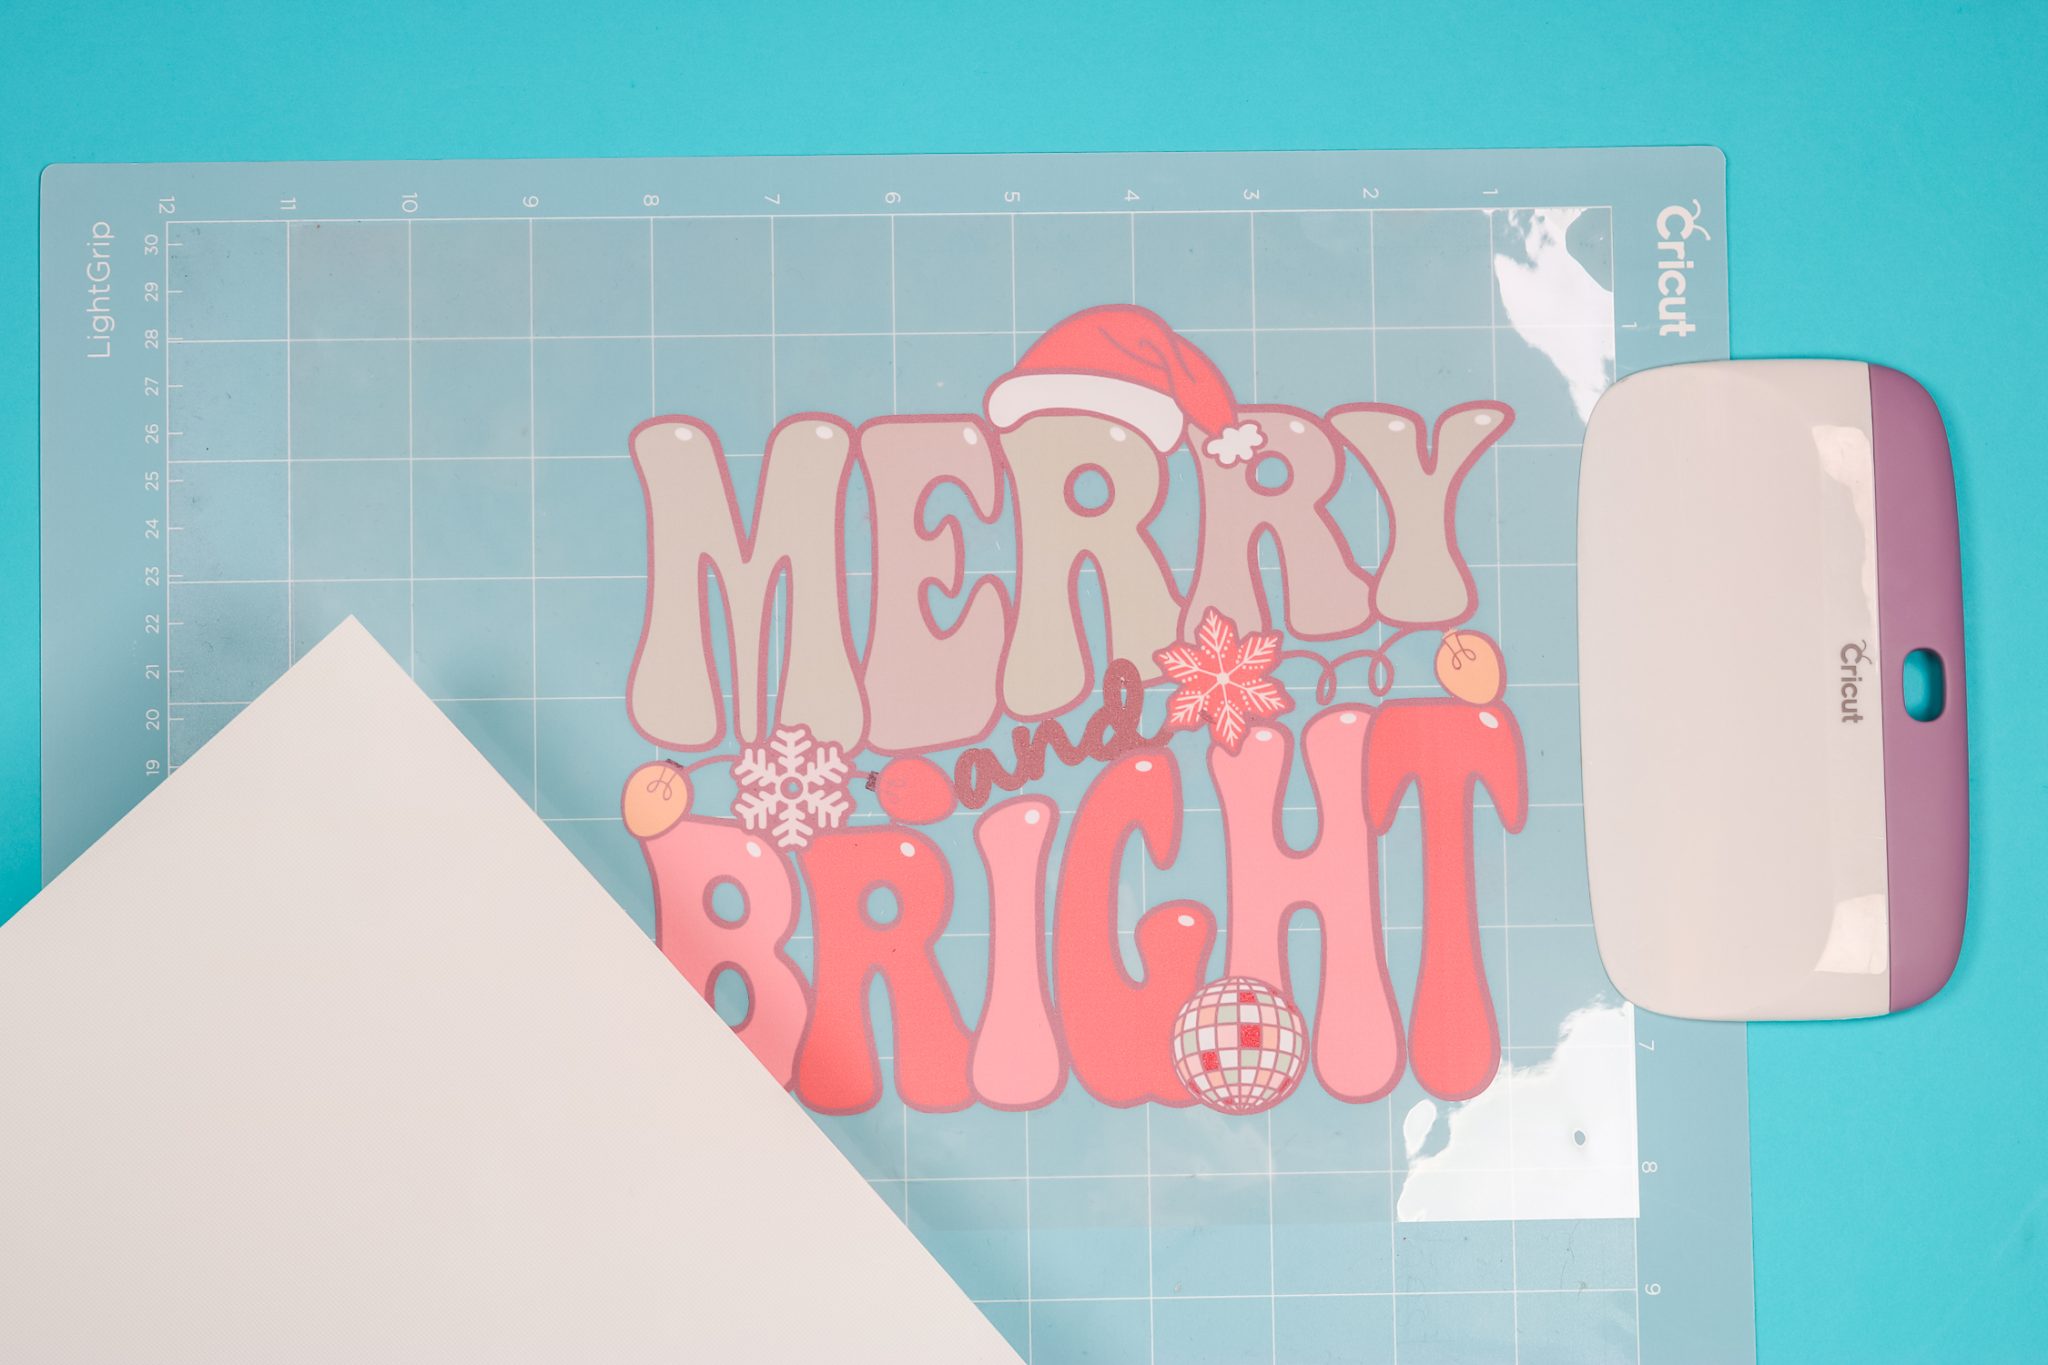
Peel the mask back and add it to the EasySubli and press it down onto the material really well. I like to leave the material on the mat because it’s easy to weed that way. Burnish the mask onto the material really well and then lift it all up and burnish from the back as well.
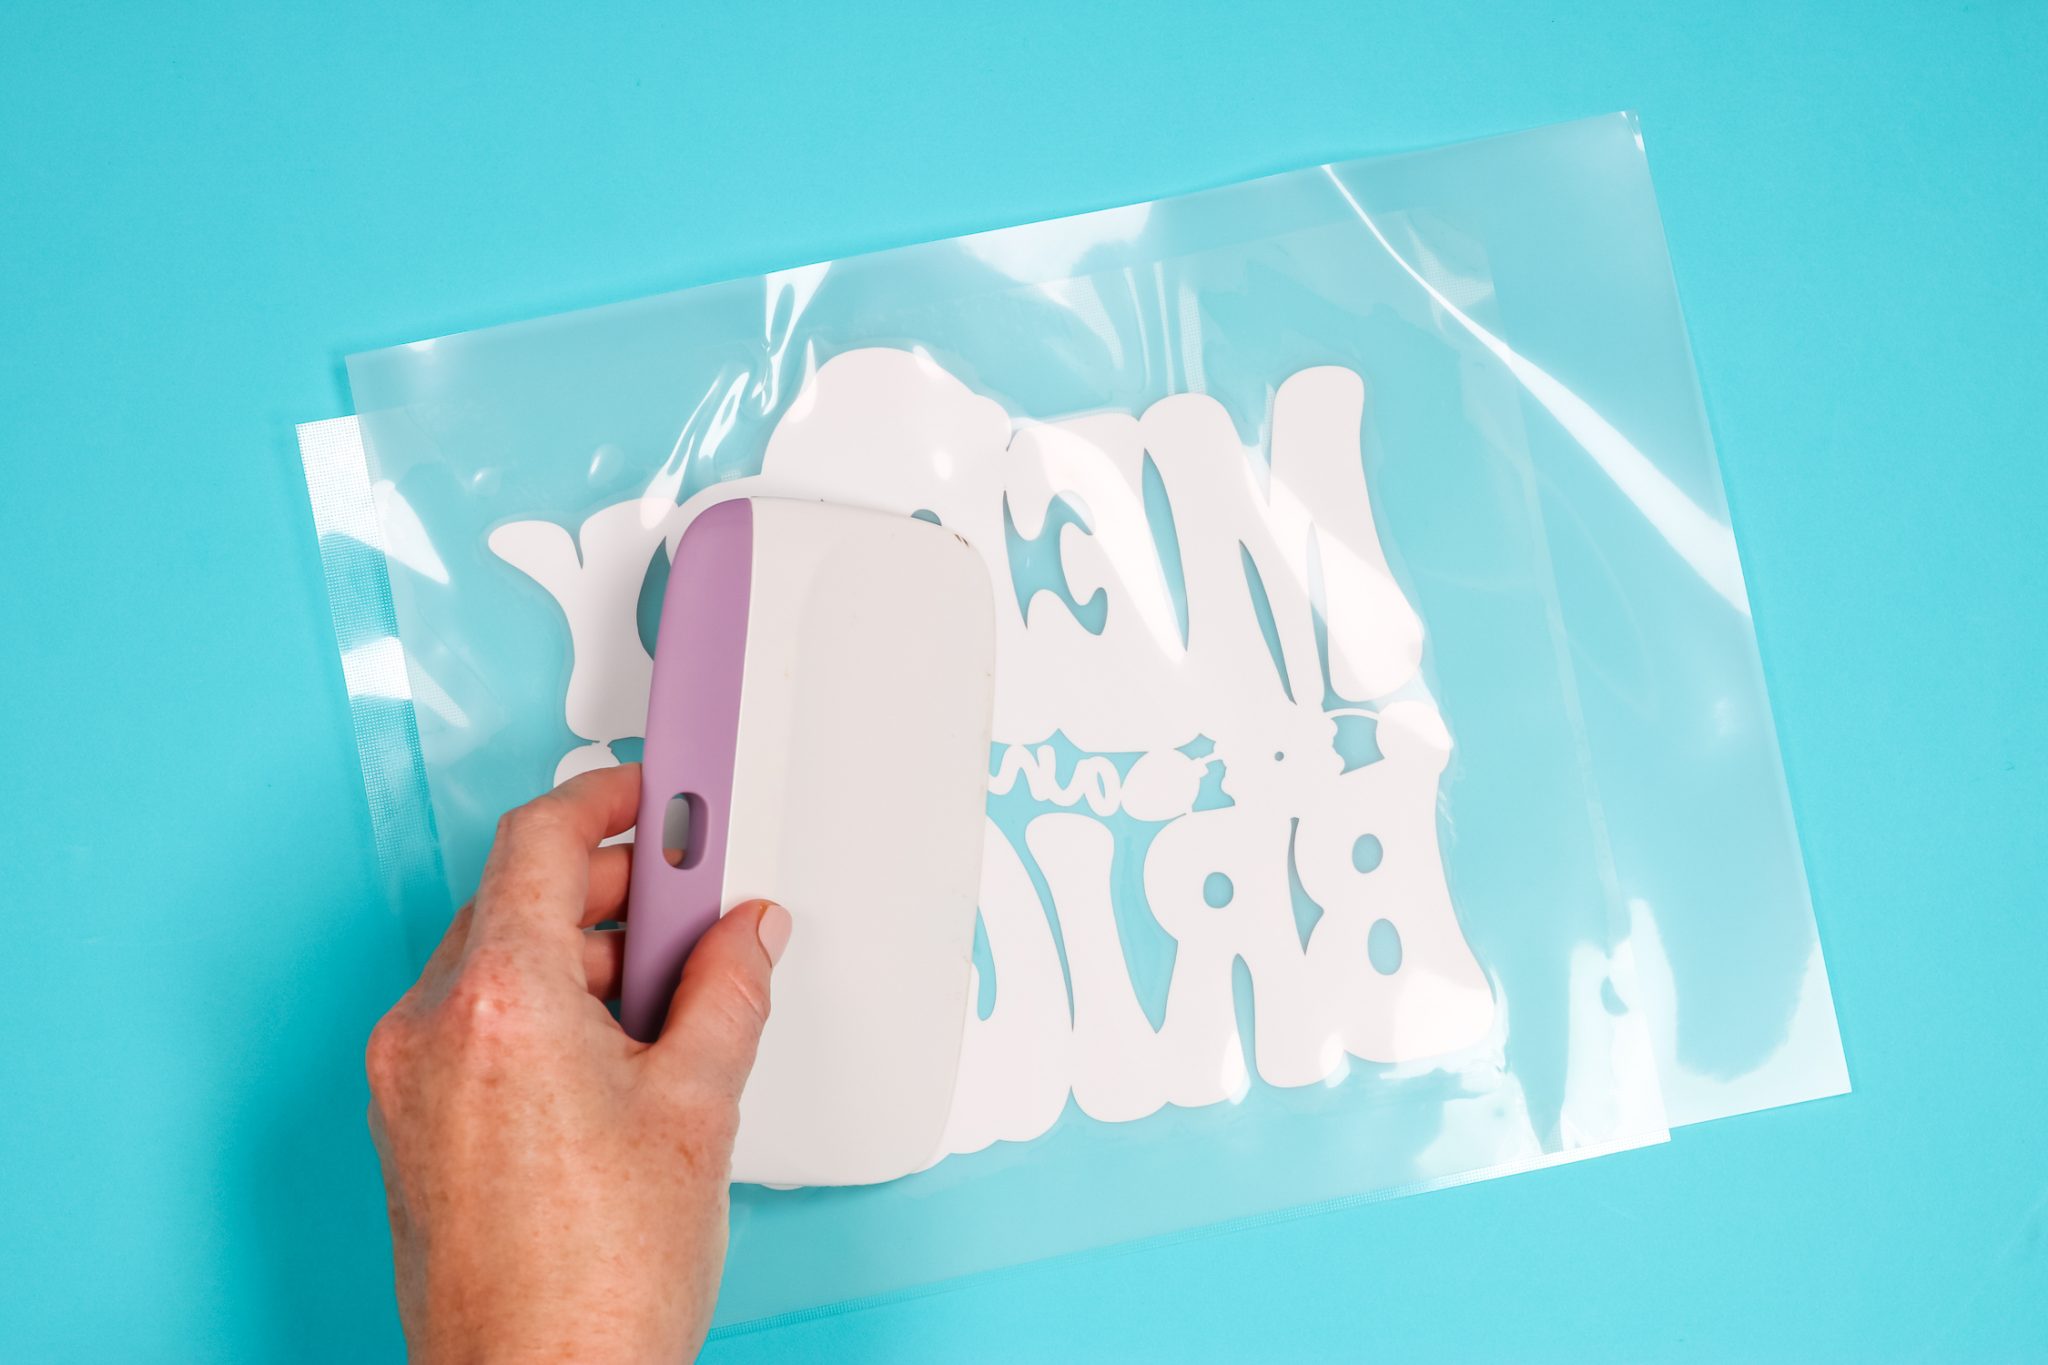
Note – I always have trouble with the mask that comes with the EasySubli. I don’t feel like it’s sticky enough. I am using the KTM Heat Mask from Heat Transfer Warehouse. It worked great!
I do find that peeling the designs works best at a 90-degree angle and just move slowly until the entire design is on the mask.
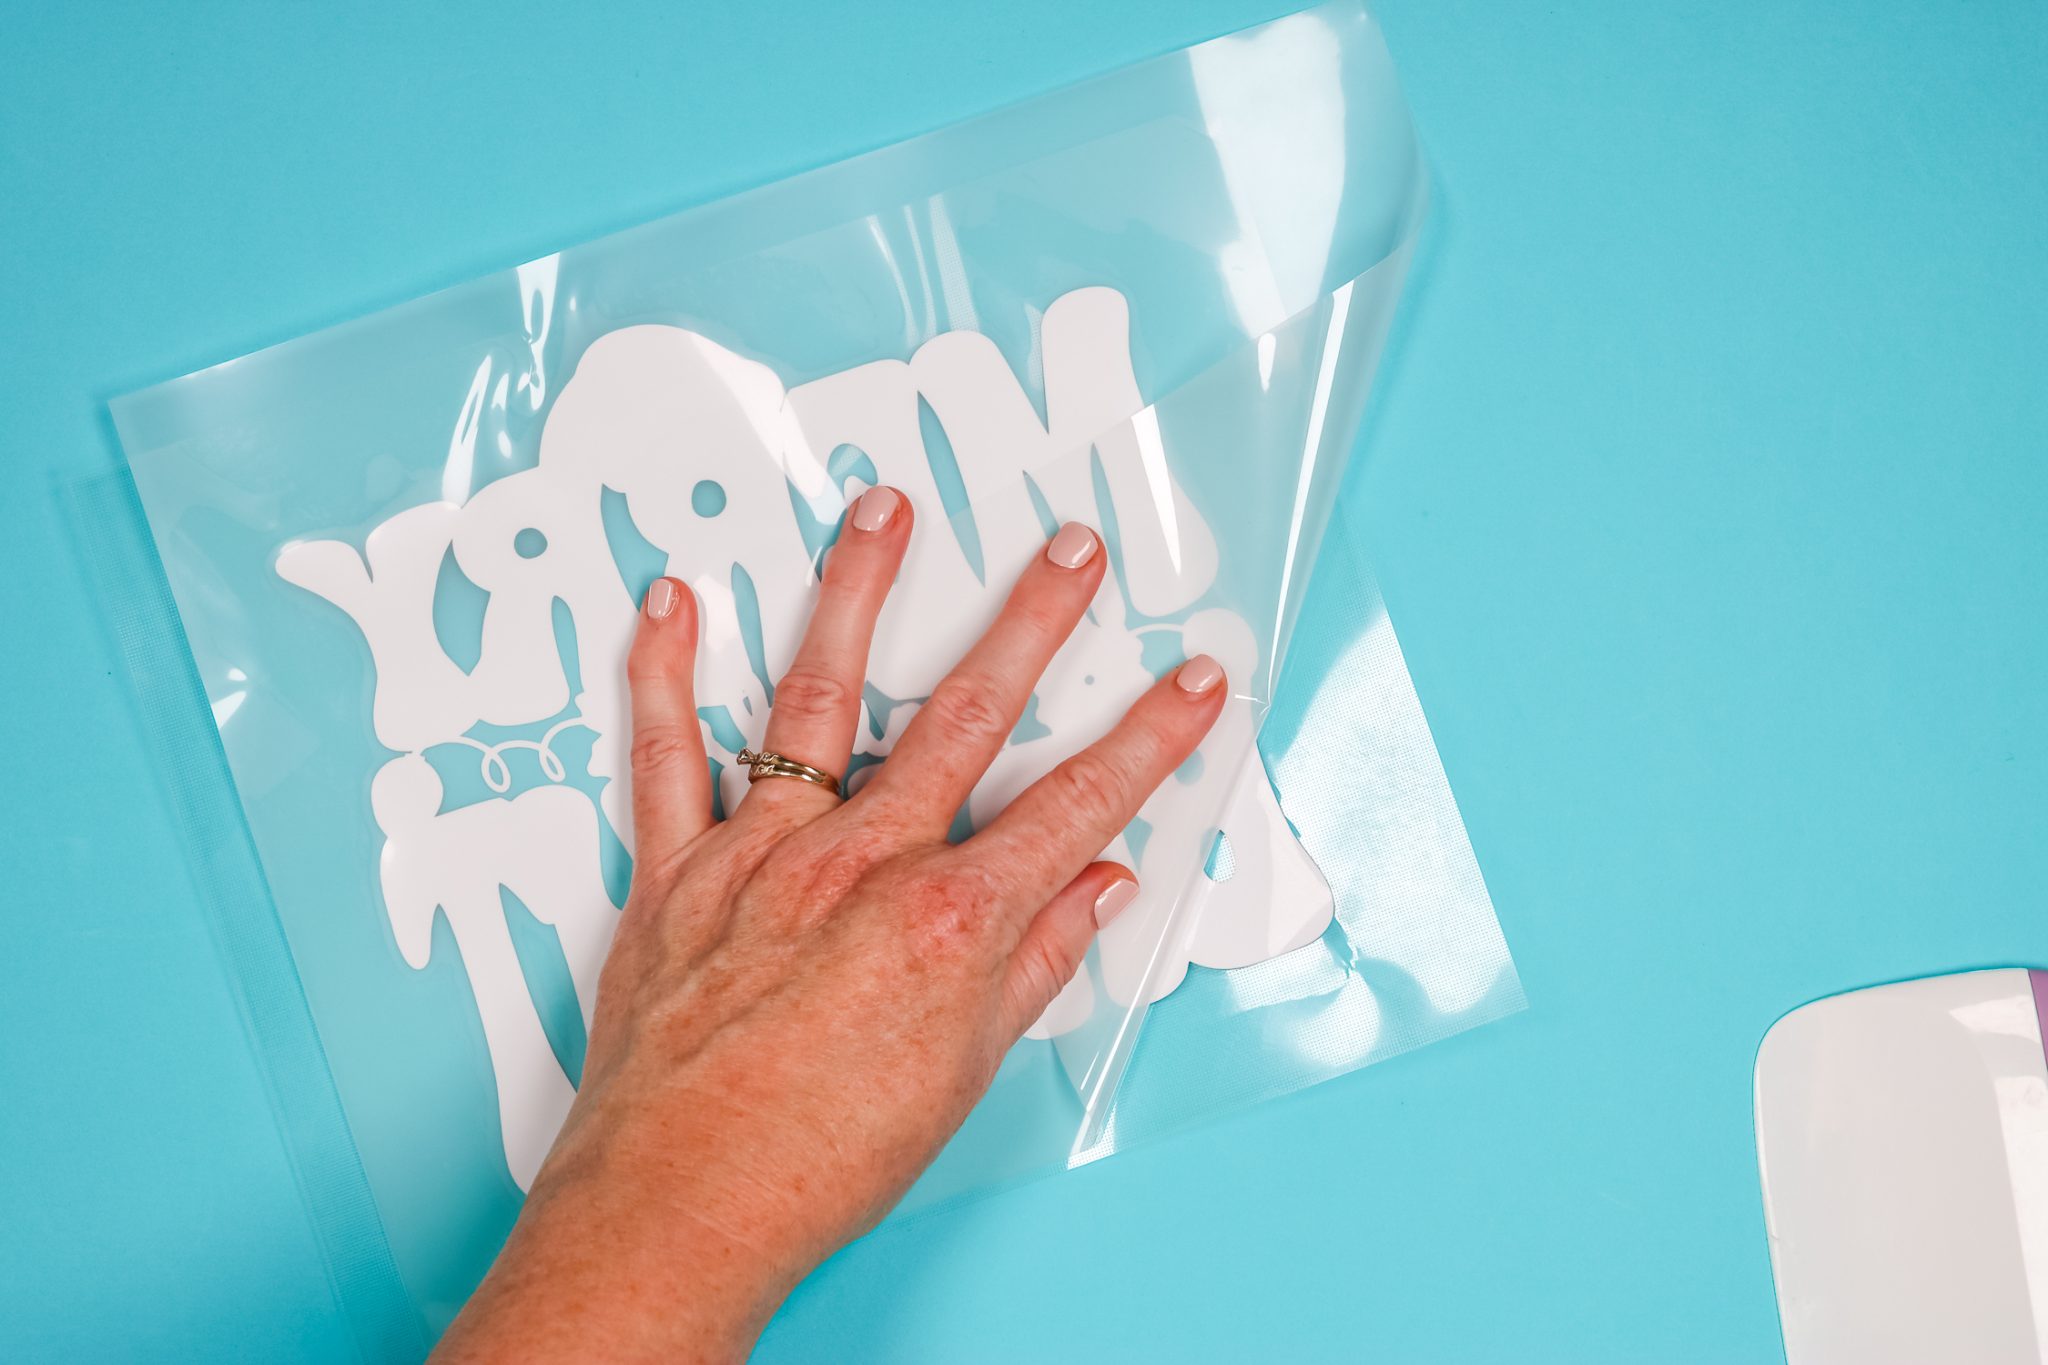
Pressing EasySubli
Preheat the fabric for 2-3 seconds before applying the EasySubli. Locate the design where you want it on the garment. Even with the mask, I am using protective paper between the design and the heat plate.
Press at 311 degrees with medium pressure for 15 seconds. When the time is up, peel back the mask while it’s still warm.
If needed, you could cover the design with paper or a Teflon sheet and press for 5 to 10 seconds more if you felt like it was lifting in any area.
Make sure you wait 24 hours before you wash it for the first time. Machine wash cold with mild detergent, machine dry on low setting, no dry cleaning, no bleach.
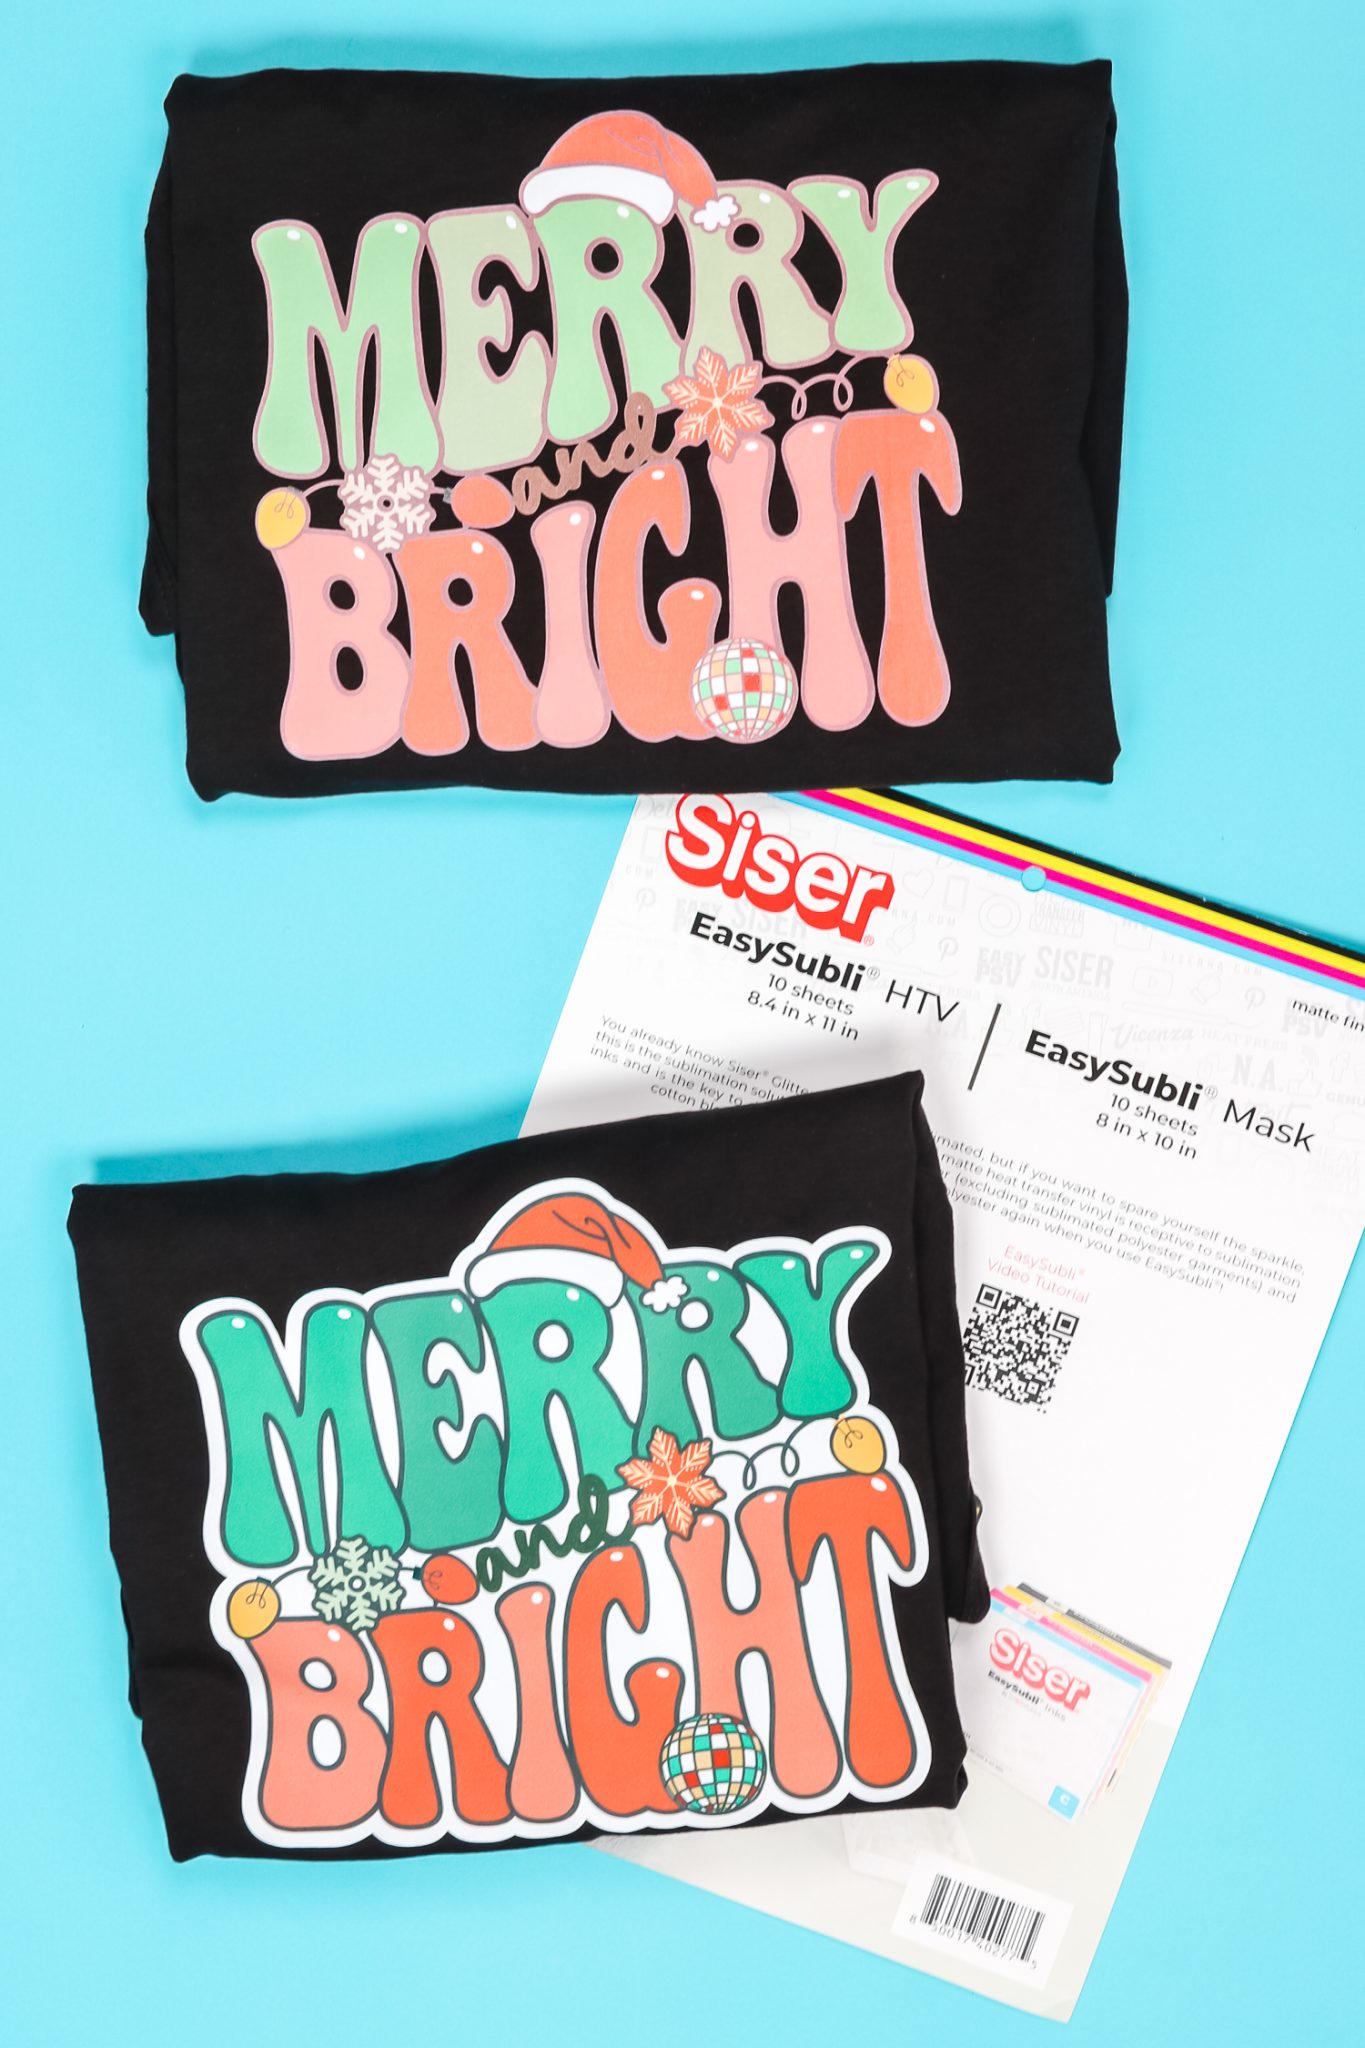
Finished EasySubli and Sawgrass Printed Image.
I really like how this turned out. Even though the shirt is black the colors show really well and the whites are bright and white.

Using EasySubli with an Epson Sublimation Printer
To use Siser EasySubli with printers that aren’t Sawgrass, I have another option that works well and eliminates the problems that I’ve run into below.
EasySubli Printing Issues
I mentioned above that when using my Epson sublimation printer I have not had success printing directly onto the EasySubli paper. These are the issues I’ve had:
- Sometimes the paper will not feed into the printer. The back is really slick and the EcoTank will sometimes just not grab and feed the paper.
- The ink doesn’t dry. In my Sawgrass printer, I have EasySubli inks that are specifically formulated to dry on this material. The Epson doesn’t have that same ink. I have tried heating as I mentioned above and I’ve allowed the print to sit for 48 hours and it still doesn’t dry enough to cut with my Cricut machine.
- The rollers on the EcoTank printer especially are so close to the printed area that I end up with roller marks.
The EasySubli material is expensive! If you are going to try to print directly on the material, make sure you test it first. I printed on half a sheet to test the ink and the cut setting.
Because of the issues I’ve run into with my Epson, I’m not going to print directly onto the EasySubli because I don’t have any luck with it.
How to Use EasySubli with Epson Printers
The alternative way to use EasySubli without printing directly onto it is to print on sublimation paper, cut the Siser EasySubli separately, and then sublimate on top of it. I’m using the same image I did before but this time I am going to add an offset around it in Cricut Design Space. You can set your offset to whatever size you like. I set mine to 0.125 and then click apply.
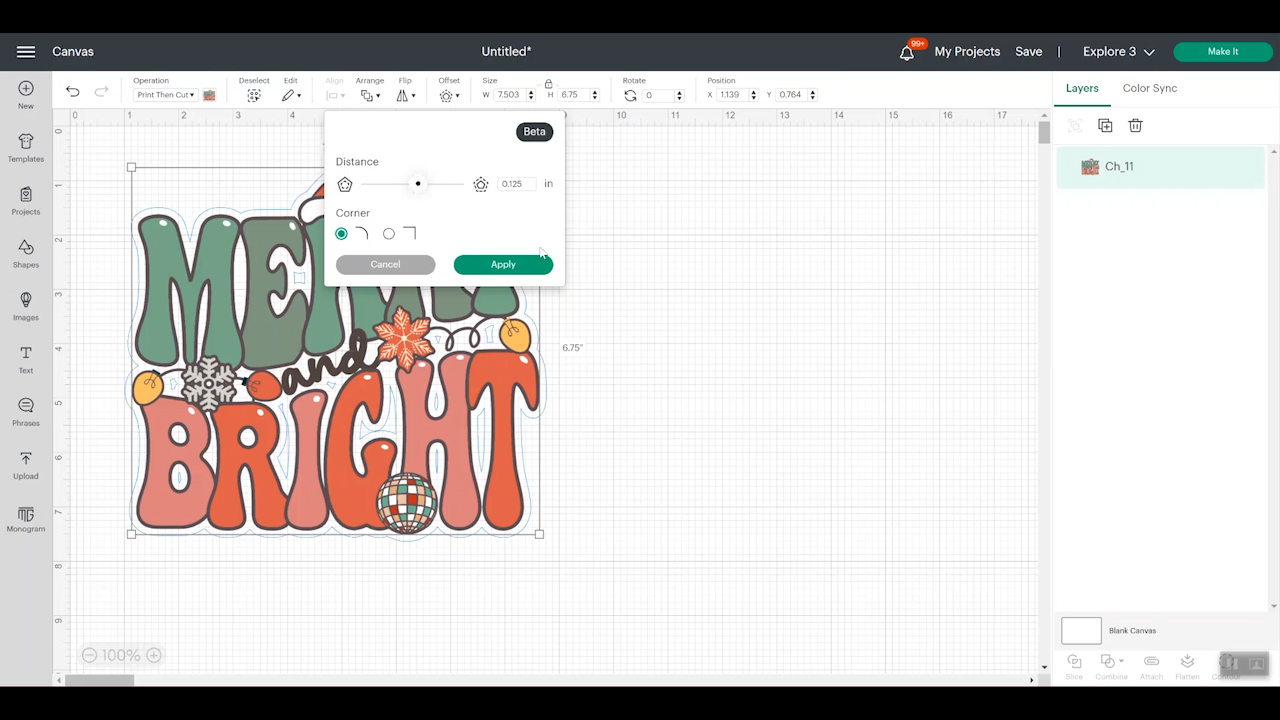
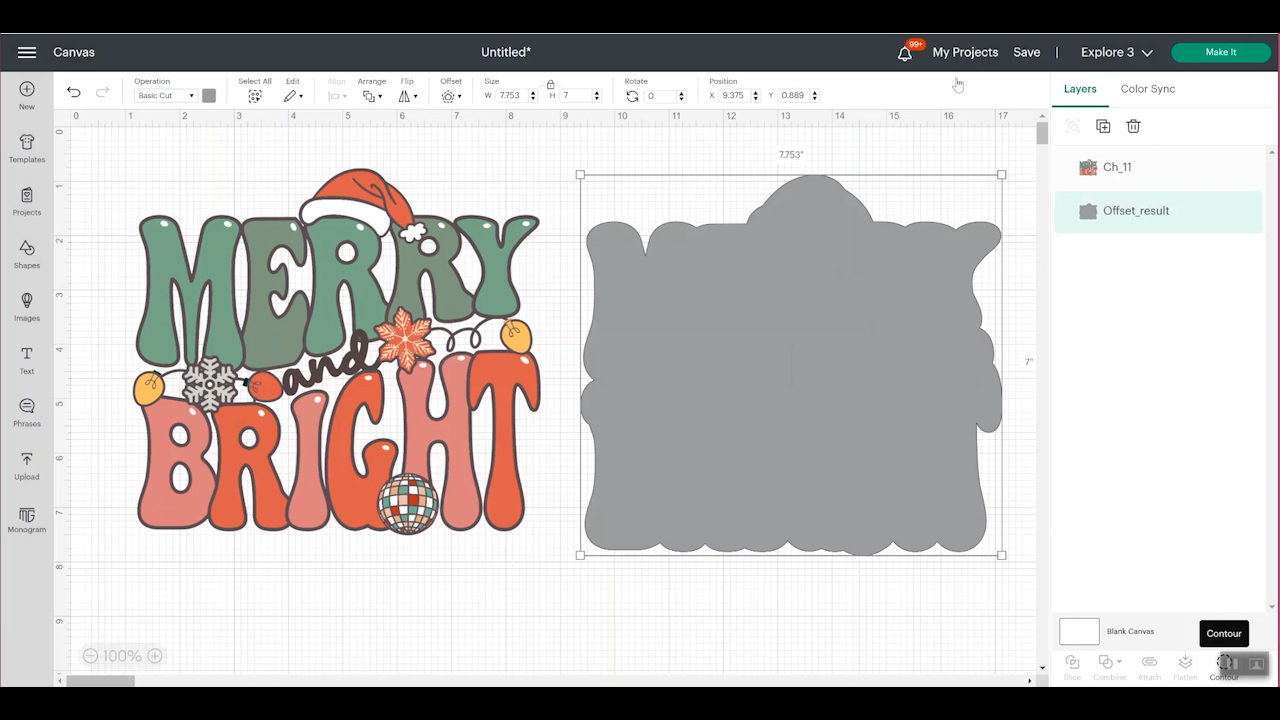
Change the offset layer to a cut layer. From there you can remove any inner cuts using contour if you would like. It’s totally up to you. I used the contour tool to remove the inside pieces so I am left with just the outside cut. Now I have a cut layer, which is my offset layer, and this same printable layer. Click make it, select on mat, and then confirm.
Print-then-Cut Settings for Epson Printer with Siser EasySubli
For the printed image, I am printing on regular sublimation paper with my sublimation printer using sublimation ink.
For the previous method, we do not want to mirror the EasySubli. But with this process, we do need to mirror the sublimation print. You can mirror the image in Design Space or do it in the printer settings. Make sure you do it in just one place, not both.
Send the print to printer and do not add bleed. Click use system dialogue and then print. For the Epson F-170, click preferences, and then textile, high quality, turn off bidirectional, and then either turn mirror on or off depending on if you turned it on or off in Design Space. Remember, you need your image mirrored but only in one place.
If you’re using a converted Epson EcoTank, select that, click preferences, and then I use a premium presentation matte paper setting and select high quality, more options, high speed off, mirror on (or off). And then click okay and print.
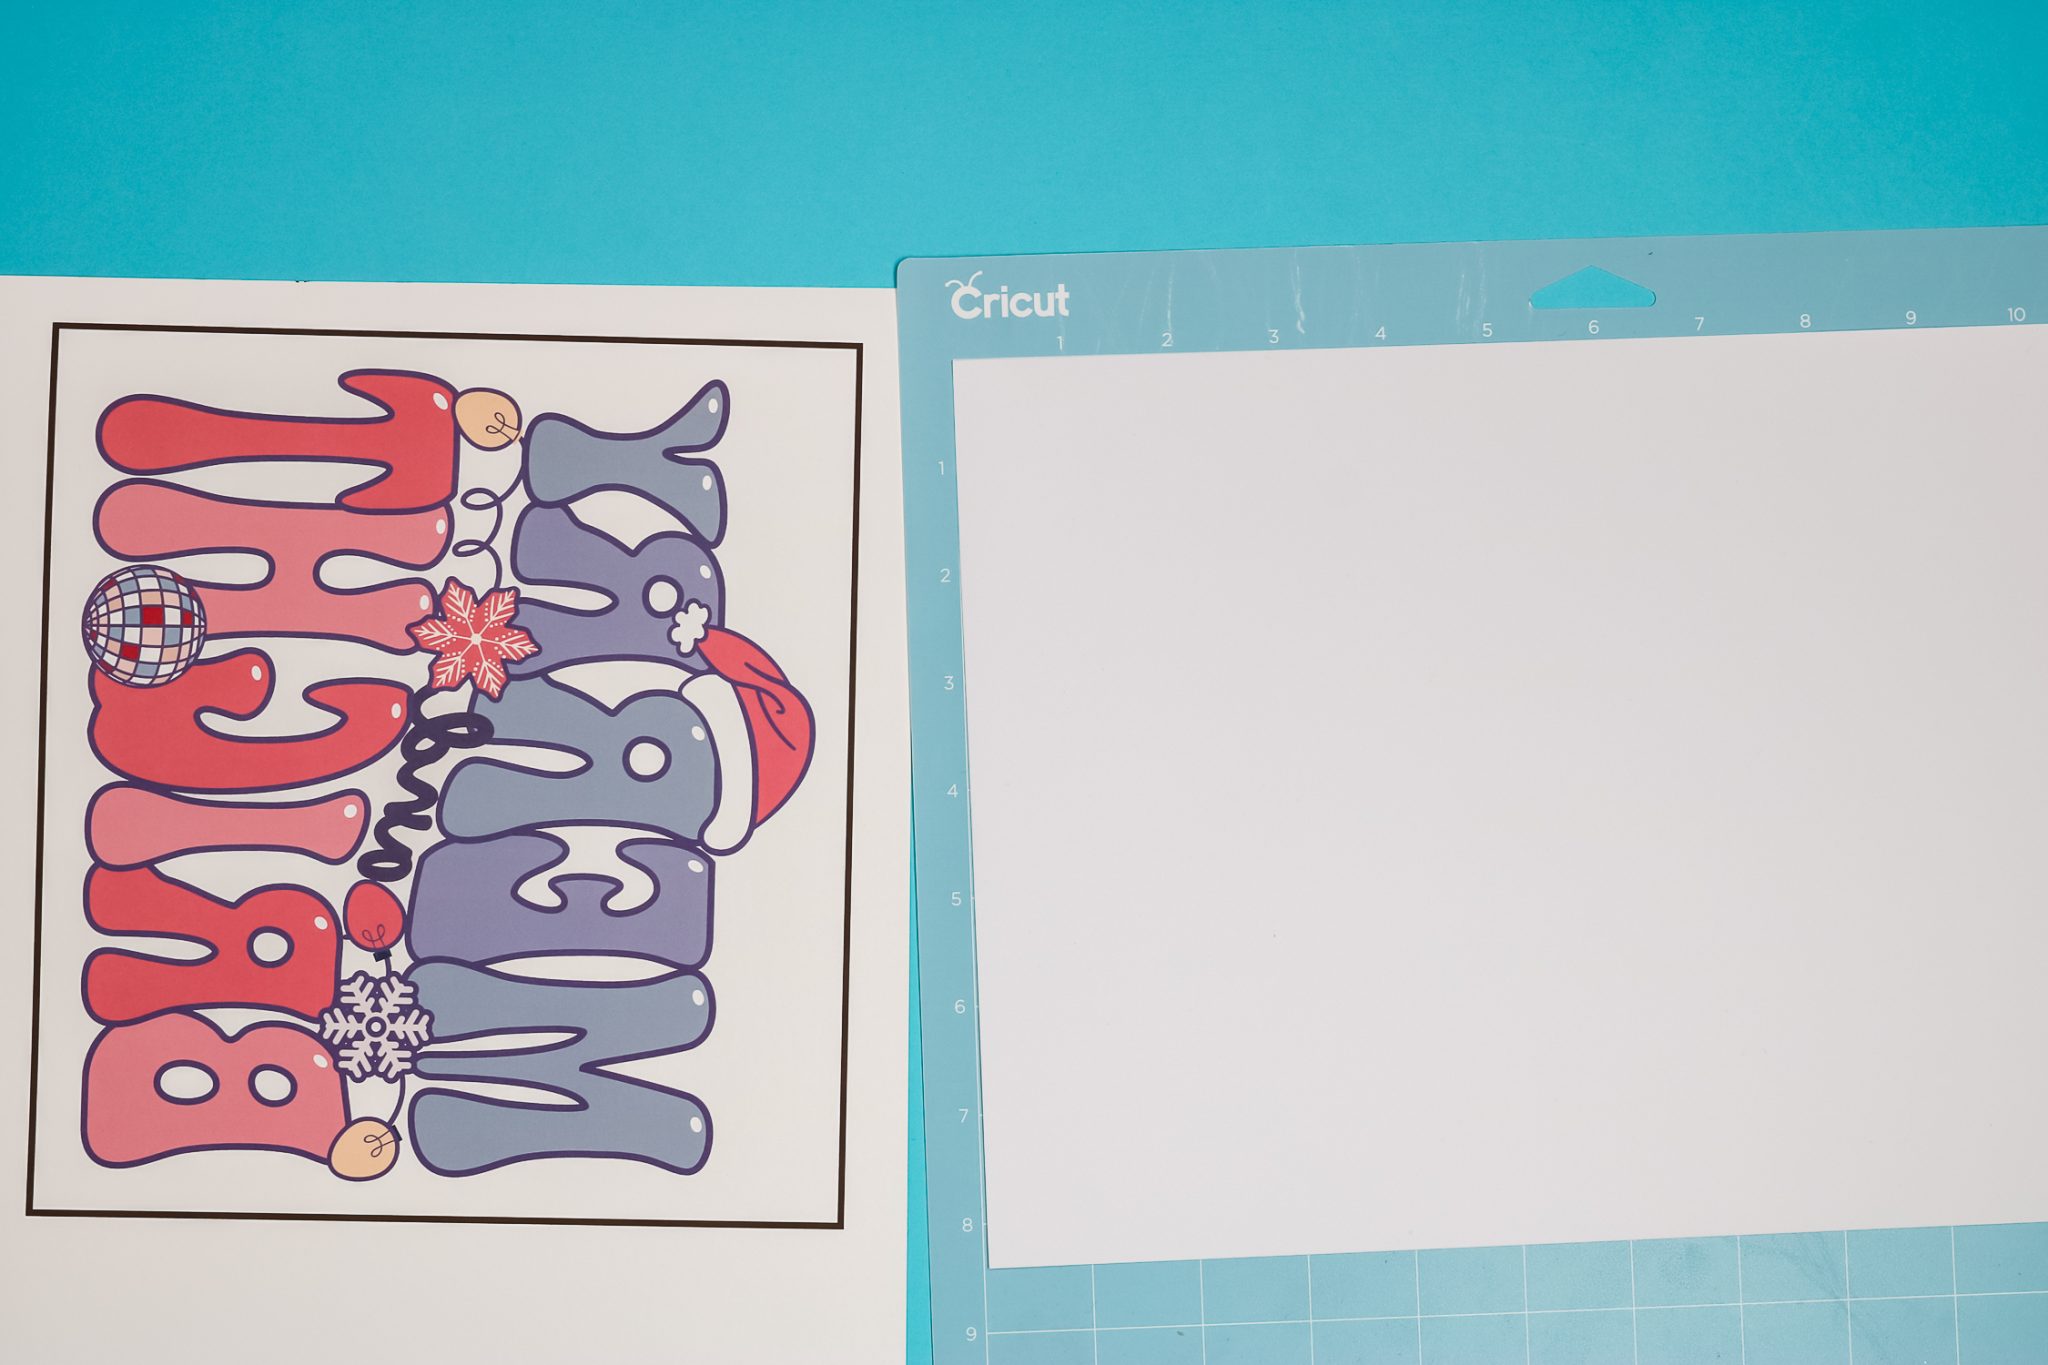
Locating Sublimation Print onto EasySubli
Now that our image is printed, we want to trim all around the image. We don’t need the Cricut machine to read the black box so trim around the whole image. Since we will need to locate the image on top of the EasySubli, I like to trim close to the image to make locating it easier.
Trim around each of the four corners closely and find something that sticks out of the design and trim close around it. For this design, I’m going to use the hat because it’s a feature that sticks out in the design. This will help me locate the print over the EasySubli.
Cut the EasySubli offset layer with the Cricut machine and then weed away the excess. Because this is just one solid image I don’t need to use the mask. I can just peel it up in one piece, like a sticker, and place it on my shirt where I want it.
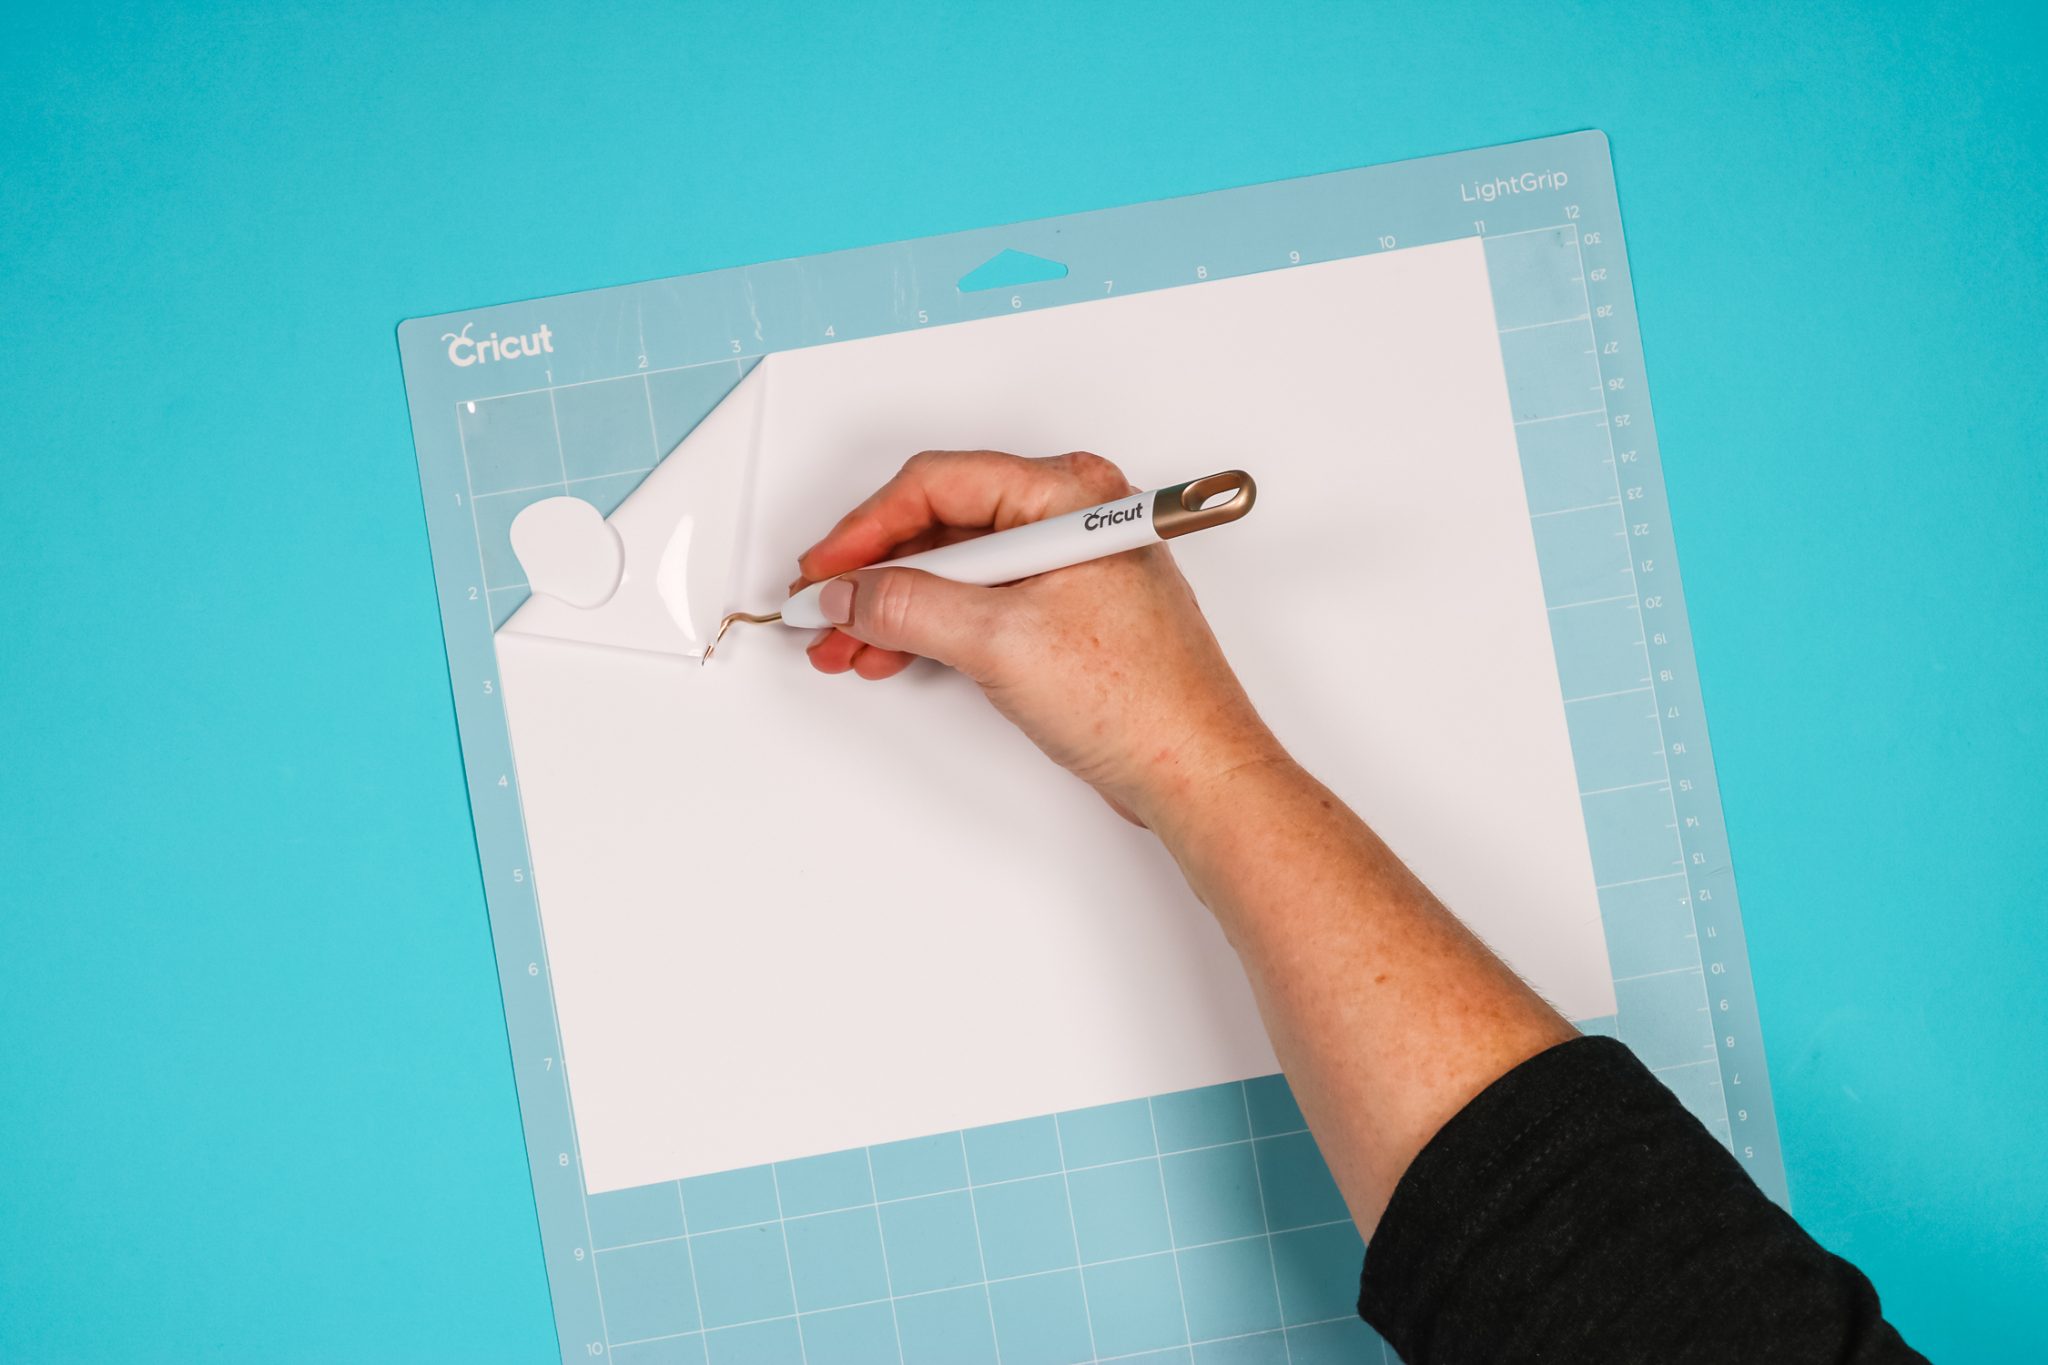
Pre-press the shirt as we did before. Place the Siser EasySubli where you want it and then cover it with protective paper and press at 311 degrees for about 8 seconds. Just long enough to get it stuck down.
Remove the protective sheet and locate the sublimation design on top of the EasySubli. Use heat-resistant tape to hold the print in place and then add the protective paper over the top of the sublimation print and use heat-resistant tape to hold it into place.
Press at 385 degrees for about 30 seconds. When you’re done remove everything from the top while it’s hot.
Finished EasySubli with Epson Sublimation Print
Here’s my shirt after pressing with this method. These colors aren’t exactly what I had intended. The original file is more pastel, especially the lighter colors, and the greens are quite a bit different. It’s okay, it still looks great.
NOTE: This is something that happens with my EcoTank. The colors don’t always print out perfectly.
This one does look really good and I feel like I got the location pretty close to exact using the method that I used.

Cons of Using Sublimation Print with EasySubli
The drawbacks of this method are locating the design, and then the entire image pretty much has to be white or you need an outline. You’ll likely never line the design up exactly with this method but that’s okay, mine isn’t perfect but it looks really good.
Final Thoughts on Siser EasySubli
Here’s a photo comparison of both methods and how they both look on a shirt. Overall, I really love both methods.
Want to see how this product holds up in the wash? I have some wash tests in my post here!

I did follow the instructions with the Sawgrass printed image, 311 degrees for 15 seconds. I do feel like maybe it could have used a little more heat, so I might actually play with the heat with this method.
For the printed sublimation image, I think the time and temp I chose worked great. I made up the time and temperature from years of experience because there is no official setting for other printers or ink. EasySubli is made to be used with a Sawgrass printer with a specific ink.
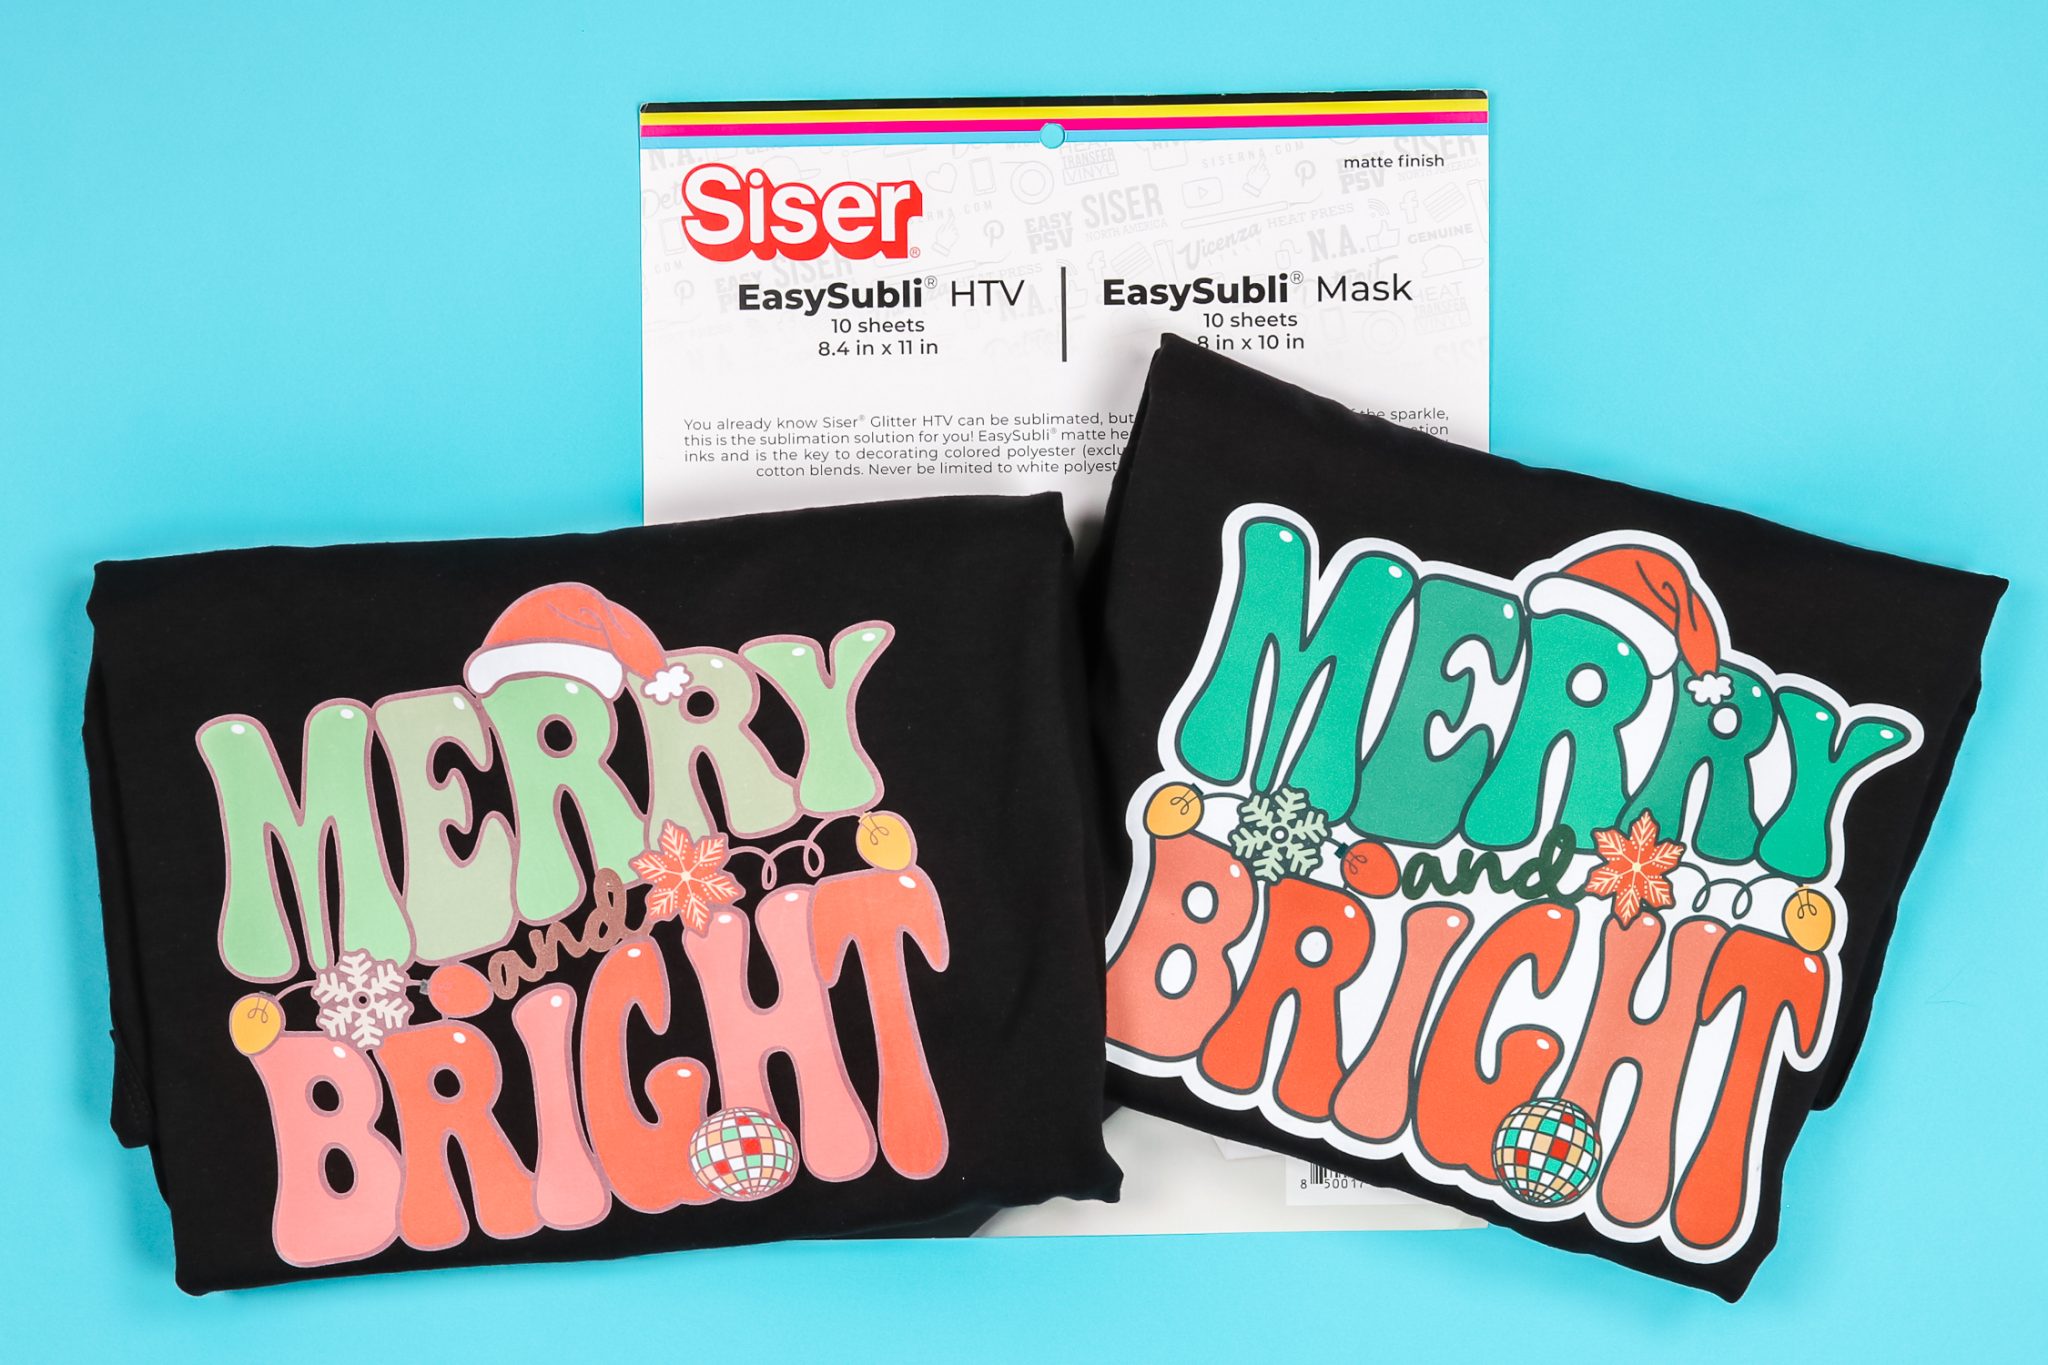
Regardless of which finished look you like best, if you have the Sawgrass Sublimation printer you can do either method.
With an Epson sublimation printer, I only recommend the option that uses regular sublimation paper and the EasySubli offset design. I just haven’t had luck trying the first method with any sublimation printer except the Sawgrass.
As I mentioned before EasySubli material is expensive so I don’t want you wasting material trying a method I haven’t had success with.
I hope I’ve answered any questions you may have about using Siser EasySubli with your sublimation printer. If you have any additional questions. feel free to leave them in the comments below and I’ll answer those for you.


Thank you for your directions! When using the epson method, how did it wash up?
Holds up the same both ways.
I love this video Angie. Thank you for showing both ways to use the easy subli. Do both methods hold up in the wash the same?
Yes it does!