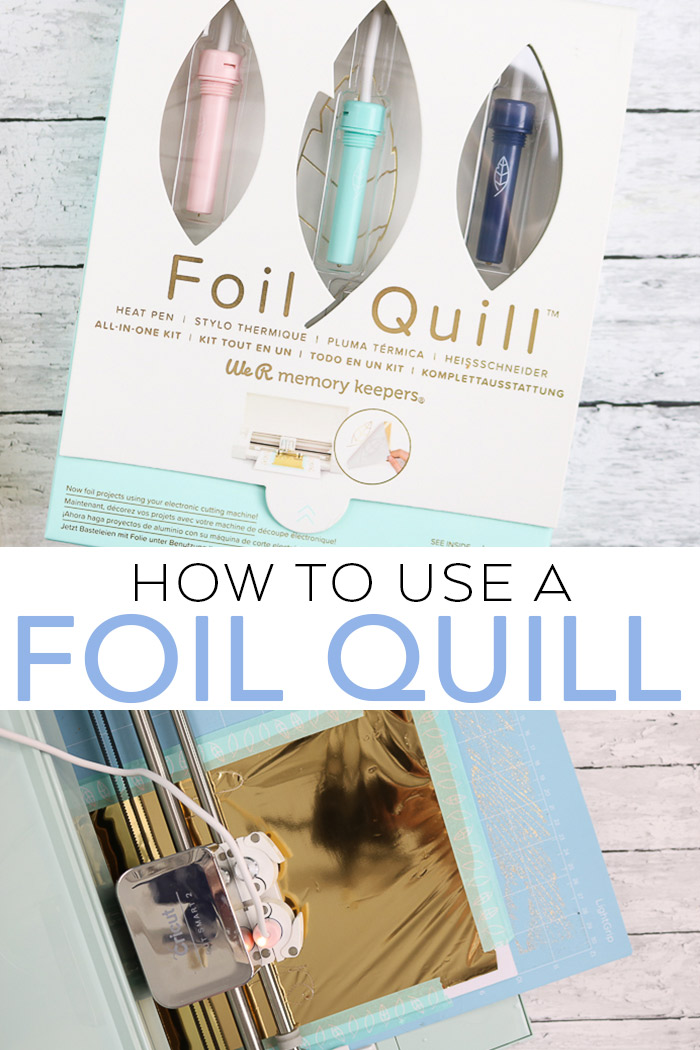
Want to know how to use the foil quill with your Cricut? We have everything you need to know about this new tool from We R Memory Keepers. If you love the look of metallic foil for your projects, this is definitely a product you want to consider. I will say up front that use of any third party product like this on your Cricut machine will void the warranty. I am using on an older backup machine as this product has not been tested and the long term effects on the machine are unknown. That being said, if you are willing to give it a go, I think you might love this foil pen!
Links below may be affiliate links which means that you do not pay anymore, however, a small commission will go to this site.
What is the We R Memory Keepers Foil Quill?
A foil quill is a heated tool that allows you to “write” in metallic foil using your Cricut or another cutting machine. The tools come with adaptors for various machines and go where the pen normally would go. You then write like normal with the machine over a foil layer that is taped to your surface. The heat will activate the foil creating a gorgeous metallic effect that you really cannot get any other way using a cutting machine.
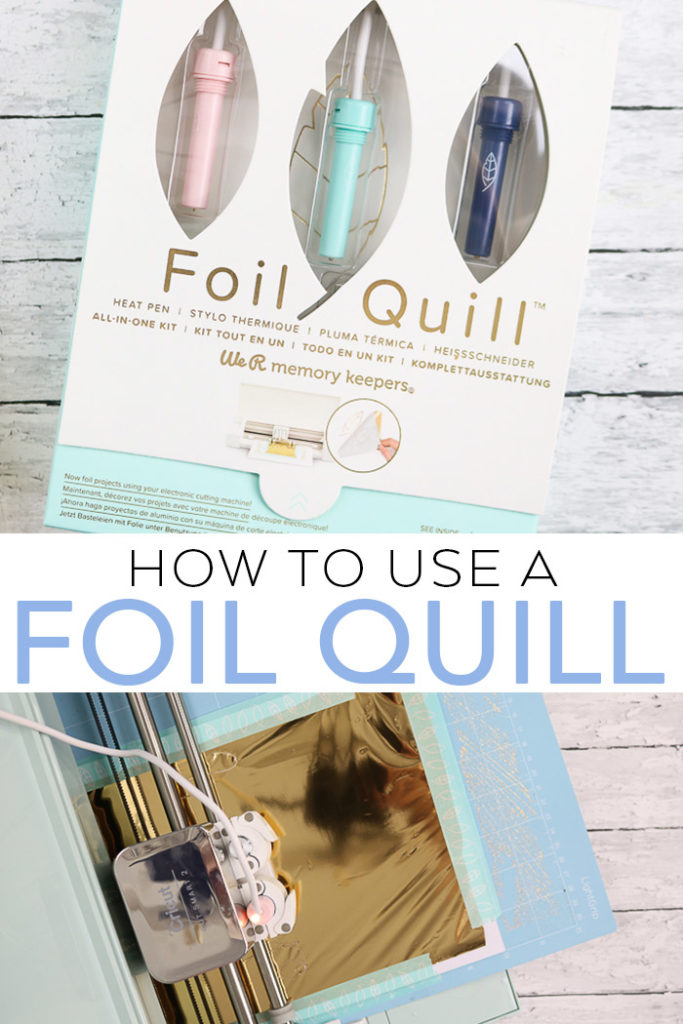
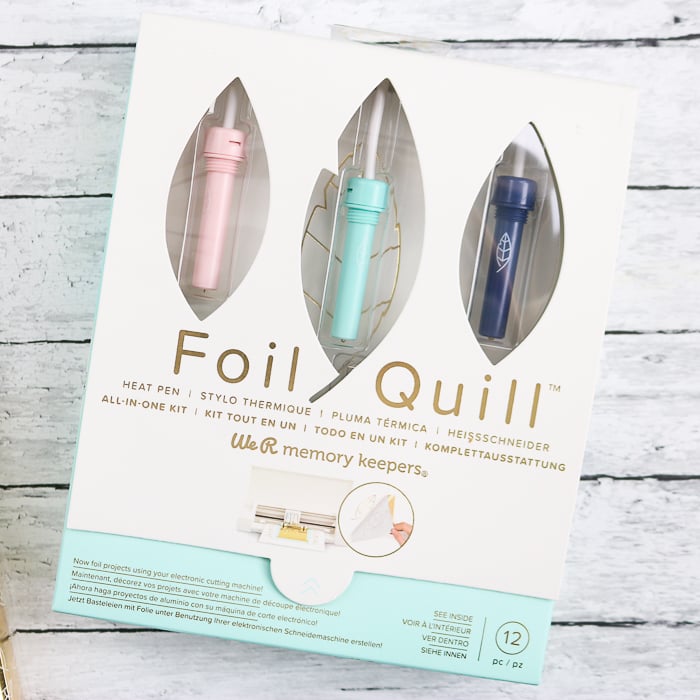
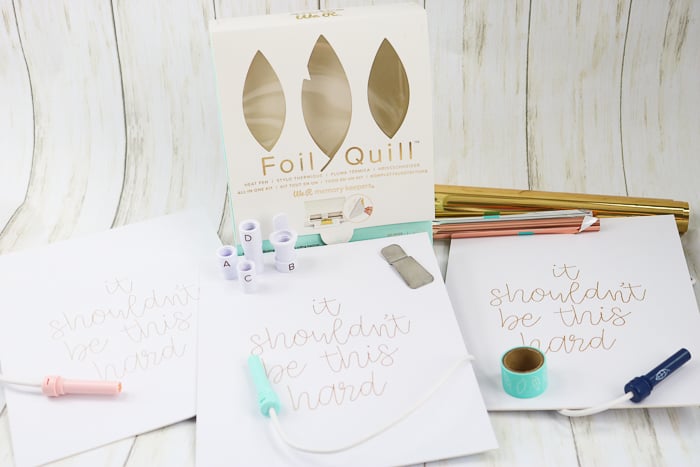
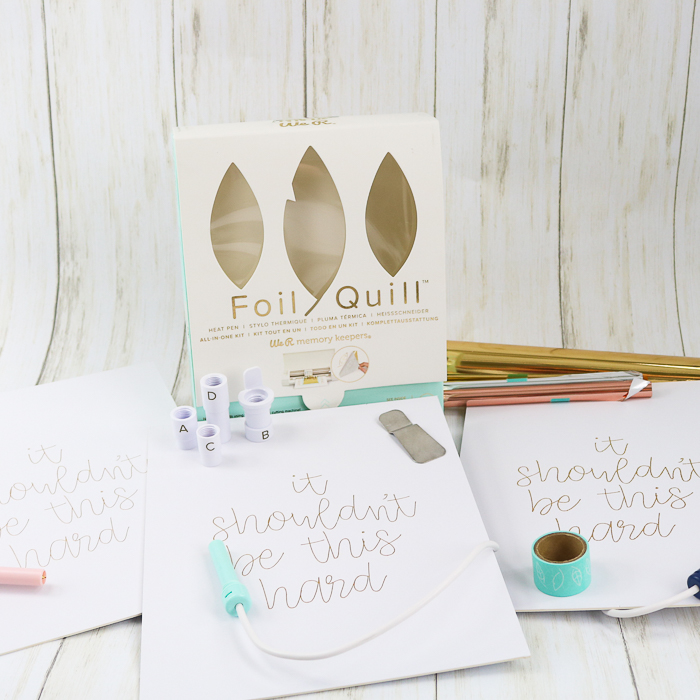
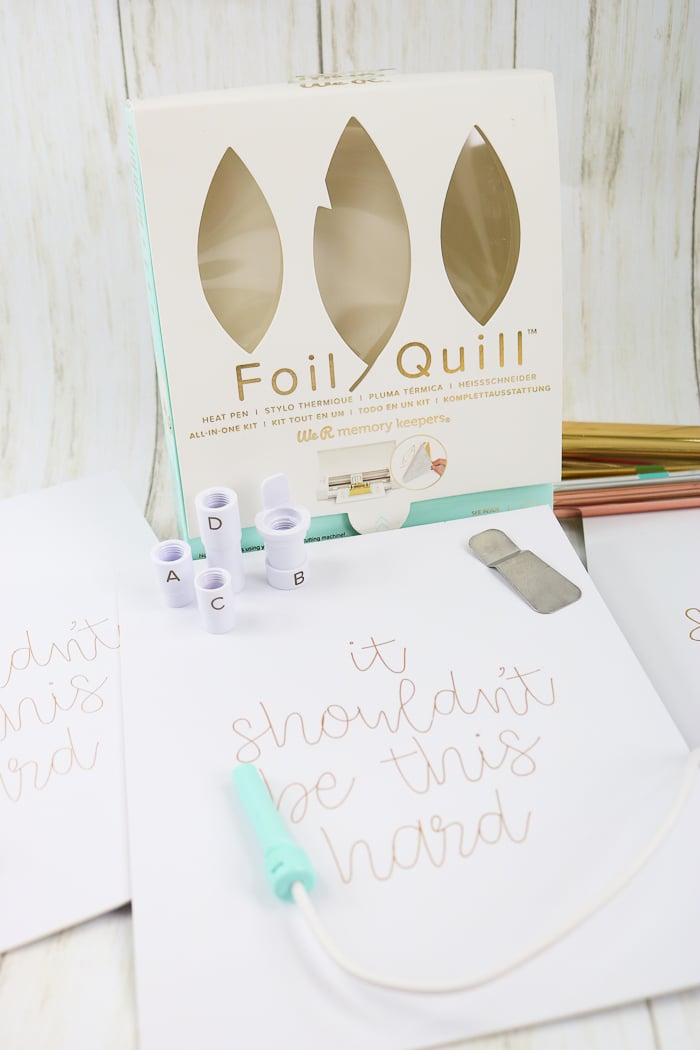
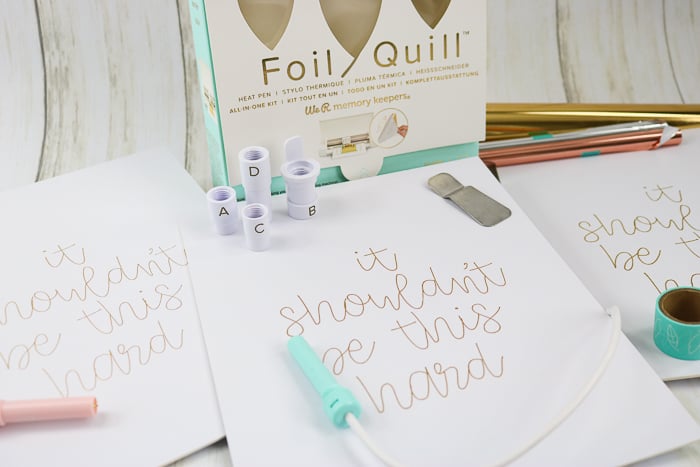
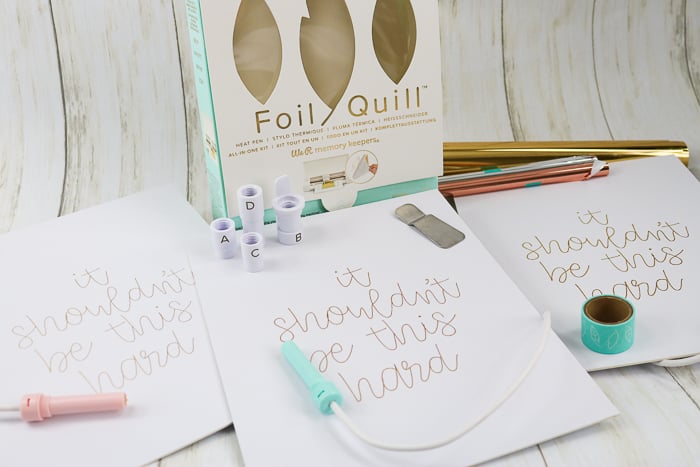
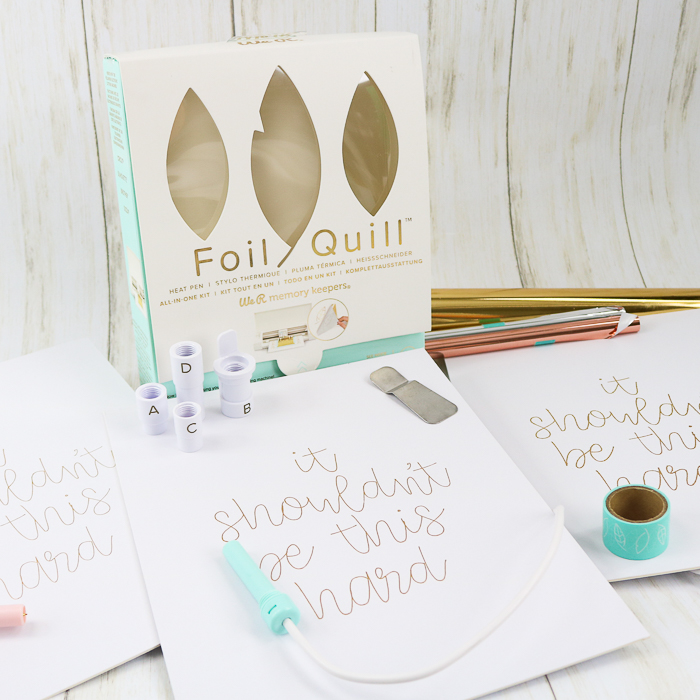
There are three sizes of foil quill and I am testing all three below. You can also purchase the sizes separately but I purchased the combo pack shown below. The box I purchased also came with three colors of foil, a heat guard, the adaptors, and some tape. You can find the package I purchased by clicking here. You can also browse the full selection of products here. This includes USB drives with files specifically designed to work with the foil quill.
Cricut Foil Pen Video Tutorial
Want to see just how to use the foil quill in your Cricut? Then just watch the video below!
Can’t watch the video? No problem! You can also follow along with our instructions below.
How to Use the Foil Quill
Once again, I am using the foil pen on my older Cricut that is my backup. This product will void the warranty of your machine and has not been tested for long term effects. Use at your own risk!
Inserting the Foil Pen into the Cricut
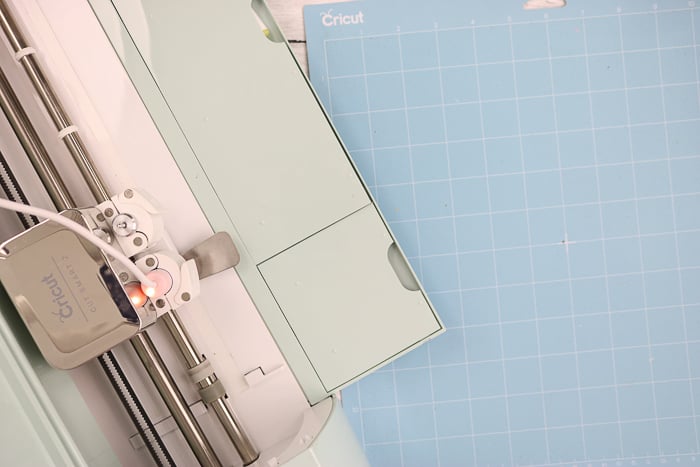
Start by putting the foil quill into your machine in the pen clamp. You will need to remove the adaptor that is in the machine by unlocking the clamp and pushing up from the bottom. Then add the “C” adaptor that is in the foil pen box to the quill of your choice. I am experimenting with all three sizes in this post. Push the quill into place in the pen holder and close the clamp. Please note that it will not click or anything. You just need to make sure you have it firmly seated.
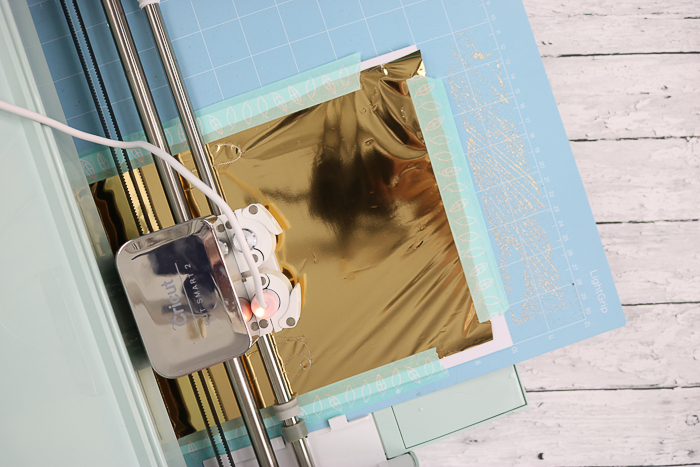
Then you can plug the quill into an electrical outlet. Please note that you will need an adaptor as the cord is USB. Once plugged in, the quill will display a light. Put the heat guard into place to protect your machine as much as possible. Then let it heat up for 5 minutes before using it.
Preparing Your Project
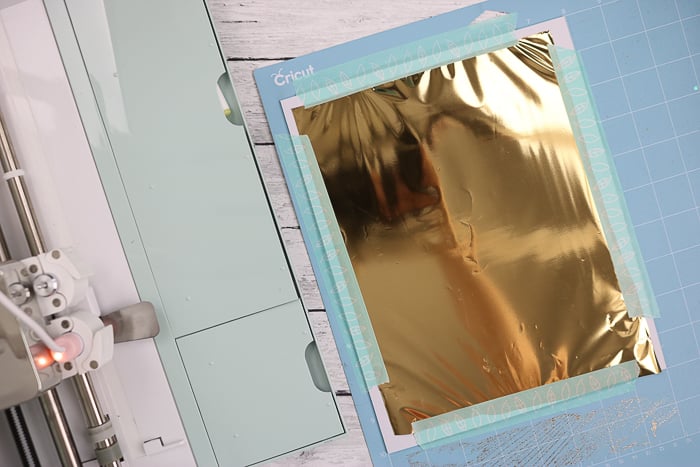
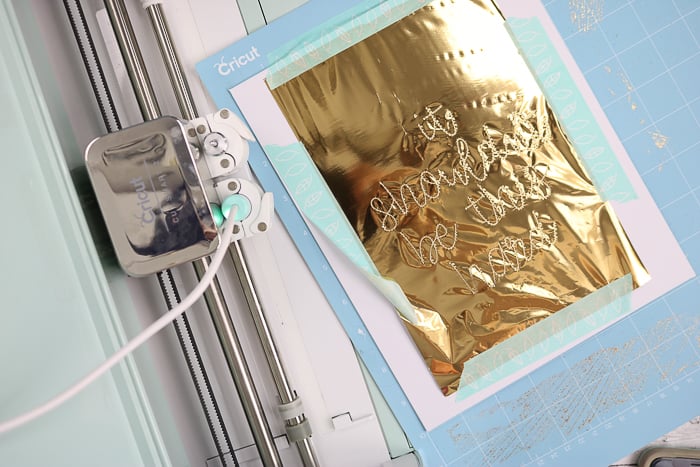
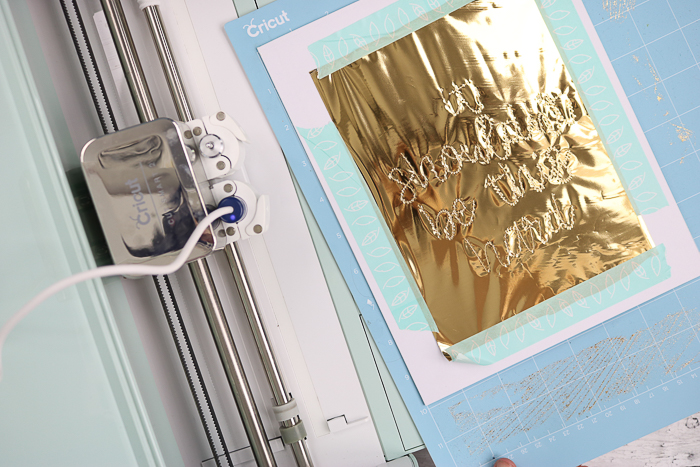
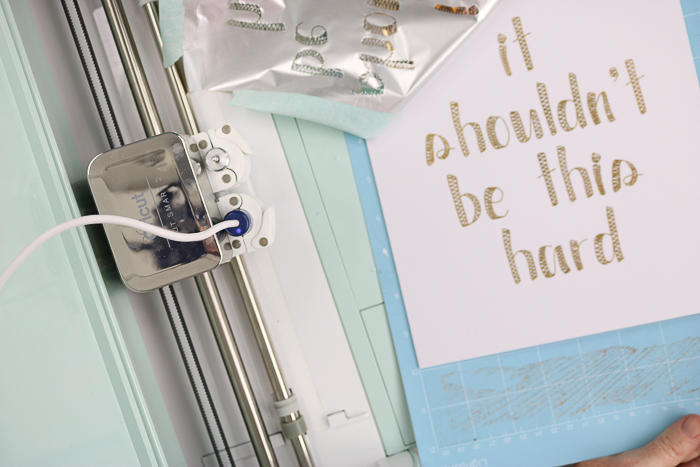
Add your surface to your mat and then lay the foil down on top. Please note that only heat reactive foil will work with the foil quill. I would recommend the “foil quill” brand from We R Memory Keepers. Cut the foil to where your design will fit with at least a 1-inch border. Then secure the foil into place with the tape provided. It is very important to pull the foil tight over your surface and we will see why later in this post. They now make a magnetic mat to go with this product but I have not personally tried it.
NOTE: Use caution and do not touch the foil to the sticky part of the mat itself! It will stick and make a mess on your mat and ruin your foil piece.
Cricut Foil Quill Settings
Now you need to have a file to use with the foil quill. Remember that this is a drawing tool. You will need to make your lines draw lines in Design Space. You can see more about how to do that in this video. Once your design is ready, you can click “make it” and insert your mat like usual. You will need to pick your material type. Be sure to pick the substrate you are putting the foil on! Don’t just pick foil as your material. I found that this was really an important part of getting a good final project.
Tips and Tricks
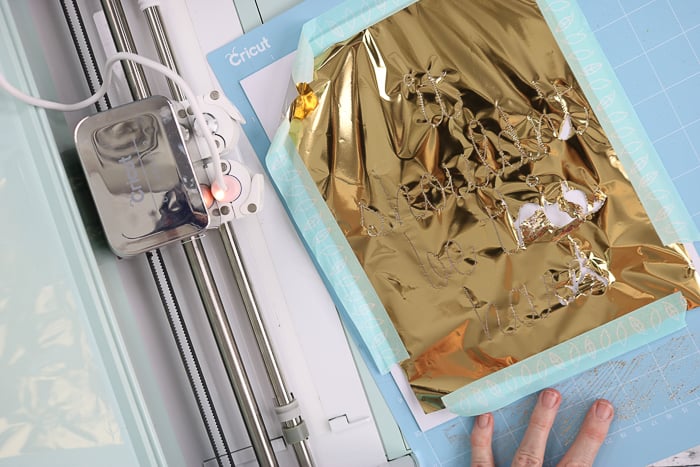
A few things I learned along with some failures! When you don’t get the foil tight and pick the right material size, the foil can crumble as the foil quill goes over the surface.
This will lead to an incomplete transfer of the foil and you will not like the results!
I also found that the tape can damage the surface you are adding it to. Be sure to remove slowly and carefully!
You can also see a mess on my mat in these images where I was not being careful where my foil touched.
I tried all three quills in the package and overall was impressed! But these few tips and tricks will keep you from making the same mistakes as I did on my first few trials.
Comparison of Completed Projects
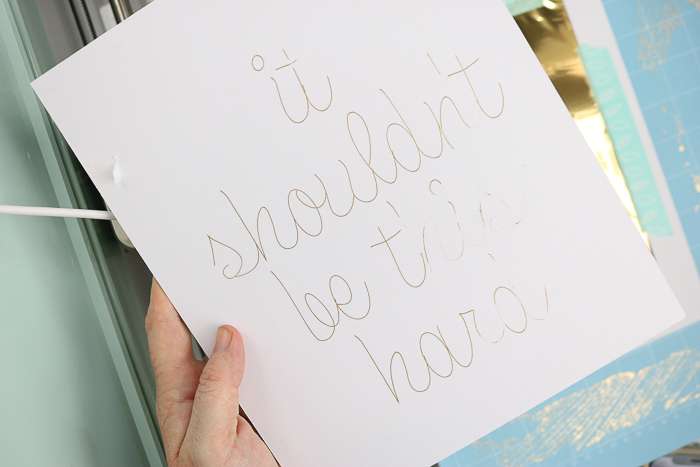
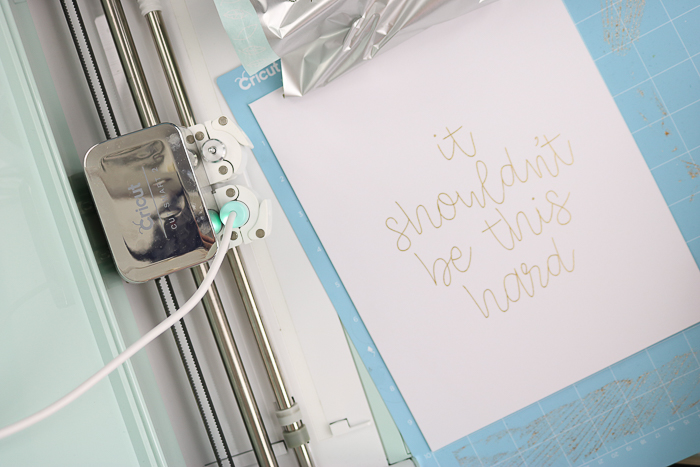
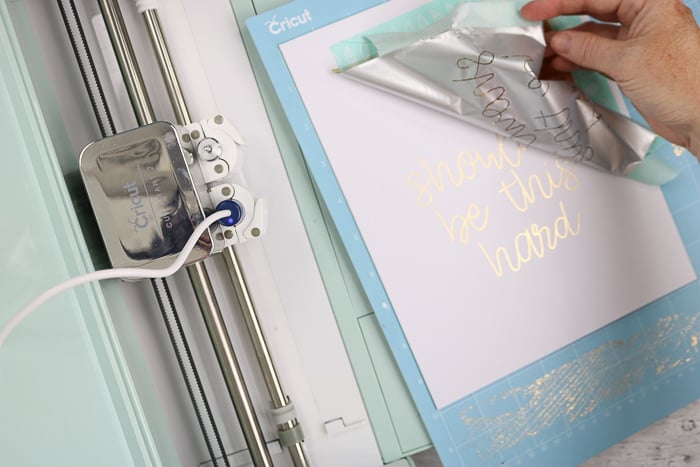
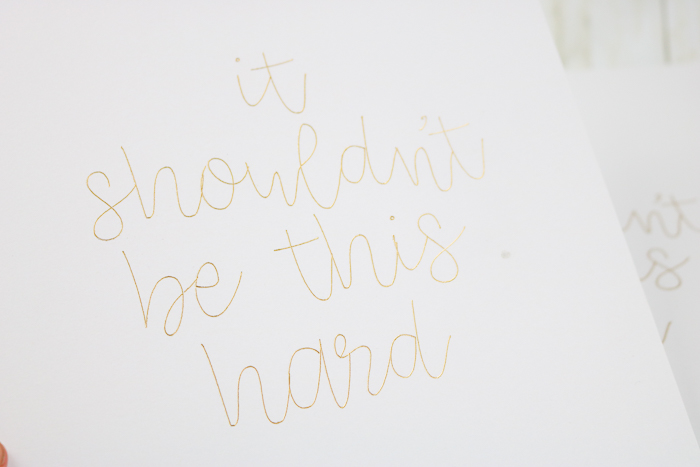
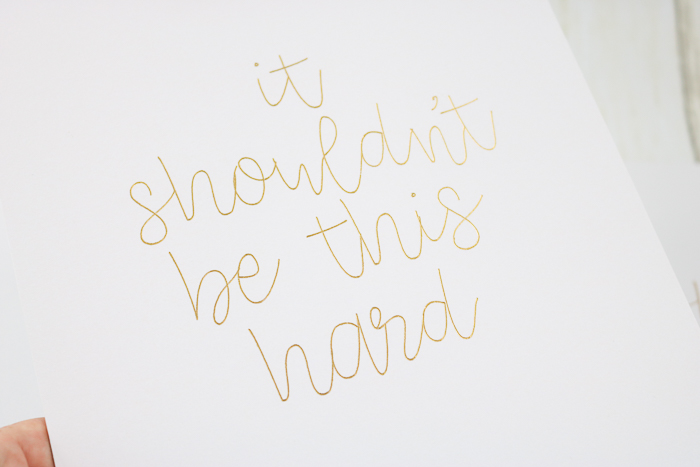
Once your machine has finished drawing with the foil pen, you can eject your mat as usual. Then carefully peel back the foil sheet to reveal the magic.
I even did a few different fonts in my experiments just to see what I could make the foil quill do! So, do you want to see some finished projects and a comparison off all three foil quills?
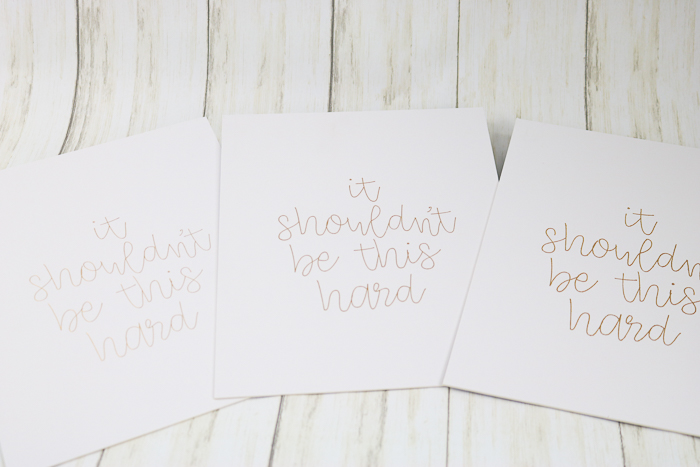
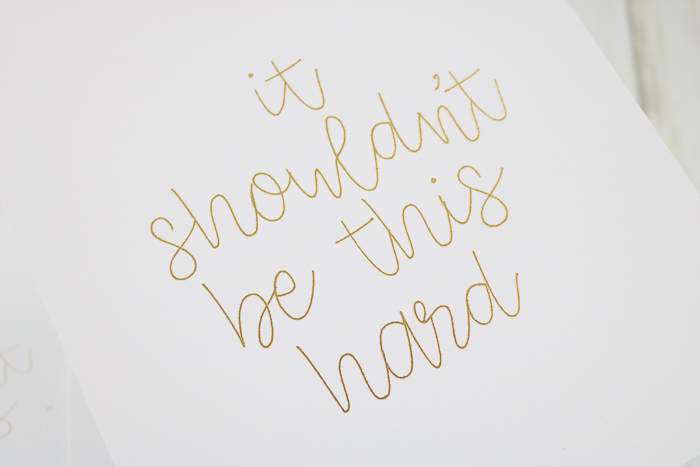
The following are my finished samples from left to right starting with the smallest quill and ending with the largest. You can see a slight difference in size. I will say that my favorite is the medium size.
The smallest is just a little too thin for me and not enough of an impact.
The medium is like that perfect combination of wow and quality!
The thickest looked a little weird to me as far as the lines being a bit choppy and broken.
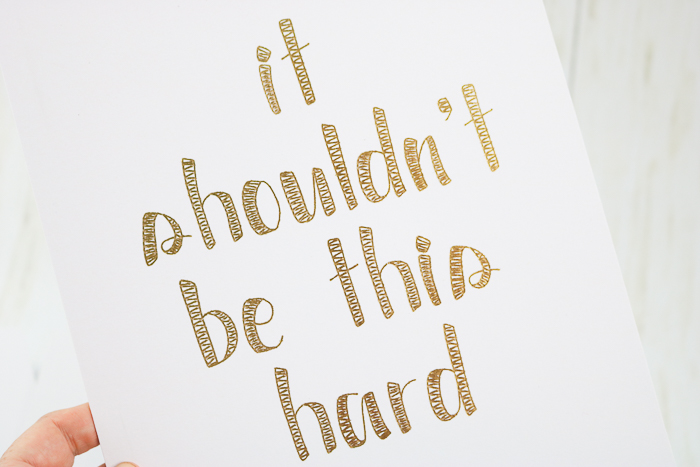
I also tried this filled font with the thickest quill just to see what it would look like. If you like this look, the Karley Filled Font is on Cricut Design Space and will work with these foil pens as well.
Is a Foil Quill for you?
So, bottom line, should you buy one? That is completely up to what type of crafting you want to do. Perhaps you love to hand letter? You can upload those drawings to your Cricut and now have your handwriting in gold!
Perhaps you just really love that metallic gold look? You can get it other ways on thin materials but this is the only way I know of to get that look on thicker things like mat board (which is what I am using here).
The foil quill is perfect for those that want to make their own home decor or want to add a little something extra to cards, scrapbook layouts, and more.
You do need to weigh the options with your Cricut. Do you have an older machine to use it on? Are you going to void your warranty? What will the long term effects be on the machine from the added heat? These are all things to consider before you make your purchase.
I hope I have given you everything you need to know about how to use the foil quill.
Now, you can either dive into the box you already purchased or decide if this foil pen is the right purchase for you. Y’all enjoy and happy crafting!
Love this Cricut tutorial and want more? Try the links below!
- How to Wash Cricut Mats
- How to Use Cricut Infusible Ink the Right Way
- The Latest Cricut Deals
- How to Change Cricut Blades
- How to Use an SVG File on Your Cricut
- Host a Card Making Party
New to Cricut?

Sign up for our email list to download the Beginner's Guide to Cricut Design Space for FREE today!
Sign up to get the guide emailed to you!



Hello thank you for your video and instructions. I have an explore one machine does the foil quill work on the Explore one machine?
As long as you can use pens, it should be fine assuming the adapter will fit into the machine.
Hi! So what “base material” setting did you use that worked well once on the “Make It” page?
Hi! So what “base material” setting did you use that worked well once on the “Make It” page?