Help your kids make their own journal so they can process events and emotions in their own way with this easy DIY journal project.
The school year will be over before you know it, so Jen Goode from 100 Directions is here with a fun summer craft for kids. Today, she’s showing us how to make a DIY journal!
When I was a kid, I loved making up my own books, picture catalogs, and notebooks. We called journals “diaries” back then, and they were only meant for keeping our special secrets.
Now, journals can be used for anything! You can have a journal to capture your favorite quotes, a doodle of the day, or what you ate for breakfast. Whatever you want to share or write about, it can go right in your journal.
And what’s more, open-ended journal writing can help kids build writing skills, process feelings, and communicate ideas.
I think it’s important to share the practice of writing in journals with our kids, so today, Jen has a little printable journal kit you can print and make!
Print this free journal kit and follow the DIY journal tutorial down below to let them make their own journal to decorate and write in all summer long. This is perfect for long car trips this summer as well!
Note: If you want even more journal and notebook inspiration, check out our Sublimation Notebooks and DIY Leather Notebook Using the Cricut Maker. And, of course, a set of Summer Stickers makes journaling even more fun!
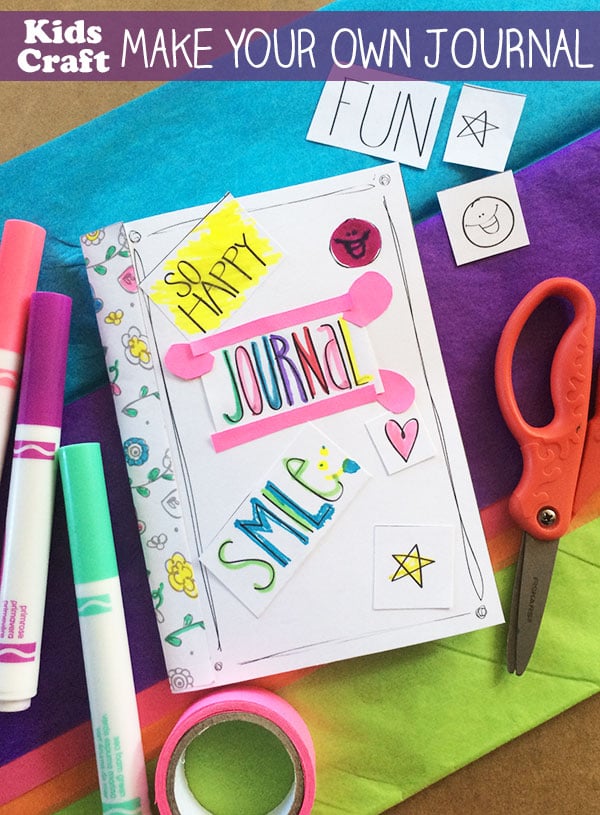
How To Make A DIY Journal
Jen makes the process easy by giving you a kit that your kids can use to put together their personal, customized DIY journal.
Supplies Needed
Here’s everything you need to gather for this project.
- Printable journal kit from Jen Goode
- Crayons, colored pencils, or something similar
- Scissors
- Glue (glue sticks work best)
- Decorative tape (like Washi Tape, optional)
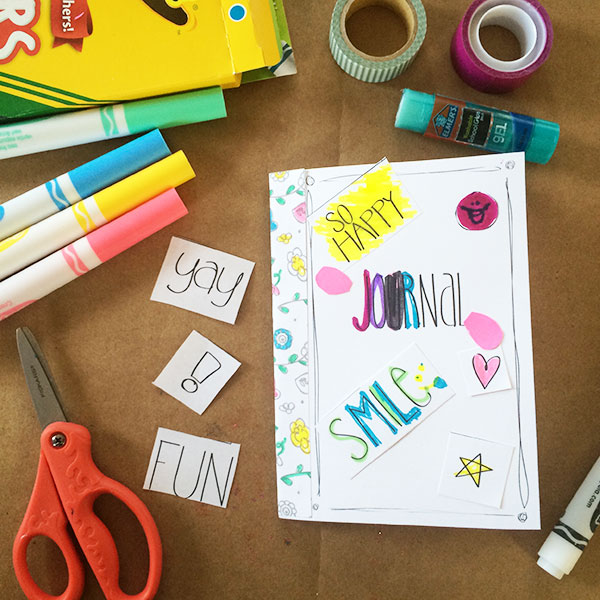
DIY Journal Instructions
Print out all the pages, put the journal together and decorate however you’d like. You can print out more pages or even make pages out of your own special papers.
Step 1
Print out all the pages in the journal kit. You can print out as many pages as you’d like to add to your journal – feel free to make it bigger or smaller based on your child.
We printed out 2 extra sets of each page type. There are no “blank” pages in the printable kit because the back of every page is already blank. You can use the printable pages as a template to cut out pages from your own paper too.
Step 2
Cut out all the pages, cover, and “stickers.”
Step 3
Add pages to your DIY journal. To do this, fold the cover down the middle.
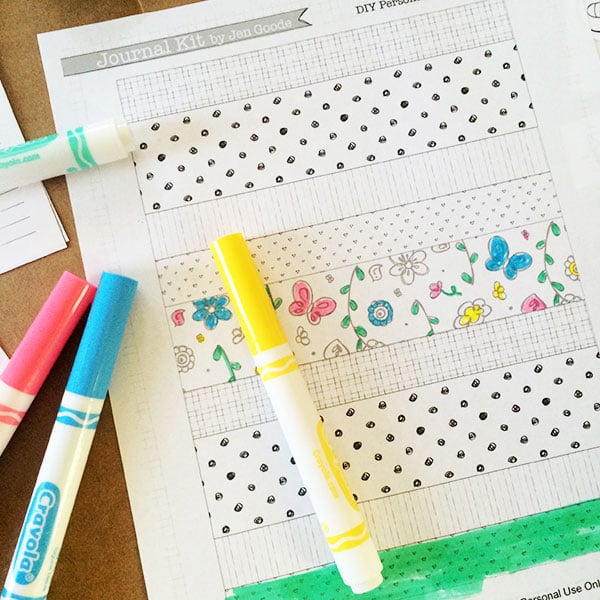
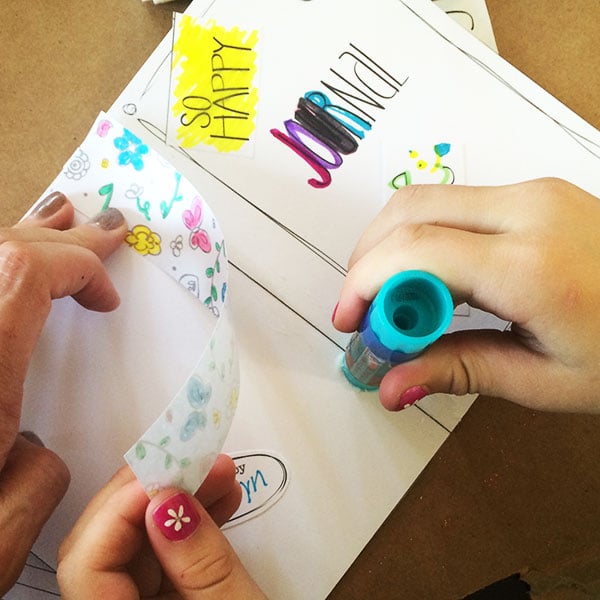
Then place one page on the right side, inside the cover. Using a pattern strip that you’ve colored (this is included in the kit), apply glue to the patterned strip.
Place the strip down the middle of the inside of the cover, overlapping the left edge of the page.
Repeat this process with every page you want to add. You can also use decorative tape instead of gluing the paper strips.
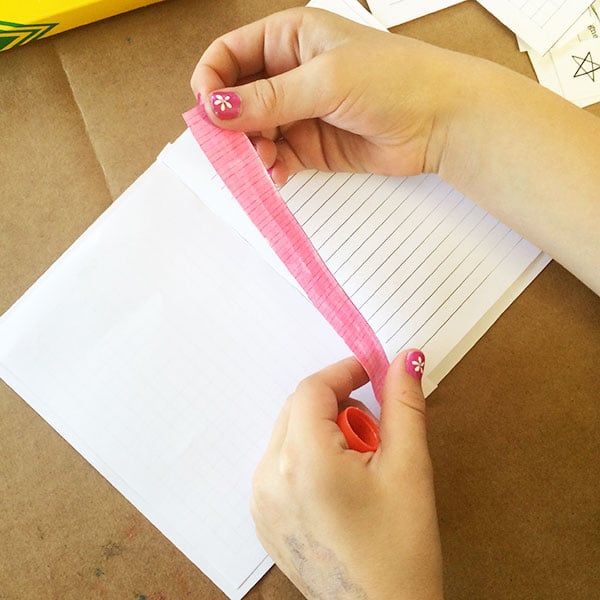
Step 4
You can also speed up the page-adding process by simply placing all the pages inside the cover, closing the cover, and stapling along the edge.
I like using the “tape” method because it adds a little more fun to the inside of the journal, and the book opens as a real book would.
Step 5
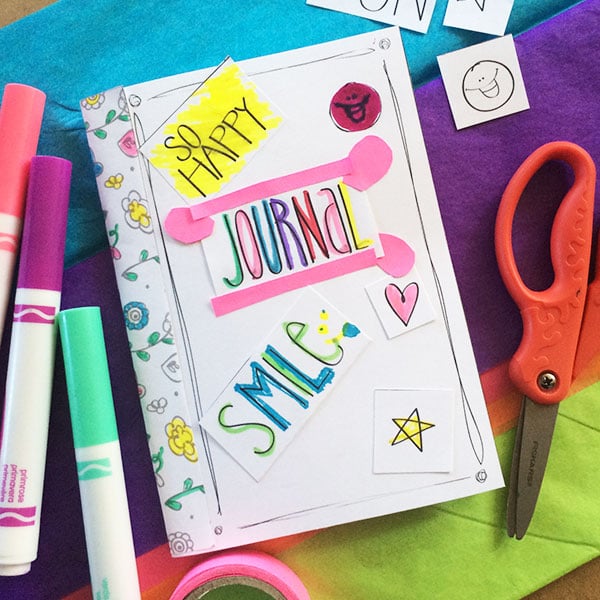
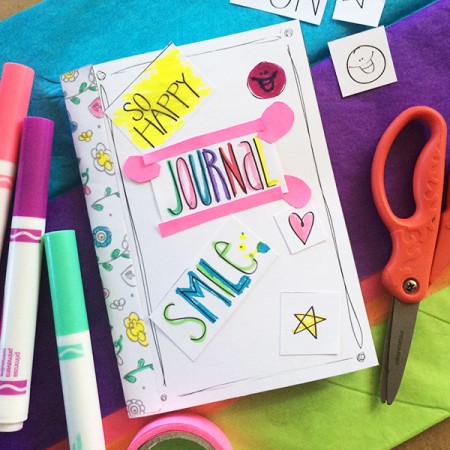
Color the pages and cover and decorate how you’d like. All the extra little words, stars, etc. are stickers you can color and glue wherever you’d like to decorate the book.
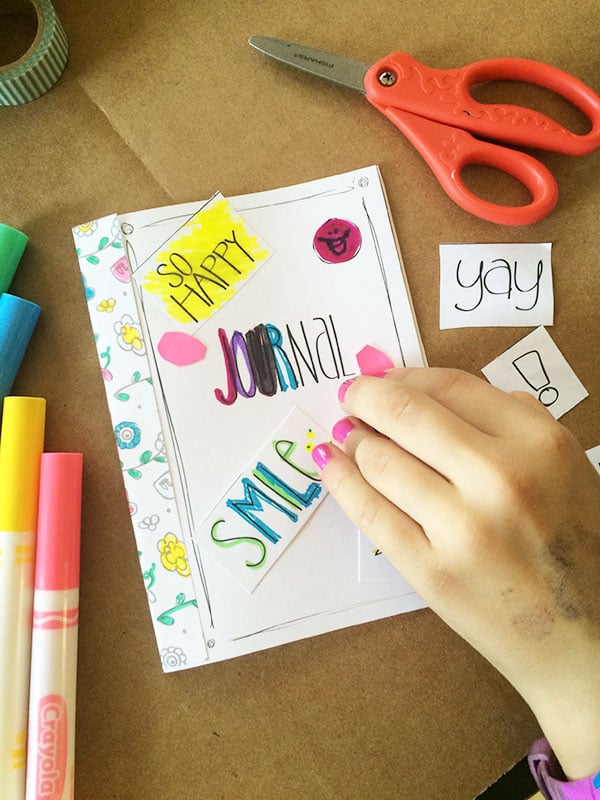
You can also use your own extra stickers, glitter, ribbon, etc., for extra creative fun!
Step 6
For an extra decorative touch, use one of the paper pattern strips to decorate the spine of the DIY journal. Color it and then glue it to the center of the cover, with the cover laying open and flat.
FAQs
Here are a couple of questions that I see readers ask about making DIY journals with this kit. If you have a question, please check to see if I’ve already answered it below. Don’t see your question? Leave it for me in the comments!
At what age can kids start journaling?
As soon as kids can hold a crayon, they can begin journaling! They don’t have to write words, of course. Until they can write words, they can draw pictures or faces with emotions, or glue and paste images, etc.
Can I put this journal together with hot glue?
I wouldn’t recommend it. A glue stick or regular Elmer’s glue is all you really need for this project. Hot glue is much stronger (more than this project needs) and also runs the risk of injuring kids with the hot tip or hot glue.
What are some things kids can write about in their DIY journals?
They can write about whatever they want to write about! If they can’t think of anything to write about and don’t want to doodle or use stickers, here are a few prompts to inspire them:
- Write about the happiest day of your life.
- Describe what you love about your family.
- What’s your favorite school subject? Why?
- If you could do anything all day tomorrow, what would you do?
- Which room in your house is your favorite, and why?
- Describe the perfect vacation.
Can I put a cover on this DIY journal?
The kit comes with a paper cover so that everything inside the journal stays private if your child wants to keep it that way. However, if you want a “sturdier” cover, you could add a layer of cardstock. Or your could print out another cover page and cover it with strips of Washi Tape to give it more support and protect the internal papers.
I hope you have fun with this activity. Visit Jen’s blog, 100 Directions, to grab your free copy of this printable DIY journal kit. Throughout the summer, you’ll be able to find even more fun pages you can add to your books, so be sure to check back regularly!
More Summer With Kids Inspiration
If you love this idea for encouraging kids to practice their writing skills over the summer, check out these ideas too!
Supplies
- Printable journal kit from Jen Goode
- Crayons or colored pencils
- Scissors
- Glue Glue sticks work the best.
- Washi tape
Instructions
- Print out as many pages as you'd like of the journal kit.
- Cut out all the pages, cover, and "stickers."
- Put your DIY journal together. Fold the cover down the middle. Place one page inside the cover on the right side. Color a pattern strip, apply glue to it, and place the strip down the middle of the inside of the cover, overlapping the left edge of the page. Repeat this process with every page you want to add. You can also use decorative tape instead of gluing the paper strips.
- Optional, speed up the process by placing all the pages inside the cover at the same time, closing the cover, and stapling along the edge.
- Let your child color and decorate the pages as they'd like.
- For an extra decorative touch, use one of the paper pattern strips to decorate the spine of the DIY journal. Color it and then glue it to the center of the cover, with the cover laying open and flat.


My 7 year old would love this. We are definitely headed to Hobby Lobby this weekend!