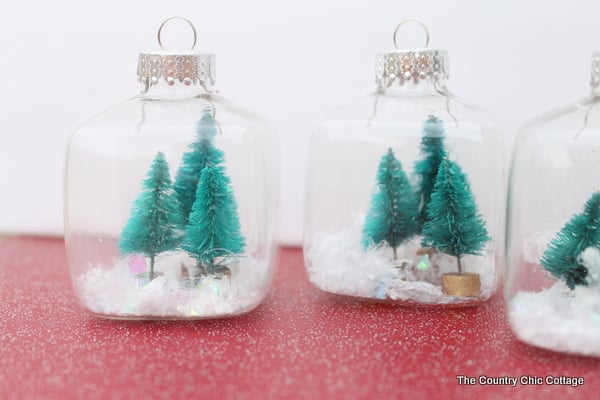
As the holiday season approaches, there’s a magical craft that kids and adults alike can enjoy – making mini snow globe ornaments! These miniature snow globes serve not only as a fun holiday activity but also as charming decorations or thoughtful gifts. Filled with a flutter of faux snow, these mini snow globes will bring a touch of winter wonderland right into your home!
During the festive season, we often find ourselves looking for ways to make our homes and spaces look a lot more cheerful. Decorating with ornaments is one of the easiest and most effective ways to do this!
And what better way to spruce up your home than by making mini snow globes? This miniature snow globe project is perfect for kids of all ages and is super easy to make.
With a few supplies, you’ll be able to create the perfect mini snow globe ornaments for your holiday home decorating!
Note: Check out these 20 DIY Christmas Ornaments to craft this holiday season. All for FREE!
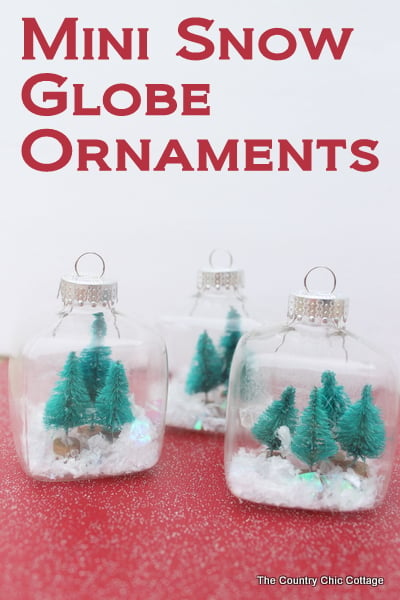
How To Make A Mini Snow Globe
Follow the simple steps below to learn how to make your own mini snow globe ornaments that you can use to decorate your home this holiday season.
Supplies Needed
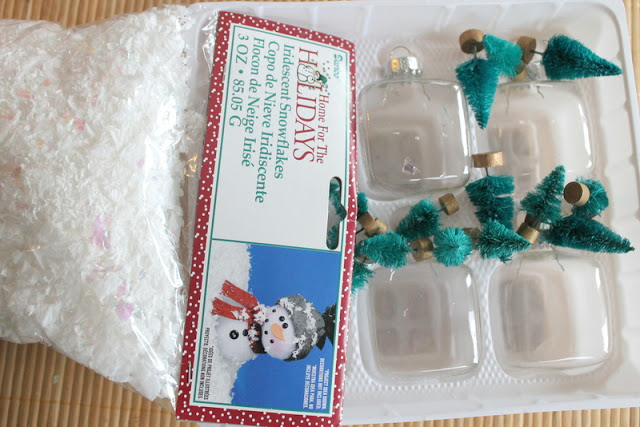
Here’s what you’ll need to gather:
- 2-3/8 inch Glass Cube Ornaments
- Mini Sisal Trees (in 1-inch and 1.5-inch sizes)
- Artificial snow
- Hot Glue Gun
- Decoupage Medium
- Foam Brush (or paint brush)
- White Glitter
- Tweezers
Miniature Snow Globe Instructions
Making your own mini snow globes is easy! Here’s what you’ll need to do…
Step 1: Clean Glass Ornaments
Using a damp cloth, clean the inner and outer surfaces of the glass ornaments. This will help remove any dust that may prevent your decoupage medium from sticking properly.
Step 2: Add Decoupage Medium to Ornament
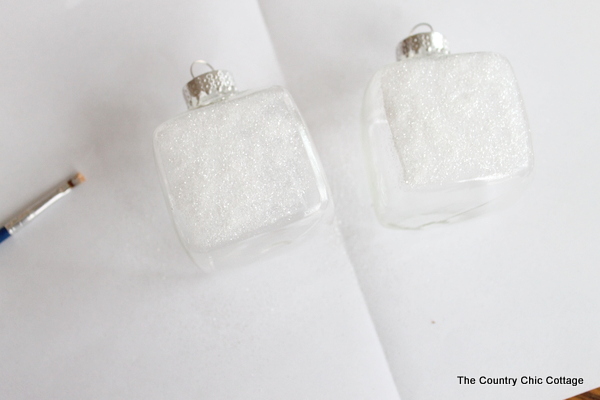
Once the ornaments are dry, use a foam brush to spread a thin layer of Decoupage medium to the back of your ornaments.
Step 3: Sprinkle on Glitter
As soon as the coat of Decoupage is on, immediately sprinkle on the white glitter, shake off excess, and then allow it to dry completely.
Tip: You can seal your glitter with another coat of decoupage if you find it falls off.
Step 4: Place Miniature Sisal Trees
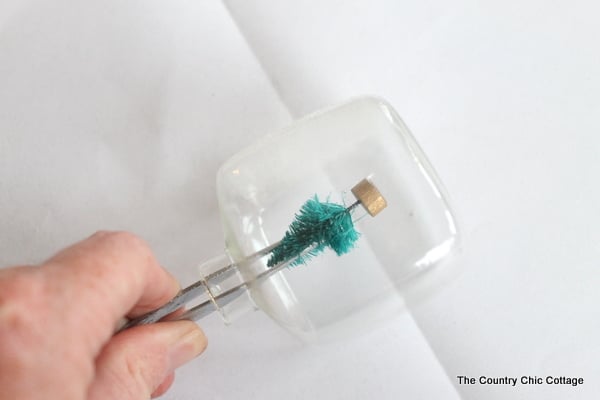
Add a drop of hot glue to the bottom of the trees. Using the tweezers, grab the top of the miniature sisal trees and place them inside the glass ornaments.
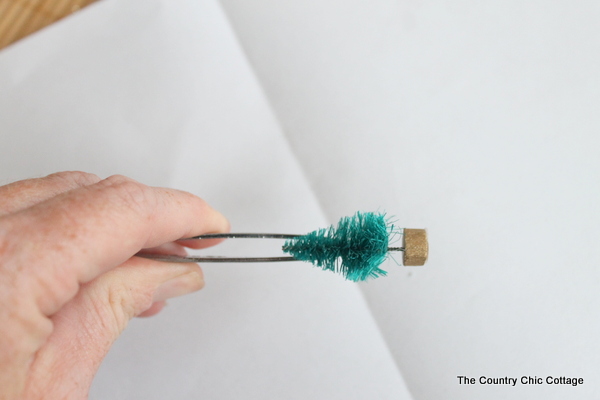
Position and stick to the bottom of the ornament. Continue this until you have filled the ornaments with the desired amount of trees.
Step 5: Add Artificial Snow
Once your ornament is filled, add a generous amount of artificial snow to fill in the gaps and give it that perfect wintry look.
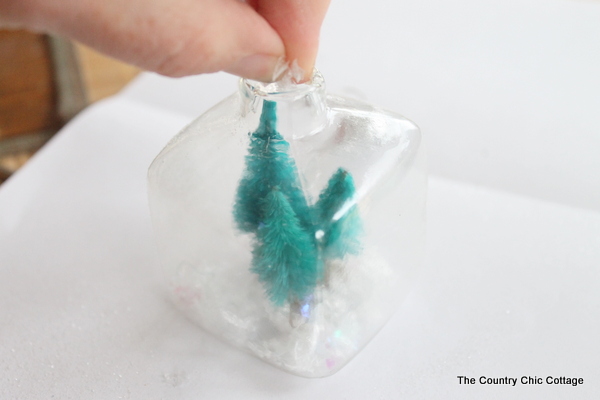
Replace the cap of your ornament and give it a shake for a fun water-less snow globe effect!
Step 6: Hang and Enjoy!
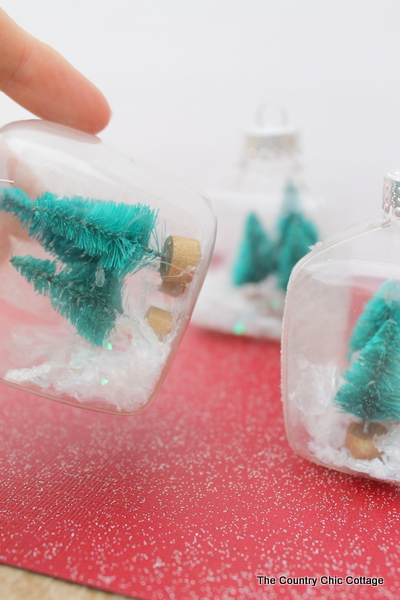
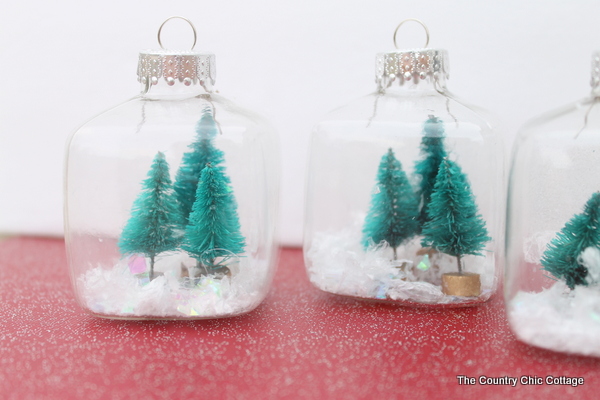
Now, you are all set to hang your mini snow globes on the tree or give them as a gift this holiday season.
Happy holidays!
FAQs
If you have questions about making mini snow globe ornaments, I have answers for you! Please leave your question for me in the comments if you don’t see it already answered below.
Can I add different colored glitter?
Yes, you can definitely add different colored glitter. All you have to do is switch out the white glitter with whatever color of your choice.
Can I make larger snow globes?
Yes! You may be able to find different sizes of glass cube ornaments so that you can make bigger snow globes. Just make sure to adjust your supplies accordingly.
How do I hang up these mini snow globe ornaments?
That’s easy! Just thread a ribbon or string through the top of your ornament. Then, simply knot it at the end, and you’ll be ready to hang up your mini snow globe ornaments.
More craft ideas
If you love this project and want to make Christmas crafts, we have those for you! Just follow the links below.
- Make Plaid Christmas Ornaments with a Cricut
- How to Make Clay Ornaments for Christmas {with Video}
- Christmas Bell Ornaments from Clay Pots
- Rustic Christmas Ornaments from Wood Spools
- Cork Tree Ornaments
Supplies
- 2-3/8 inch Glass Cube Ornaments
- Mini Sisal Trees in 1-inch and 1.5-inch sizes
- Artificial snow
- Hot Glue Gun
- Decoupage Medium
- Foam Brush or paint brush
- White Glitter
- Tweezers
Instructions
- Using a damp cloth, clean the inner and outer surfaces of the glass ornaments. This will help remove any dust that may prevent your decoupage medium from sticking properly.
- Once the ornaments are dry, use a foam brush to spread a thin layer of Decoupage medium to the back of your ornaments.
- As soon as the coat of Decoupage is on, immediately sprinkle on the white glitter, shake off excess, and then allow it to dry completely.
- Add a drop of hot glue to the bottom of the trees. Using the tweezers, grab the top of the miniature sisal trees and place them inside the glass ornaments.
- Position and stick to the bottom of the ornament. Continue this until you have filled the ornaments with the desired amount of trees.
- Once your ornament is filled, add a generous amount of artificial snow to fill in the gaps and give it that perfect wintry look.
- Replace the cap of your ornament and give it a shake for a fun water-less snow globe effect!
- Now, you are all set to hang your mini snow globes on the tree or give them as a gift this holiday season.
Notes
- You can seal your glitter with another coat of decoupage if you find it falls off.


So cute, now I know what I did wrong trying to put my trees, people in jars I made. Need to put glue on bottom to put in so they’d stay straight. duh, why didn’t I think of that? lol
Your ornaments are so cute and looks like it was a fairly quick craft. Happy week
HI! this is so great! i have a question re the decoupage , can i use it on plastic ornaments? We want to use plastic vs glass. Thank you!!
Yep should work fine!
Thank you!!