Larger Than the Mat Projects on a Cricut
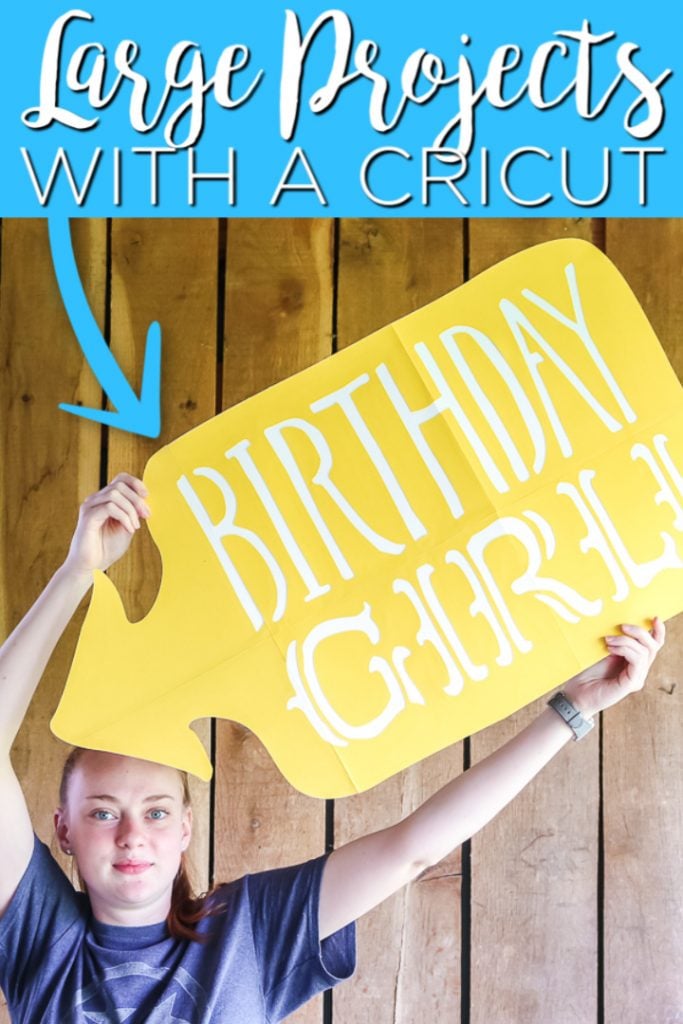
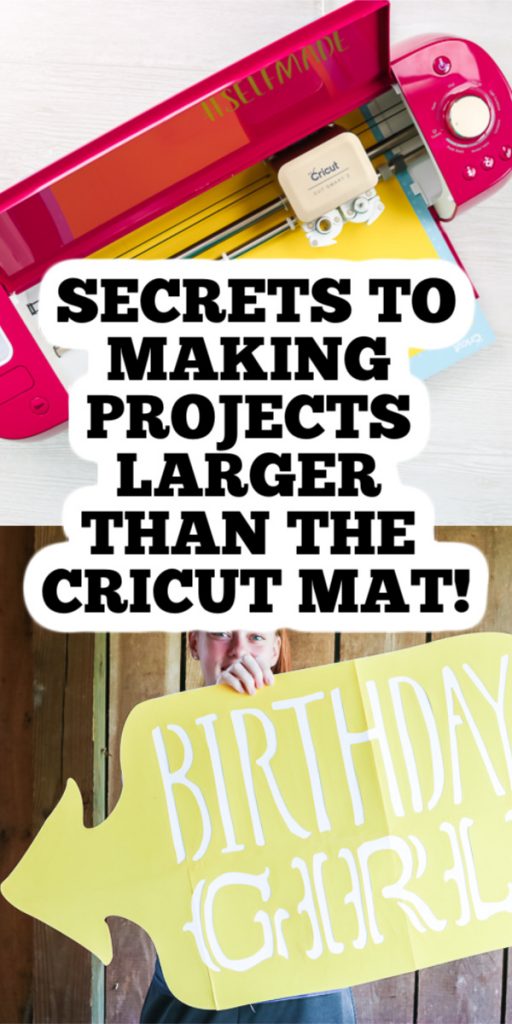
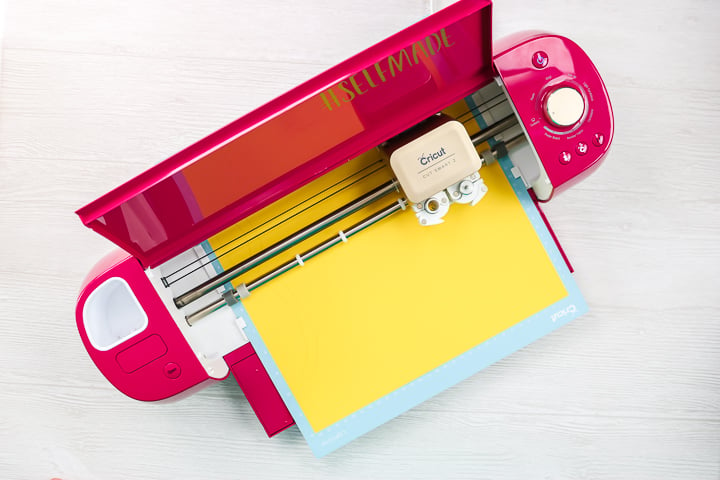
I get asked all of the time how to make larger than the mat projects with a Cricut machine. How do you make something big with your Cricut machine when it will not fit on the mat? I have an easy technique below that will work with any project that you are trying to make. It will also work with the Cricut Maker, Cricut Explore, or Cricut Joy. So, grab your Cricut and make those huge projects easily!
What size projects are larger than the mat?
For this, you need to look at the maximum cutting sizes for each of the three machines:
Cricut Joy Maximum Sizes:
- Matless cutting cuts one image up to 4.5 inches wide and 4 feet long or repeated cuts up to 20 feet long
- Small mat cutting area is 4.25 inches x 6.25 inches
- Large mat cutting area is 4.25 inches x 11.75 inches
Cricut Explore Air 2 Maximum Sizes:
- Small mat maximum is 11.5 x 11.5 inches
- Large mat maximum is 11.5 x 23.75 inches
- Print then cut maximum is 6.75 x 9.25 inches
Cricut Maker Maximum Sizes:
- Small mat maximum is 11.5 x 11.5 in
- Large mat maximum is 11.5 x 23.75 in
- Print then cut maximum is 6.75 x 9.25 in
So, for any project larger than the dimensions above, you will need to use a hack to actually make the project. Keep reading to see how to make larger than the mat projects on all three Cricut machines.
Slicing Objects in Cricut Design Space
To get your project down to sizes that will work with the maximums, you will need to slice the objects on your canvas into sizes that will fit your mat. I actually recorded a video of the steps in Design Space so you can see just how to do this. You can watch that video below.
Once you have everything sliced to sizes that will work on your mats, it is time to cut your design. This method will work for just about any material so don’t think it can only be done with paper. Pick a material and start making those big Cricut projects on your machine.
How to Make a Birthday Girl Sign
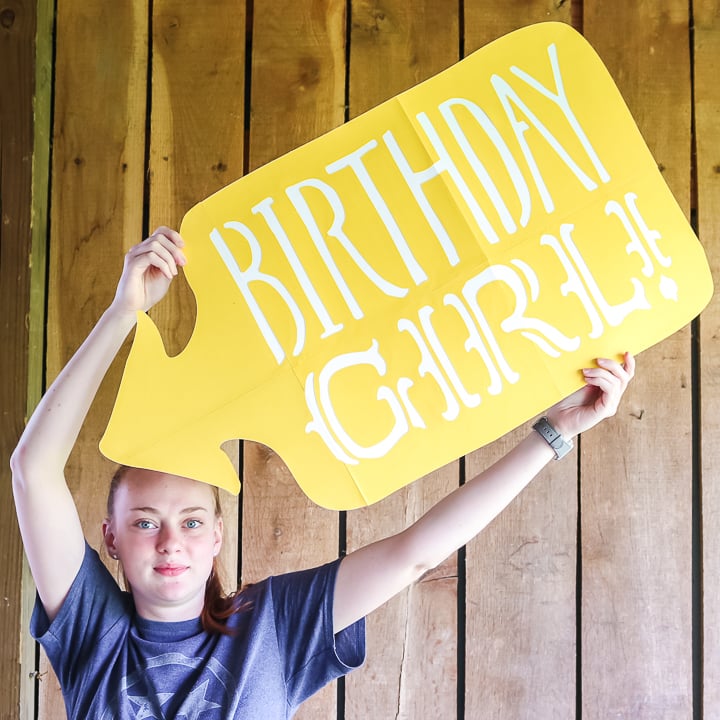
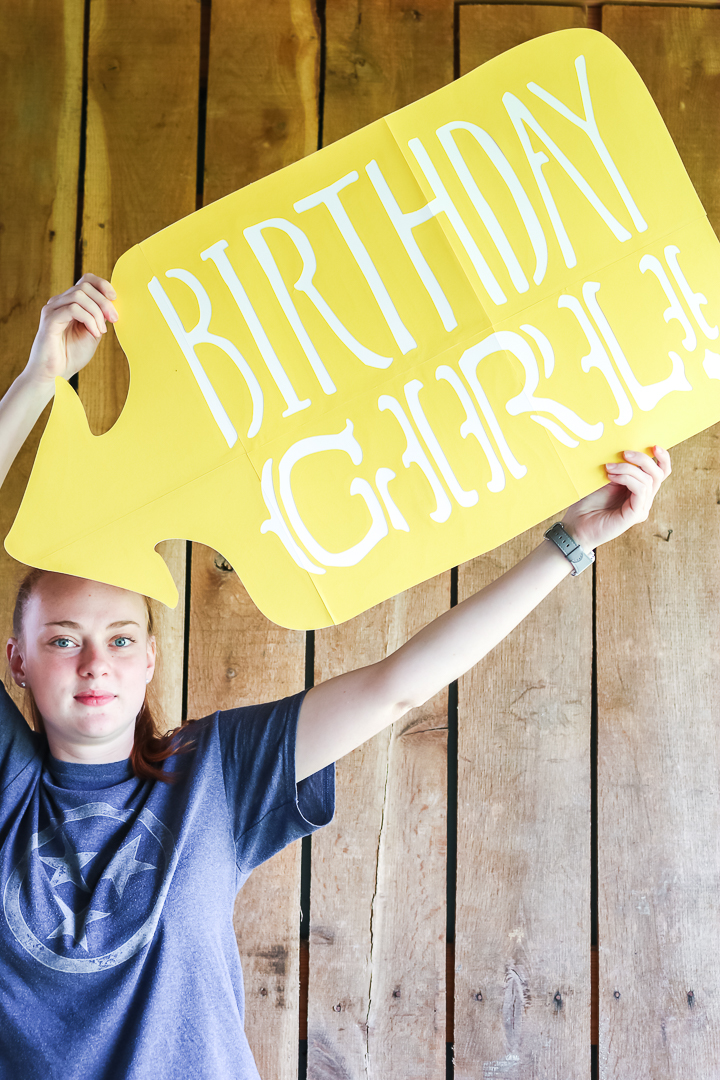
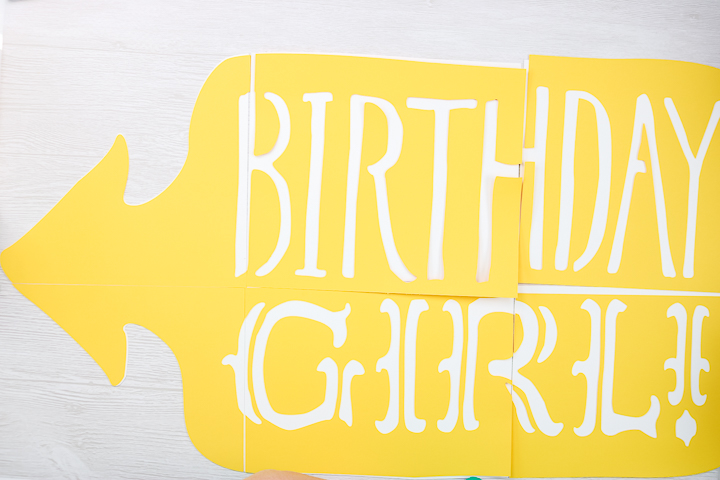
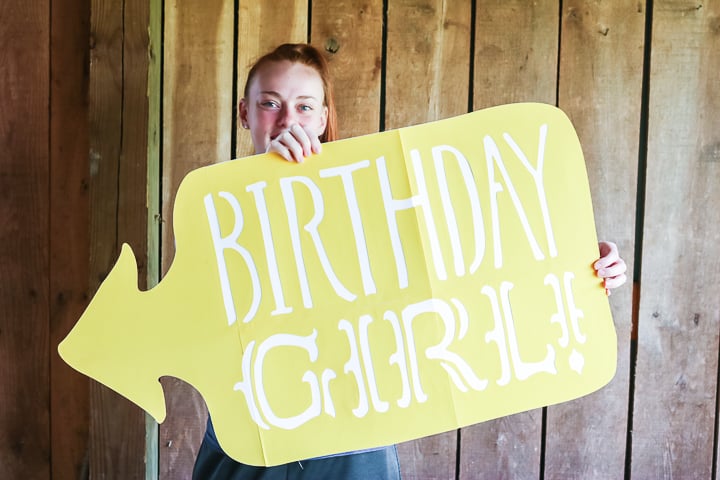
I thought I would cover how to make the sign shown in the pictures just in case you want to make that specifically.
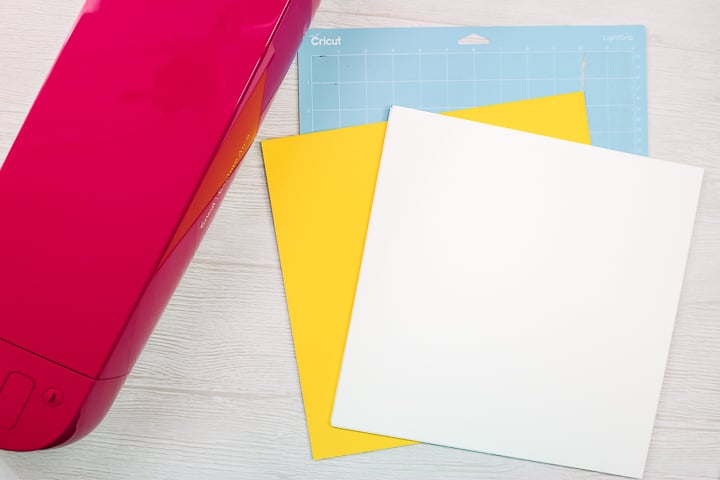
Supplies needed:
- Card stock in two colors
- Cut file (info below)
- Cricut machine
- Tape
- Glue
How to Make a Huge Birthday Sign with a Cricut
You can follow the directions in the card below and also print them if you need to reference them later.
Supplies
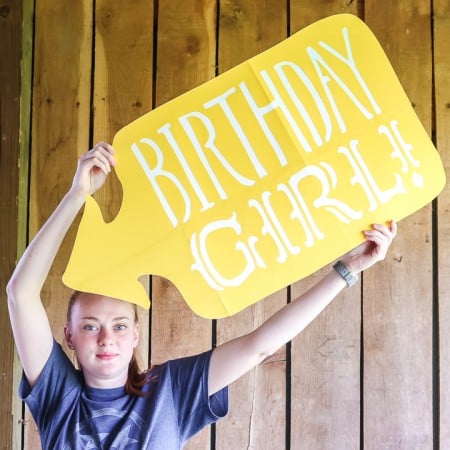
- Card stock in two colors
- Cut file (info below)
- Cricut machine
- Tape
- Glue
Instructions
- You can find the cut file by going to my Cricut Design Space profile and scrolling to "Cricut Birthday Girl Sign". Use the video instructions to slice your design into pieces that will work on the mat. Then cut each piece with your Cricut machine.
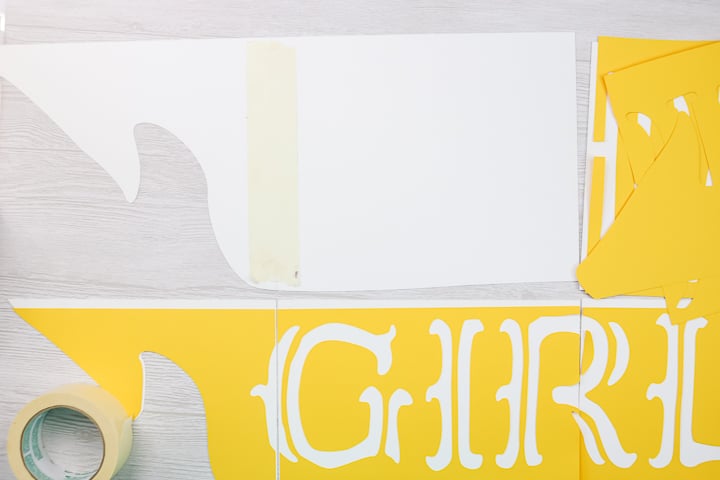
- You should be left with pieces that make a back and a front for this sign. I used 12×12 card stock so there are 6 pieces for each.
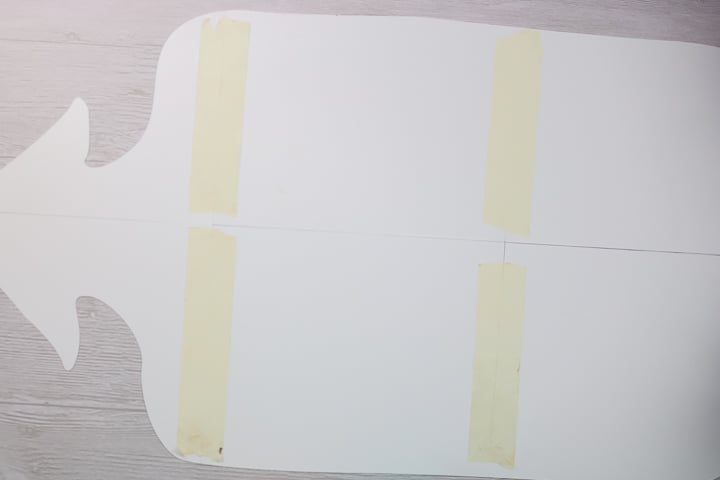
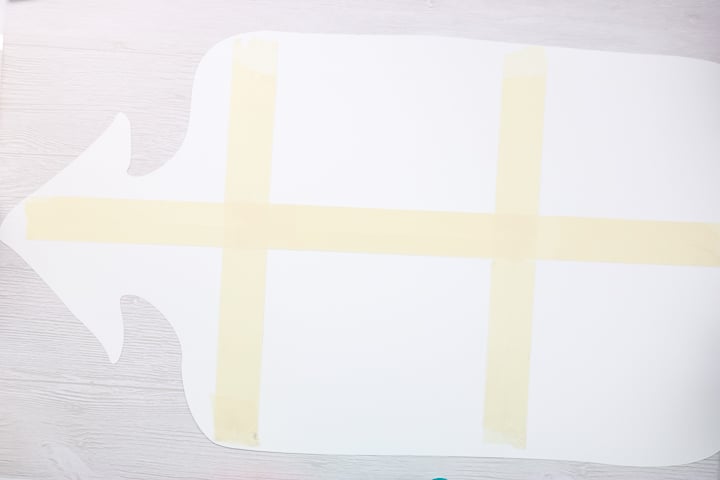
- Assemble the back first using tape. Be sure the pieces are aligned then tape across the seam.
- Repeat for each piece and seam.
- Add additional tape to reinforce the seams.
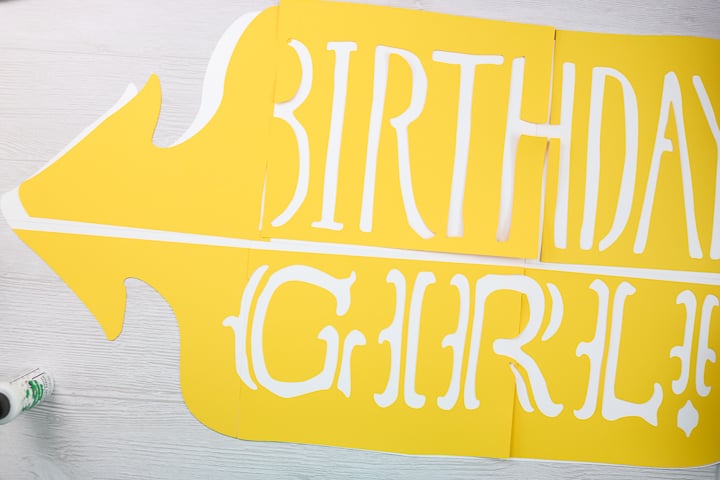
- Then flip over the sign and start adding the other pieces to the front. Use glue to secure into place and allow to dry. Just make sure that the pieces are aligned before adding glue. You will also want to glue in place things like the centers of any letters.
- Once dry, your sign is complete and can be used to decorate or as a cute photo prop.
I bet you didn’t realize how easy it was to make those extra large projects with your Cricut machine. Think outside of the mat and make big projects for parties, events, your home’s decor, and so much more.
If you have always stayed away from huge projects thinking you couldn’t make them on your Cricut, think again! Large projects are possible and will look great as well. So, plan to try this technique for making larger than the mat projects with your Cricut. You will be so glad you did!
Love this project idea and want more? Try the links below as well!

New to Cricut?

Sign up for our email list to download the Beginner's Guide to Cricut Design Space for FREE today!
Sign up to get the guide emailed to you!



Can’t wait to try
Thanks, it explained A LOT!
THANK YOU VERY MUCH FOR THIS TUTORIAL!!! I’ve been wanting to do this for a long time and your instructions are the best by far!!! Can’t wait to make some super large stuff!!
😍🎉🤩😍🎉🤩😍🎉🤩😍🎉🤩😍🎉🤩😍🎉🤩😍🎉
Thank you so much. Tried it on speedy Gonzales pictures. it’s perfect. Thank you
I’m so glad it worked!