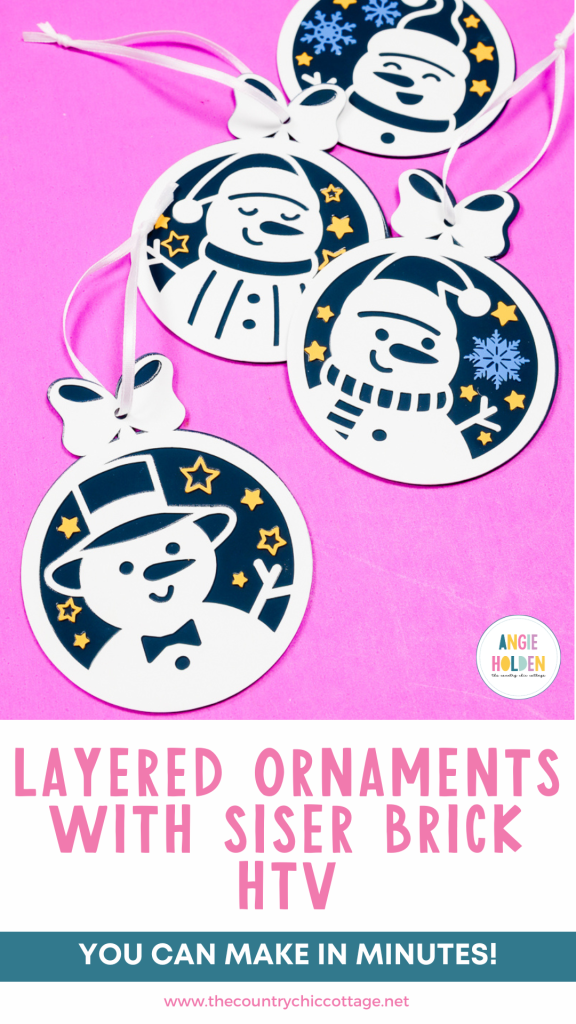
You are going to love these layered ornaments using Siser Brick HTV. If you haven’t used it already, Siser Brick HTV is a really thick HTV making it perfect for layered ornaments. Using Siser Brick eliminates the need for a base material for layered designs.
You can learn more about Brick HTV in my Everything You Need to Know About Siser Brick tutorial.
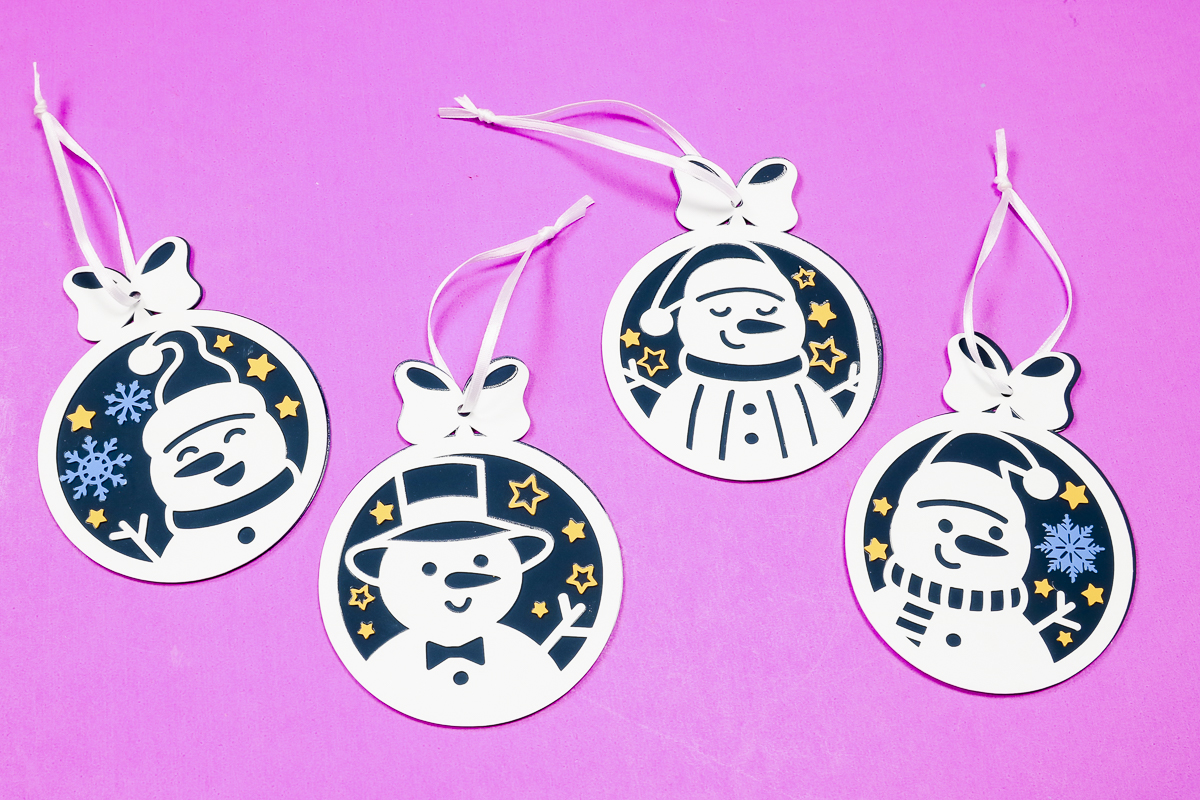
While I’m making Christmas ornaments for my project you can use this technique for a wide variety of layered projects.
You can watch me make the project from start to finish by pressing play on the video below.
How to Make Layered Ornaments with Siser Brick HTV
Before we begin I wouldn’t recommend making these layered ornaments with regular HTV. You need something thick like Siser Brick. Even with multiple layers regular HTV is not thick enough to create a sturdy ornament base.
Supplies Used
- Layered Snowman Ornament Bundle
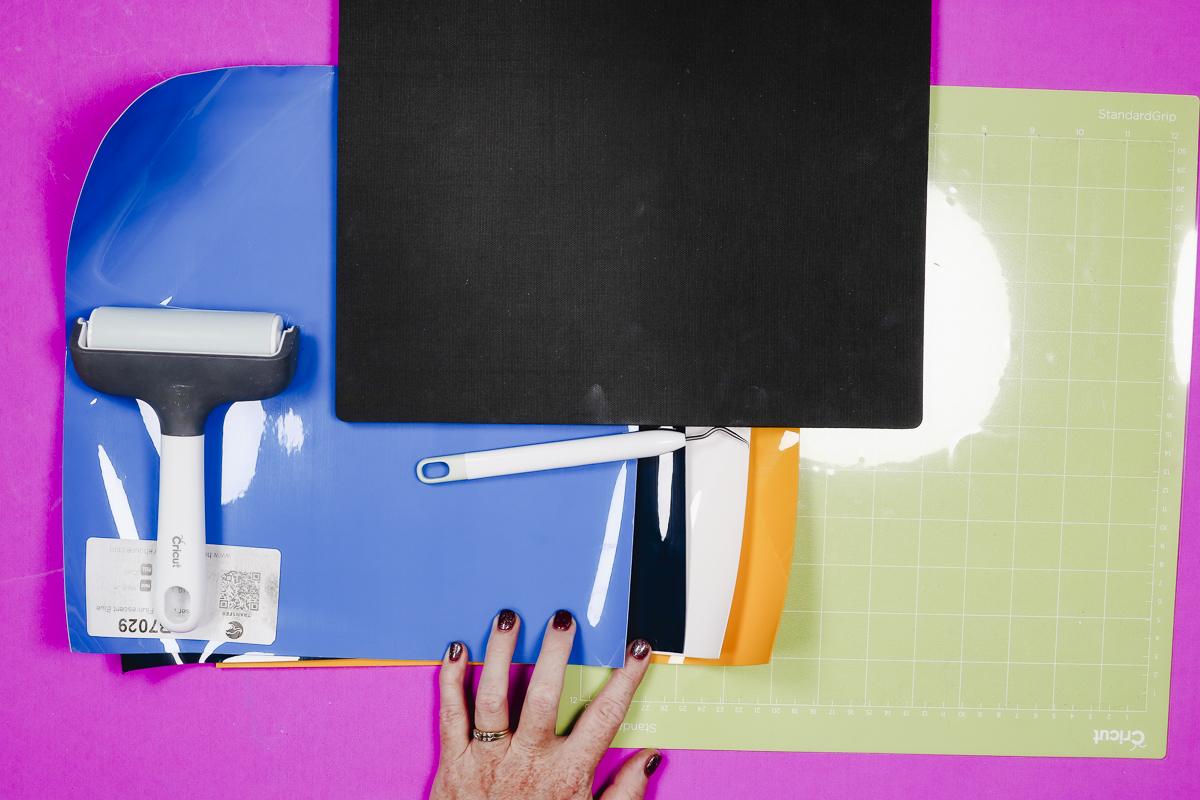
- Siser Brick (I am using four different colors of Siser Brick HTV, the colors you use and how many layers you use is totally up to you and the ornament design you choose.)
- Cricut Machine
- Weeding Tool
- Green Cutting Mat
- EasyPress
- Heat Resistant Mat
- Heat Resistant Tape
- Brayer
- DTF Cooling Block
- Teflon Sheet
Step 1. Choose Your Design
I selected a design bundle from Creative Fabrica. When looking for a design for layered ornaments, I recommend searching for something like “laser ornament” or “layered ornament”.
I look for a design with three to four layers maximum for ease of layering. You could try a more advanced design with this technique if you wanted.
Download the design from Creative Fabrica then head to Design Space.
Step 2. Upload Design into Design Space
Open a blank canvas in Design Space and click Upload. Select Upload Image, find the image on your computer, and upload it to Design Space.
Note: If your file is zipped you will need to unzip the folder before you can upload it into Design Space.
With the design on the canvas, resize the design to whatever size you want. I resized mine to 4 inches tall and about 3.13 inches wide.
With the design layers all resized, we can adjust the layers to make the design work for creating an ornament completely out of HTV.
Ungroup the design and duplicate the base (solid) layer. If your base layer isn’t solid, you will need to create a solid layer and then duplicate it.
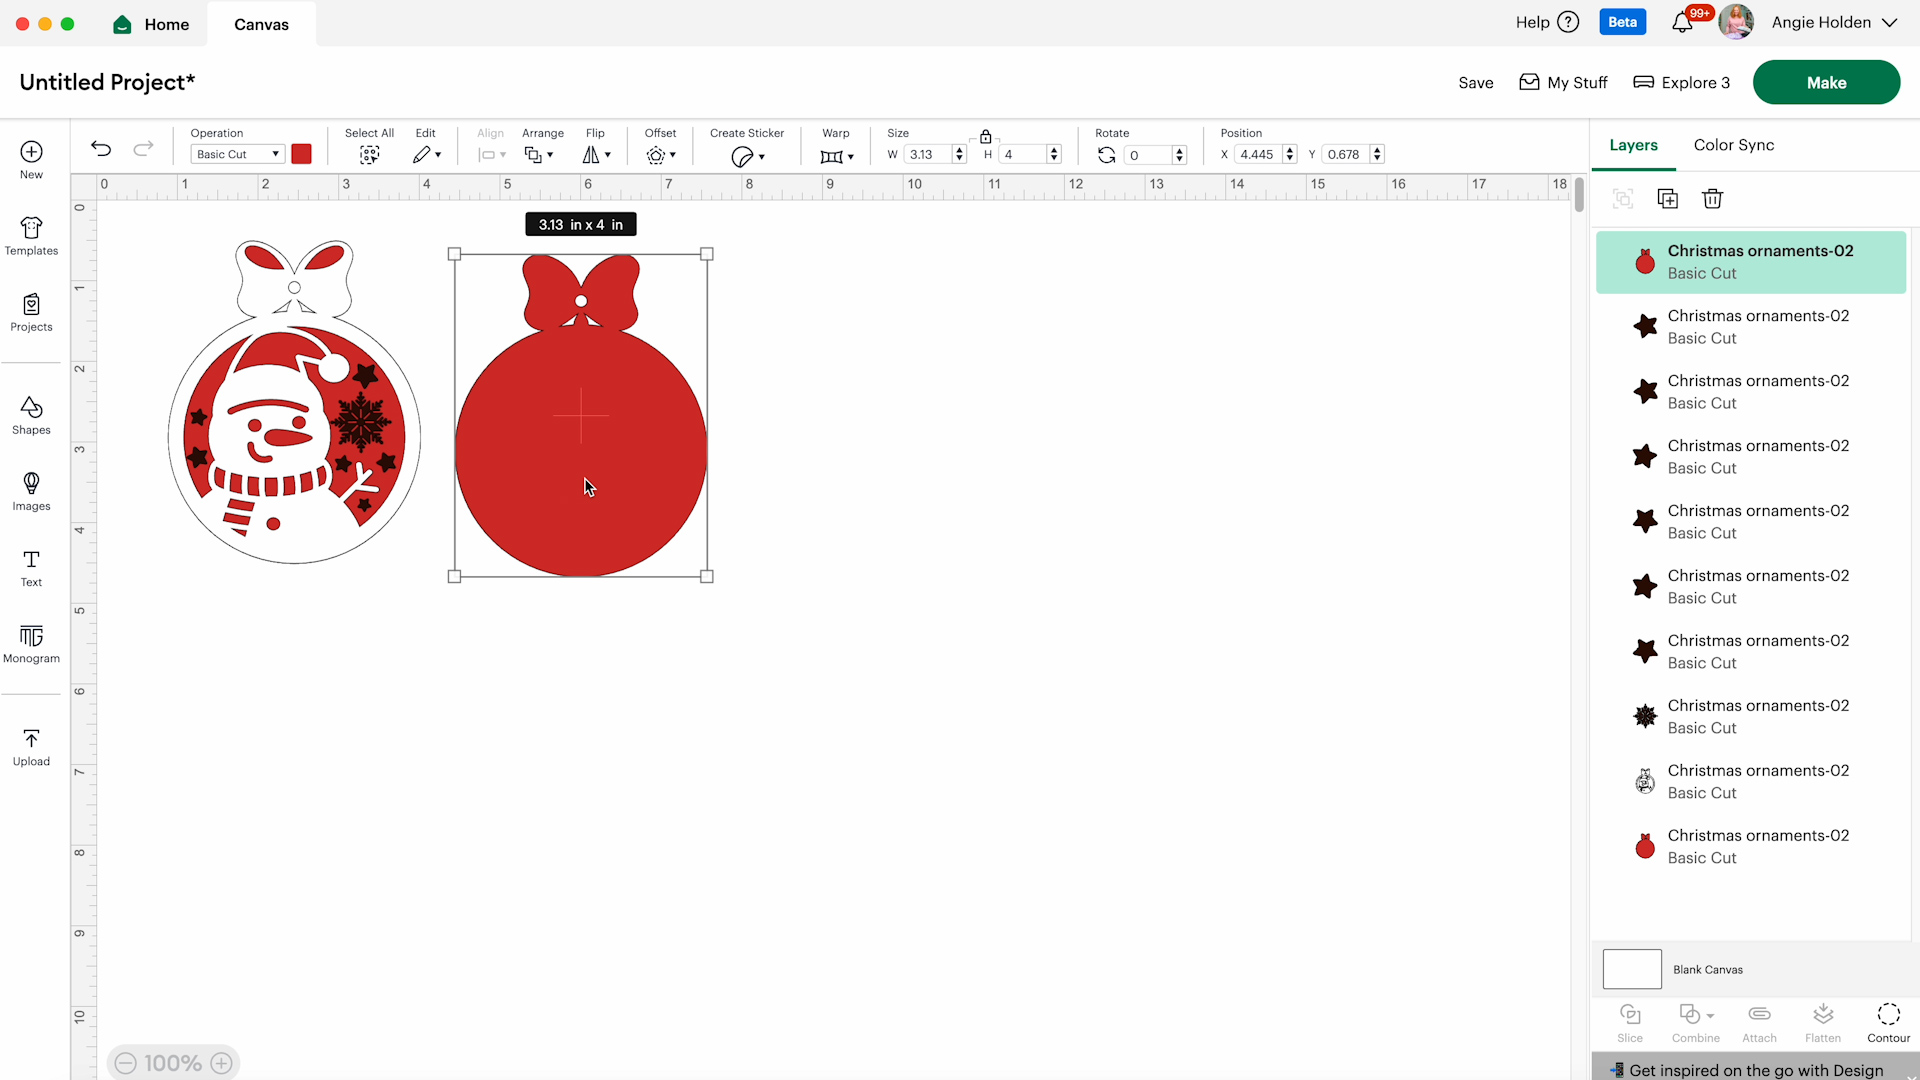
You want these two pieces to mirror each other. Take one layer and click the Flip Horizontally tool.
Now you can adjust the colors for the different layers to see how the design will look with the colors you’re using.
I want all the stars to be yellow and I want them to be laid out how they are in the design. So I selected all the stars, clicked Attach, and turned them yellow.
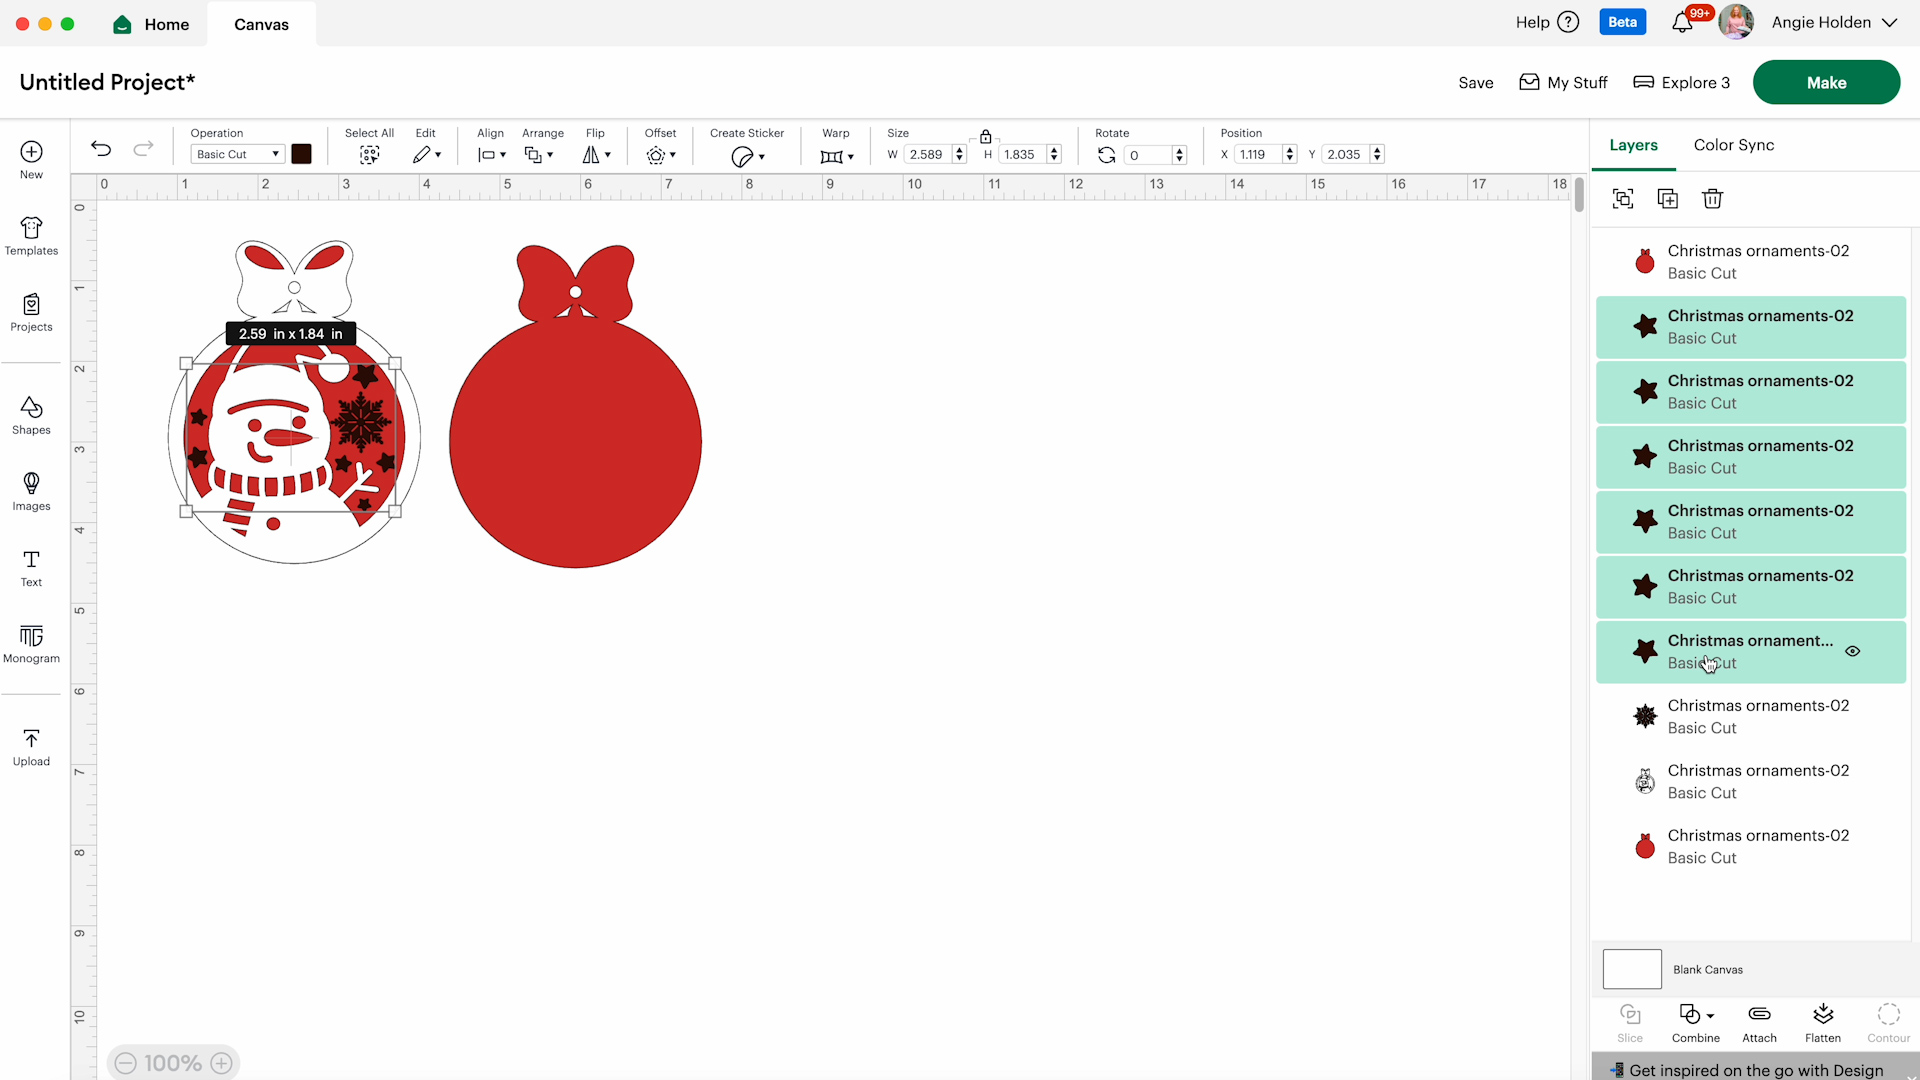
The other design pieces are single items so I changed the colors to the colors of Siser Brick I am using so I can see exactly what my ornament will look like.
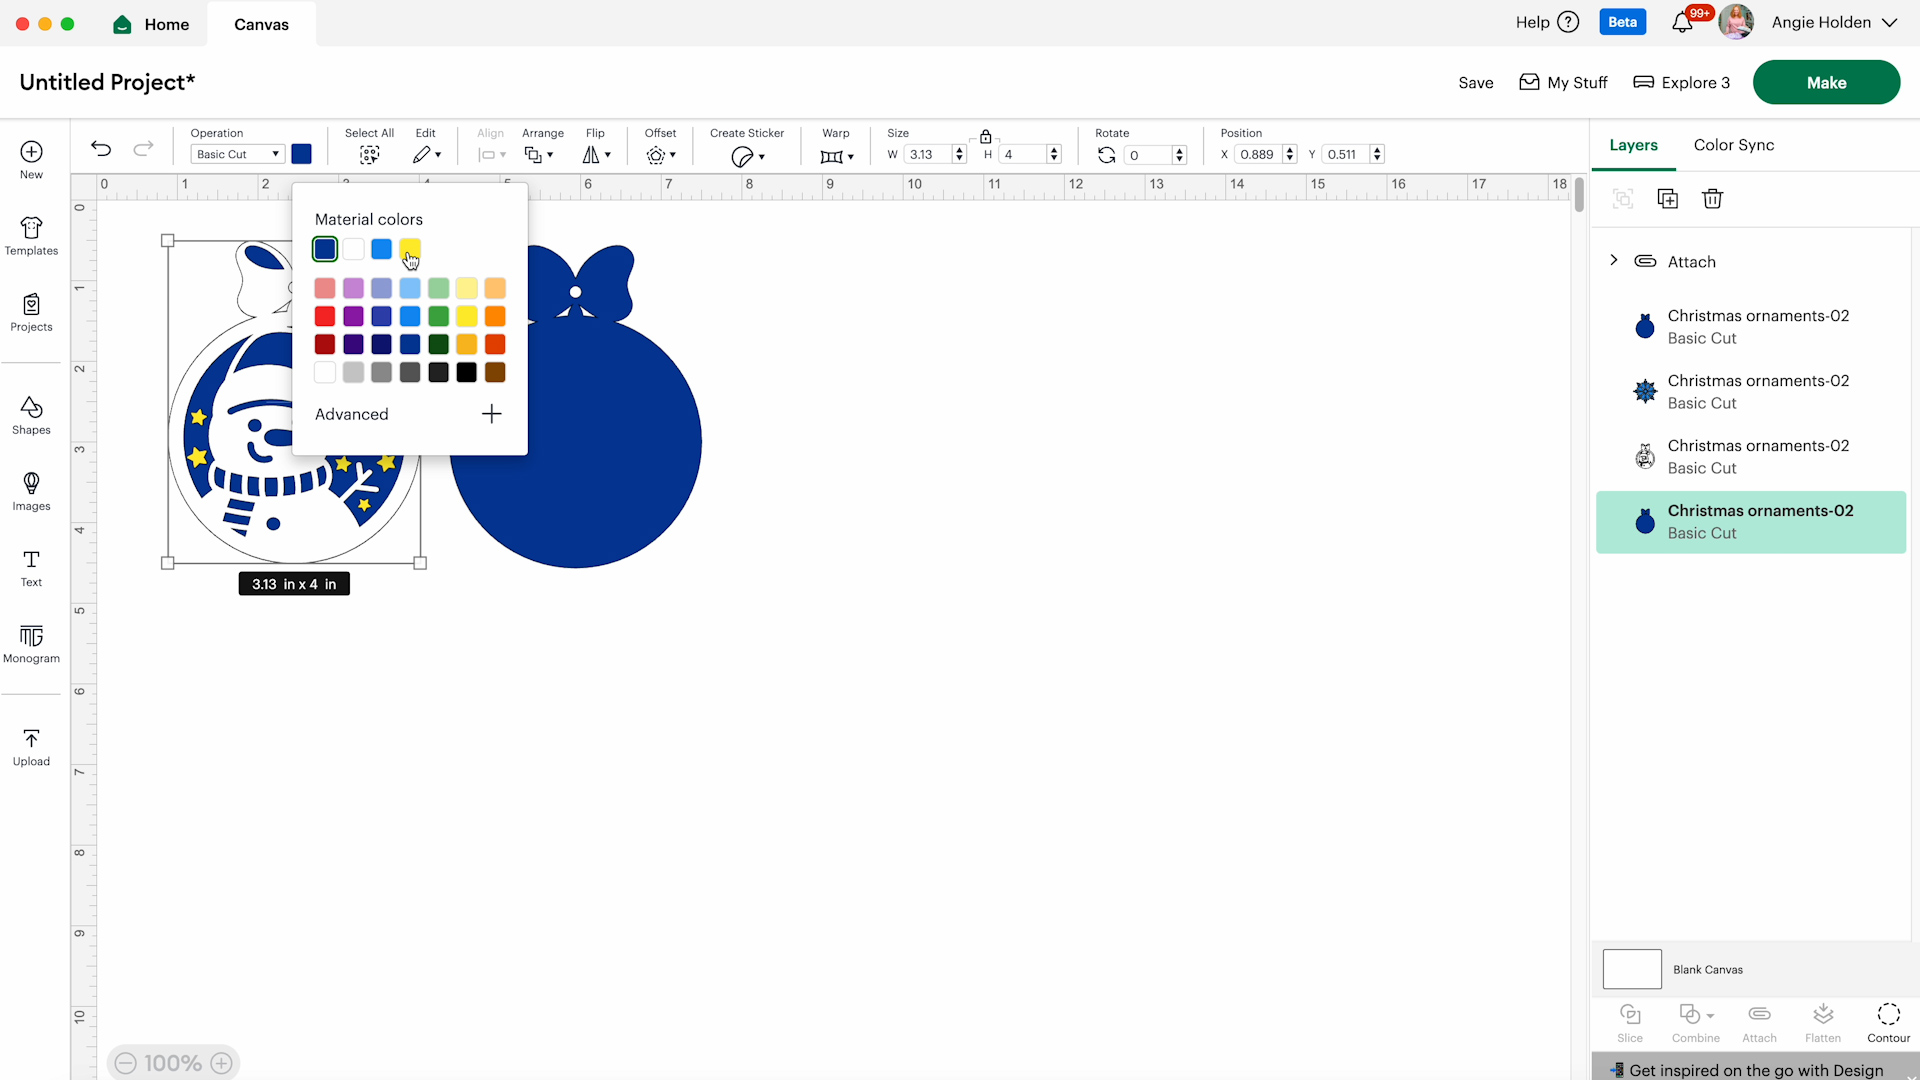
Remember, the colors on the screen don’t actually mean anything other than adding matching colors to the same cutting mat. I find it helpful to change the colors so I know which color HTV to load into the machine.
Step 3: Cut Siser Brick HTV
I am using my Explore 3 today, you can make this project with any Cricut machine because it uses a Fine Point blade.
Click Make, select On Mat, and confirm that everything looks correct for each mat.
We are using an HTV material so each mat needs to be mirrored. Click Continue to select your material.
I found that the Glitter Iron-on setting worked well with this material. I usually adjust to Less pressure to prevent the machine from cutting through the carrier sheet.
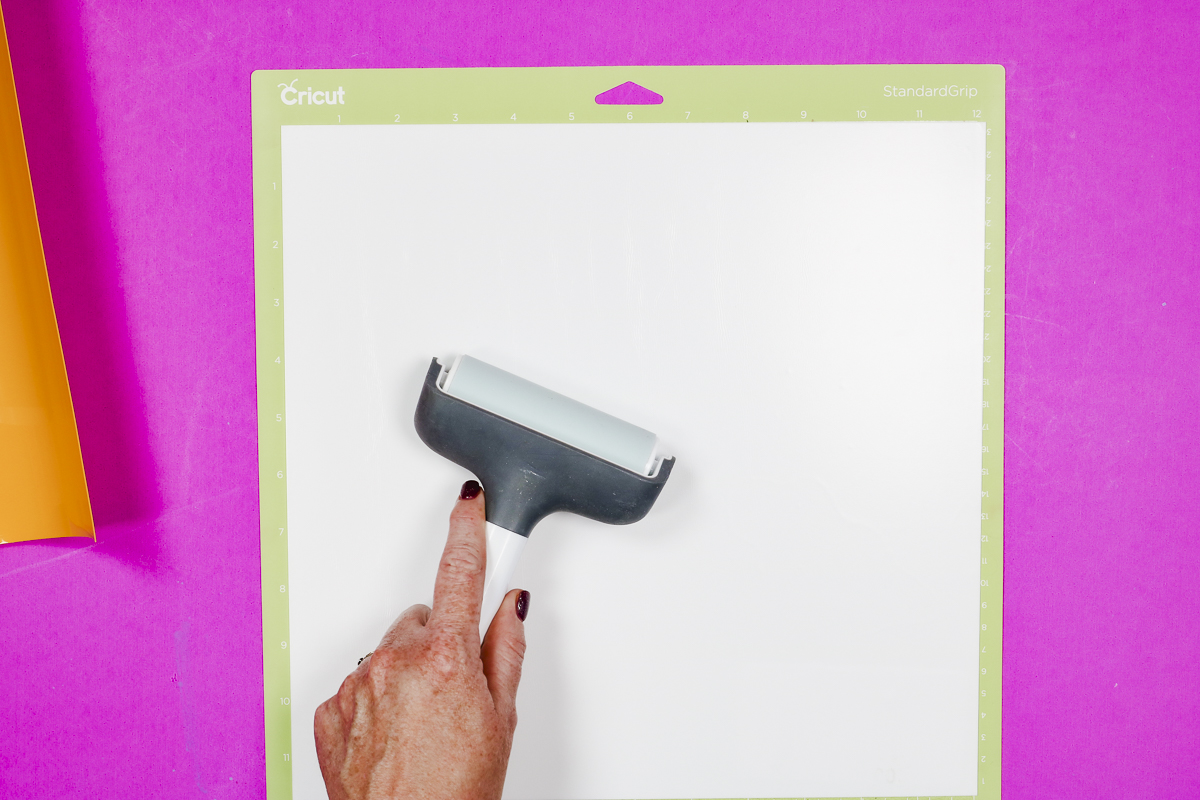
Place the Siser Brick HTV onto the green StandardGrip mat shiny side down and use a brayer to make sure it’s stuck down to the mat really well.
With the Fine Point blade installed, load the mat into the machine and click Go to cut the material.
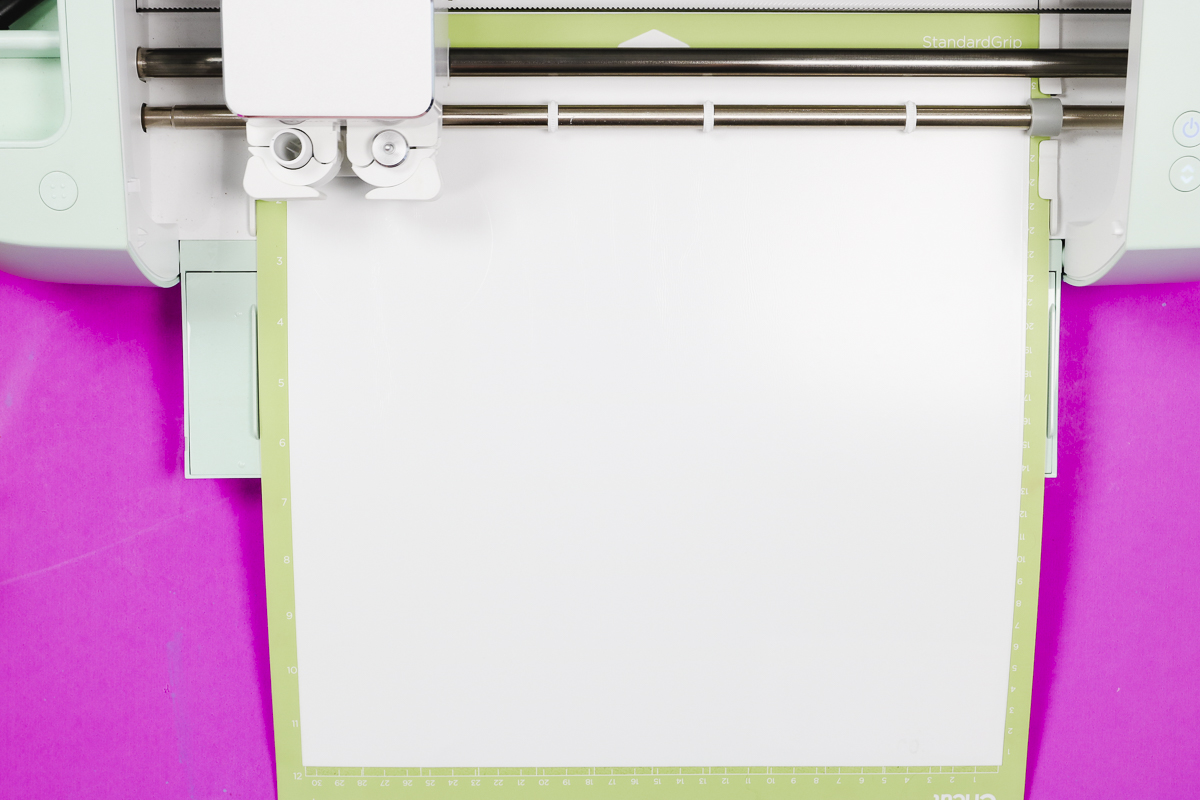
When the machine is done, remove the mat from the machine and repeat the process for each color material.
Step 4. Weed Siser Brick HTV
To remove the material from the mat, flip the mat over and gently roll the mat away from the material.
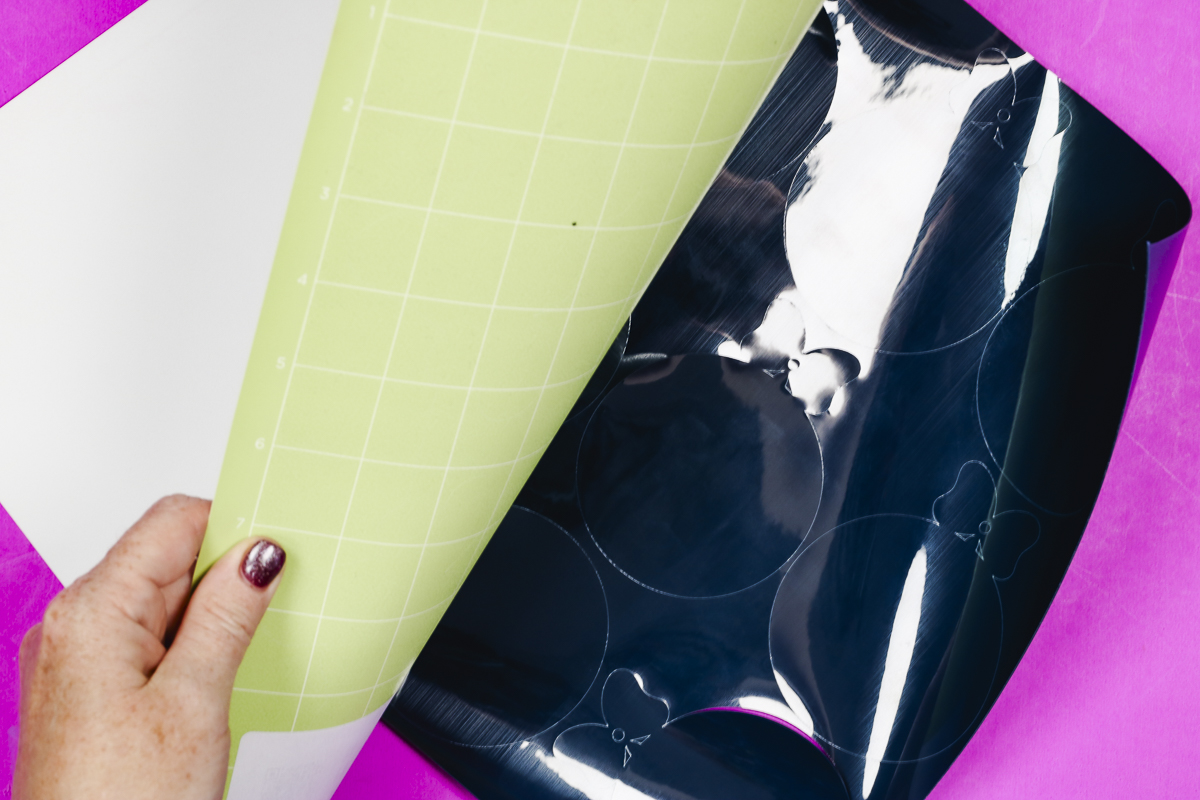
To weed the excess material away use a weeding hook to grip the corner and peel the excess material back.
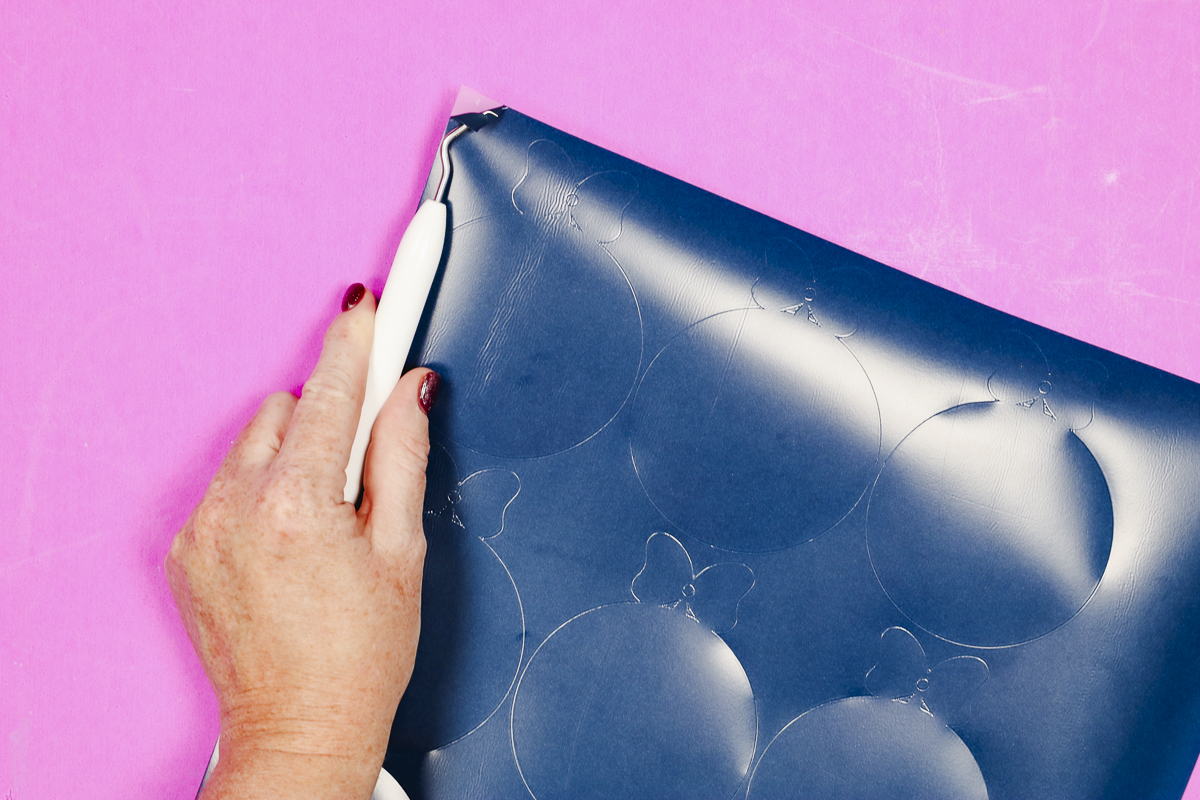
Weed away everything that is not part of the design including centers of letters or pieces being cut from the inside of the design.
Repeat the process for each color of HTV.
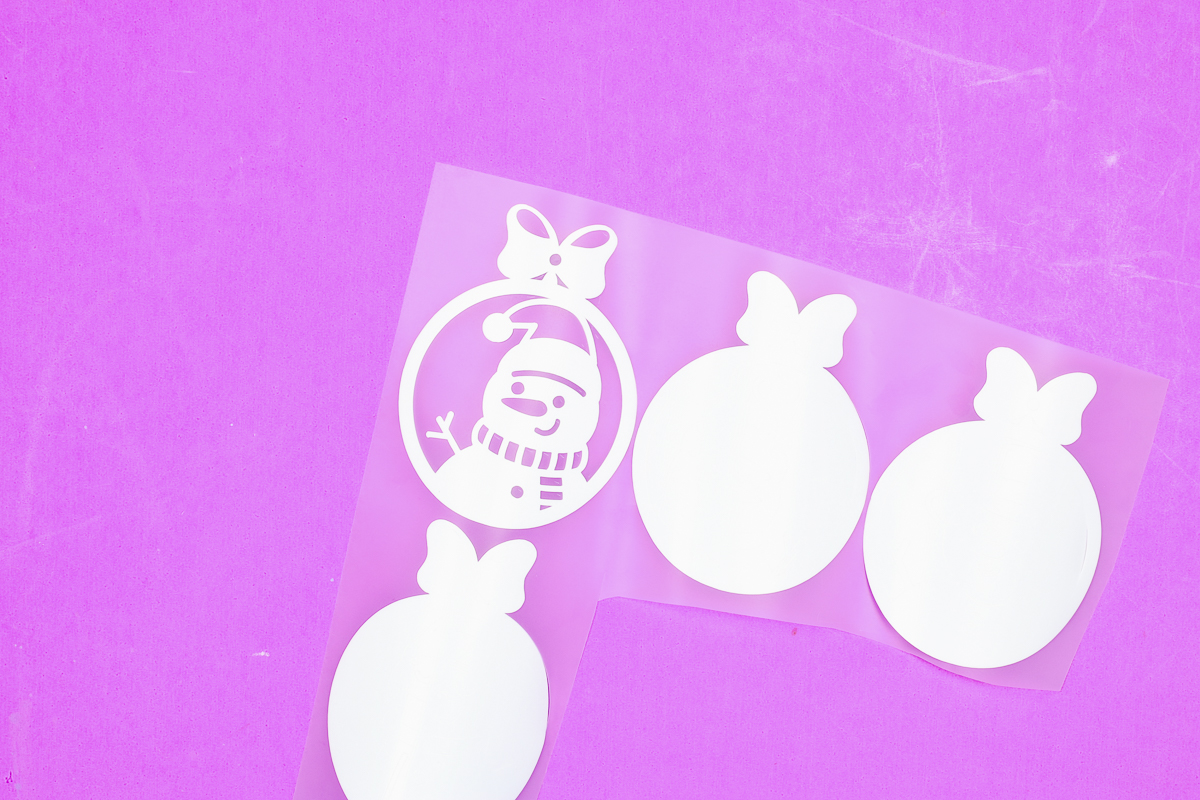
I cut out some intricate small pieces for this design and even those cut out beautifully from the Siser Brick. You can see that the snowflakes look really good and all of the stars, even the outlined stars, look great.
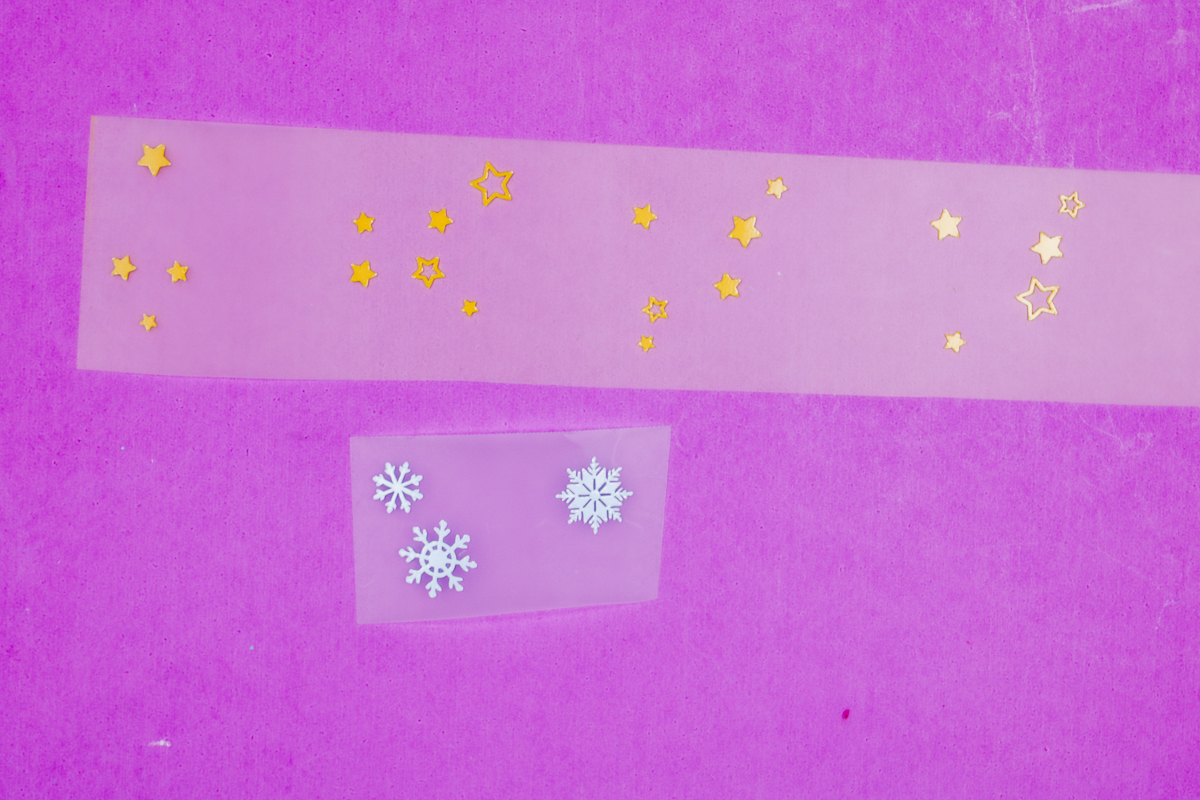
Step 5. Press Base Layers Together
I find it easiest to cut and weed all of the pieces and lay them out in the order I need to layer them.
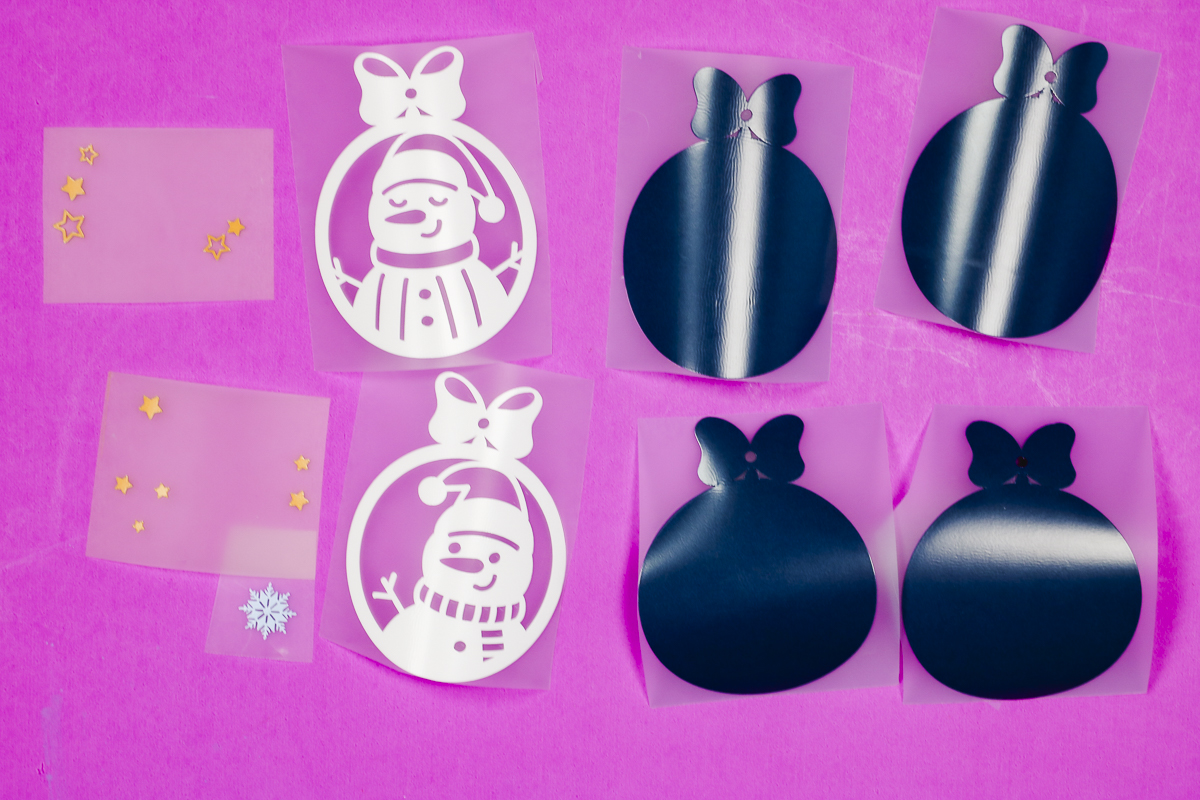
The first two layers are important, they are going to be layered adhesive sides together so it’s important that these are exactly the same.

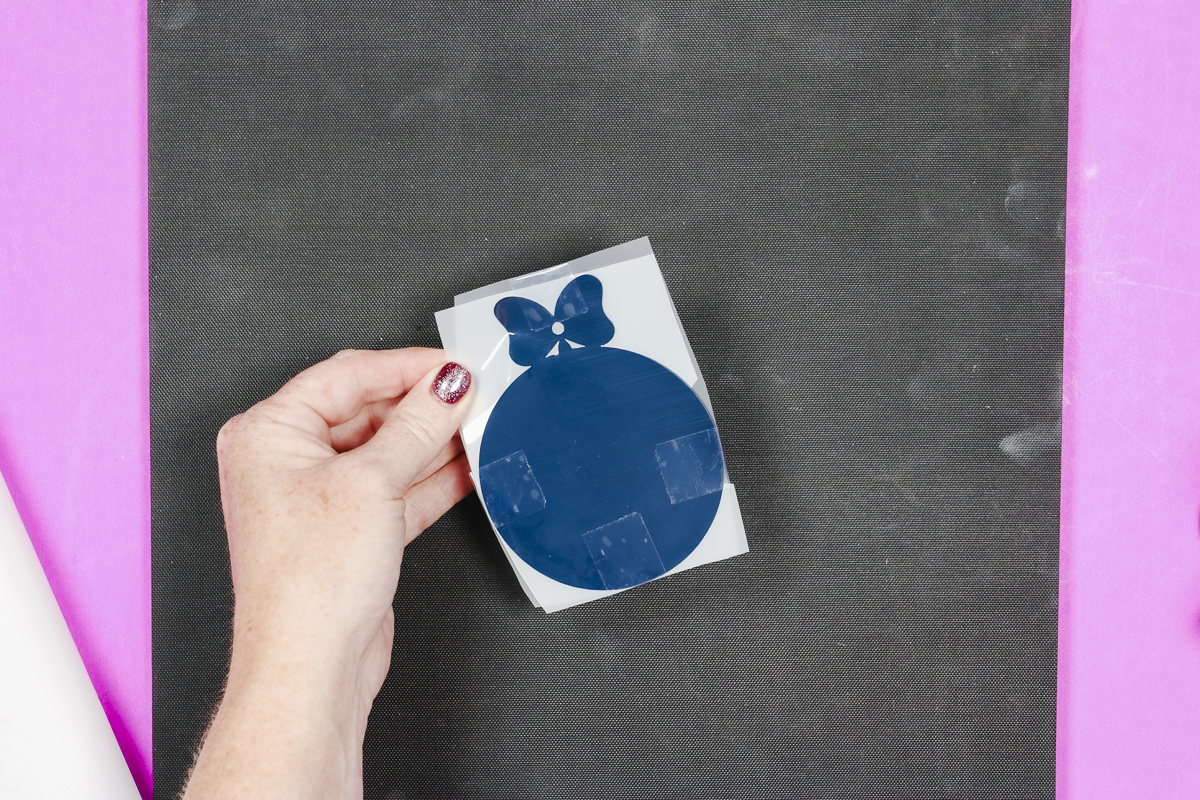
Before pressing I trimmed the carrier sheet on three sides very close to the design so I could line these two pieces up exactly.
Using heat-resistant tape I secured the pieces together on three sides. Take your time with this step, and make sure everything is lined up correctly. This is the base of your ornament and you want all the other pieces to fit correctly.
Siser Brick HTV has a pressing time of 310 degrees for 20 seconds. I am using an EasyPress and a Teflon sheet to protect the heat plate from any adhesive that may be exposed.
Place the HTV on top of a heat-resistant mat and cover with the Teflon sheet.
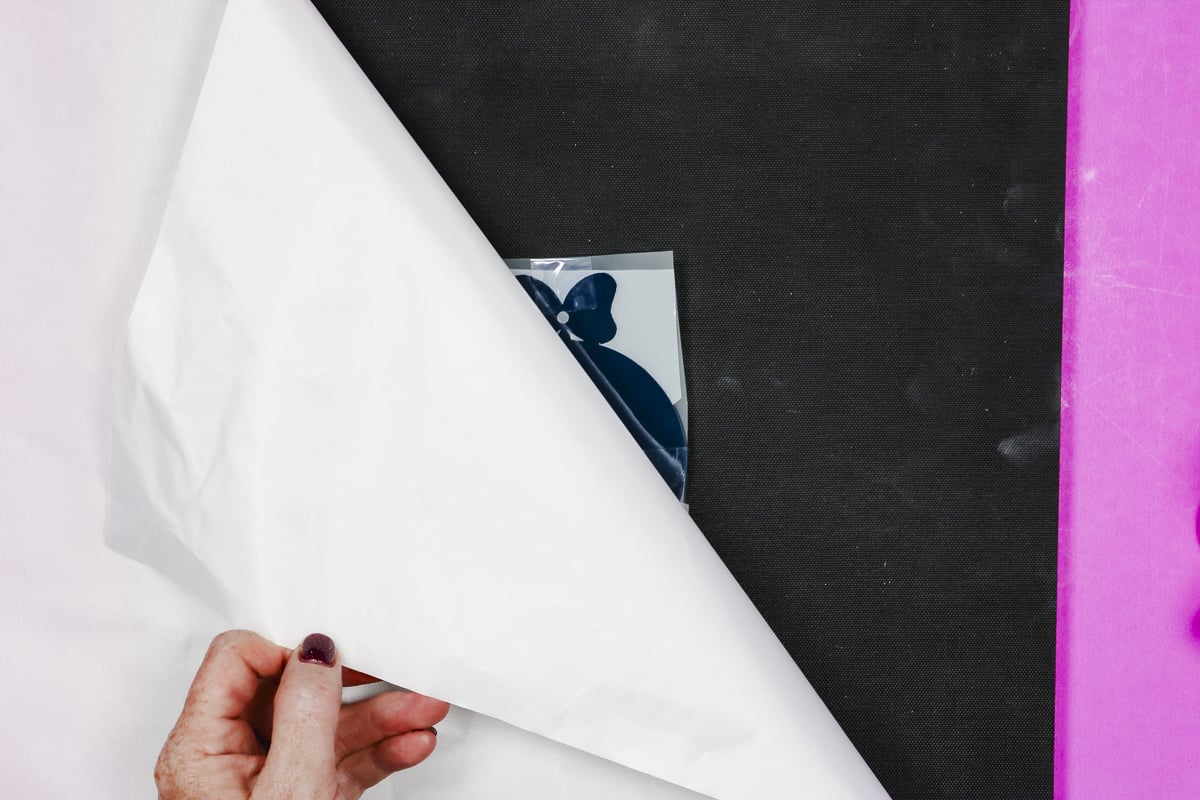
Because there are several layers to this ornament I am going to press this first layer for about 15 seconds.
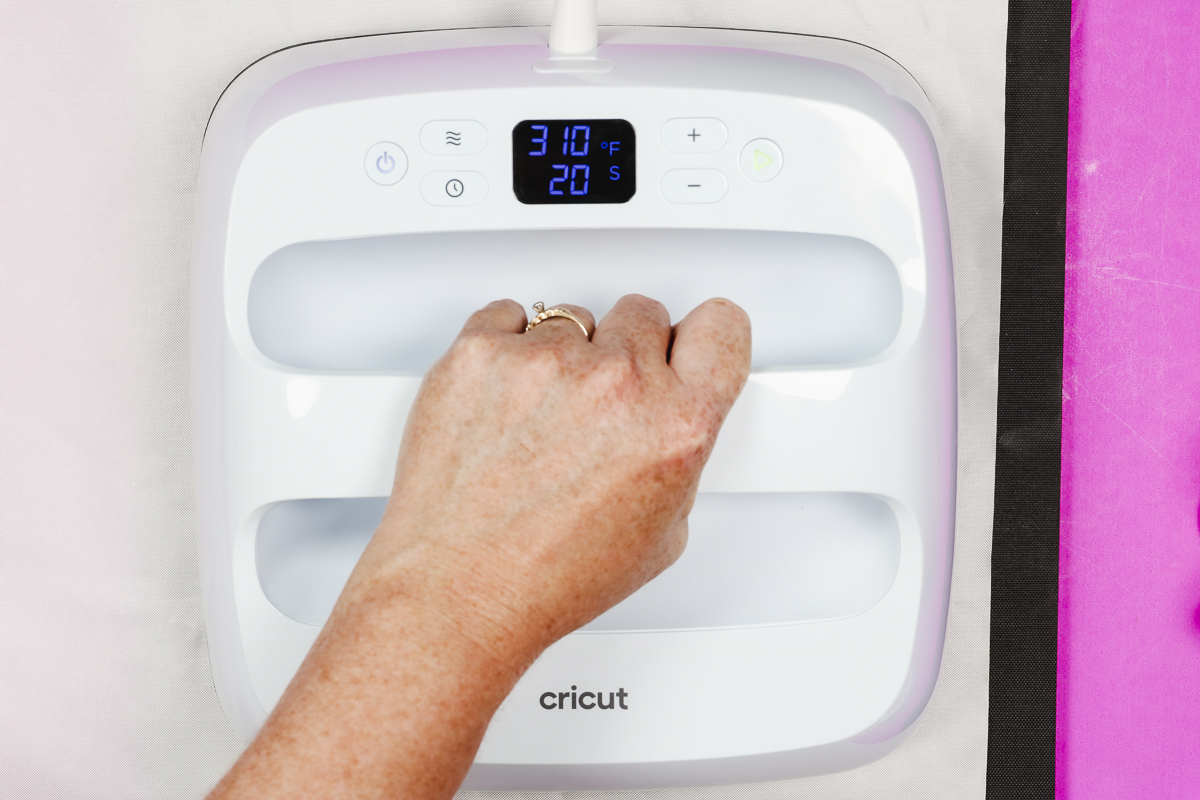
Brick HTV is a cold-peel material. Allow the HTV to cool, you can use a DTF cooling block to help speed up the process. Whichever way you cool the material, keep it as flat as possible.
If you don’t have a DTF cooling block, allow the material to cool under something heavy like a book.
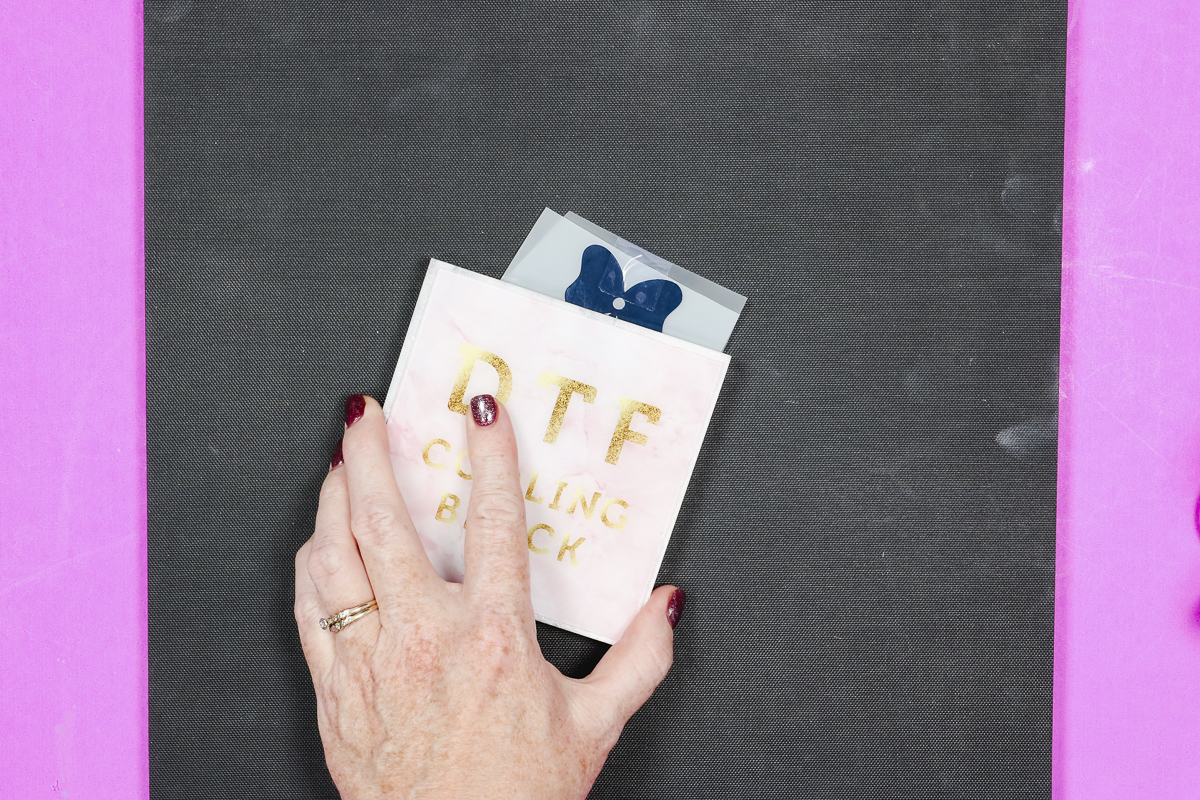
When the material is completely cool, peel the carrier sheet away from both sides.
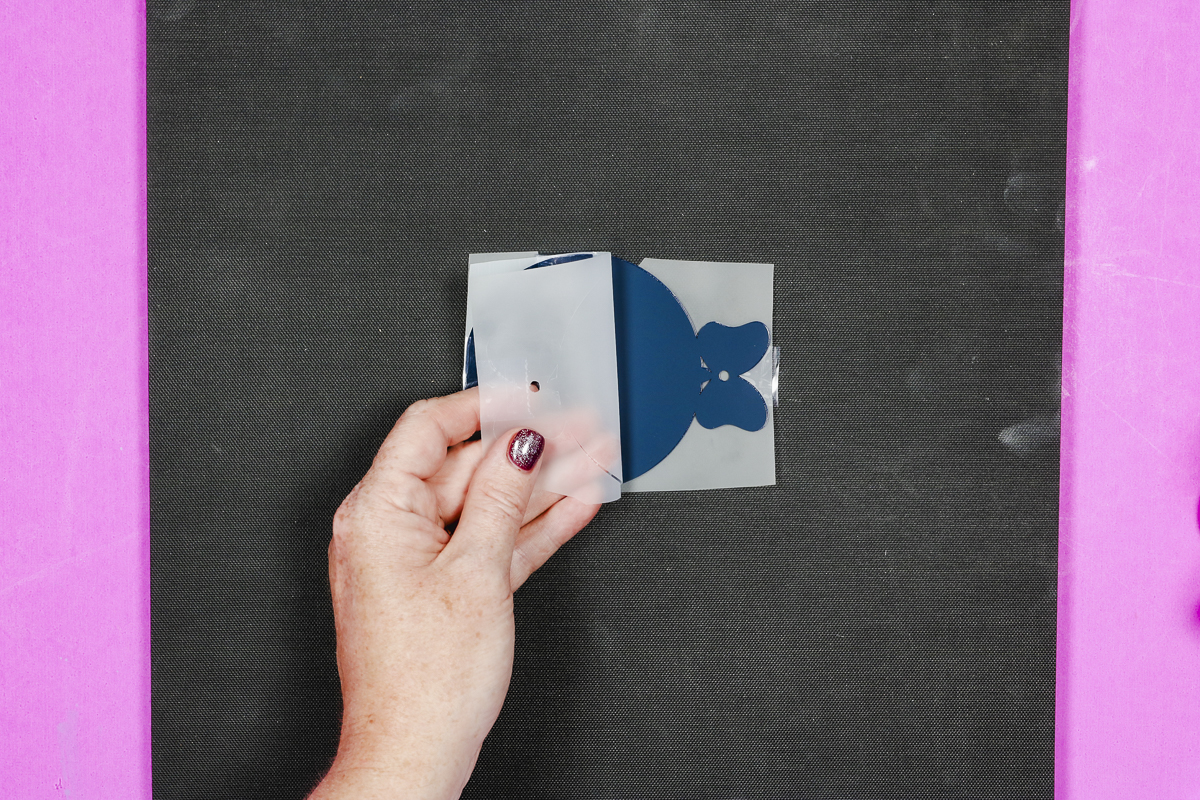
The Brick material is thick but it will still be flexible. Peel the carrier sheet from one side and then flip it over and peel the carrier sheet from the other side.
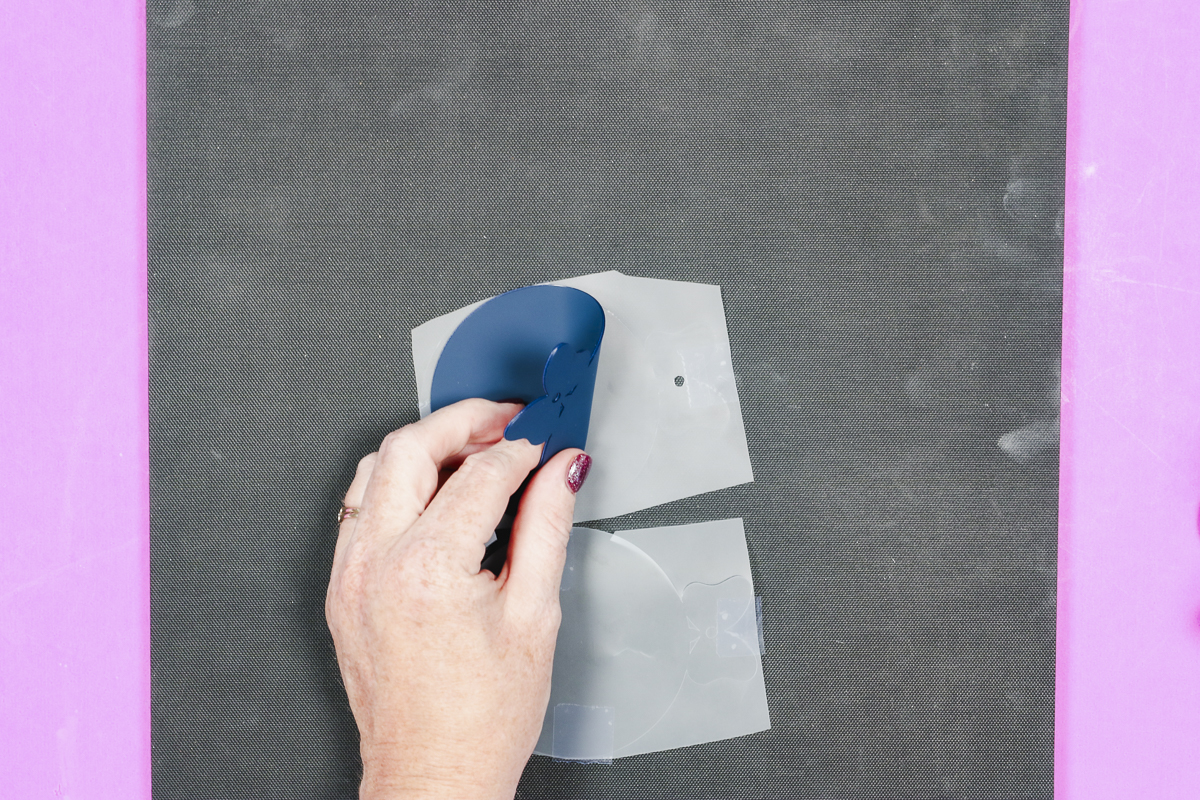
With the front and back pieces pressed together, we’re ready to start adding the design layers.
Step 6. Add Additional HTV Layers
The next layer for my design is the white frame and snowman. Again, take your time lining the white layer up with the base layer.
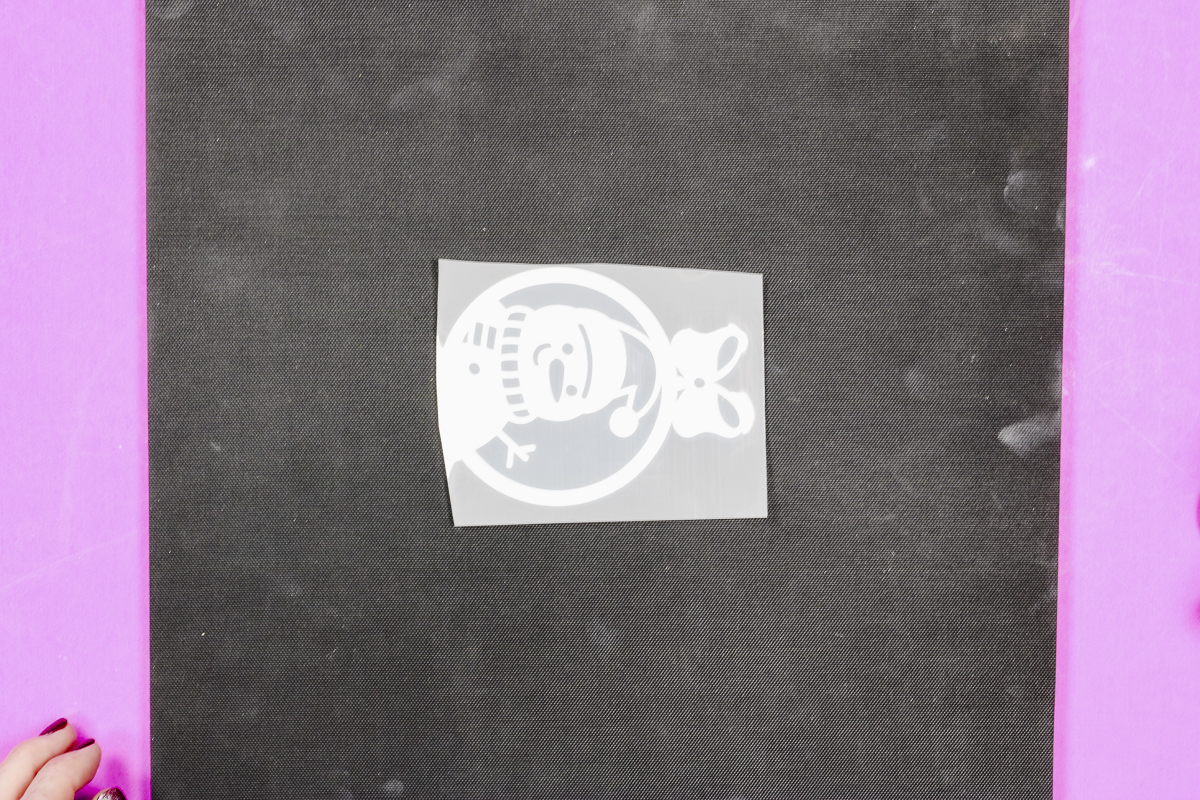
I am not using heat-resistant tape for this layer. Because there is no carrier sheet on the back using heat-resistant tape may leave an indention in the HTV.
Make sure the material is covered with a carrier sheet or a Teflon sheet to protect the HTV from the heat.
Because I will press the project multiple times, I am pressing for 15 seconds. Allow it to cool completely before removing the carrier sheet.
When peeling back the carrier sheet if anything isn’t stuck down, replace the carrier sheet and press again.
For the snowflake and the stars, I’m going to press both layers at the same time.
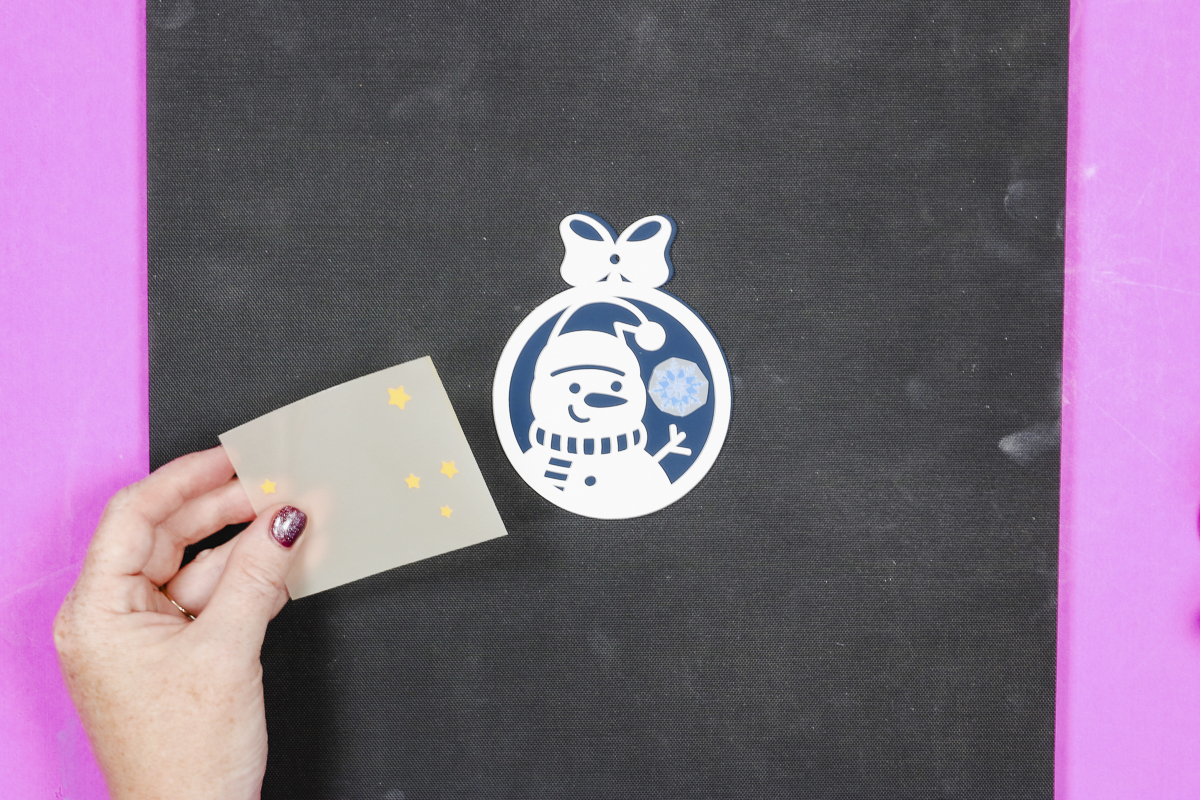
Place the snowflake down first and trim the carrier sheet close so it doesn’t come between the stars and the base layer.
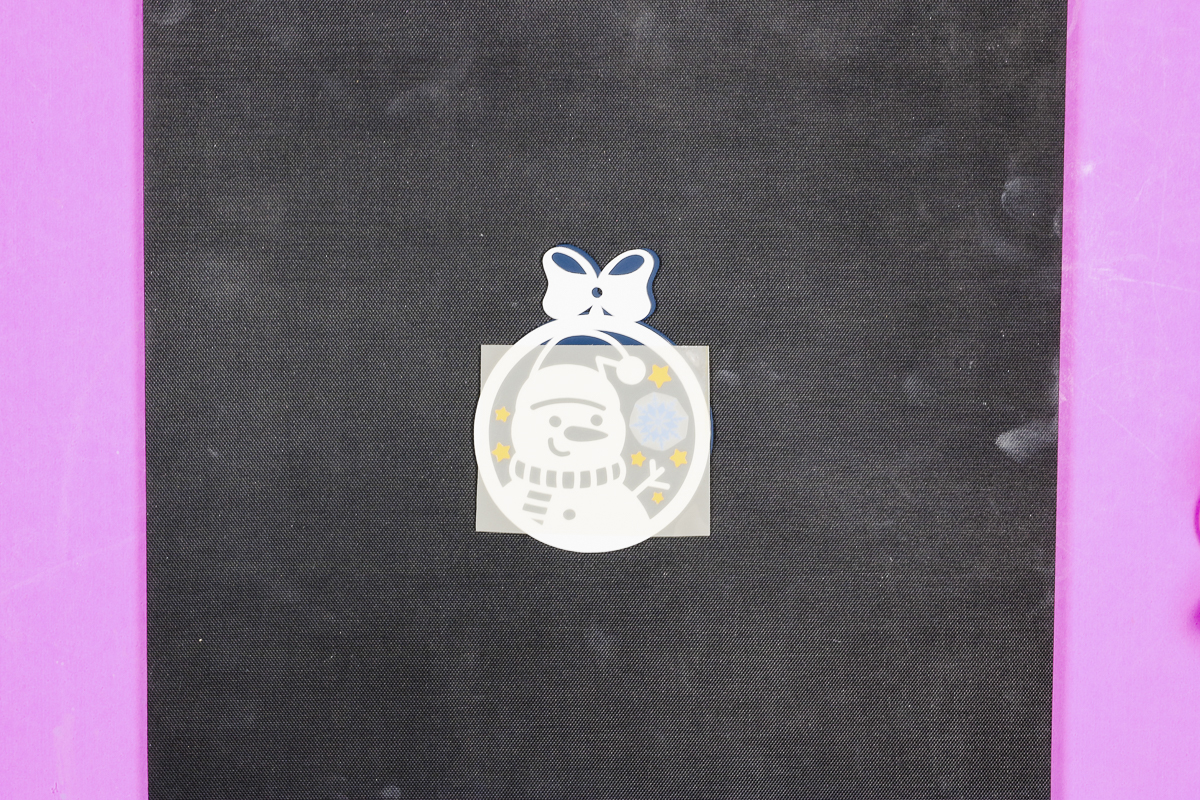
Because the top of the ornament is not covered by the carrier sheet I am covering the whole design with the Teflon sheet before pressing.
For this final layer, I am going to press for the full 20 seconds. When the time is up, remove the Teflon sheet and then allow the HTV to cool completely and keep it flat.
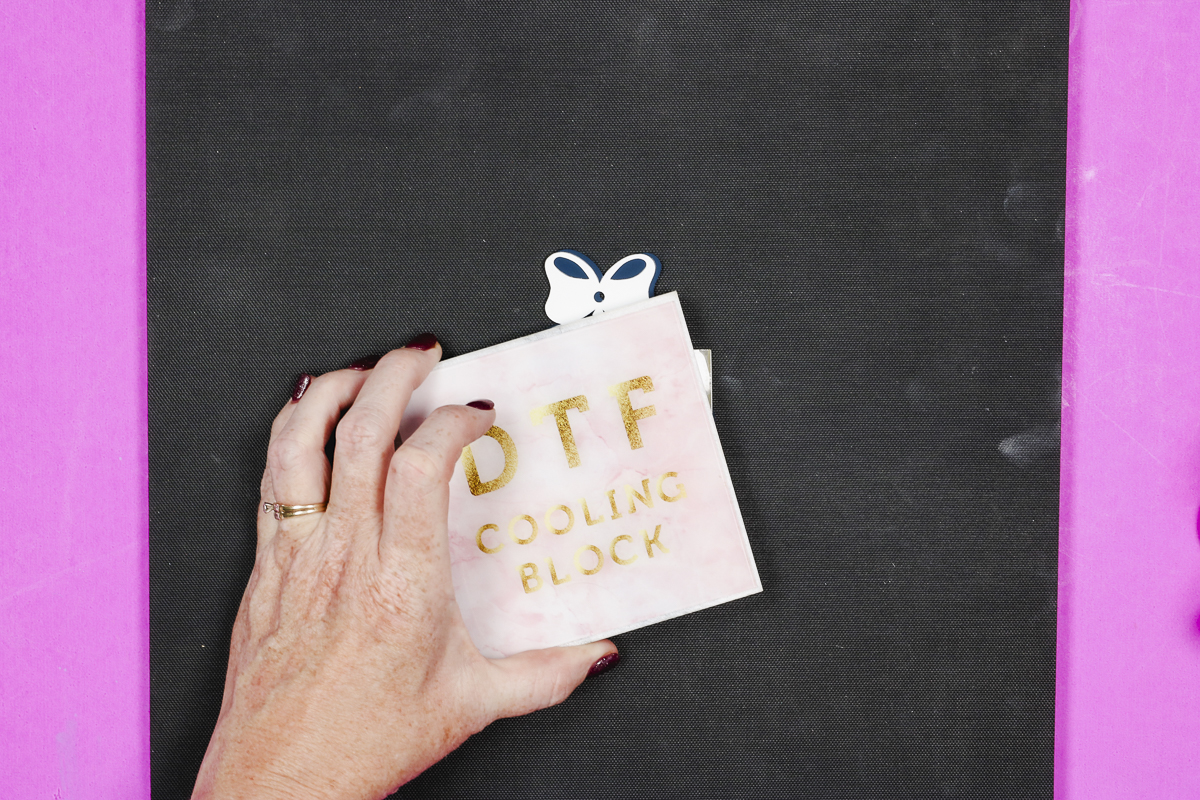
When it’s completely cool, remove the carrier sheet. If anything is not stuck down, cover it with the Teflon sheet and press again.
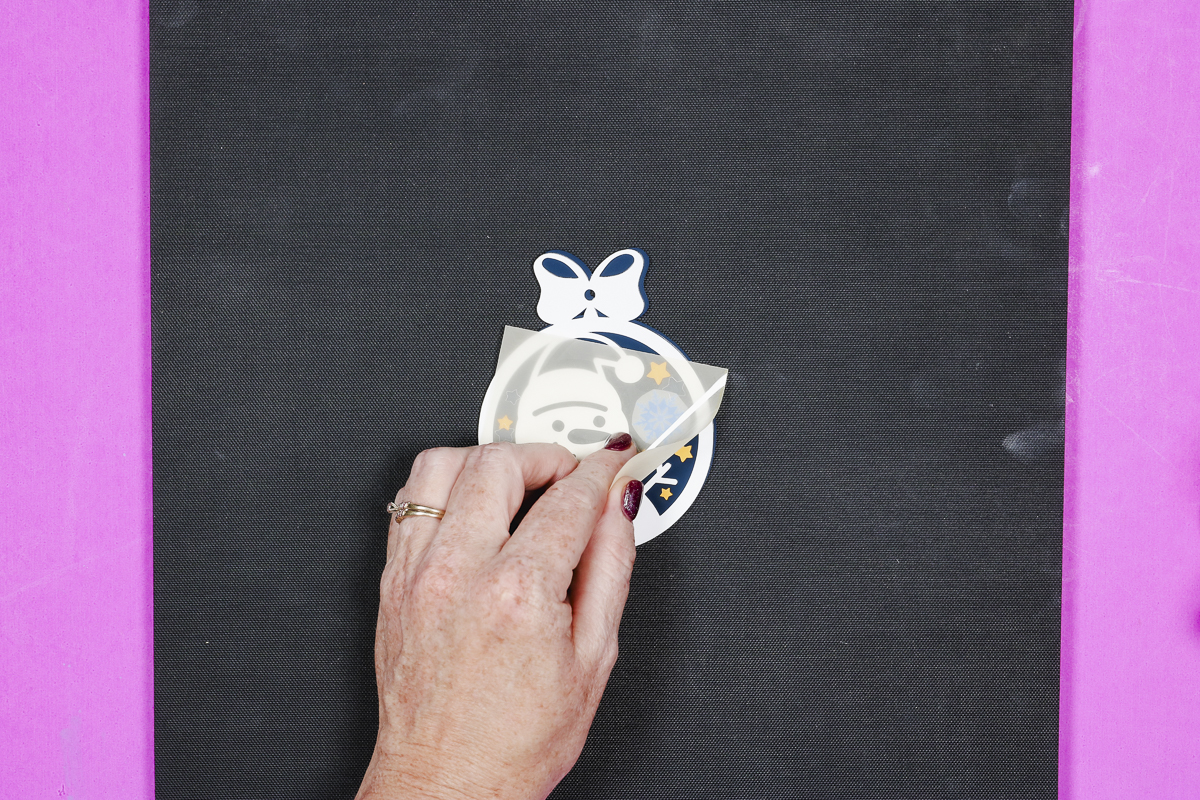
Remove the carrier sheet and we’re ready to look at the results.
Step 7. Finish Your Layered Ornaments
I made a few of these layered ornaments and I wanted to show you the difference from the first ornament to the last so you don’t get discouraged.
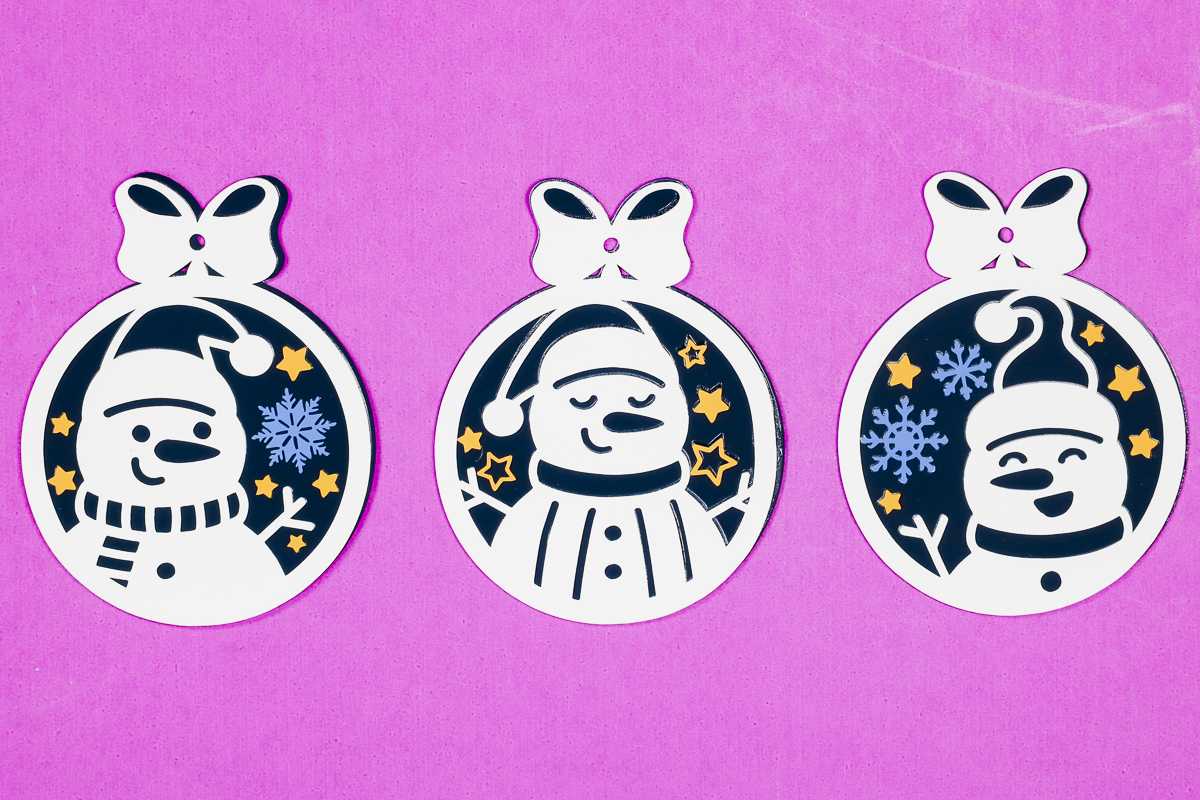
The left ornament was the first ornament I made and you can see I didn’t have things lined up exactly along the edges.
On the middle ornament, the HTV wasn’t completely cool when I peeled back the carrier sheet and you can see that the white lifted and stretched a little so it isn’t lined up perfectly either.
The ornament on the right is my last ornament and it turned out perfectly. Everything lines up correctly and the HTV was completely cool when I removed the carrier sheet so it looks great.
Don’t get discouraged if your first project doesn’t turn out the first time. As I did more I got better at all the steps.
These layered ornaments are flexible. They are not floppy but you can bend them. If you want yours to be more firm you could cut more of the base layer out of Siser Brick and add them to the ornament in the same way.
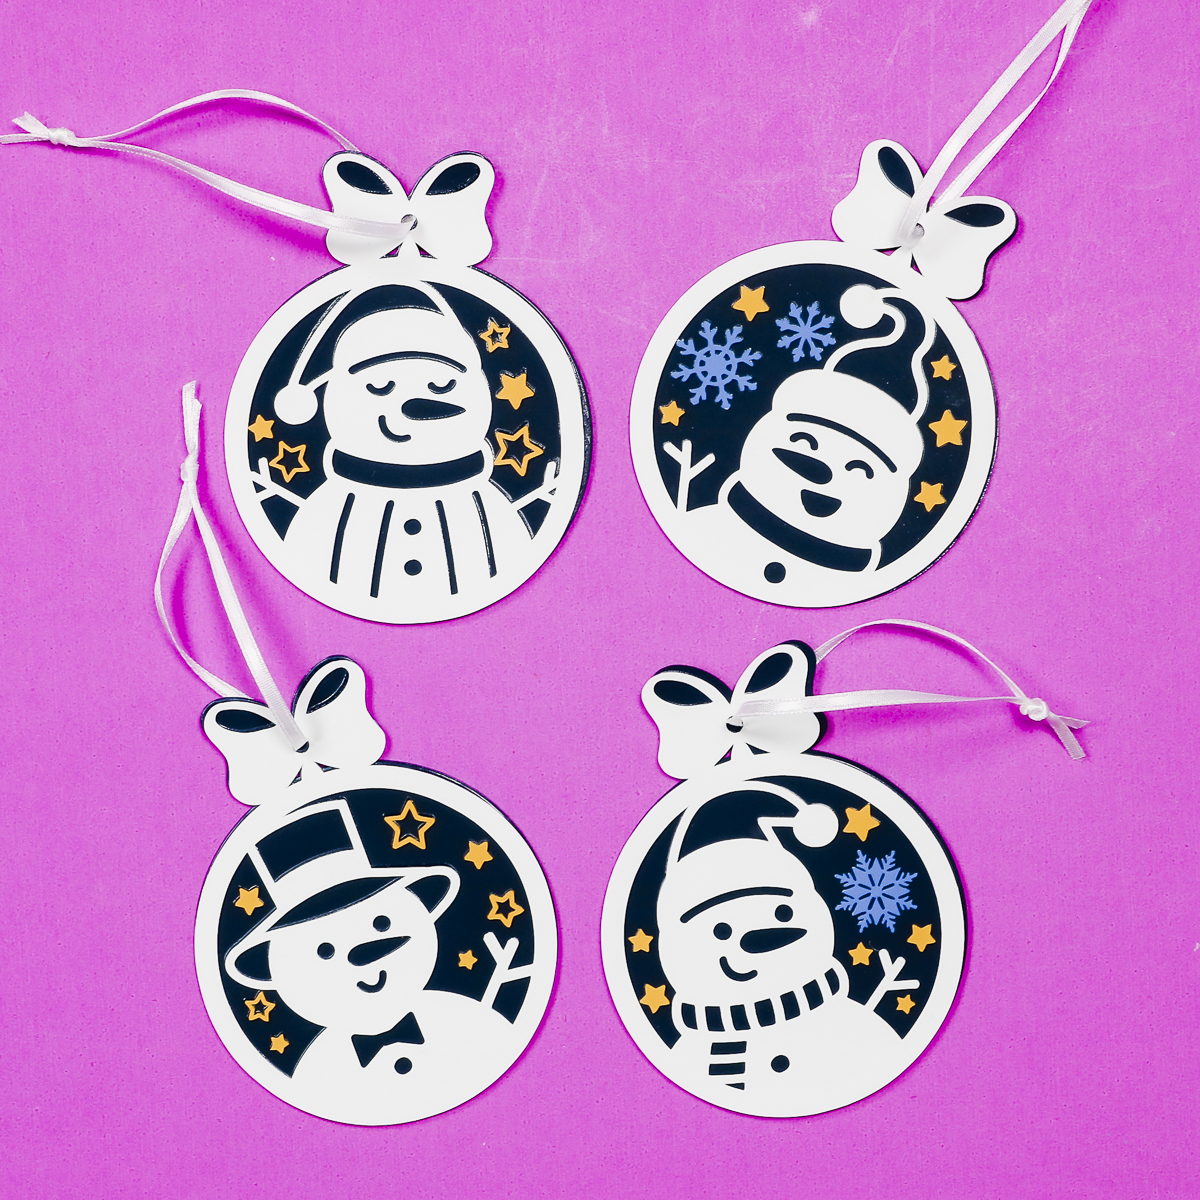
To finish the ornaments add something to the hole to hang them on your tree and they’re ready for the holidays.
More Brick HTV Ideas
I love how these ornaments turned out. They were so fun to make. The thickness of the Siser Brick worked perfectly for this project.
You could use this same method to create other layered projects. It could work well for a cake topper, bag tags, or other party decor like photo booth props.
I would not attempt to make these projects using only regular HTV. Siser Brick is very thick and sturdy, it will not rip apart, especially when layered. You will not get the same results with regular HTV unless you do many layers.
Next time you make a layered project you want to last, consider if you could use Brick HTV to help increase the durability.
I hope I’ve answered any questions you have about making layered ornaments with Siser Brick HTV. If you have any other questions leave them in the comments and I’ll be happy to answer them for you.
