Layering vinyl can be difficult! How do you get it aligned and straight? How do you not mess up those large projects? Well, I have tips and tricks for several layers as well as BIG projects that you are going to love. Plus I have a special treat just for you. Cricut is sponsoring this video and allowing me to makeover a teacher room and give a teacher a BIG Cricut prize pack. This was an amazing project to work on and I loved being able to give back to my community!
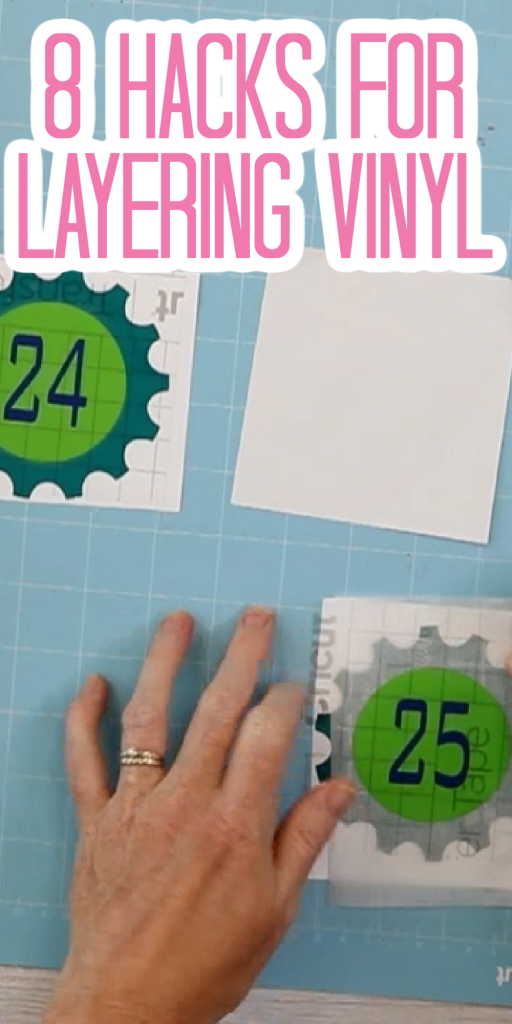
Layering Vinyl
I am making several layered vinyl projects in the video below with my Cricut machine. You can just click play to see my layering hacks as well as the reveal of the prize to the teacher!
Can’t watch the video or missed some of the steps? You can also follow along below!
Supplies Needed:
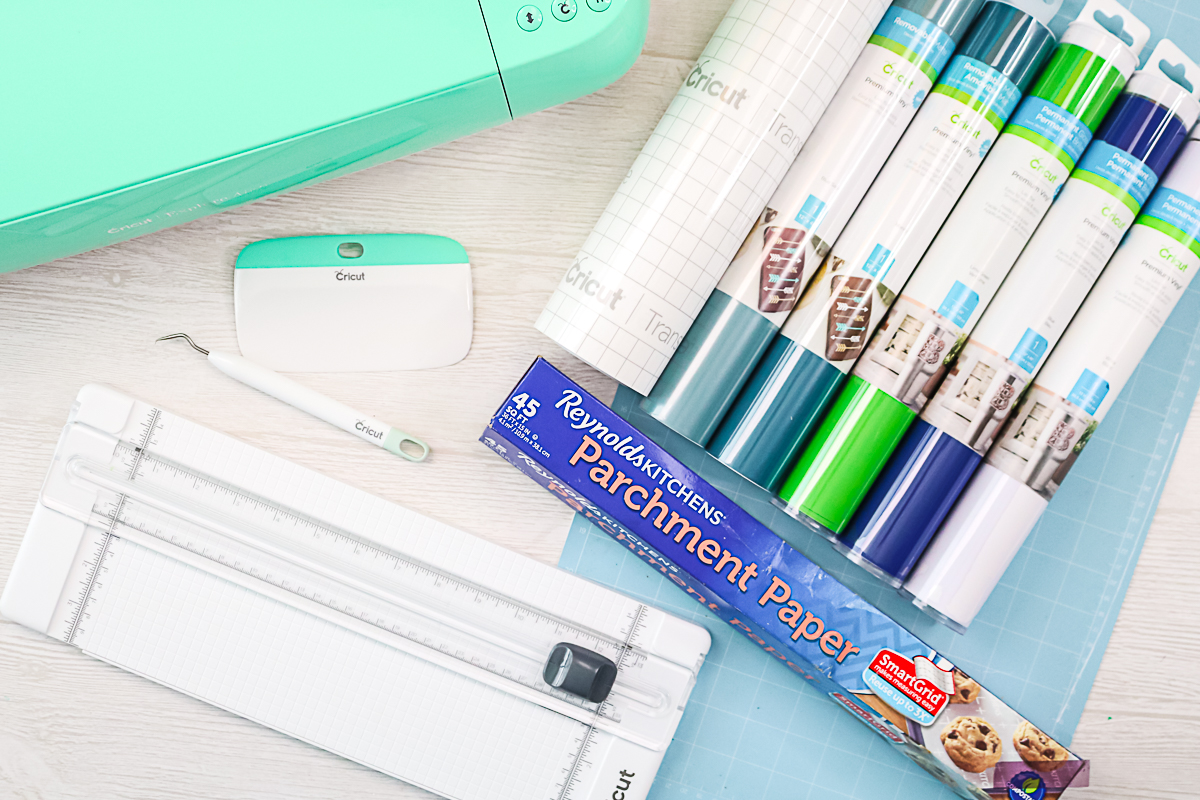
- Cricut machine (any will work for these projects)
- Vinyl (permanent or removable)
- Transfer tape
- Weeding tools
- Scraper
- Parchment paper
- Paper trimmer
- Light grip mat (I am going to use a 12×24 mat as some of my projects are large.)
Removable or Permanent Vinyl?
We’re going to use a variety of vinyl. These projects are going to be large. I’m going to use removable for some and permanent for some. Here are some guidelines for picking the type to use on your project:
- Removable is for things that need to be removed later (signs on the walls, on the doors, etc.)
- Permanent is for things that will get used every day (bins, laptops, etc.)
Vinyl Layering Hacks
First, you will want to cut and weed all of your vinyl components. I am making four projects for a classroom but these same ideas will apply to any Cricut vinyl crafts that you may be tackling. Be sure you have all of your pieces ready to go then continue for my hacks that will make layering vinyl so much easier.
Hack #1: Using the Mat
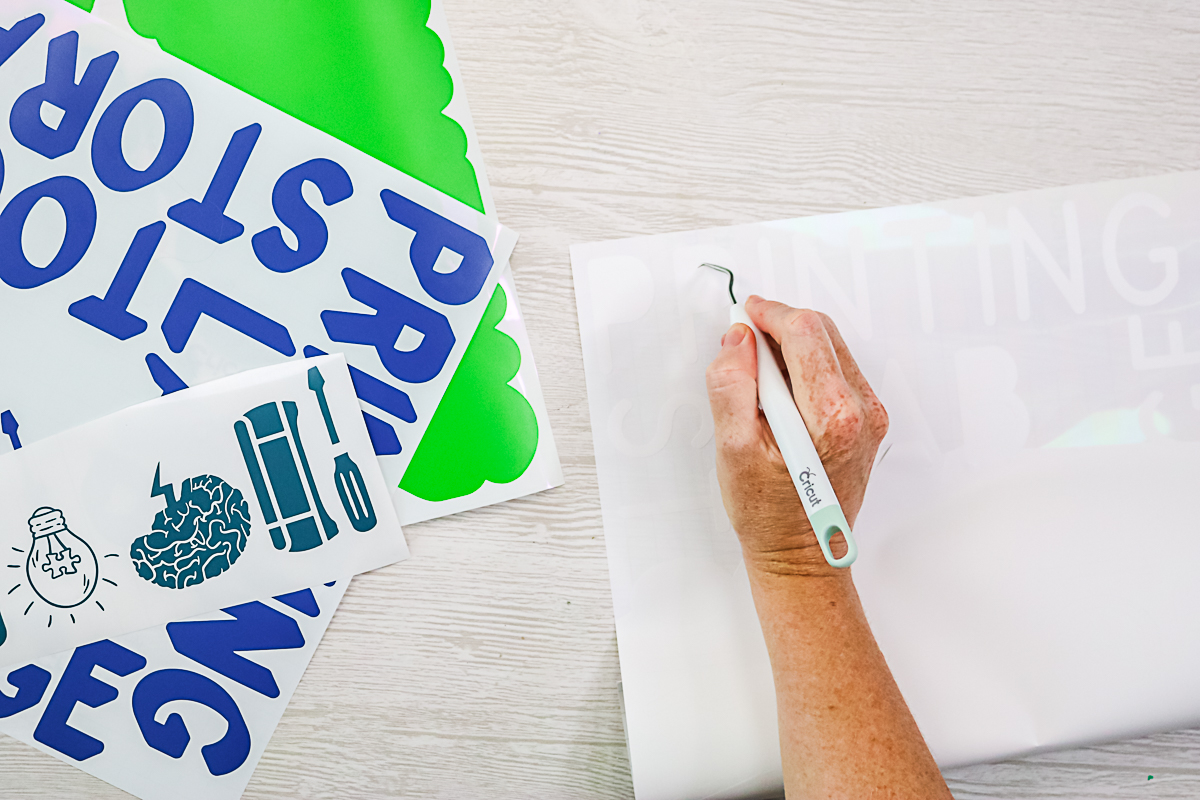
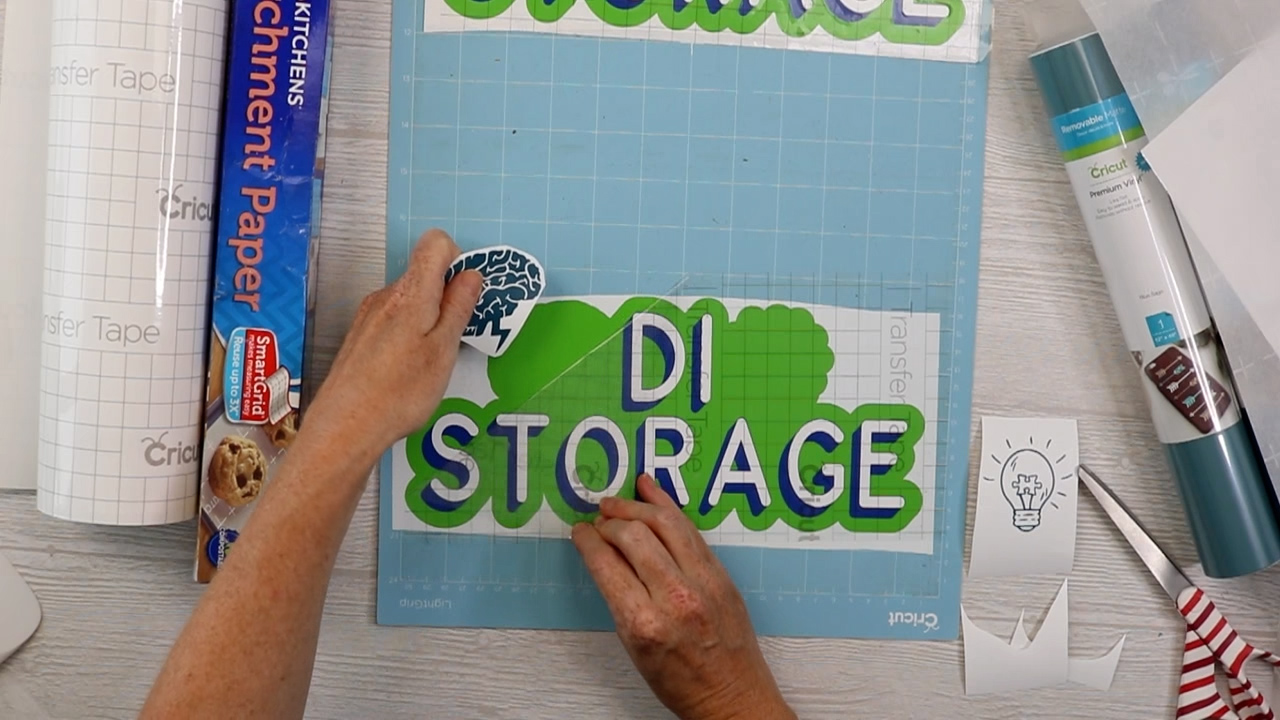
I like to use my mat when layering because it’s sticky and it has lines on it. I can line the vinyl up with the lines running vertically and horizontally on my mat. Here I have all of the pieces stuck to my mat that will go with this project in order so they are ready to layer. The mat also helps to hold them in place and flat as you put your layers together.
Hack #2: Trimming the Carrier Sheet
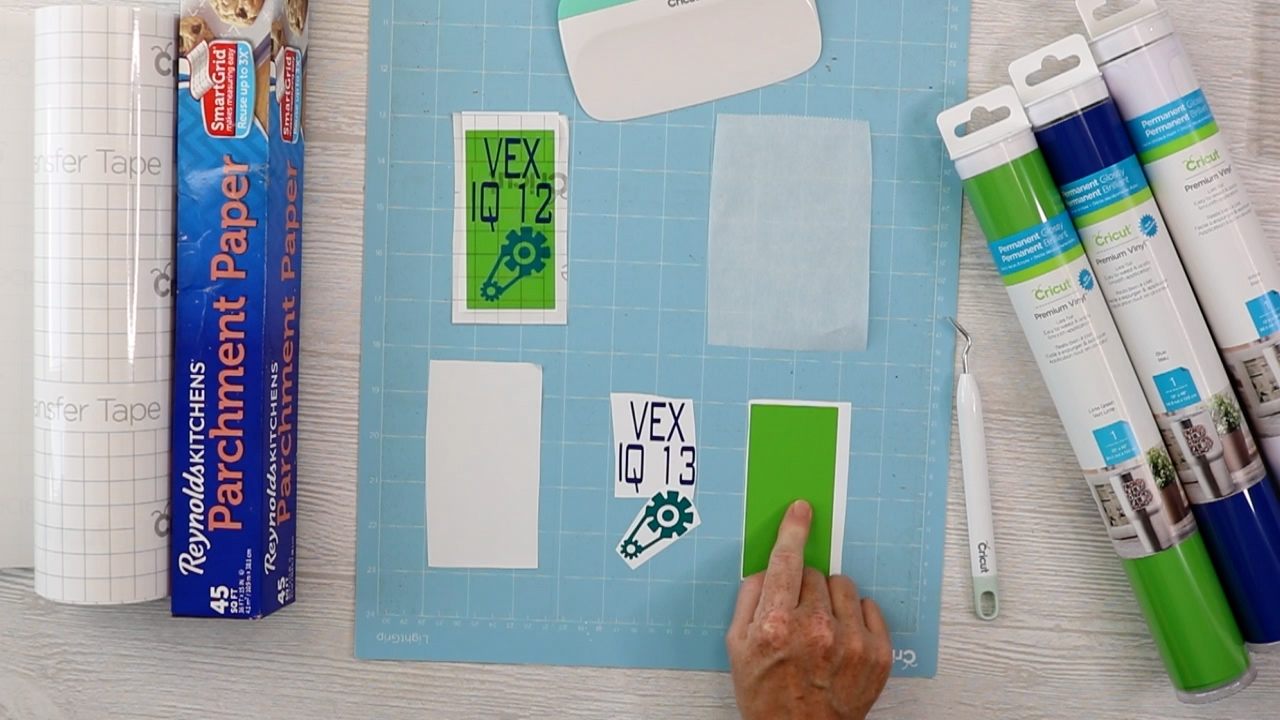
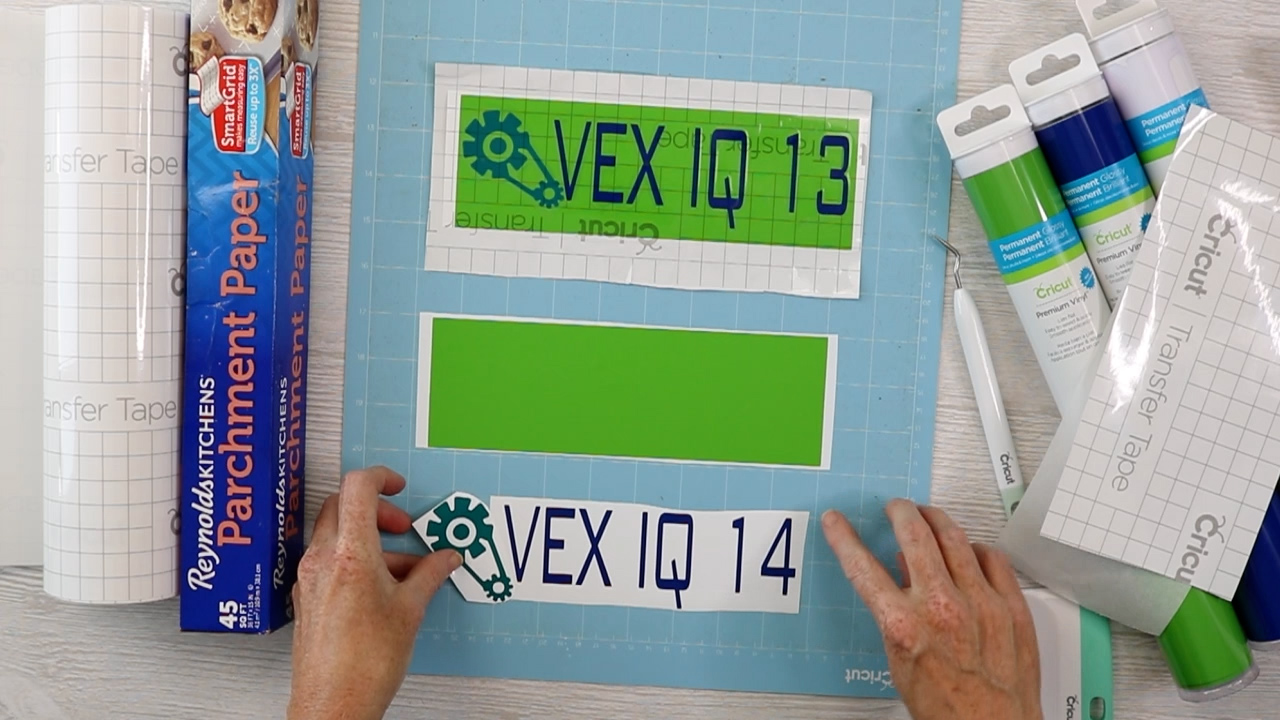
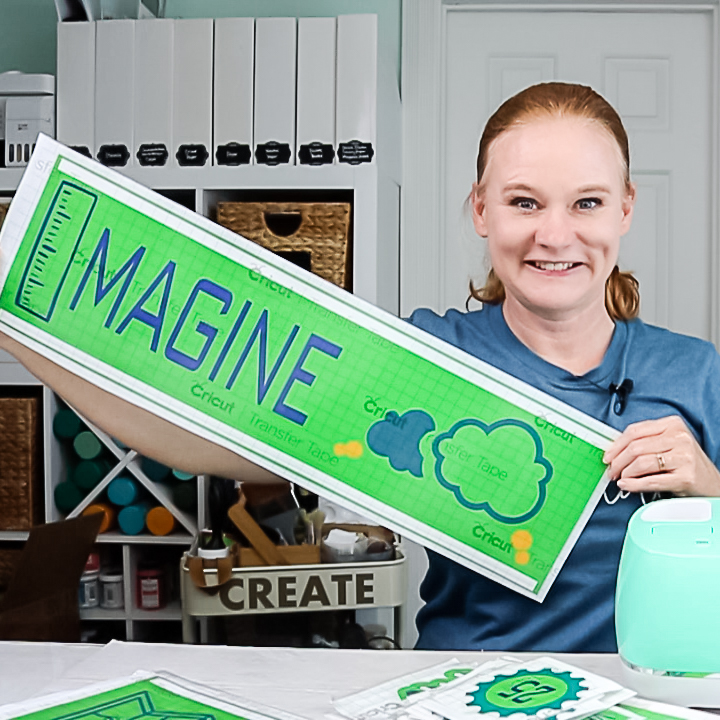
When layering using this method, you can pick up more than one color of vinyl at a time. The trick is to trim the carrier sheets close so you can put two colors on the mat together. You can see an example of that in the image below.
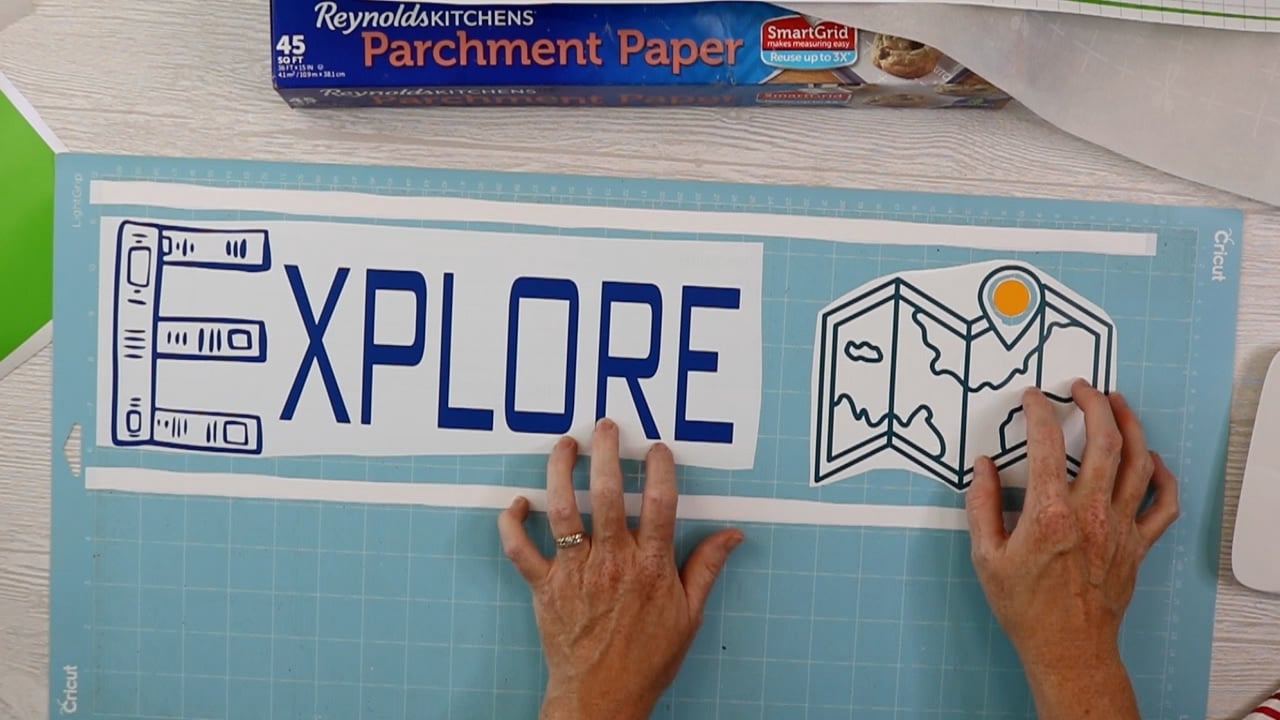
You can even trim the carrier sheet in the center of a design to lay another color right inside. This allows you to place multiple colors all at once while using the stickiness from the mat to hold them in place.
Hack #3: Transfer Tape with Grid Lines
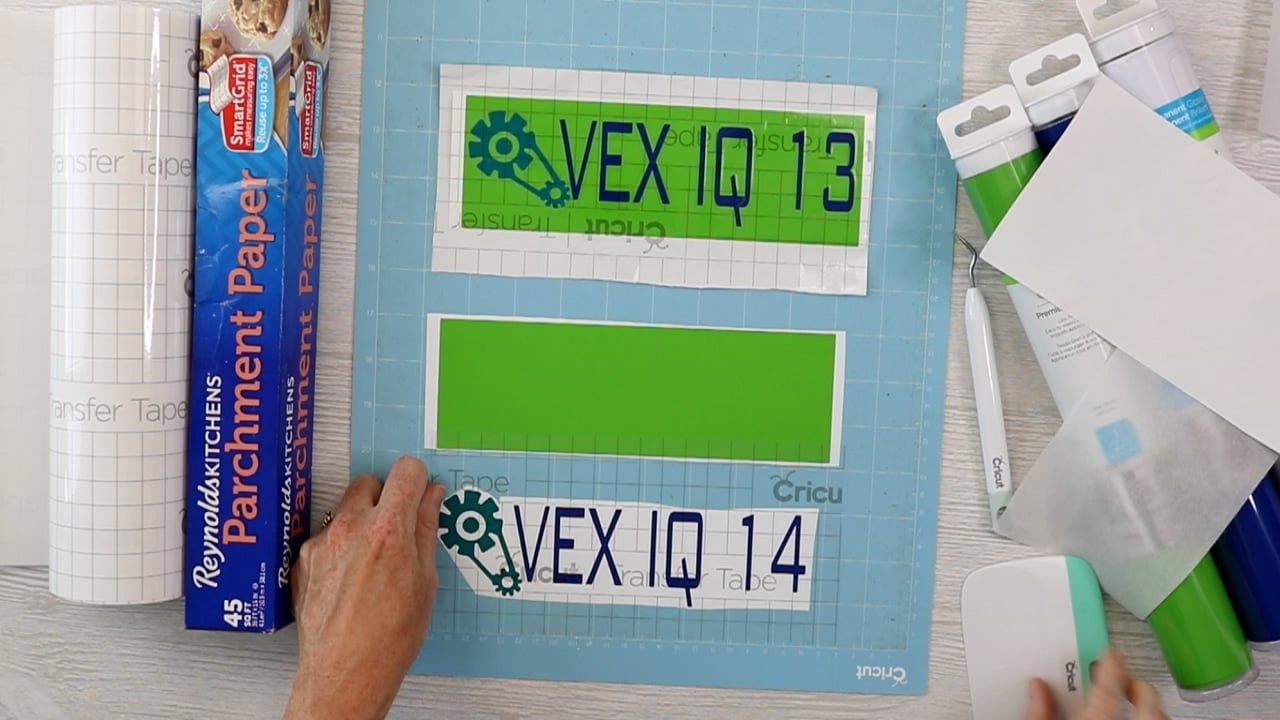
I find that using transfer tape that has the grid lines helps me when layering. Then I can make sure everything is straight as I add each layer. Here I am using Cricut transfer tape but you can find other brands with grid lines as well. Use those lines to get each layer straight as you add it.
Hack #4: Using Parchment Paper
Once you have your layers on your mat, you can pick up the first layer with the transfer tape. This will be the TOP layer of your design. NOTE: You can press the transfer tape down onto the adhesive of the mat. Then, pick it up from the corner and make sure it peels everything up. If something doesn’t peel up, just lay it back down, burnish a little bit more, and keep lifting. Then once you have that first layer, it is time to break out the parchment paper.
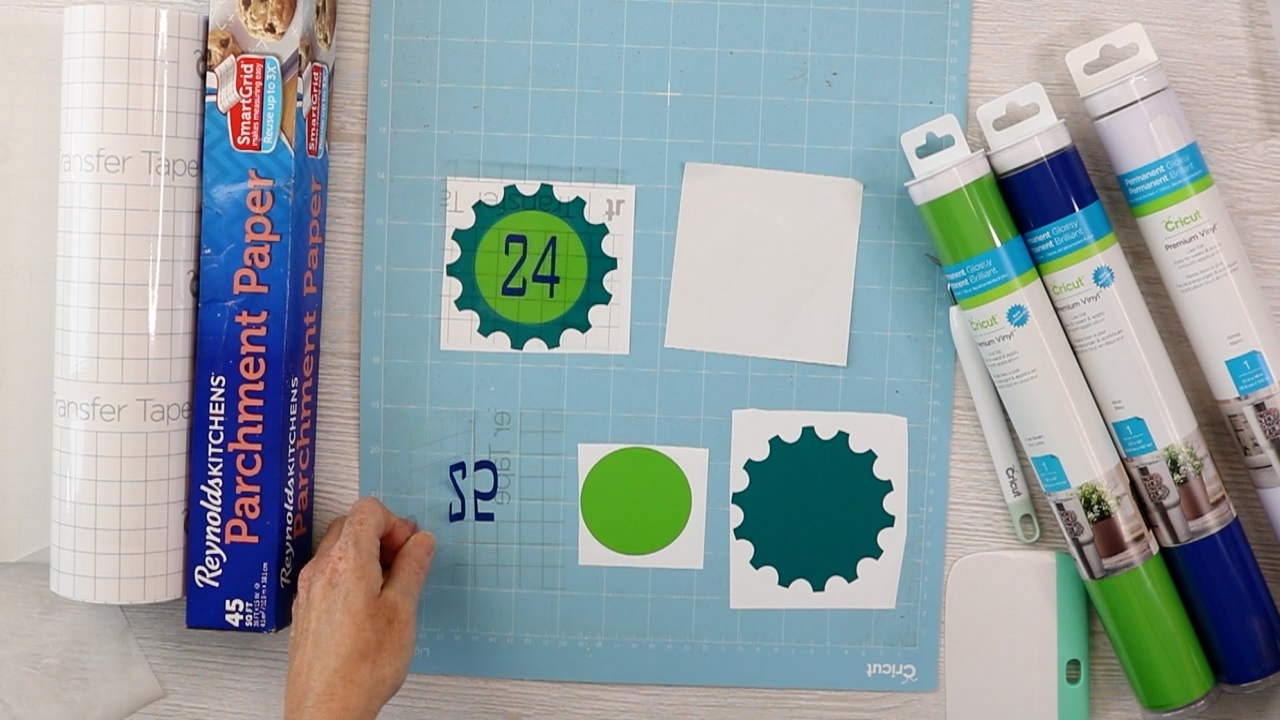
Put the parchment paper where there’s just a little bit of the second layer showing at the top or on the side.
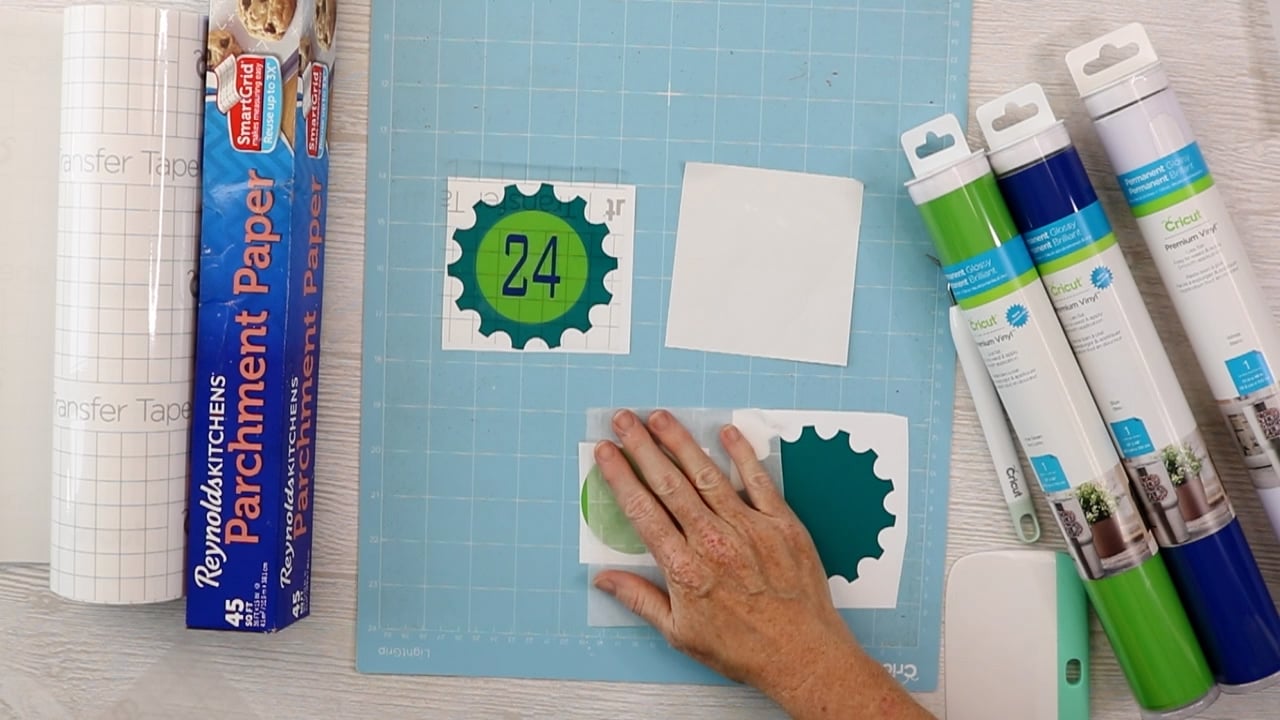
Then lay the first layer on the transfer tape over the top. This vinyl will not really stick to the parchment paper. It’ll just easily peel back off so you can move it around and locate it exactly where I want it on that second layer. Remember to use those gridlines to make sure everything is straight.
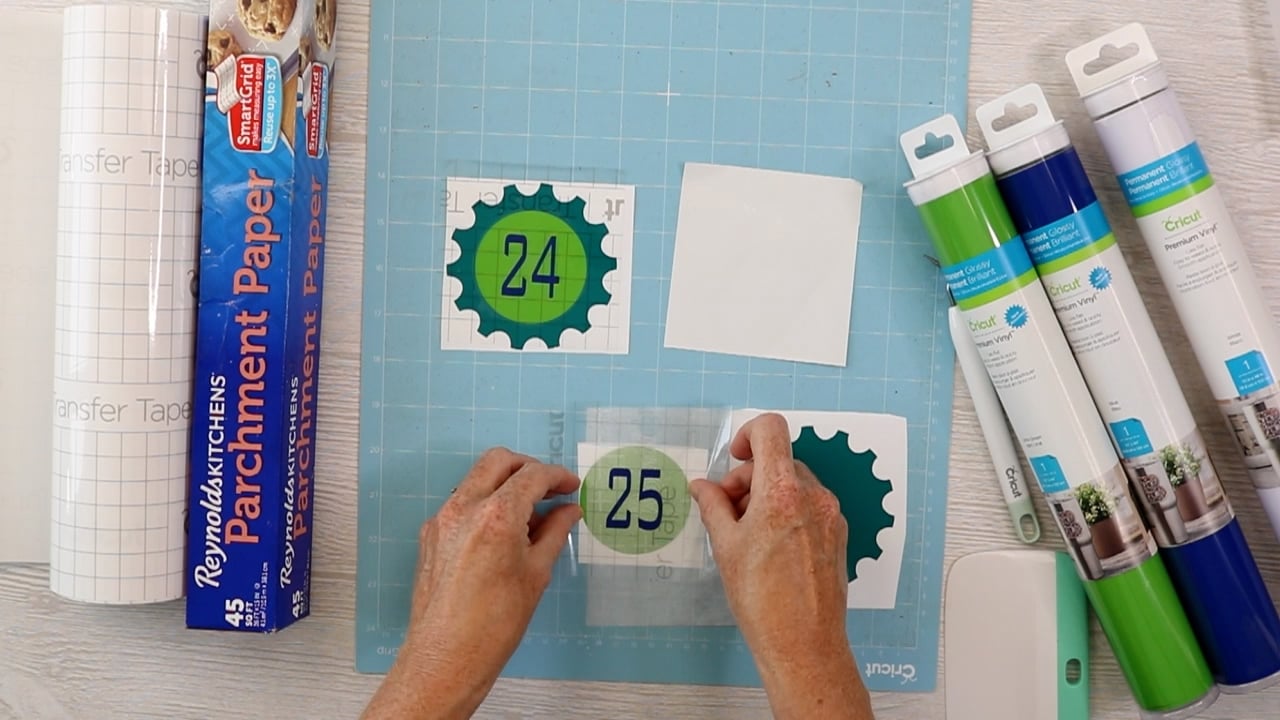
Once it is located correctly and is straight, push it down well where the second layer is exposed. Then start pulling the parchment paper out pressing the vinyl down as you go. This also really helps eliminate those bubbles when layering vinyl pieces as well.
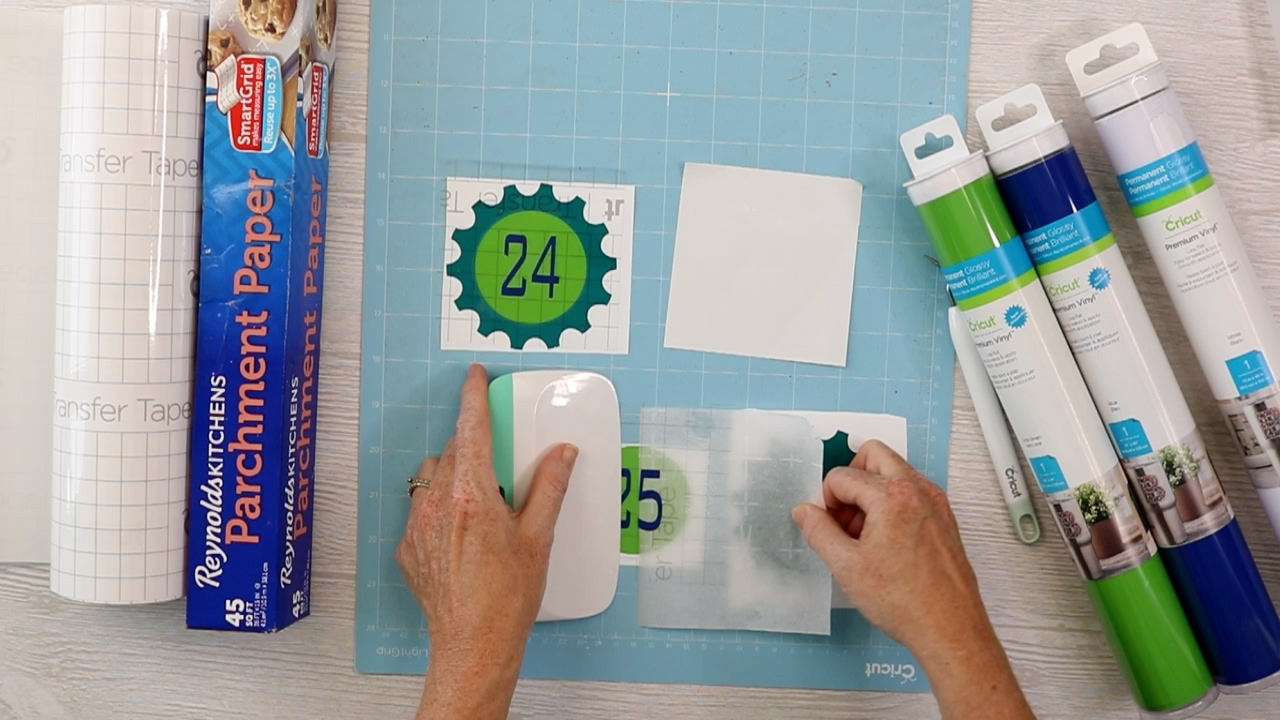
Once the layers are together, pick up the transfer tape with the vinyl layers to add to your project or even adding another color layer by repeating the steps above.
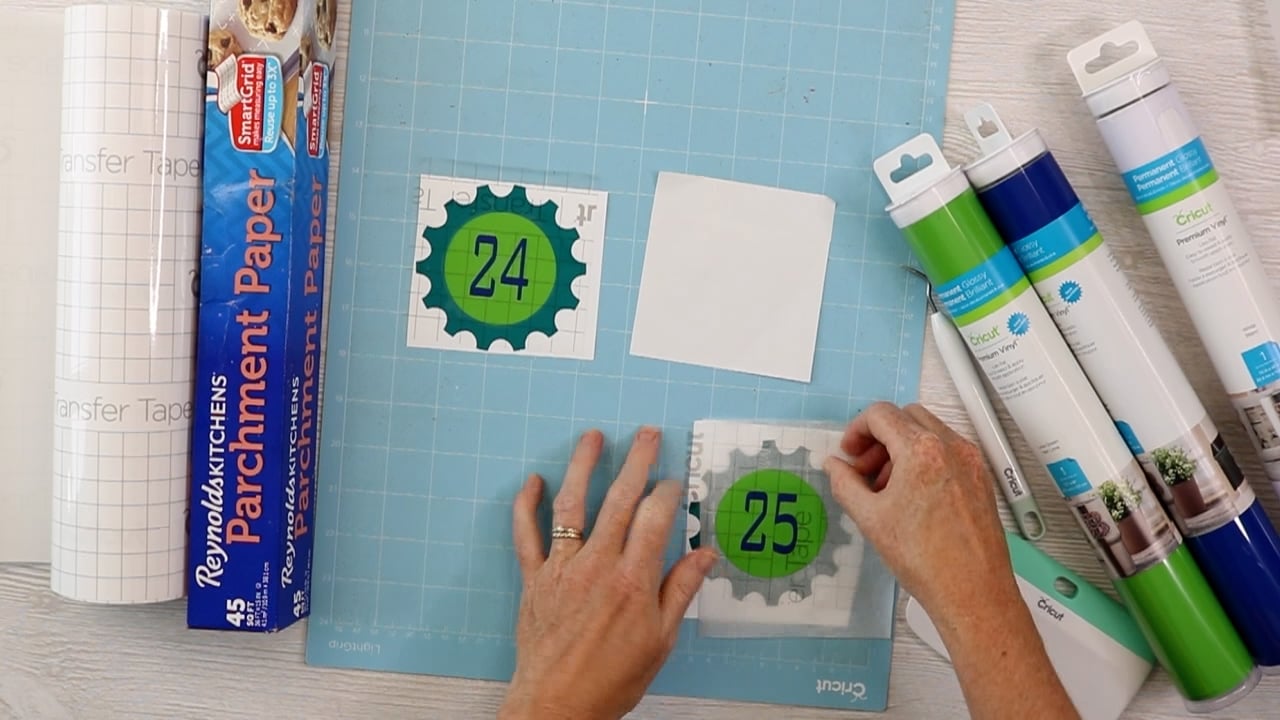
You can also use the parchment paper hack for applying transfer tape to the vinyl. This is especially great when working with really large designs as locating the transfer tape straight can be tricky.
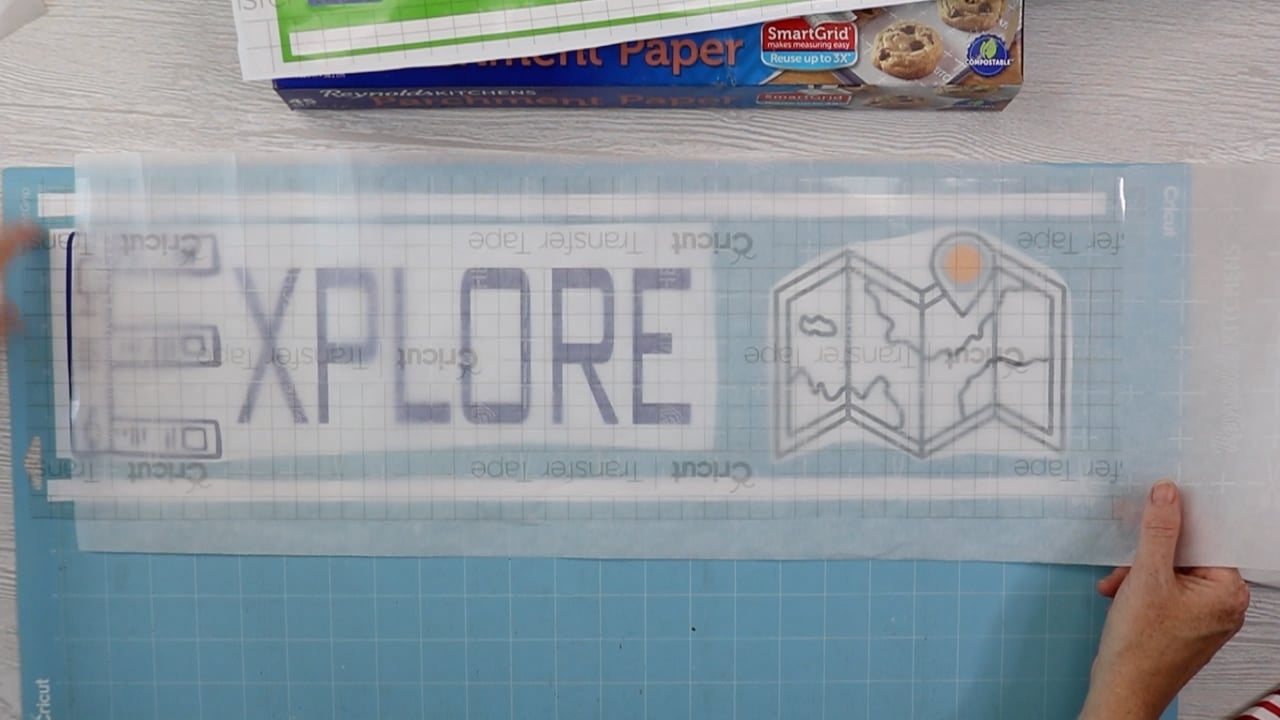
Hack #5: Apply from One Side to the Other
When applying the transfer tape or even the vinyl, be sure to work from one side to the other or from the top to the bottom. This will help to push out the air as you go along reducing the chance for bubbles in your final project.
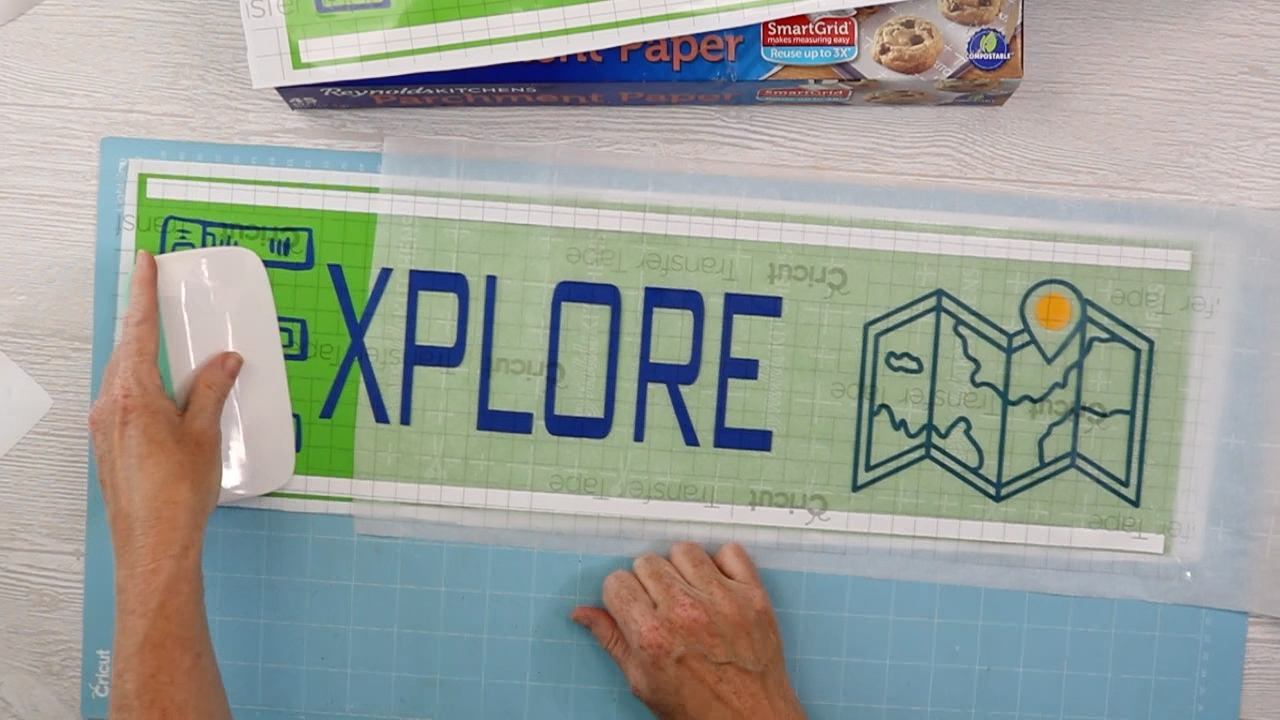
Hack #6: Peel Carrier Sheet from the Back
There are times when it is just going to be too hard to peel up the vinyl using the transfer tape from the front. In those cases, you can pull up the carrier sheet and all then peel the carrier sheet away from the back. Peeling from the back is often easier as well.
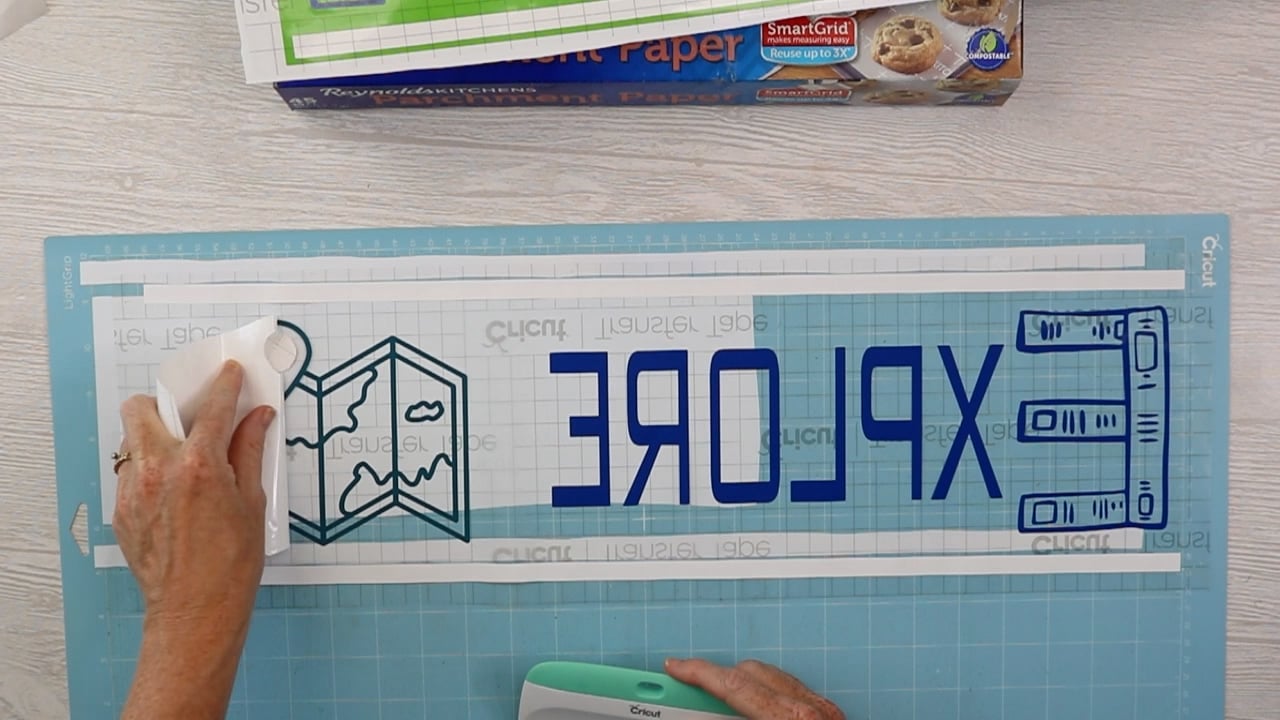
Hack #7: Reusing Supplies
You can use the parchment paper as well as the transfer tape for multiple pieces. This will save you money as well as time when layering vinyl.
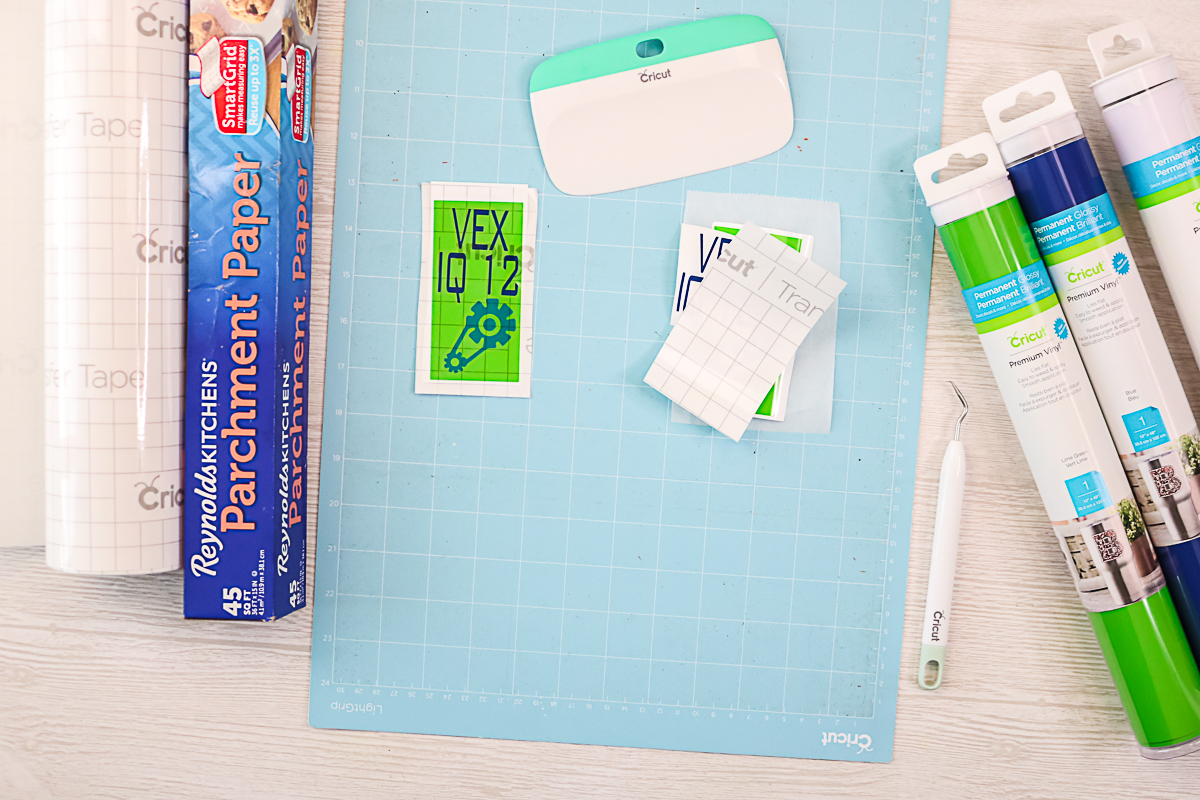
Hack #8: Adding Additional Elements
Another thing I like to do is to peel back just a small portion of the transfer tape and put additional elements underneath. You can use this trick whenever you have a tricky piece or one where you can’t trim the carrier sheet close enough.
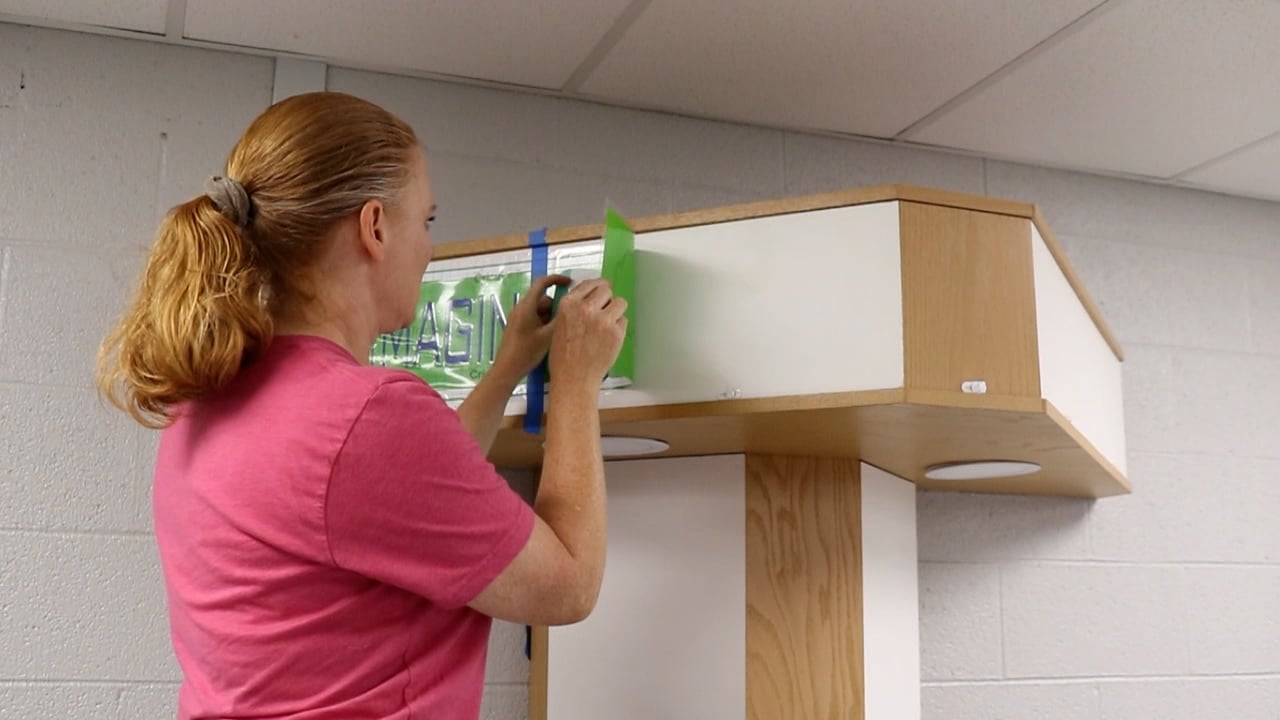
Prepping for Application
Now I have all of these cool projects! What am I going to do with them? It’s time to head to the school and put all of these projects into place in the teacher’s room. I will be using the hinge method for several of these, especially the large signs. You can see me explain the hinge method in detail here.
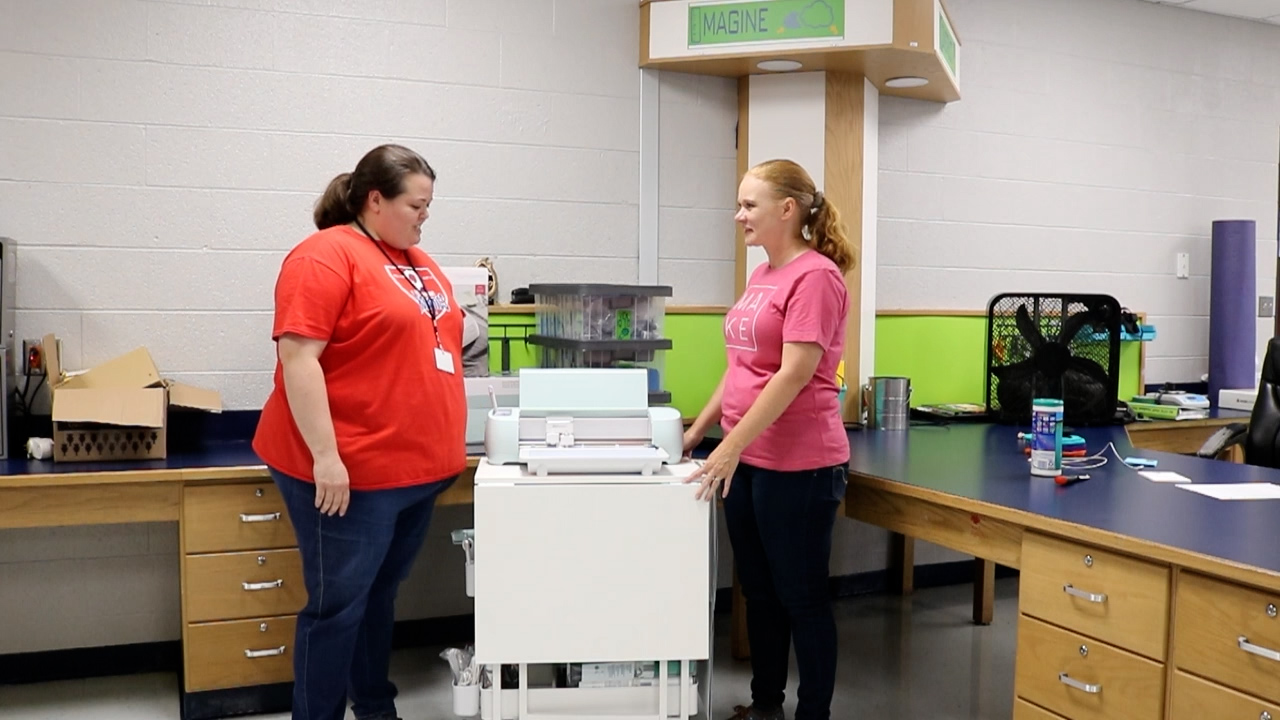
Teacher Room Reveal
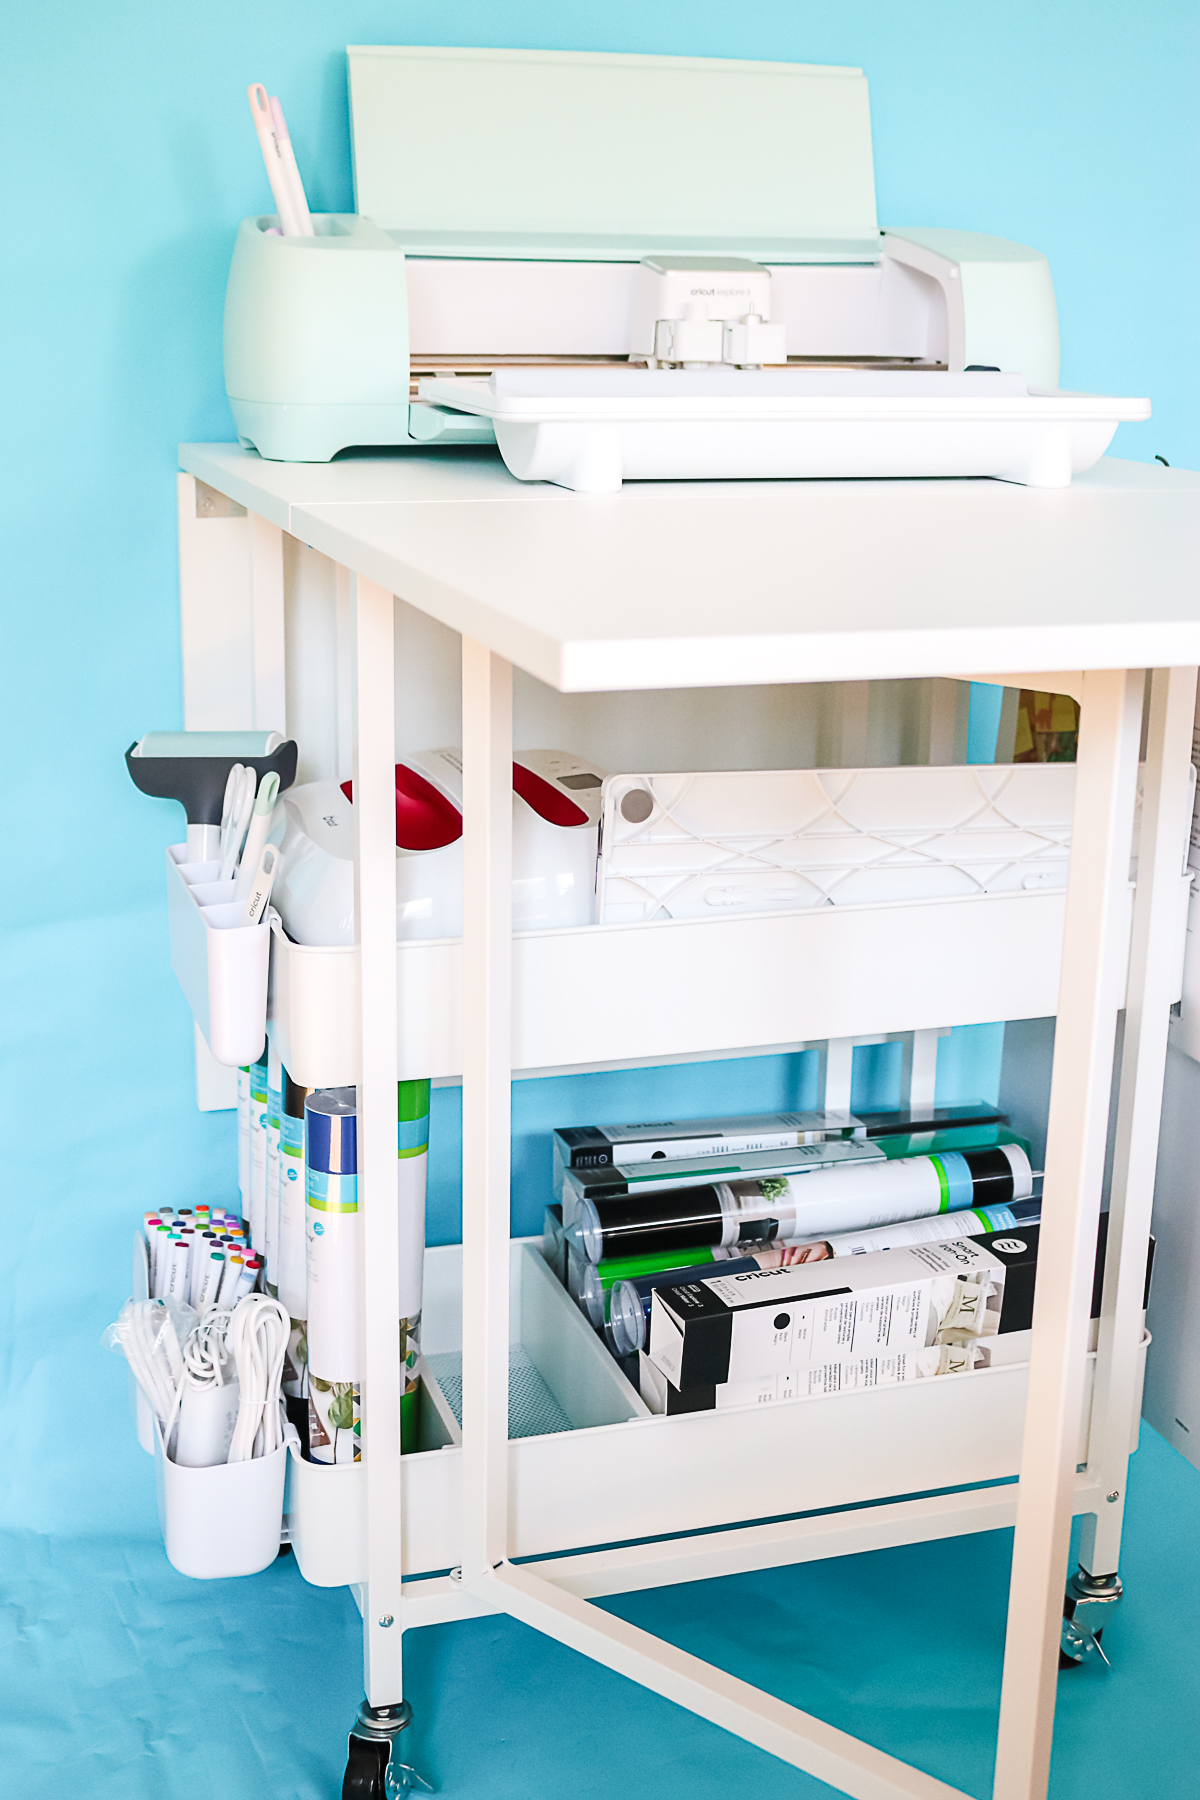
And it’s time for the big reveal! We did tons of projects in the classroom today, including room signs, robot kit labels, labels for those laptops, and signs on the door. Plus, I get to gift an Explore 3 and all kinds of gifts from Cricut, including this cart.
I know the kids and the teacher will love the addition to the classroom. After all, a cart full of Cricut supplies is a cart full of happiness! You will want to scroll up and watch the video above for a complete look at the projects as well as the teacher’s reaction.
I do hope these hacks for layering vinyl help you with your Cricut projects. I know that I could not have made some of these projects without these tips and tricks. So, enjoy and don’t be intimidated by vinyl crafts any longer!
Love this and want some vinyl project ideas? Try the links below!


Great tutorial! Helped me out immensely! My question is with HTV vinyl, can you layer them with 2-3 or more layers and have them all stick when you use the EasyPress2?
I have another post on that: https://www.thecountrychiccottage.net/layering-iron-on-vinyl/