I am ending iron-on week today with a tutorial on how to make a farmhouse Cricut wreath! You are going to love this technique because it involves adding iron-on right to wood. Yep! You can put it right on wood! So, start thinking outside of the box with your iron-on projects!
Want more ideas with iron-on? You can find more projects at the bottom of this post!
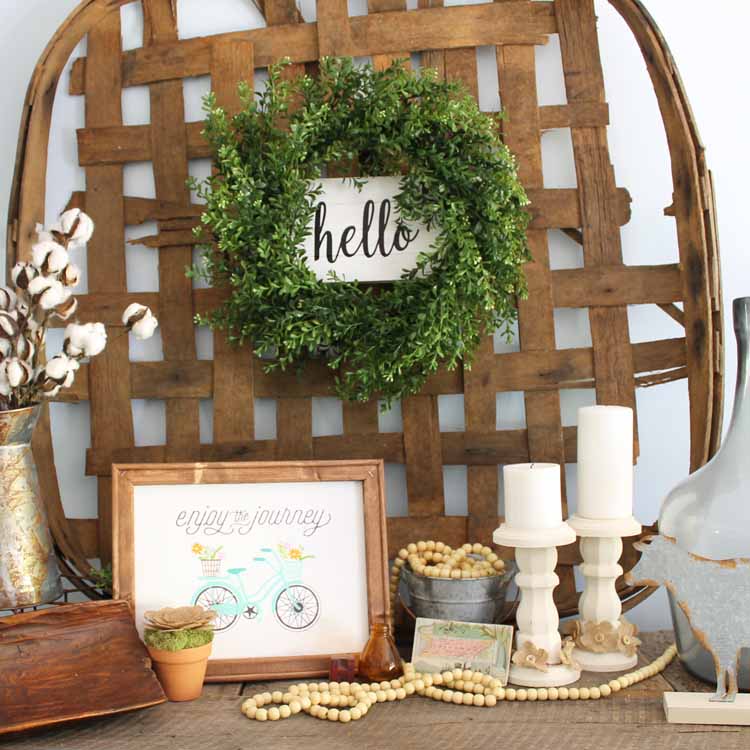
How To Make Farmhouse Cricut Wreath
We love iron-on projects around here, and love adding it to everything! So, why not try and add it to wood?!
As I mentioned before, you are going to love this technique because it will open up a world of possibilities when it comes to your farmhouse decor projects! Today we are making a wreath, but you could use this same iron-on-wood technique to create wall hangings, porch signs, and even Christmas ornaments!
Supplies Needed To Make A Farmhouse Cricut Wreath
- 24″ Boxwood wreath
- Wood Pallet Box – The wood pallet box I used in this project is no longer available. However, you can use any thin wood box for this project or these unfinished wood canvas boards instead.
- White Craft Paint
- Cricut Black Iron On
- Cricut Machine (click here to see my favorite)
- Hello Image File (click here to download)
- Cricut EasyPress or Iron (click here to see which I prefer)
- Floral Wire
- Paint Brush
- Weeding Tools (optional)
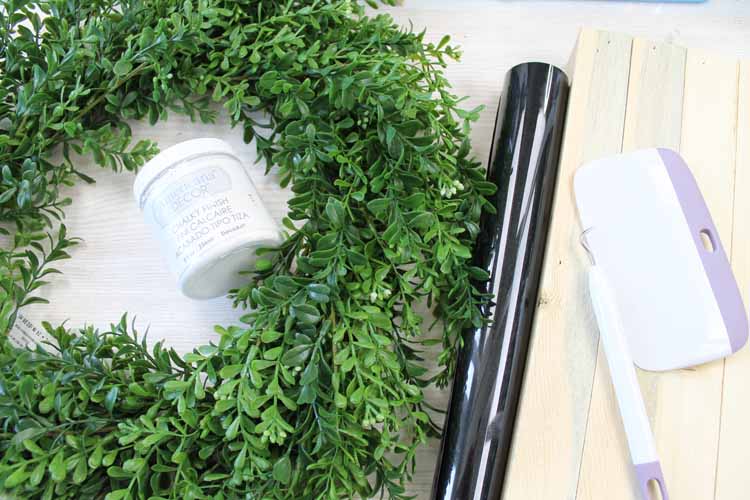
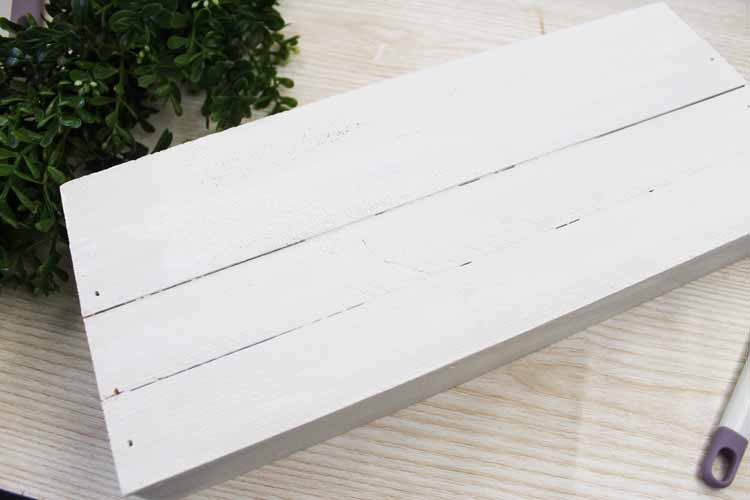
Step 1: Paint Wood Box
Paint the front and sides of your wood box with white paint. It will probably take two coats. Be sure to paint on one coat, allow to dry, and then add the second. Set aside to dry completely.
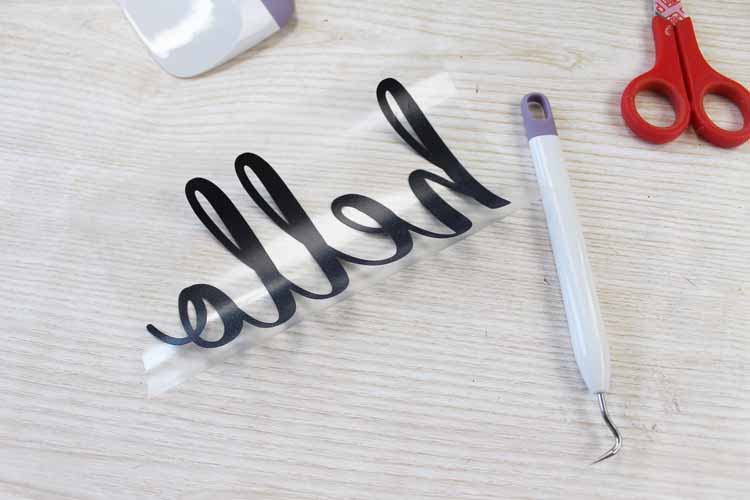
Step 2: Upload, Cut, And Weed Design
Download the hello file and upload it to the software for your Cricut. You can click here for a tutorial on how to do this.
Cut the word from iron-on material. Yes, we are going to iron this onto wood! It is like magic and you will love the results! Be sure to mirror the image before cutting and cut with the protective sheet down.
Weed any excess vinyl as shown below. Weeding tools make this easy but they are optional.
Step 3: Add Wire To Wood Box
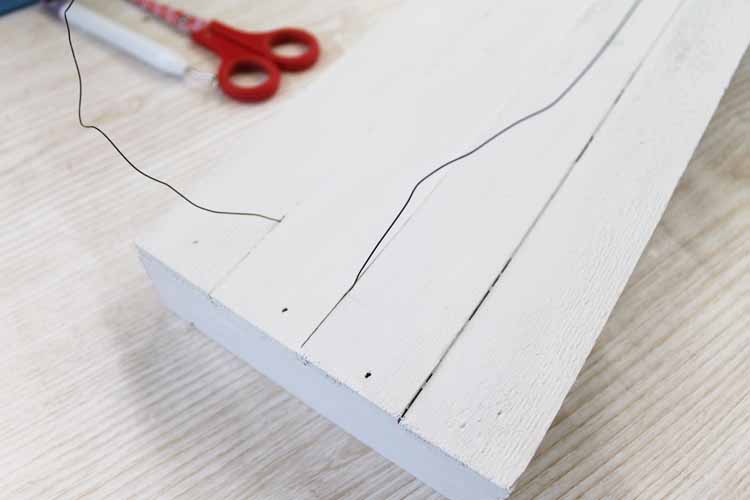
Add wire to your pallet box by running the wire through the slats on both ends as shown below. We are doing this to create a way to attach our wreath.
Step 4: Add Design To Wood Box
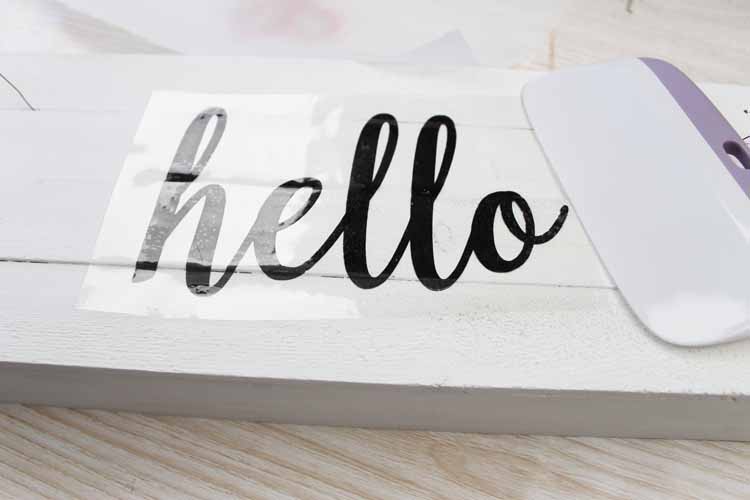
Now we are going to iron this image directly onto the wood. Just follow the instructions that come with your iron-on including time and temperature recommendations. I love my Cricut EasyPress for this and recommend it for this project. I also used a straight edge to help push the iron-on down into the slats and imperfections of the pallet box.
Step 5: Remove Protective Sheet
Once completely adhered, peel back your protective sheet to reveal your design. Then wire the wreath onto the sign.

Then you can hang your wreath anywhere in your home! I choose my mantel but you can put it on your front door as well.

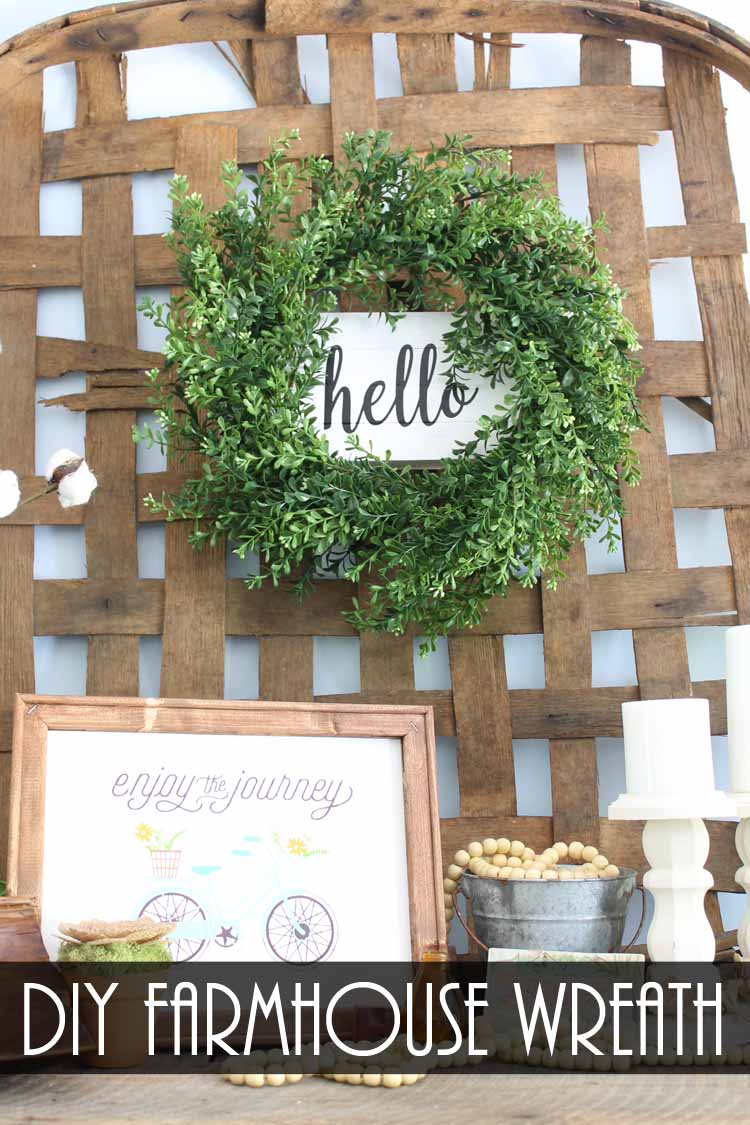
Love that reverse canvas as well? You can click here to see how to make it. Wondering what this one looks like from the side? You can see an image below. You can see a little of the box but not much!

Grab your supplies and try iron-on directly on wood. You will love the results and will be making all the things. Yes you can even make a farmhouse wreath!

FAQs About Farmhouse Cricut Wreath
If you have questions about this farmhouse Cricut wreath, I have answers for you! Please leave your question for me in the comments if you don’t see it already answered below!
What Cricut Machine Can I Use For This Project?
All of them! The Cricut Maker, Cricut Explore series, Cricut Joy, Cricut Joy Xtra, and Cricut Venture, can all cut iron on vinyl!
The only thing to keep in mind is that each Cricut machine is different in regard to project size capabilities and the materials it can cut. So, depending on what project you have in mind, you might need to resize the SVG file or cut it out in a different material.
Do You Have A Video On How To Add HTV To Wood?
Yes, I do! You can check out my How to use Heat Transfer Vinyl on Wood video where I show how to do this technique. However, the project shown in the video is different than the one above.
Could I Use A Small Sign For This Project Instead Of A Wooden Box?
Yes, you can!
I Heat Pressed On Painted Wood And My Paint Started To Bubble. Why Did This Happen?
The number one cause of that is not allowing your paint to dry long enough as the moisture is coming out. I would allow the paint to cure a minimum of 72 hours before attempting this.
How Would You Seal The Finish Box?
I don’t seal for indoor use. Outdoor – I use a few coats of polyacrylic over the entire thing.
63 More Iron-On Projects
Did you love this farmhouse Cricut wreath, and are looking for more iron-on crafts? Then check out the projects below!



can we do poly spray on iron on vinyl wood ??
You can, I haven’t had the best results but I know other people use and like it.