Jen Goode is back today with a mini garden sign that you are going to love! Y’all enjoy and be sure to make one for your own garden this summer!
Raise your hand if you love your garden! Today I’m showing you how to make your own mini garden sign in under 30 minutes. This easy Cricut craft is a great project to add an extra personal touch to your garden. You can customize the look with different colors of paint or vinyl and adjust the size to fit the wood board you want to use. Plus today’s design includes a free SVG file set up and ready to go.
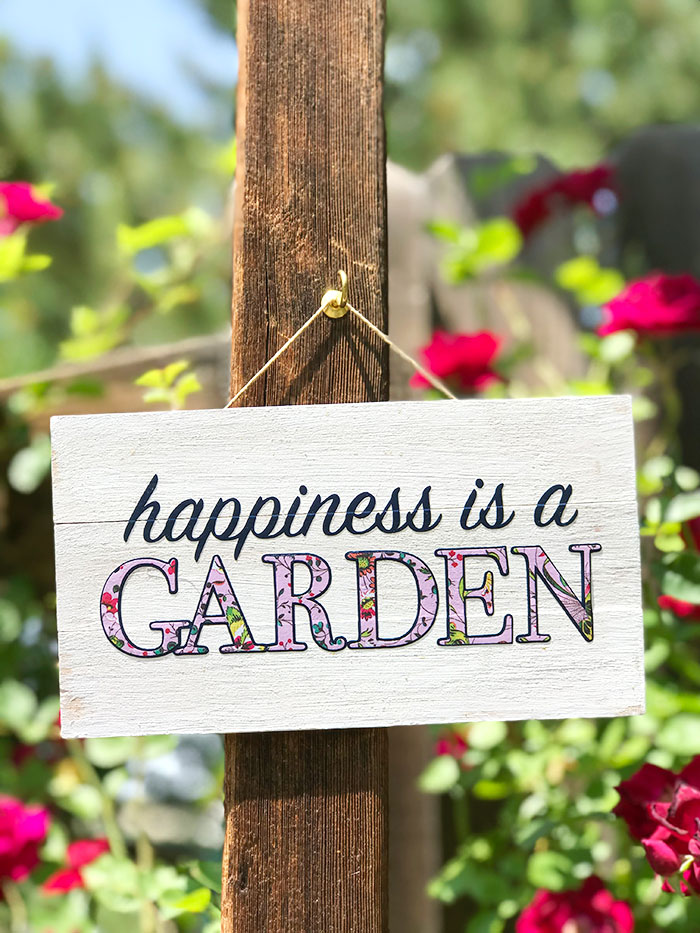
Make a Mini Garden Sign
This cute little sign is perfect for small gardens. However, you can resize the cut file in Cricut Design Space to fit whatever sized wood you’d like. The vinyl I’ve used can be swapped out for iron-on vinyl you already have on hand or use standard, adhesive vinyl. I like to use the iron-on vinyl for outdoor projects to help the design last longer through the weather.
Materials
Some links below may be affiliate links which means that you do not pay anymore, however, a portion of your purchase will go to support this site.
- Wood board painted and ready to decorate
- Happiness is a Garden word art SVG cut file by Jen Goode
- Cricut Machine (click here to see the difference between the machines)
- Patterned iron-on vinyl
- Navy iron-on vinyl
- Easy Press or Iron (click here to see why the Cricut EasyPress makes projects like these easier)
- Parchment paper
- Sealer (like Outdoor Mod Podge) – Optional
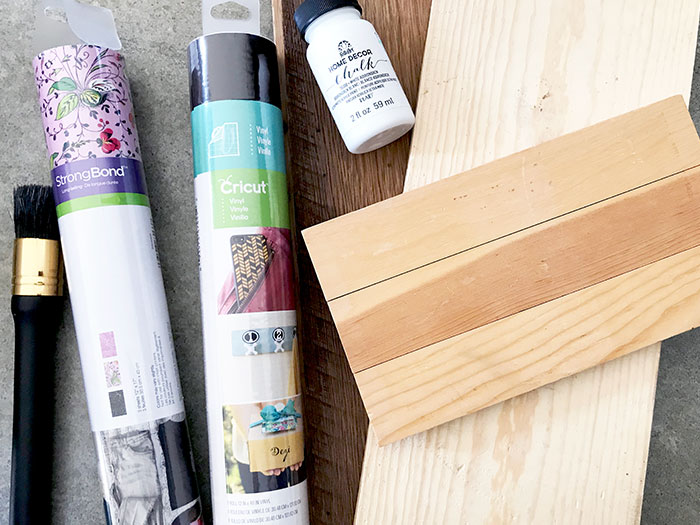
Instructions
- Download the cut file here and upload to Cricut Design Space. Resize to fit the wood board you plan to use. Note: Make sure to set the text to “mirror” if you are using iron-on so the cuts are readable.
- If you plan to use different colors for different words, make sure to set that option in Design Space now. I cut the back “GARDEN” and the “happiness is a” from navy vinyl. I cut the top “GARDEN” from Anna Griffin’s floral pattern iron-on vinyl.
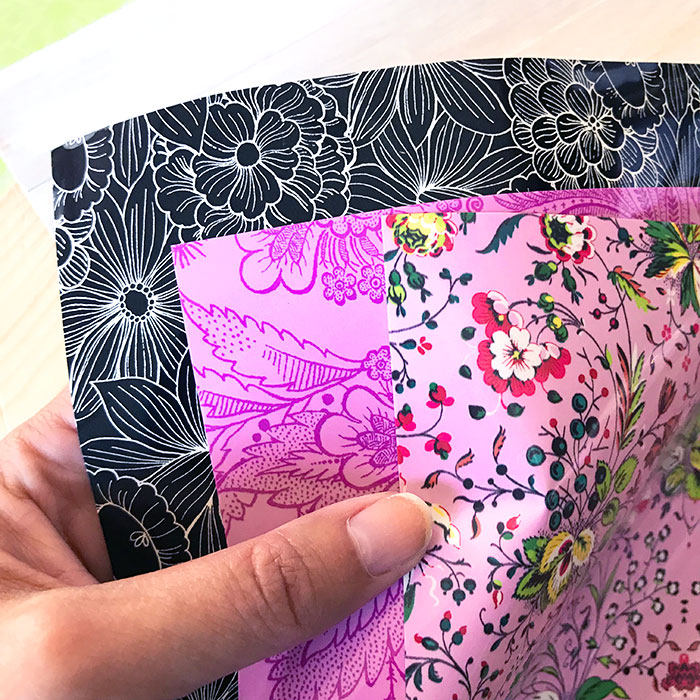
- Follow the on-screen instructions to cut out the different vinyl lettering. Weed the appropriate pieces, leaving only the final words on the vinyl backing sheet.
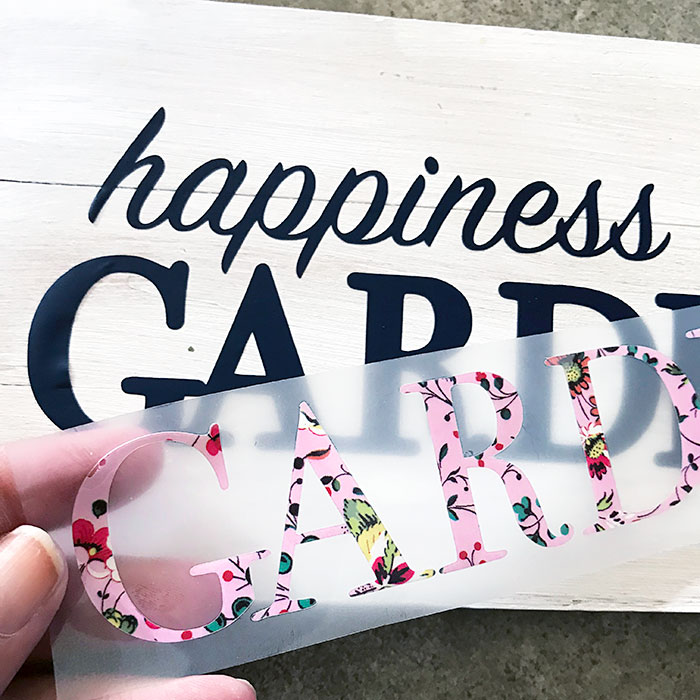
- Place the cutouts on the wood board and cover with parchment paper. Follow these 2 steps to iron the different layers of vinyl in place:
- Iron the navy words first.
- Remove the vinyl backing sheet and layer on the patterned vinyl, iron in place.
- Optionally, seal the sign to add extra protection from the weather.
- Add a hanging string or stick to the back of your new sign as needed. Hang to display.
- You could use this word art to make multiple signs in different shapes and sizes. Even using the “GARDEN” portion of the word art alone for another sign.
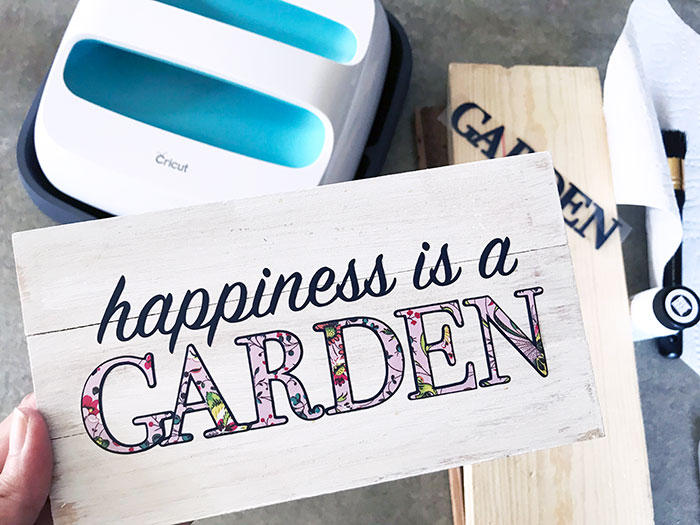
Download the free Happiness is a Garden SVG over on my blog, here.
Confused about Cricut Design Space? Download our beginner’s guide here!
Tip: If you don’t have vinyl and an iron to use, you can decoupage the word art onto the wood board. Simply cut out the words as appropriate from paper or cardstock (or even fabric) and then adhere to the wood board using Mod Podge.
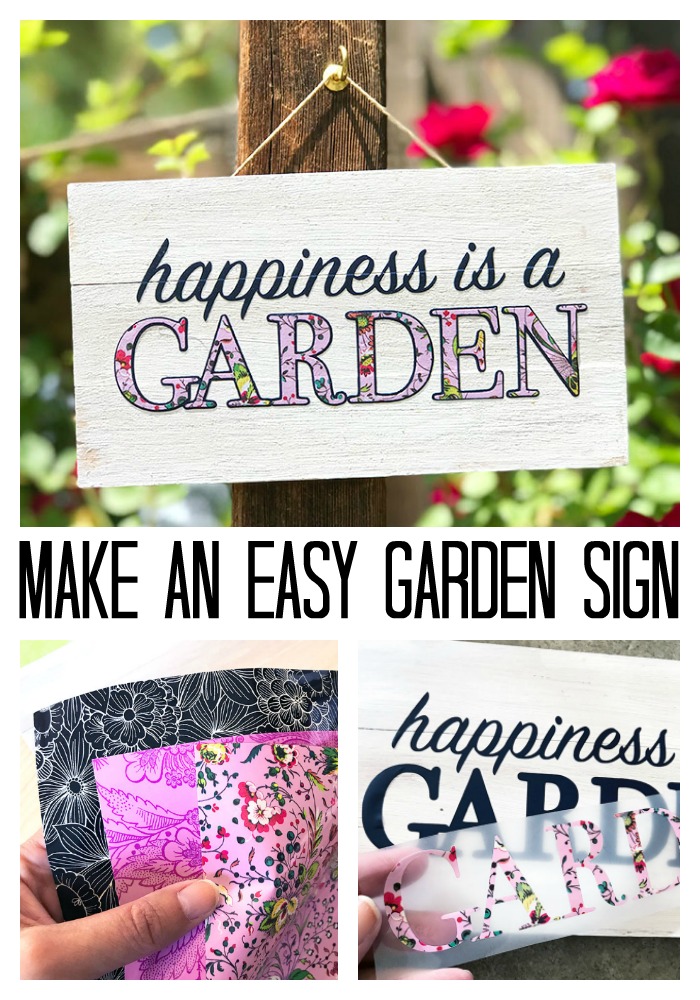
Love this garden sign and want more ideas? Try the links below!
- Make Cute Garden Rocks
- Personalized Garden Flag
- Container Herb Garden
- Patriotic Candle Holder
- Pallet Garden for Summer
- Farmhouse Boxwood Wreath
I hope you have fun making this easy wood sign for your garden! Make one for yourself and then make one for a friend.
New to Cricut?

Sign up for our email list to download the Beginner's Guide to Cricut Design Space for FREE today!
Sign up to get the guide emailed to you!


That’s just so adorable. Love that floral pattern from Anna Griffin’s that you used. It’s so perfect for the sign
What a cute sign. Making wooden signs with iron on always looks so nice. Thanks for sharing at Merry Monday. Hope to see you at the party next week!
This looks absolutely awesome. I love the pattern on the word garden. Perfect!