Make this DIY stenciled cleaning caddy using your Cricut machine and a few supplies. Make cleaning a little more fun with this craft project.
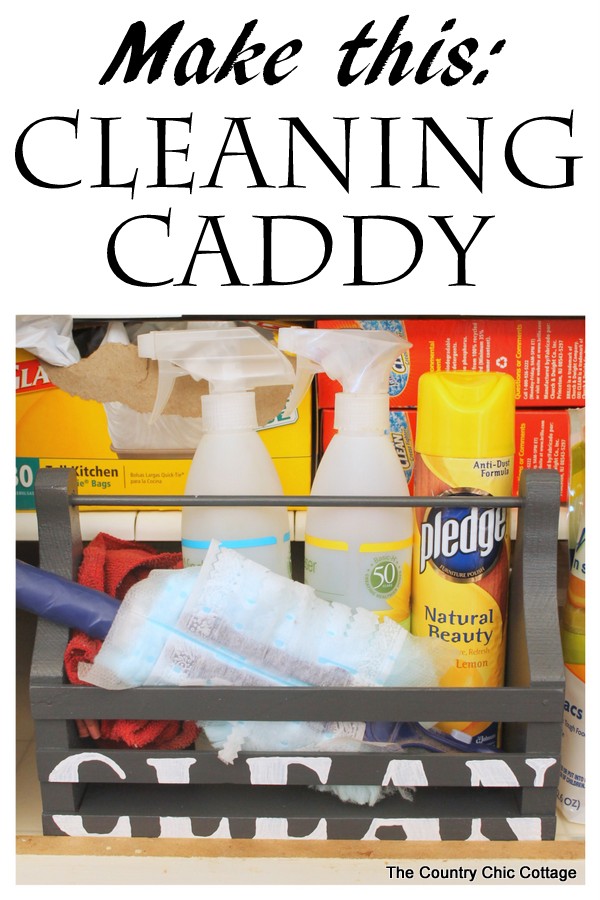
I have been on a cleaning and organizing kick around our home lately. Something that I didn’t have and really needed was a cleaning caddy. Something to keep all of my cleaning supplies in so that I could carry them around the house.
I don’t use a ton of products so a simple wood crate was the perfect solution.
How to Make a Cleaning Caddy
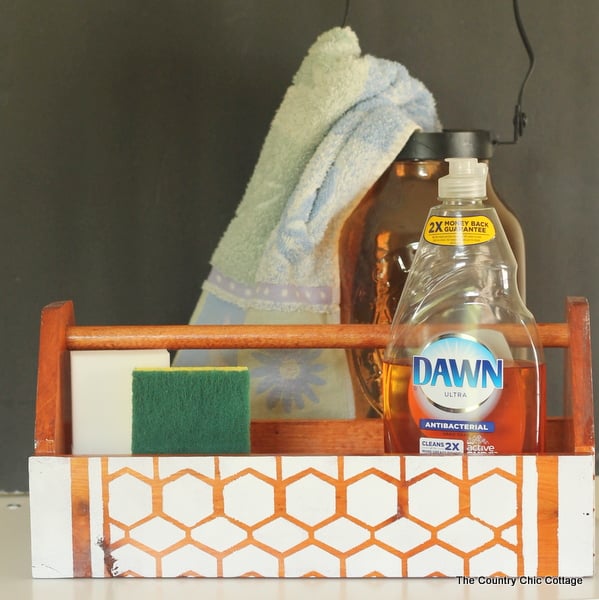
This wooden cleaning caddy came together with a few craft supplies and a wooden crate from the thrift store.
You can use your Cricut machine to add a custom stencil to yours as well. You can make a stencil with a fun phrase. Just follow my tips and tricks below then grab your Cricut and stencil material to make this project!
Supplies Needed
- Cricut Maker or Cricut Explore Air
- Vinyl (stencil vinyl or any vinyl color that you have on hand) (can also use contact paper)
- Transfer Tape
- Chalk paint
- Wood caddy
- Stencil adhesive (if NOT using stencil vinyl)
- Weeding tools (if using stencil vinyl)
- Transfer tape (if using stencil vinyl)
- Scraper (if using stencil vinyl)
Instructions to Make Stencil Cleaning Caddy
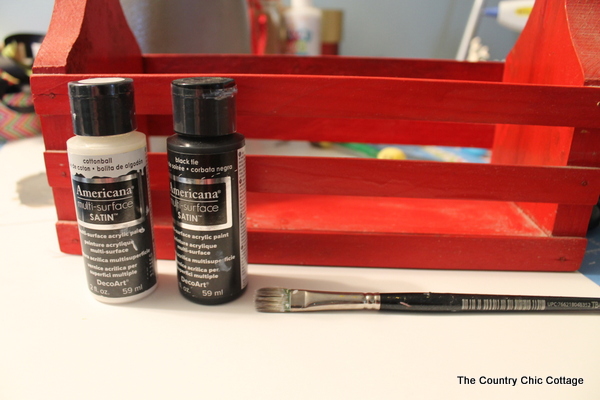
I started with a red wood crate from the thrift store. You can try to find a similar one or a basket would work. Anything that will fit all of your cleaning supplies neatly inside is all that you need.
Paint your Cleaning Caddy
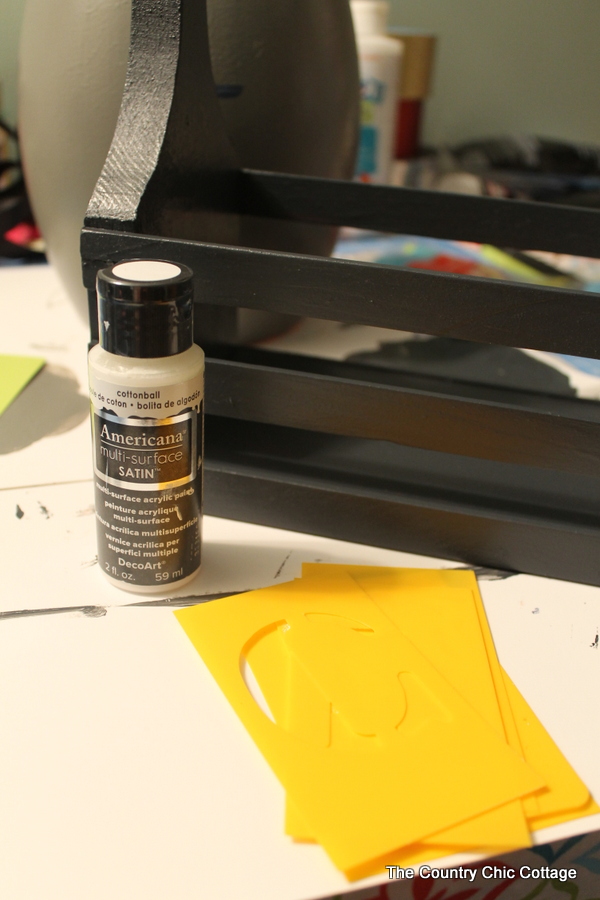
Now I wanted a dark grey for the main surface and just could not find the color I wanted. So I ended up mixing black tie with just a little cotton ball. The entire crate took two coats to cover completely.
Designing Your Stencil
Next you can use your Cricut to design and cut your stencil for your caddy. You can upload an SVG to Design Space or design right in the application.
You can use stencil vinyl, regular vinyl in any color, or even contact paper.
See how to make your own stencil with a Cricut here.
You can even use your own fonts.
Cutting a Stencil on a Cricut
Once you have your phrase or design, cut it from stencil vinyl or even a stencil film to make a reusable stencil. Click make it in Design Space. Then pick the type of material you are using for the correct cut settings. Cut the material with your Cricut.
If you are using stencil vinyl, make sure to weed any parts that you want to paint on your caddy. If you are using stencil film, the stencil is ready for painting!
Adding a Stencil to your Cleaning Caddy
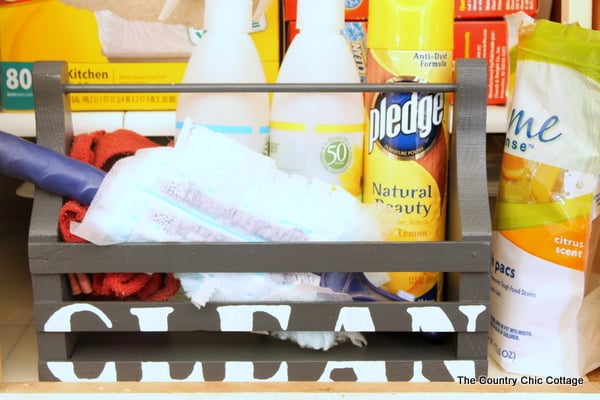
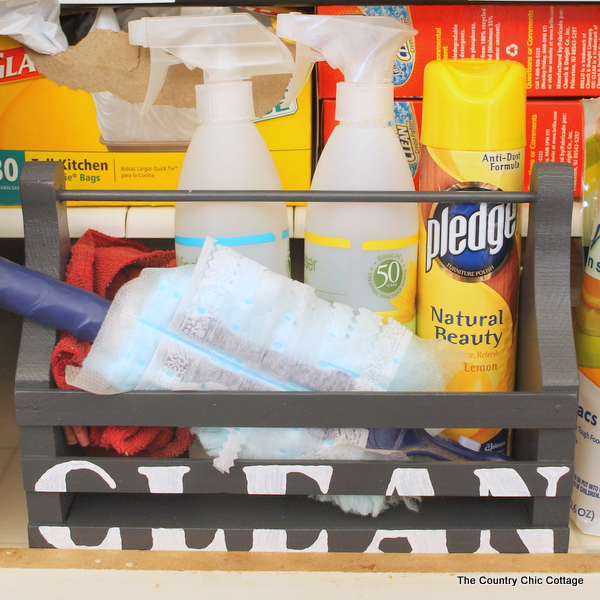
I used a stencil with the letters “CLEAN”. Spray the back of the stencil with removable stencil adhesive (do this outside!).
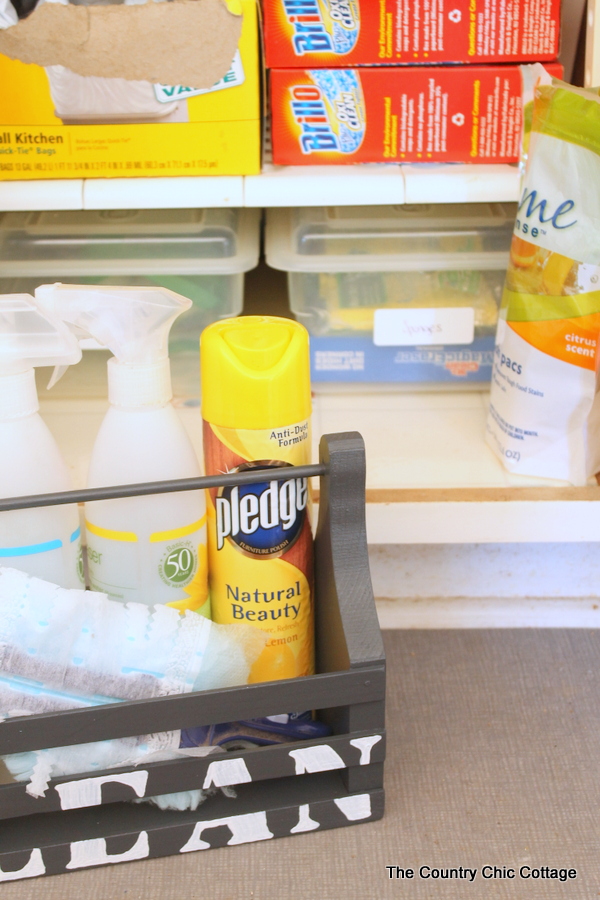
I added them to the front of my caddy. This is optional of course but I thought it added a fun touch of whimsy.
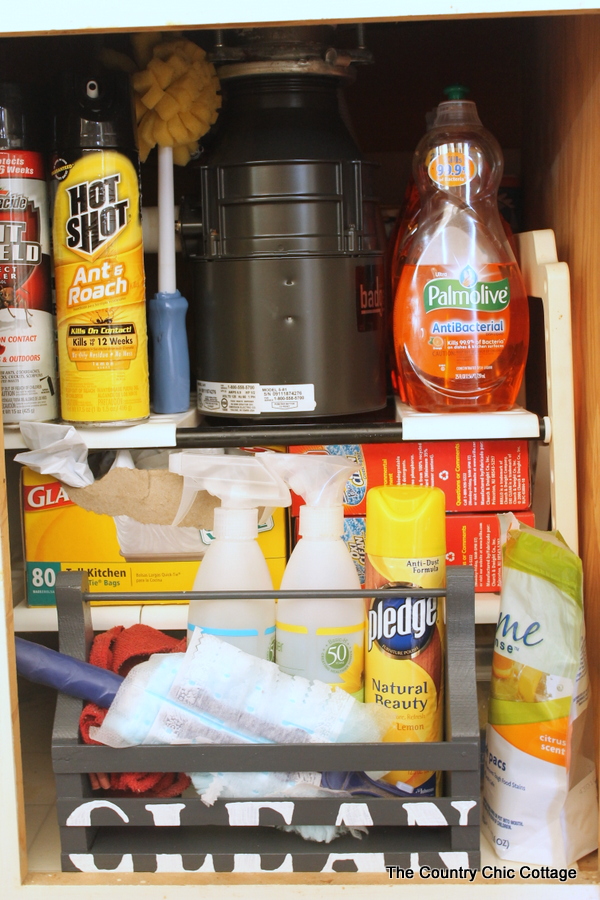
I also chose this particular wood crate because it fits perfectly under my sink. Yep that is my under sink area. I love that shelf as well which makes organizing the supplies under there easy.
Now I can just pull out the cleaning caddy and go to work around my home. Everything is portable and then goes back into place when I am done. I love this method of organizing my cleaning supplies.
So tell me if you have other ways to organize your cleaning supplies in the comments. I would love to hear your ideas.
Equipment
- Cricut Maker or Explore
Supplies
- Vinyl (stencil vinyl or any vinyl color that you have on hand) (can also use contact paper)
- Transfer Tape
- Chalk paint
- Wood caddy
- Stencil adhesive (if NOT using stencil vinyl)
- Weeding tools (if using stencil vinyl)
- Transfer tape (if using stencil vinyl)
- Scraper (if using stencil vinyl)
Instructions
- I started with a red wood crate from the thrift store. You can try to find a similar one or a basket would work. Anything that will fit all of your cleaning supplies neatly inside is all that you need.
- Paint your caddy. The entire crate took two coats to cover completely.
- Next you can use your Cricut to design and cut your stencil for your caddy. You can upload an SVG to Design Space or design right in the application.
- You can use stencil vinyl, regular vinyl in any color, or even contact paper. See how to make your own stencil with a Cricut here.You can even use your own fonts.
- Cut your stencil on a cricut.Once you have your phrase or design, cut it from stencil vinyl or even a stencil film to make a reusable stencil. Click make it in Design Space. Then pick the type of material you are using for the correct cut settings. Cut the material with your Cricut.If you are using stencil vinyl, make sure to weed any parts that you want to paint on your caddy. If you are using stencil film, the stencil is ready for painting!
- Add the stencil to your cleaning caddy.I used a stencil with the letters “CLEAN”. Spray the back of the stencil with removable stencil adhesive (do this outside!).I added them to the front of my caddy.
After this, I made a painted wood caddy for our mudroom organization and I love that one too!
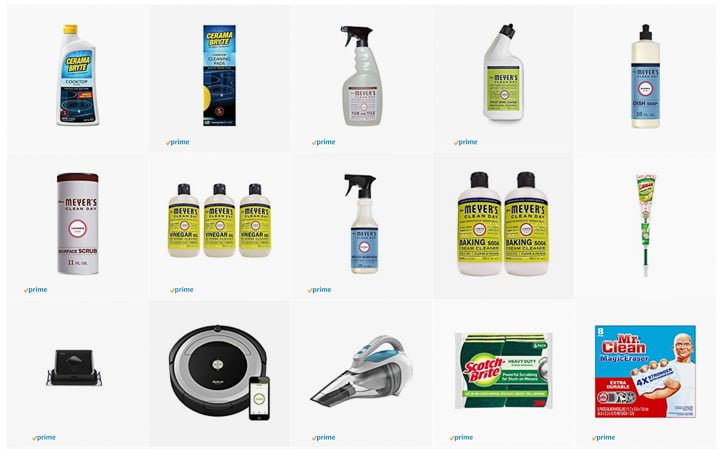
Want to see my favorite cleaning supplies and products?
I have gathered all of the products I love using around my home into one great section of my Amazon storefront. You can click here to shop! If you’re looking for just about anything to clean your home, I probably have an option that you will love!



That caddy is adorable and good for so many purposes.
Happy New Year. xo Catherine