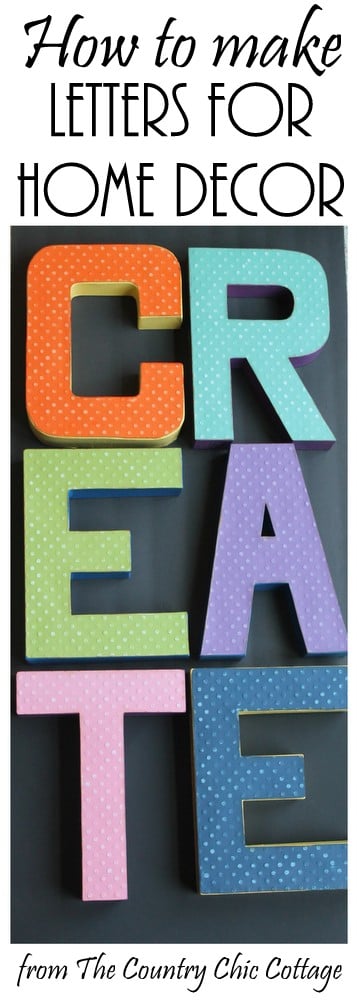
Are you all ready to learn how to make letters for home decor? This quick and easy project will allow you to make home decor letters for your home. Will you do initials? Or spell a word? Grab a few supplies and make gorgeous typography art for any room in your home. I actually made these CREATE letters for the Darice booth at SNAP! Conference, but more on that in a minute.
I’ve said many times that creating knock-offs is sort of my specialty. I really enjoy creating different designs that are trending but also have my own special style. Plus, they are always a fraction of the cost of the real deal!
These letters are no exception! They are very similar to the more expensive versions in upscale design stores but with the scrapbook patterns of MY choice. You can use whatever scrapbook paper you like. Choose solid colors, patterns, designs, etc. You can also use metallic paper, too.
How to Make Letters for Home Decor
First, you will need the following supplies: (I am part of the Darice design team and am compensated for my participation. However, all projects and opinions are my own.)
Supplies needed to make letters for home decor:
- Paper mache letters (these are the 12-inch variety)
- Krylon Spray Paint
in your choice of colors
- Scrapbook paper in your choice of pattern/color
- Decoupage Medium
- Distress Ink
(optional)
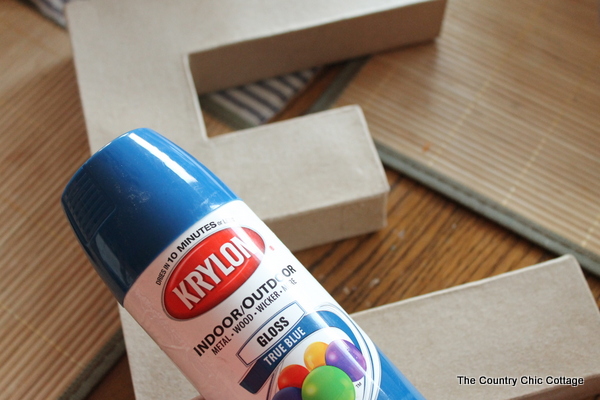
Start by spraying all edges of your letters with the spray paint of your choice. Apply several light coats to get good coverage. Allow to dry and cure completely before continuing.
Click here for the Anthro Knock Off Letter Tutorial to see how to cover the front of your letters on paper, as well as different versions of the same technique.
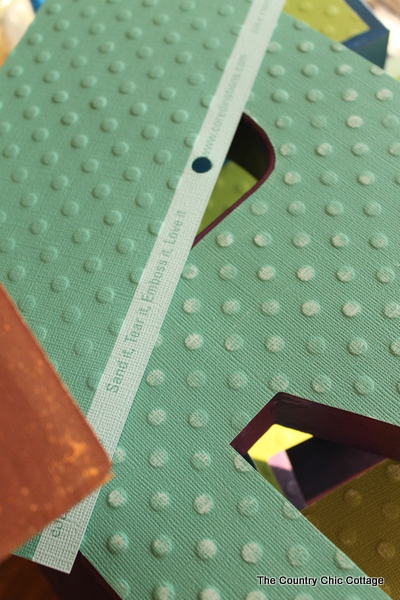
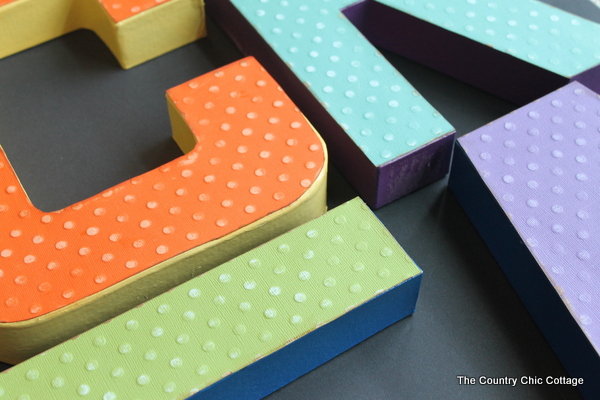
I noted earlier that I had used Core Essentials on these particular letters. Just give the paper a light sanding and you reveal the “core” of the paper. You can see on the left is the original paper, and on the right is my letter after some sanding.
This is a great paper and technique to use for a more rustic home decor letter for your home. To add to that rustic feel I used a distress ink pad just around the edge of each letter. This is optional but does have a great effect.
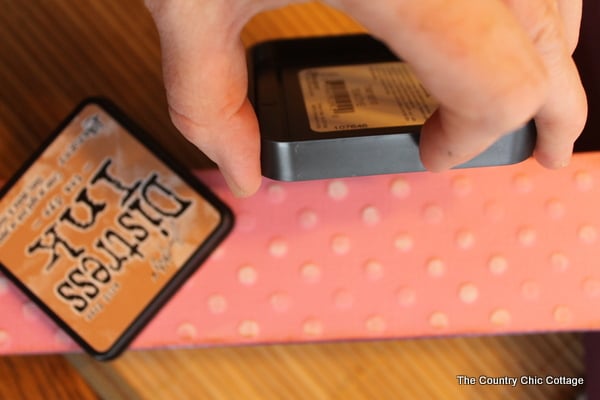
You can see just a hint of brown along the edges of my finished product. Once I was done, it gave the letters a slightly more three-dimensional look on the front.
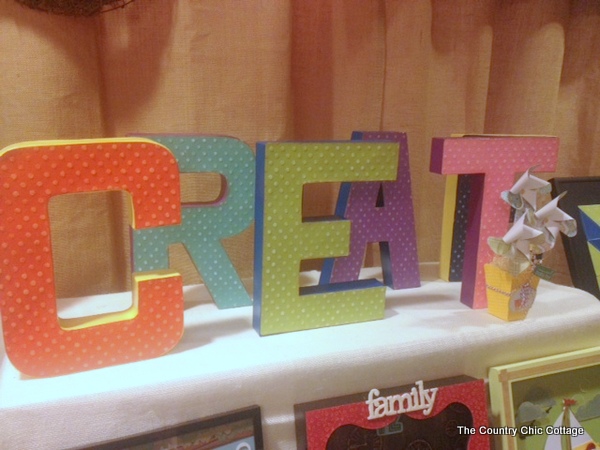
Now a little bit more about why I made “CREATE” with these letters. I already posted a little bit about my experience at SNAP! Conference in this post. Darice also asked me to make a little something for display in their booth, and I jumped at the chance. Seeing your work displayed at such a creative conference is an honor.
See how excited I am?? Cheesy picture alert y’all……..
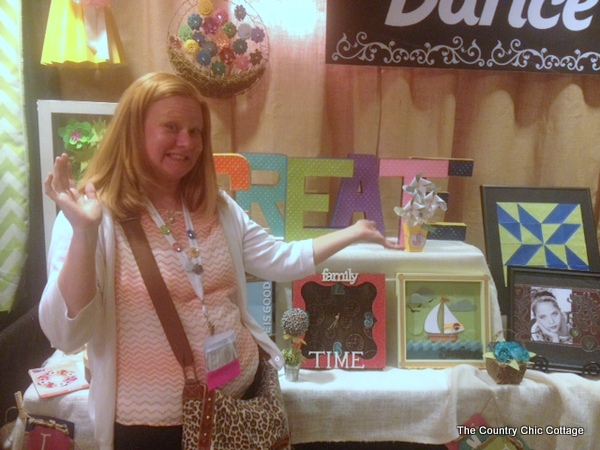
Many thanks to Darice for always being amazing. I was not required to write about these letters, but I think they are amazing, and you would want to know how to make your own. Even if you don’t make the letters, try the Core line- I think you will like it! Now that you know how to make letters for home decor, what will you make? Initials? A word? C’mon and tell me!!

Supplies
- Paper mache letters these are the 12 inch variety
- Krylon Spray Paint in your choice of colors
- Scrapbook paper in your choice of pattern/color I am using Core Impressions which can be sanded to reveal another color.
- Decoupage Medium
- Distress Ink optional
Instructions
- Start by spraying all edges of your letters with the spray paint of your choice. Apply several light coats to get good coverage. Allow to dry and cure completely before continuing.
- I noted earlier that I had used Core Essentials on these particular letters. Just give the paper a light sanding and you reveal the “core” of the paper. You can see on the left is the original paper and on the right is my letter after some sanding.
- To add to that rustic feel I used a distress ink pad just around the edge of each letter. This is optional but does give a great effect.
- Allow everything to dry, and your letters are ready to display.


