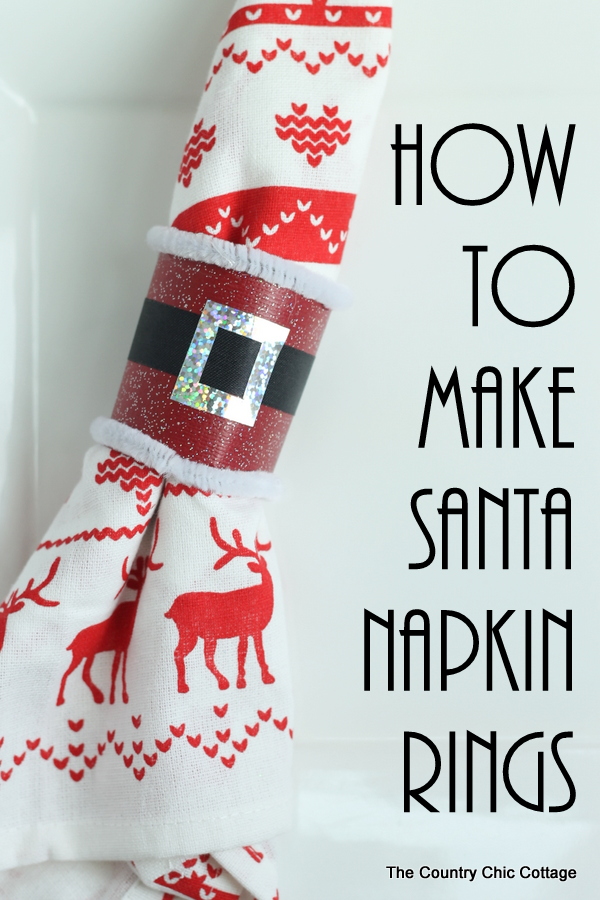
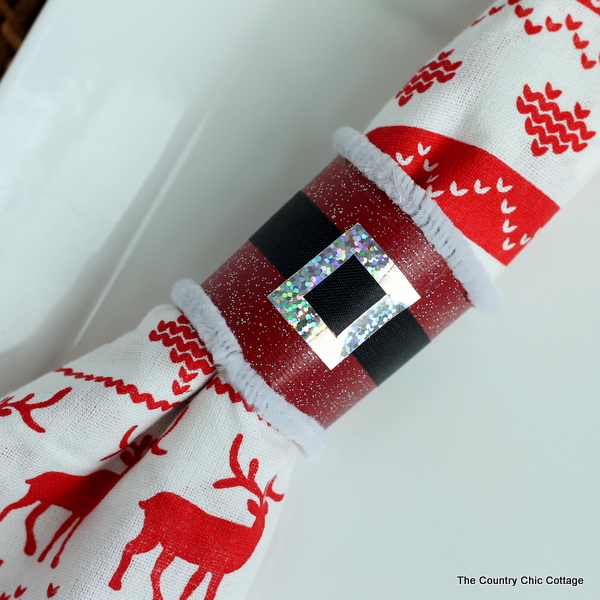
Make these cute Santa belly napkin rings for your Christmas table! This craft is a part of the series with crafty hangouts.com. This post is sponsored by AD Tech but all opinions are my own.

I have another great quick craft for you today for Craft Lightning. Today I am going to show you how to make fabulous Santa napkin rings in just minutes. If you have missed any of the Craft Lightning fun around here this week, be sure to check out the round ups from day 1, day 2, day 3, and day 4. This post is also a part of the series sponsored by Adtech.
I love AD Tech’s dry adhesives for a variety of craft projects. For this craft, I’m using their tape runner, but they also make glue guns and a variety of other adhesive products that you need to check out.
They’re really easy to use. You don’t have to wait on anything to dry or worry about burning your fingers with hot glue guns. They also make these great finger guards for when you’re dealing with hot glue.
This craft will make 5 napkin rings. These add a whimsical and festive touch to any holiday table setting. As guests gather around the table, these little accessories not only keep napkins neatly folded but also evoke the spirit of joy and gift-giving that Santa represents. It’s a small yet significant way to infuse the holiday cheer into the heart of your celebrations, making each meal a merry and memorable experience.
If you want to try other holiday table crafts, give these Rudolph napkin rings a shot.
Now are you ready to see how to make these Santa napkin rings live below. Yep in just a few minutes you can turn a plain paper towel roll into great napkin rings with a Santa’s belly spin. Too cute right? Watch below and see what I used to make these.
I can’t wait to use these around my Christmas table. Y’all save up those paper towel rolls to make your own Santa napkin rings this holiday season. Be sure to use your Adtech tape runner to make this craft super easy and quick!

How to Make Santa Belly Napkin Rings
Supplies needed for Santa belly napkin rings:
- Poly Satin Ribbon in Black
- AD Tech tape runner
- Glue gun
- Red glitter scrapbook paper
- Empty paper towel rolls or toilet paper rolls
- Clothespins (optional)
- Iridescent duct tape in silver
- White pipe cleaners
- Craft knife or scissors
Instructions:
Start by cutting 2 ¼ inch strips from your scrapbook paper. With an 8×10 inch sheet of paper, you should have five total strips.
Next, cut each paper towel roll into two-inch pieces. You should have a total of five pieces.
Turn the strip of paper over to the back. Add two strips of the tape runner on both long sides.
Then, take your paper towel and center it at the end of one of the strips of paper. Roll up as straight as possible all the way up to the end, so the edges of the paper towel roll and the edges of the paper are meeting and sticking. Secure with clothes pins to hold everything in place.
Next, take a 5×8 piece of black ribbon and apply the adhesive tape runner to the back. Wrap around the center of the paper towel roll for Santa’s belt and press the adhesive into the roll.
Make sure all your seams are in the same location when we do each step of this process.
Now I’m going to make Santa’s little belt buckle. I used iridescent duct tape cut a little wider than the black ribbon. Then, I cut a small square out of the center.
Be sure to protect your work surface when using a craft knife. I’m using a mat on my work surface but if you don’t have one, put a magazine or something under your project.
Then, remove the backing and apply to the center to finish the buckle.
To add the white fringe, hot glue white pipe cleaners around the top and bottom of the paper towel roll. After the glue has dried, our napkin rings will be ready for a holiday dinner!
I really like these simple, easy recycling crafts that are really inexpensive, especially around the holidays. Go make some for your holiday table!

Equipment
- Poly Satin Ribbon in Black
- AD Tech tape runner
- Red glitter scrapbook paper
- Iridescent duct tape in silver
- White pipe cleaners
Supplies
Instructions
- Start by cutting 2 ¼ inch strips from your scrapbook paper. With an 8×10 inch sheet of paper, you should have five total strips.
- Next, cut each paper towel roll into two-inch pieces. You should have a total of five pieces.
- Turn the strip of paper over to the back. Add two strips of the tape runner on both long sides.
- Then, take your paper towel and center it at the end of one of the strips of paper. Roll up as straight as possible all the way up to the end, so the edges of the paper towel roll and the edges of the paper are meeting and sticking. Secure with clothes pins to hold everything in place.
- Next, take a 5×8 piece of black ribbon and apply the adhesive tape runner to the back. Wrap around the center of the paper towel roll for Santa’s belt and press the adhesive into the roll.
- Make sure all your seams are in the same location when we do each step of this process.
- Now I’m going to make Santa’s little belt buckle. I used iridescent duct tape cut a little wider than the black ribbon. Then, I cut a small square out of the center.
- Be sure to protect your work surface when using a craft knife. I’m using a mat on my work surface but if you don’t have one, put a magazine or something under your project.
- Then, remove the backing and apply to the center to finish the buckle.
- To add the white fringe, hot glue white pipe cleaners around the top and bottom of the paper towel roll. After the glue has dried, our napkin rings will be ready for a holiday dinner!


