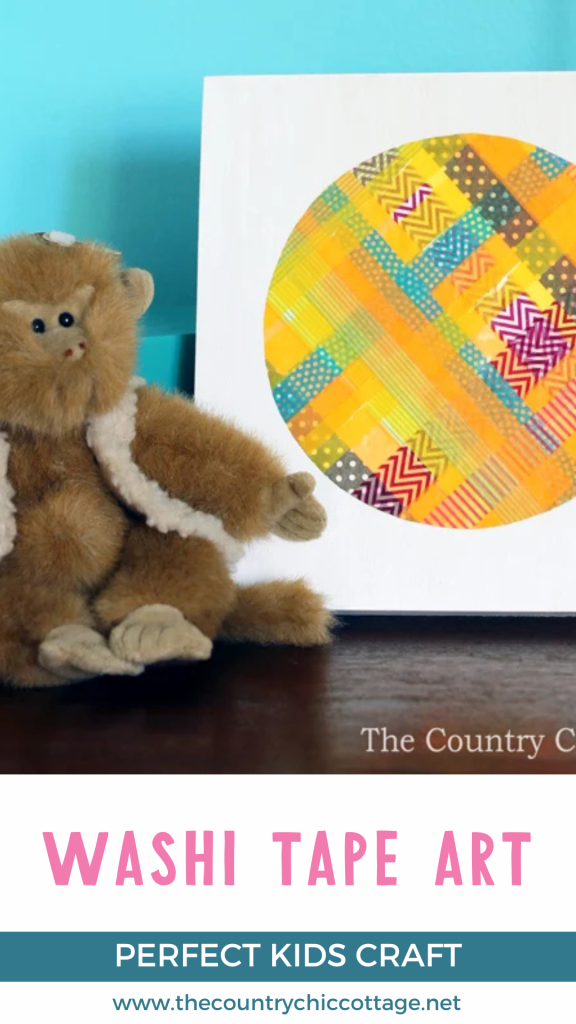
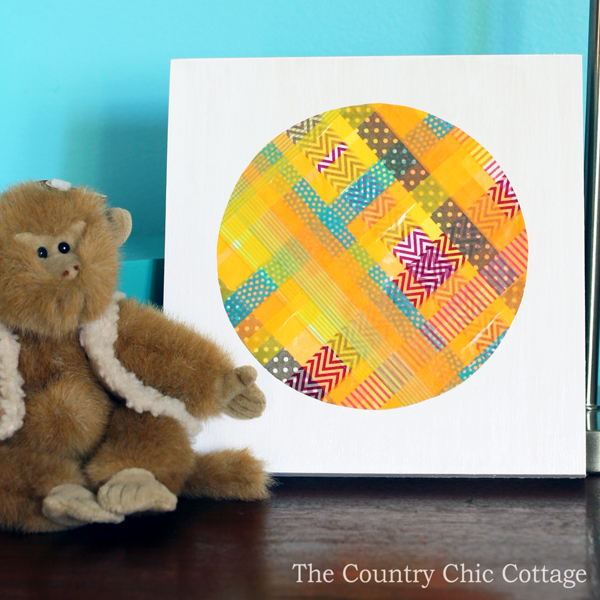
Washi tape art is a simple project to make and perfect for kids to get involved! They can make their own one-of-a-kind art in any shape and pattern they wish. Once you learn this technique for using washi tape in your projects, you will think of all sorts of possibilities!
Washi Tape Art
I've got a ton of great kids' crafts on my site. I think crafting with kids is a great way to bond with your children and get their creative juices flowing.
But sometimes, you don't have the energy to drag out paints, smocks, and a host of art supplies to entertain the kids for 30 minutes, so if you are looking for a simple craft that won't be splashed all over the kitchen, this is a great place to start!
Or, if you have an abundance of washi tape that needs to be used up, this is a great way to use it and admire it at the same time!
Supplies Needed To Make Your Own Washi Tape Art
- Wood canvas (I used a 6×6)
- White paint
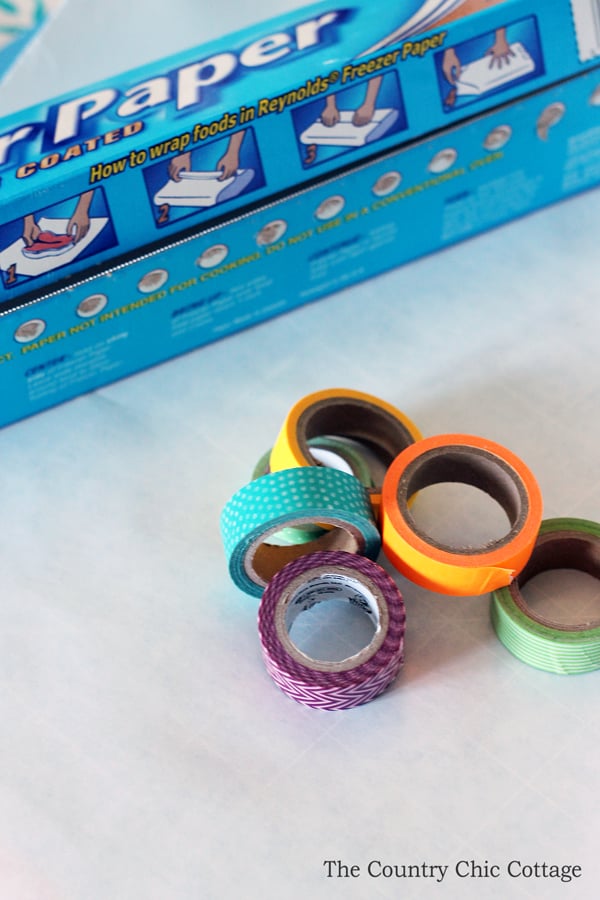
- Freezer paper
- Washi tape
- Mod Podge
How To Make Washi Tape Art
Step 1: Paint Wood Canvas
Start by painting the wood canvas with a few coats of paint. Set aside to dry.
Step 2: Trace A Circle Onto Freezer Paper
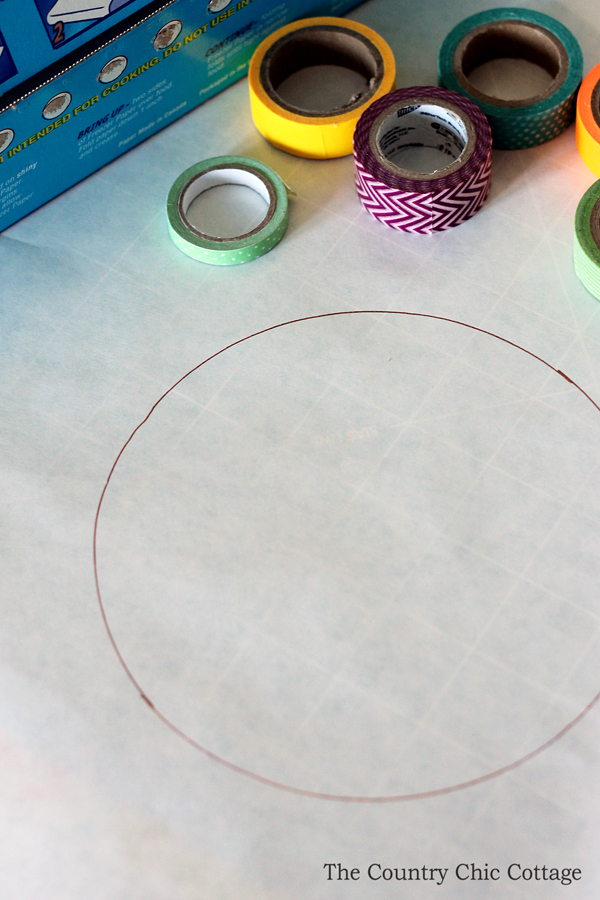
Then, trace a circle onto the shiny side of your freezer paper. Make it the size you want your finished circle to be on your piece.
If you don't love the circle, experiment with different shapes for your unique spin on this project. The possibilities are endless with this technique!
Step 3: Add Washi Tape To Freezer Paper
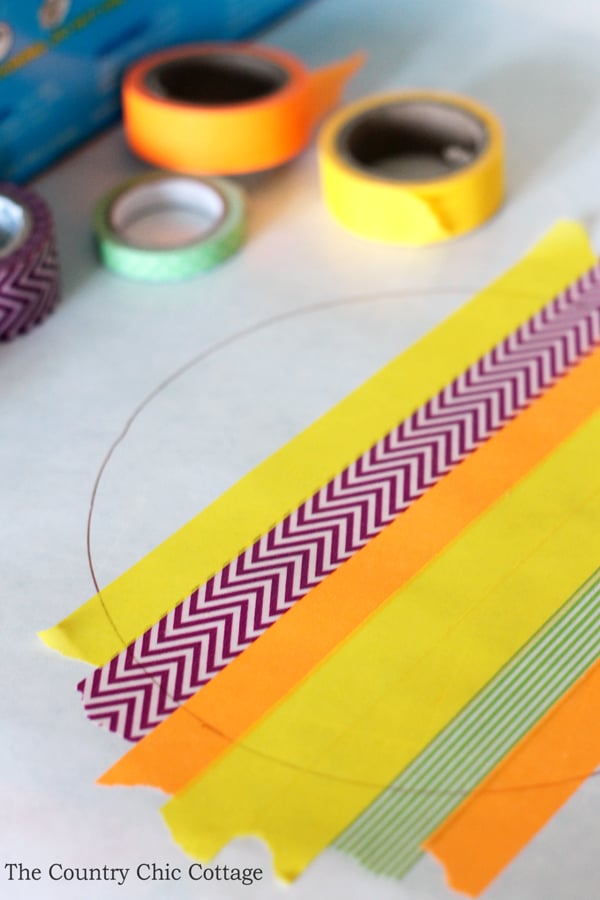
Place your washi tape in random order across the circle. Be sure to go past the outside edges of the circle. The only important part is that, on this first layer, the tape needs to overlap and completely cover the circle.
Step 4: Keep Adding Layers Of Washi Tape
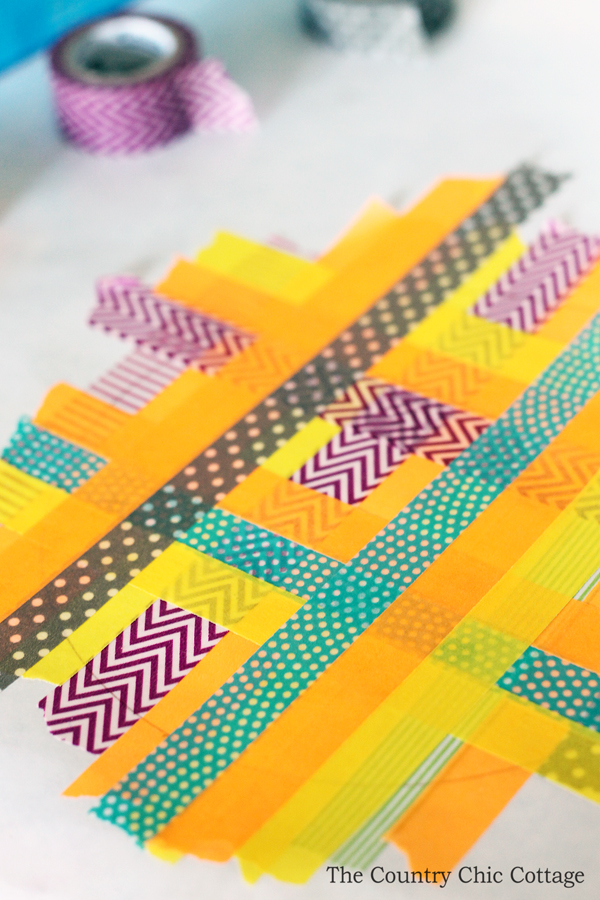
Then, just keep layering on tape strips in various directions until you are happy with the results. Seriously, as much as you would like. If the kids are doing this project, let them go wild!
Step 5: Cut Out Circle
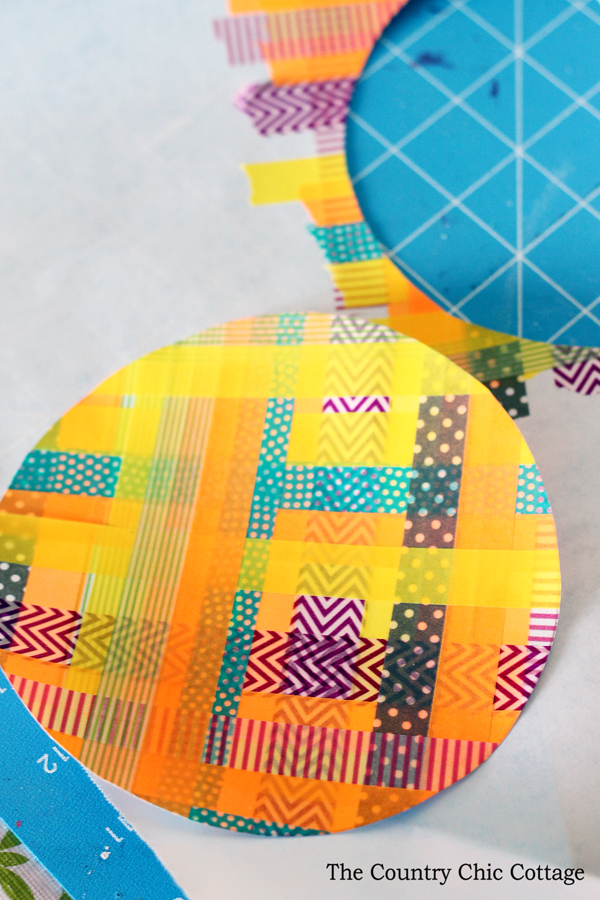
After your shape is covered and has the perfect look, cut out the circle along the line you traced.
TIP: Turn the freezer paper over, and you should be able to see the line well enough to cut by.
Step 6: Peel Freezer Paper Away From Washi Tape
You can then peel away the freezer paper from the back of the tape. Yes, like a huge washi tape sticker. Go slowly and make sure your tape stays together, but it should work great.
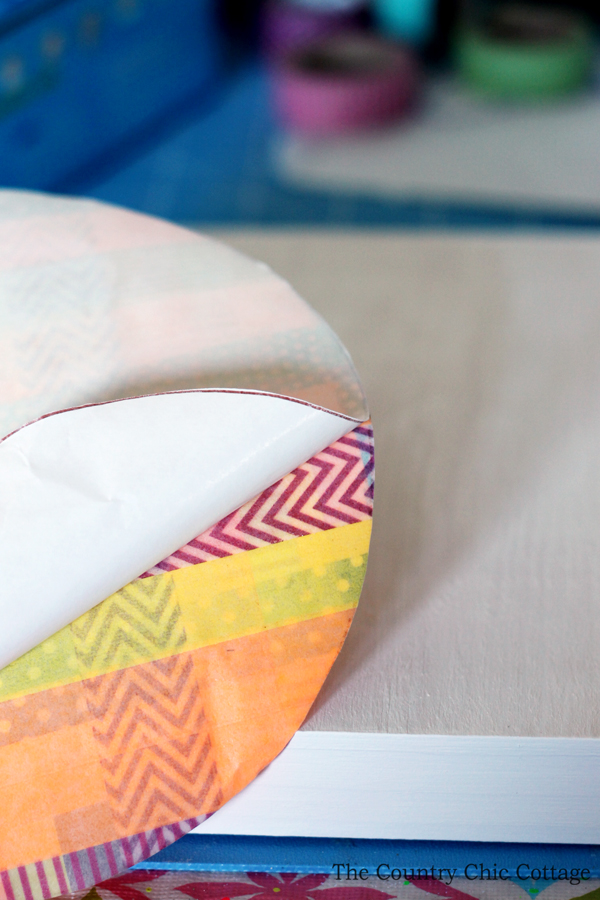
Step 7: Adhere Washi Tape Circle To Wood Canvas
Then, adhere your sticker circle to the center of your wood canvas.
Step 8: Apply Mod Podge To Washi Tape
Then, apply the Mod Podge to cover the top. Go over the entire canvas with the decoupage material. You want this little washi tape art to last a really long time. Allow the entire thing to dry and then go over with a second coat if desired.
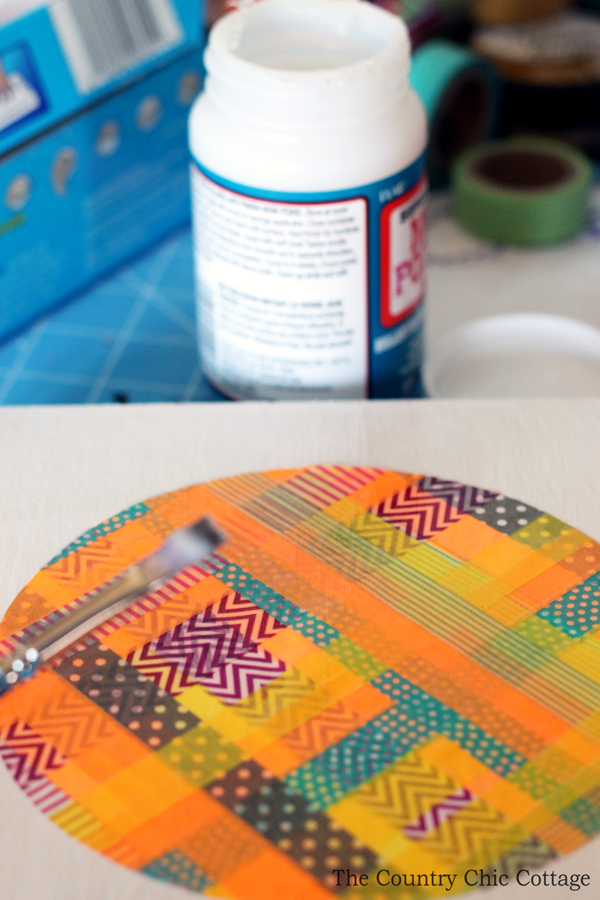
Place your gorgeous washi tape art anywhere in your home. My daughter has this one in her room, but the tape's color can be changed to match any room in your home.

This would also be a great idea to make with the kids and give to grandma for the holidays. I love a handmade gift idea made by the kids that looks perfect to be displayed all year!
Tips and Tricks for Washi Tape Art
Now that you’ve seen this washi tape art, are you ready to make your own? Here are a few tips and tricks to ensure your project goes as smoothly as possible!
- Always Pick A Wood Canvas – Usually, I would say that you can make a project on both wood and regular canvas. However, in this case, I would always choose a wood canvas because it's smoother compared to a regular canvas, and the washi tape sticker will adhere better.
- Don't Skip The Freezer Paper – As tempting as it might be to skip the freezer paper, don't do it! Using the freezer paper makes this project so easy to assemble, and allows you (as mentioned above) to turn your washi tape circle into a sticker.
- Change The Shape – If you don't want to make a circle, you can change the shape to a square, triangle, heart, etc. You could even Google silhouette images of animals and use those as your shape. With that being said, the only thing to keep in mind is that you want your shape to be simple (or easy to cut out) and not overly complex.
- Pick A Holiday Theme – In the above project, I went with an ”everyday theme” and used regular washi tape. However, you could make your art using themed washi tape to represent different holidays! Below are some themed washi tape ideas, along with the shape you could choose to make your own holiday art!
- Valentine's Day washi tape
- Shape: Heart
- St. Partick's Day washi tape
- Shape: Four-Leaf Clover
- Easter washi tape
- Shape: Egg, Bunny
- 4th of July washi tape
- Shape: Star, Flag
- Halloween washi tape
- Shape: Pumpkin, Ghost, Bat
- Christmas washi tape
- Shape: Gingerbread, Tree, Ornament
- Valentine's Day washi tape
5 More Washi Tape Crafts
Love this washi tape art and want more washi tape crafts? Then check out the projects below!
- Washi Tape Ornaments
- Washi Tape Instagram Frames
- DIY Washi Tape Bandages
- Washi Tape Owl Ornaments
- Easter Mason Jar with Washi Tape
