Do you enjoy making your own Christmas ornaments? Try these plaid Christmas ornaments for a perfect rustic Christmas touch!
Christmas ornaments are just so much fun to make! They’re a cheery and festive part of your Christmas decor, and they also make terrific handmade gift ideas. There’s really no downside to Christmas ornaments!
For that reason, I seem to always be coming up with new Christmas ornament design ideas. And today I have a new one for you: plaid Christmas ornaments!
If you love Christmas ornaments as much as I do, check out my DIY Paper Ornament, DIY Stained Glass Christmas Ornament, and Red Truck with Christmas Tree Ornament.
This was first published on November 16, 2015, however, I am republishing with more information.
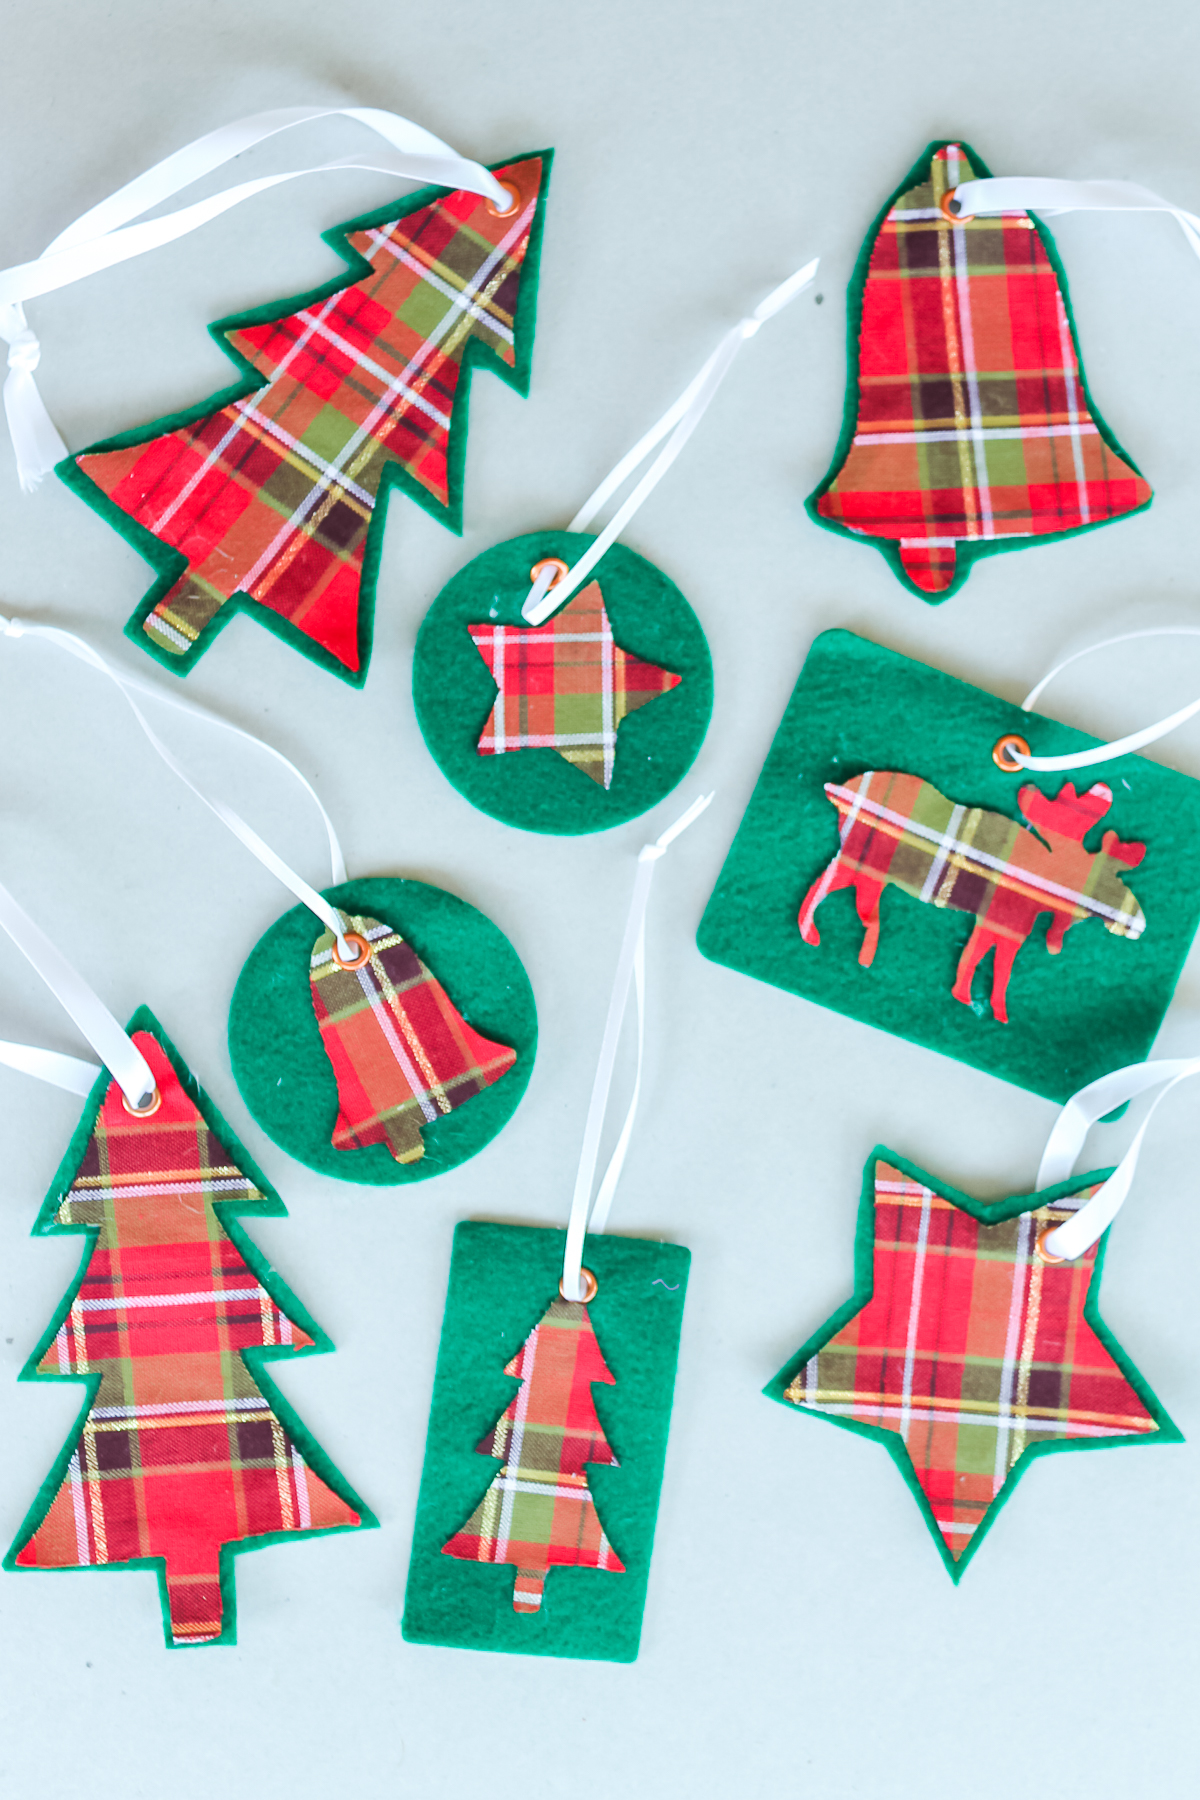
Plaid Christmas Ornaments
Here’s a list of what you’ll need to make this craft project. I even added links for some items to make finding them easier!
Supplies needed:
- Plaid fabric (I actually picked mine up at Walmart.)
- Green felt
- Cricut with SVG file below uploaded to cut
- Fabric Interfacing (alternatively you could use the Cricut Maker with the fabric mat and rotary blade)
- Hot glue gun and hot glue
- Cropadile (with grommets)
- Ribbon
- Scissors
Christmas Ornaments SVG File
Ready to get the file to make these plaid Christmas ornaments? Just sign up for the newsletter in the box below and the file will be sent to your email address. Look for a box below with a picture of the file you would like and add in your information. If you already get the newsletter, just add in your information again as you will not be signed up for anything further. Once you get the email, use the file to upload to your Cricut machine to cut.
This file is for personal use only. If you have any issues getting the file, feel free to email me and I will try to help.
How To Make These Plaid Ornaments
Today I’m showing you how to make your own plaid Christmas ornaments! Here’s how to do it!
Plaid Christmas Ornament Video Tutorial
I have a short 5-minute video for y’all where I explain just how you can make your own plaid ornaments. Just hit play below.
So easy right? If you can’t see the video or are having trouble following the steps, here are brief written instructions.
Step 1
First, you will need to upload the SVG to your Cricut machine to cut the fabric. Remember that you can use either a Cricut Explore or a Cricut Maker for this project. You can see more about uploading files here.
Step 2
If you are using the Cricut Explore, add interfacing to the back of your fabric using an iron before cutting. The interfacing side of the fabric goes onto the mat. I used a deep cut blade and the fabric setting on the machine. If you are using the Cricut Maker, no interfacing is required as you can use the rotary blade instead. I will note that if you don’t use interfacing you could have issues with your fabric fraying depending on the type you choose.
Confused about cutting fabric? See the Cricut fabric cutting post here.
Step 3
Remove the cutouts from the mat. Note: you might have to trim some strings with scissors to remove them.
Step 4
Then use the hot glue to put your cutouts onto the felt. You could also sew the fabric pieces onto the felt.
I originally did this with scented hot glue, but it looks like the company no longer makes it. I’d recommend using regular hot glue, then adding scent after with essential oils or spray.
Step 5
Trim around your felt either in the shape of the plaid cut out or in a circle, square, or more. You can just use scissors or try the Cricut for this as well. To cut felt on the Cricut Explore, you will need a stiff felt. To cut felt on the Cricut Maker, I like using the rotary blade. See more about cutting felt with a Cricut here.
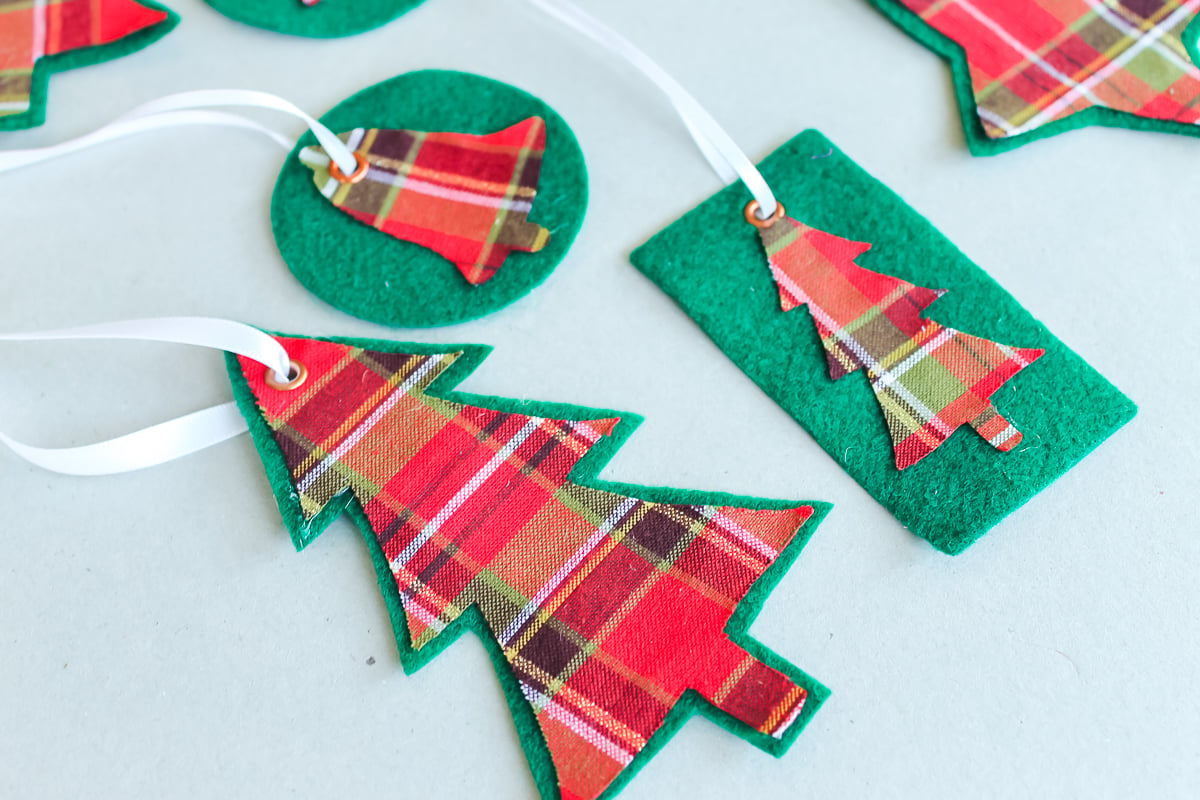
Step 6
I punched a hole and added those eyelets with my Cropadile. I would highly recommend getting one of these as I reach for it all the time y’all! Then just thread in ribbon for hanging on the tree.
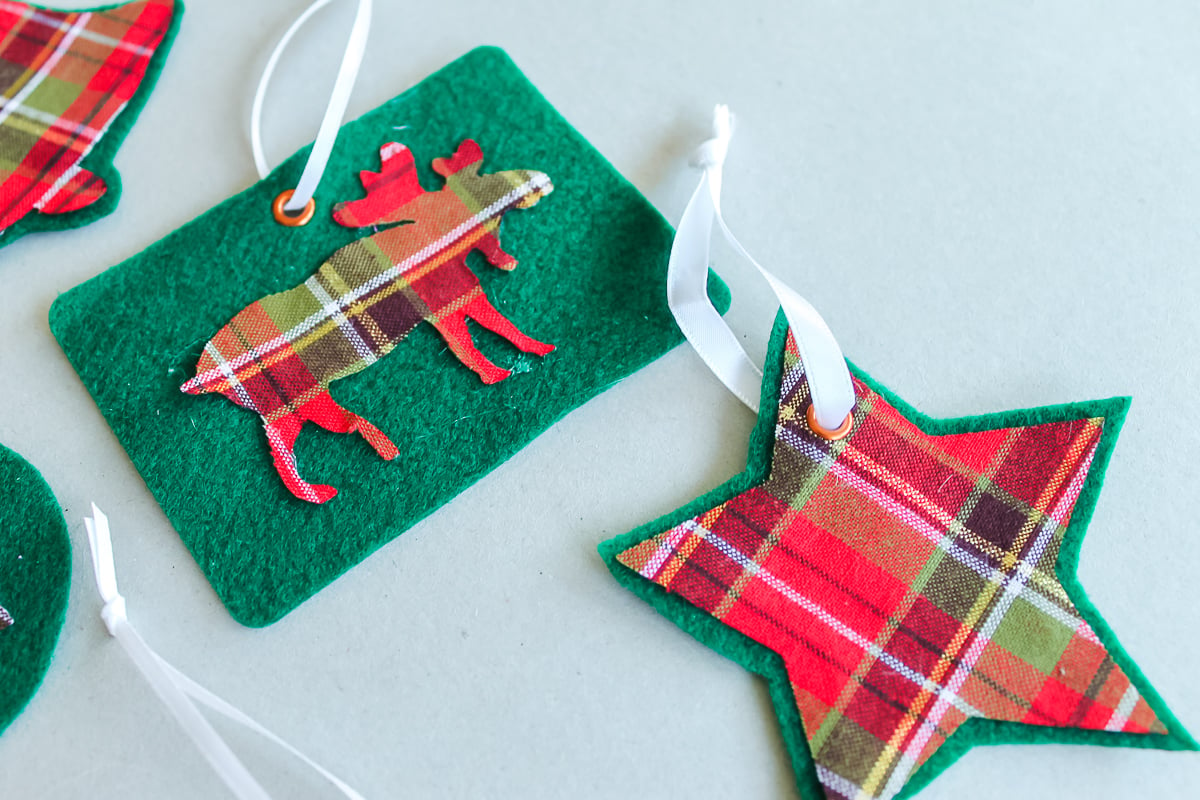
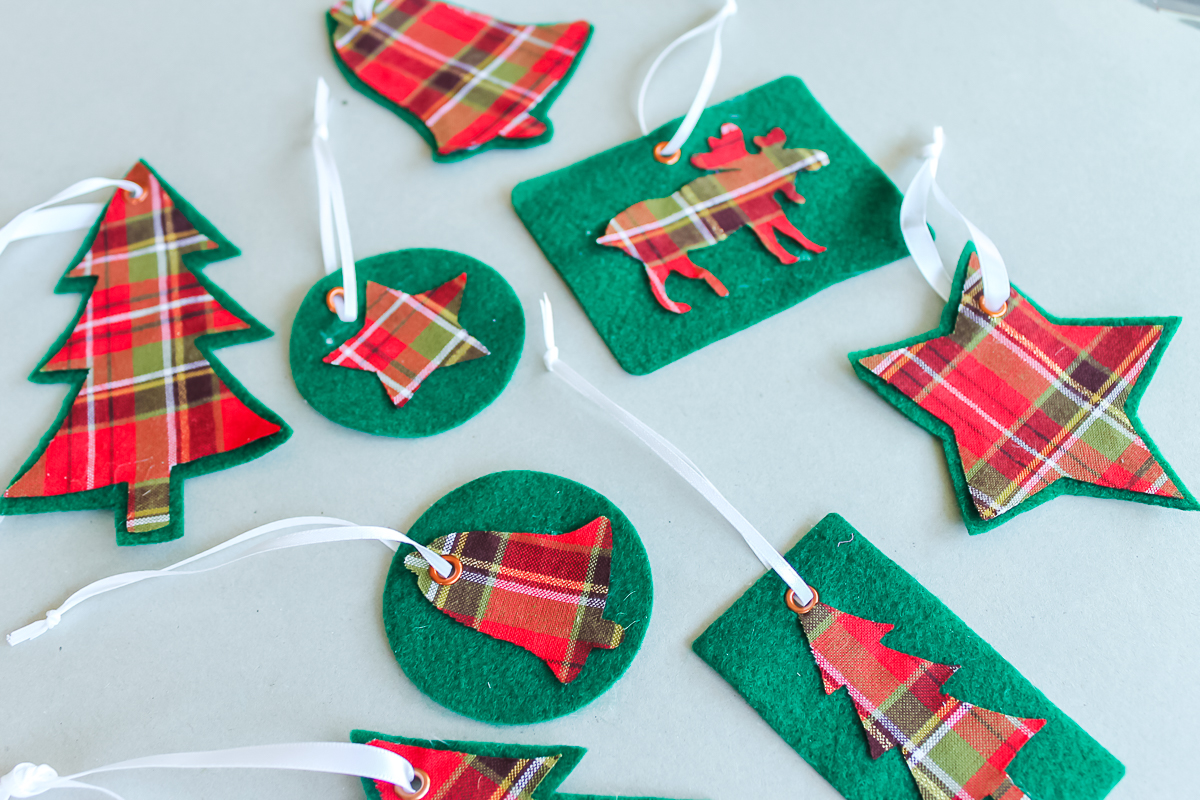
That is it! Your plaid Christmas ornaments are complete and ready to hang on the tree. I made quite a few of these as I am planning on having a plaid tree this year. I just love plaid holiday crafts.
Plaid Christmas Ornament Idea FAQs
Here are a couple of questions I commonly see readers ask about this project. If you have a question but don’t see it down below, please leave it in the comments so I can answer it for you.
Can I use different glue for these ornaments?
While you could use craft glue, I have found that hot glue works best with securing these fabric pieces.
What can I use in place of ribbon to hang these ornaments?
I love the way that ribbons look. You can play around with the colors and sizes. However, if you’d like a more rusted look, use jute twine. Another option about be string or embroidery floss.
Do I have to use the grommets?
You definitely do not! Just a plain hole or even a slit would work instead.
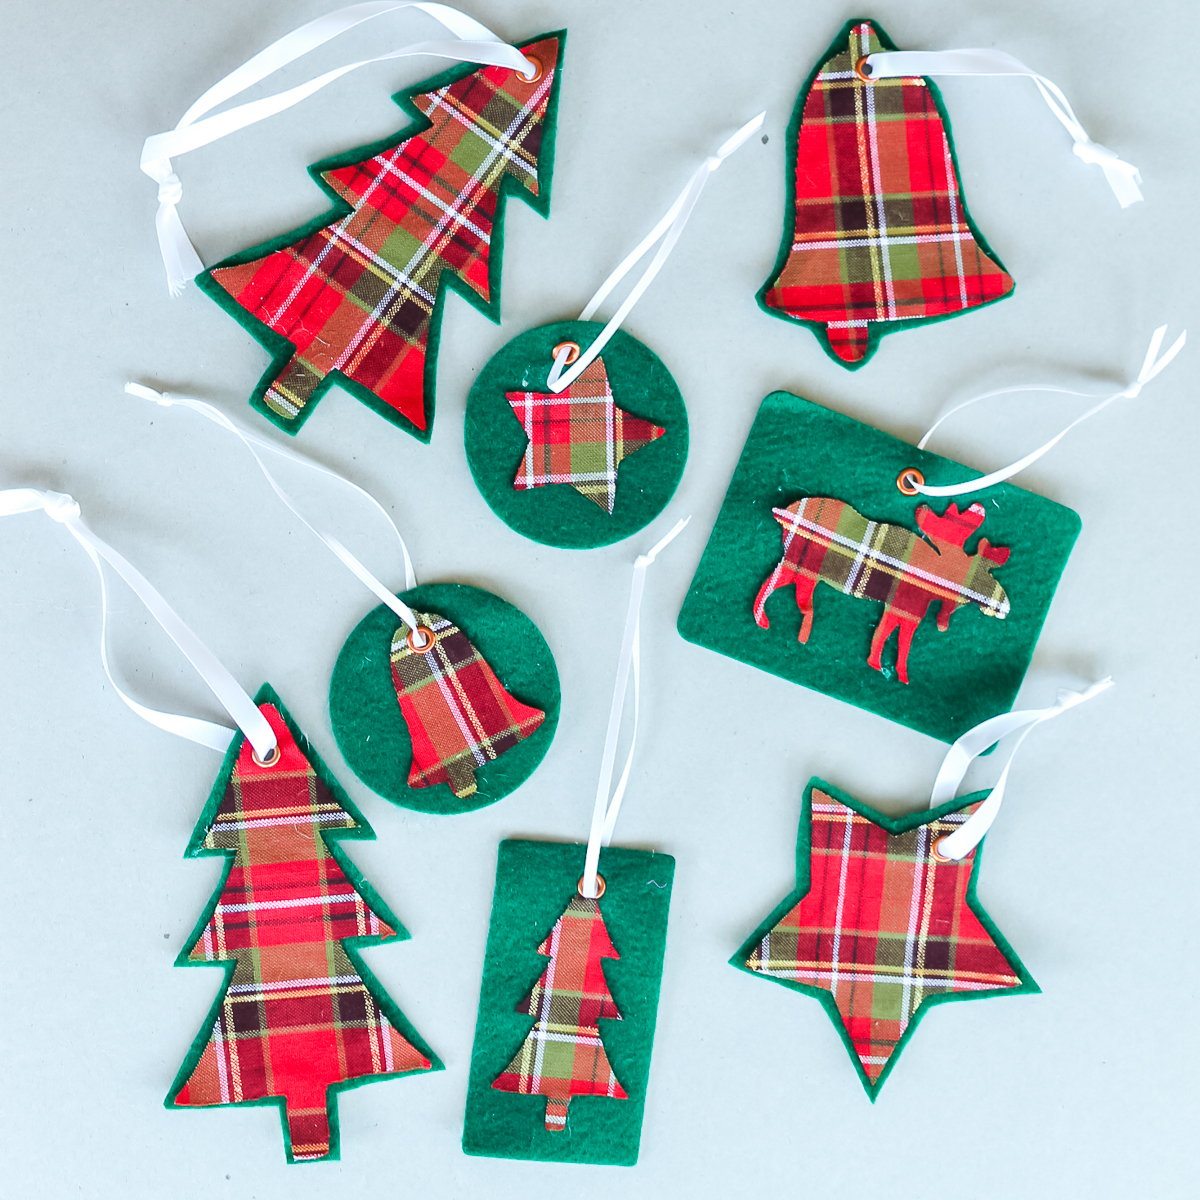
These plaid Christmas ornaments will look beautiful all over your tree. If you love anything plaid or rustic, this is one craft you’ll want to make in spades! These ornaments as well as my Painted Plaid Ornaments also great handmade gift ideas.
More Christmas Ornament Inspiration
Do you love this idea and want even more quick and easy plaid ornament ideas? Check out the links for more ideas below!
- DIY Gold Frame Ornament
- DIY Glitter Mini Mason Jar Ornament
- Initial Ornament Made with Glitter Paint
- Christmas Llama: A DIY Ornament Idea
- Canning Lid Snowman Ornament
- DIY Rudolph Ornament
Supplies
- Plaid fabric
- Green felt
- Cricut
- Fabric Interfacing
- Adtech hot glue gun
- Glue sticks
- Cropadile (with grommets)
- Ribbon
- Scissors
Instructions
- Upload the SVG to your Cricut to cut the fabric.
- Add interfacing to the back of your fabric before cutting. Used a deep cut blade and the fabric setting on your Cricut machine.
- Remove the cutouts from the Cricut mat. You might find that you need to trim some strings with scissors in order to remove them.
- Then use the scented hot glue to attach your cutouts on the felt.
- Trim your felt. You can do it in a couple of different ways. Either trim it in the shape of the plaid cut out or trim it in a large basic shape such as a circle or square.
- Punch a hole and add the eyelets with a Cropadile.
- Then just thread in your ribbon to hang it on the tree.


This is really interesting & nice idea 🙂
these turned out amazing! I love plaid anything! 🙂
I love them, they’re really cute!
If you have time, I would love for you to share this post over at the Holidays Celebration link party that is live right now! It’s such a neat idea, I’m sure our readers would love it too! http://keepingitrreal.blogspot.com.es/2015/11/holidays-celebration-link-party-2-is.html
These are really lovely!
I’m really enjoying all the plaid decorations I am seeing this year. These decorations are super cute. Somehow they just make you feel warm and cozy.
Lovely ornament DIY.Thanks for joining the Inspiration Spotlight party. Pinned & shared.
They are so cute! I was planning to have something similar in my next post 🙂 Have a great week ahead!
Shantana
Don’t understand how you get the sticky stuff on the back.
With an iron. Follow the instructions on the package.