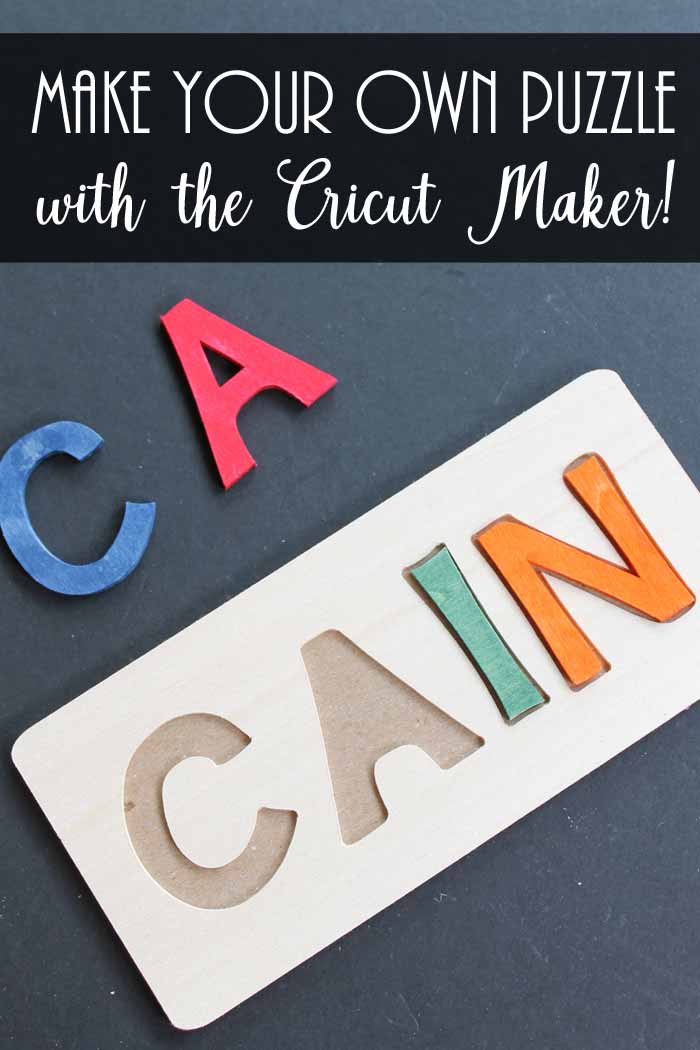
Wooden name puzzles make great gift ideas and fun bedroom decor pieces for kids. And with your Cricut Maker, they’re easy to make! Here’s how to easily make your own custom name puzzle.
If you have a Circut Maker, you have the ability to make all kinds of fun and creative projects! Today I have a great wood craft idea that you can make as a fun, personalized gift idea or you could even make it to sell on Etsy. I also like to make them and give them as gifts for a new baby because they make a fun addition to the nursery.
Did you know that you can make your own name puzzle? Yes, a personalized name puzzle is super easy to make with the Cricut Maker and the knife blade. Here’s how to make a custom name puzzle in just minutes!
DIY Name Puzzle Supplies Needed
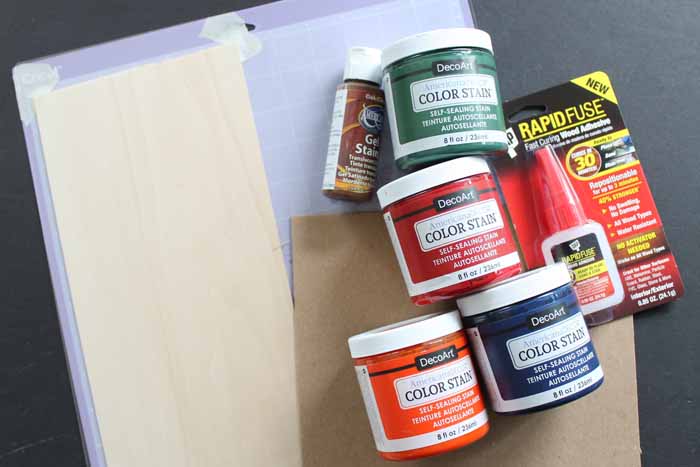
Here’s what you’ll need to complete this project. I’ve included links to help make finding specific items faster and easier. Please note: many of these links are affiliate links which means that if you purchase by clicking through my link you don’t pay anymore, however, a portion of your purchase will go to support this site.
- Cricut Maker (Click here to learn about the differences between the machines.)
- Knife Blade (Click here to learn more about the blade.)
- 1/16″ Basswood sheets
- Cricut Strong Grip Mat
- 2 mm chipboard
- Masking tape
- DAP RapidFuse Wood Adhesive
- Americana Color Stain (in as many colors as you would like)
- Paintbrushes
- Rags
How to Make a Name Puzzle with Cricut Maker
Your first step is to actually design the name puzzle you are going to cut. Since each personalized name puzzle is different, you will need to design your own.
Designing a Wooden Name Puzzle in Cricut Design Space
I’ve broken down the entire process into very manageable bite-sized pieces. Simply follow these steps.
Step 1
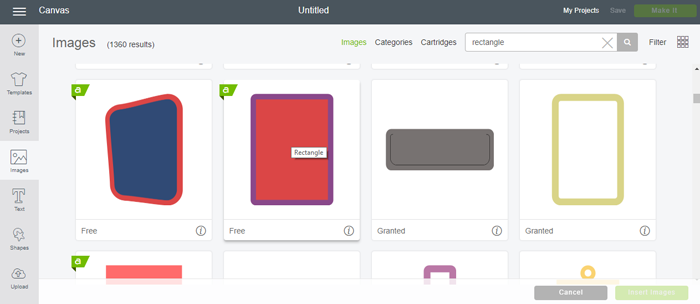
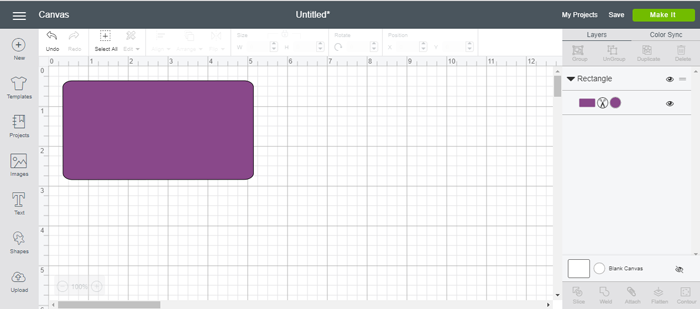
Start with the rectangle piece by searching the image tab for “rectangle”. There is a rounded corner version that said “free” on my version of CDS. Choose that and add it to your canvas.
Step 2
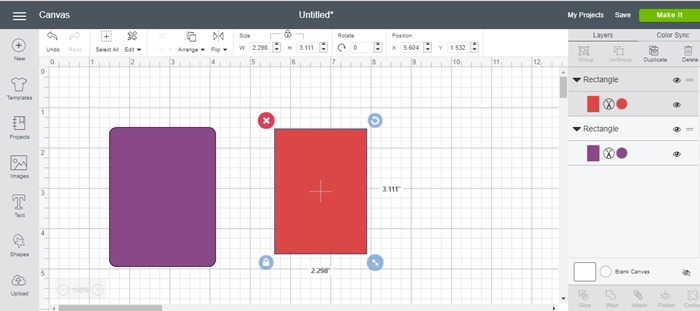
This particular rectangle has two pieces. Ungroup and delete the one without rounded corners.
Step 3
Turn the rectangle as shown.
Step 4
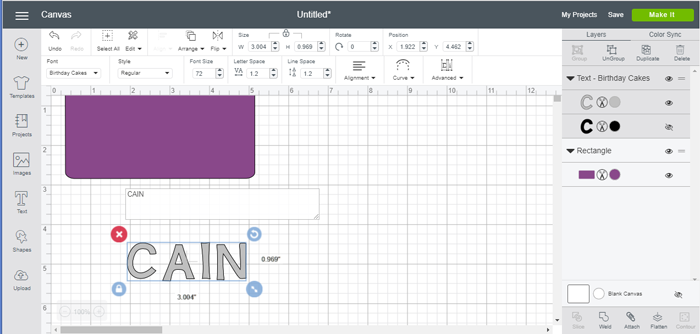
Next, add your text. The “Birthday Cakes” font is perfect for this project.
Step 5
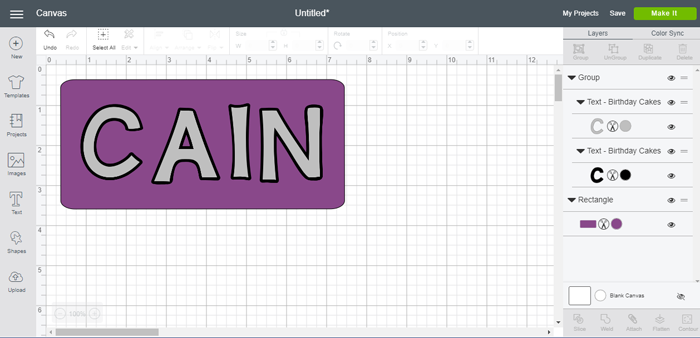
Then, pick your text and click the eye next to the black version of the text. Move the font to your rectangle and resize everything to fit.
Make your puzzle any size that you like. Keep in mind the size of your basswood when doing so as this comes in odd size sheets. Then ungroup the text into two pieces.
Step 6
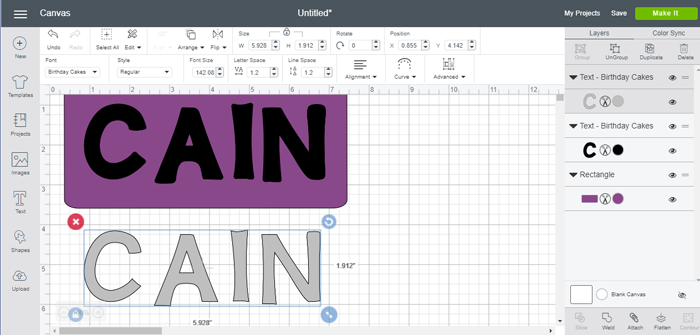
Move the top (gray) letter piece off. This will ensure that your letters are slightly smaller than the cut out in your puzzle.
Step 7
Make a copy of your rectangle.
Step 8
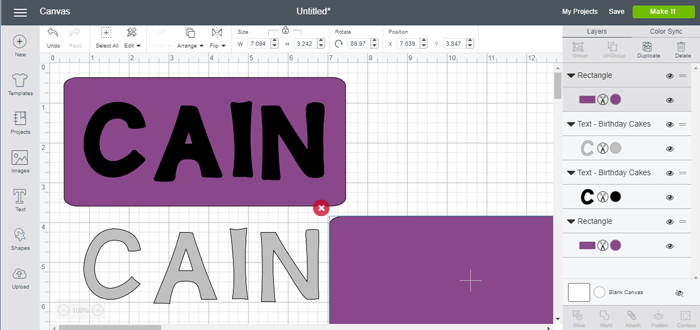
Choose the name on top of your first rectangle along with that rectangle and pick slice. This will remove the letters from the actual rectangle. Move the two words off and delete them.
Step 9
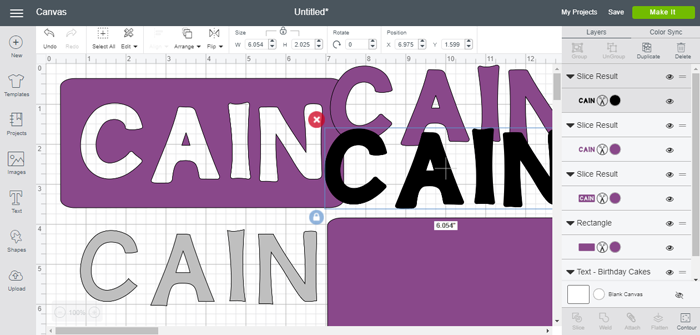
Now turn your second rectangle a different color and make your name pieces the same color as the rectangle with the name cutout.
Step 10
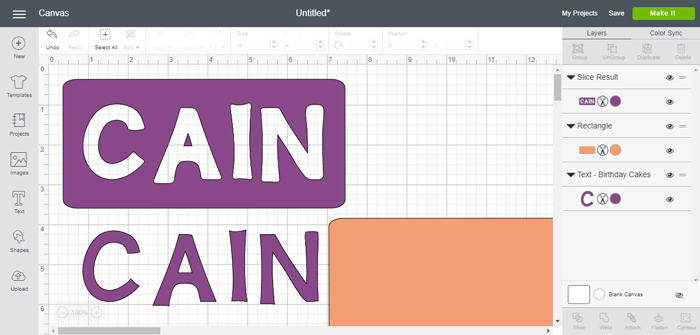
Then duplicate your name. Ungroup both of your names into letters with the menu option shown below.
Step 11
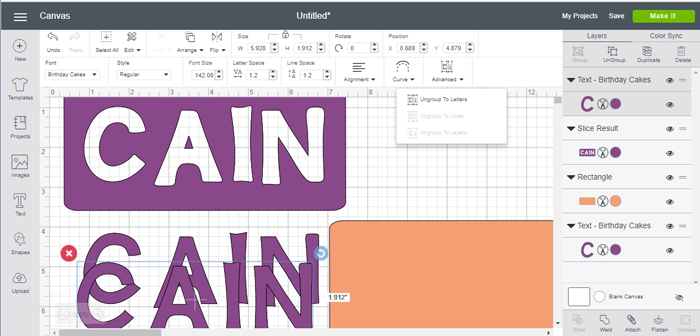
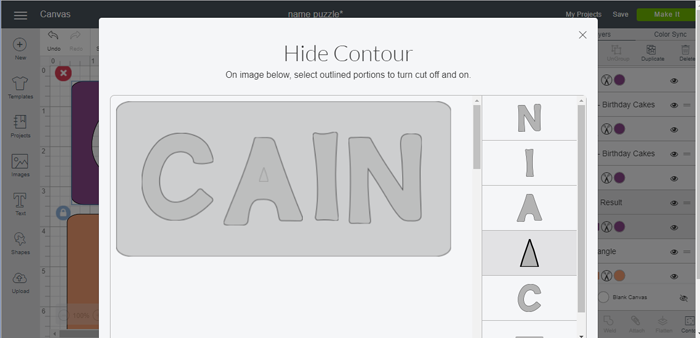
If your name has centers to any letters, pick the rectangle with the name and click contour. Pick any centers here then press the “x” on the screen. This will remove those from the cut.
Cutting Out Your Personalized Name Puzzle
Now you are ready to cut!
Also Read: How to Cut Wood with the Cricut Maker
Step 1
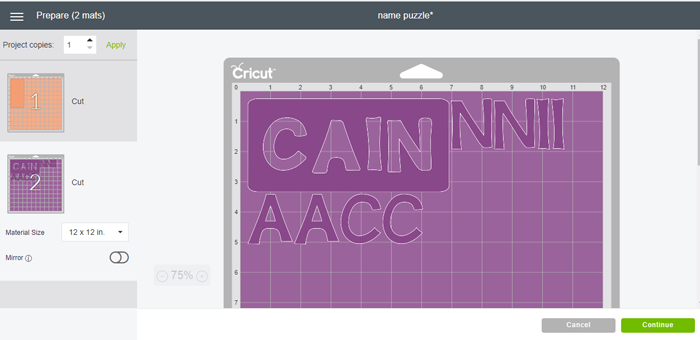
Click “make it” and the following screen will come up. You will probably want to move your pieces around as once again your basswood probably came in weird size sheets.
Step 2
Then pick your machine, material type, and begin your cut with your knife blade inserted. You will need to use the strong grip mat when cutting and use masking tape on all corners when cutting.
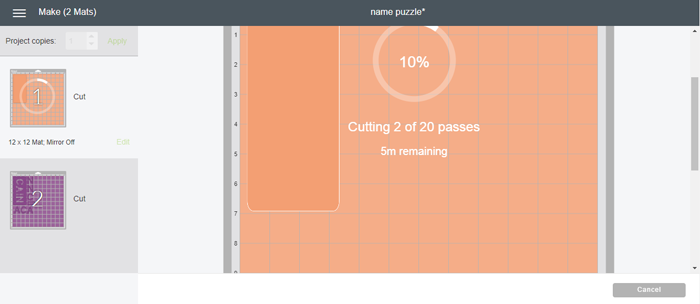
Cut the name pieces from the 1/16 basswood and the plain rectangle from the 2 mm chipboard.
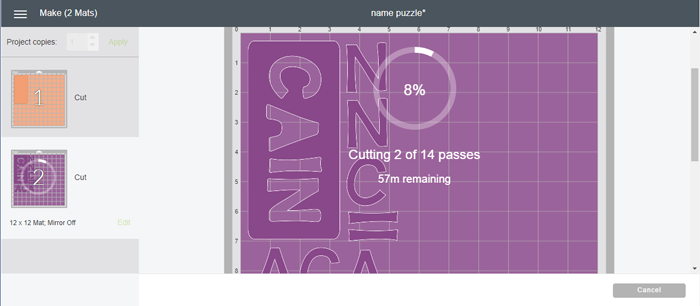
Please note that cuts with the knife blade can take a while. This is considered “hands off” time so you can still make the puzzle in minutes. Just do other things while the Cricut Maker is cutting the pieces.
Grab by tips for cutting your parts with the knife blade
Assembling Your DIY Wooden Name Puzzle
Once your pieces are cut, it is time for some assembly! And yes those cuts are right off of the Cricut Maker. It is simply amazing the cuts you can get on heavy chipboard and wood.
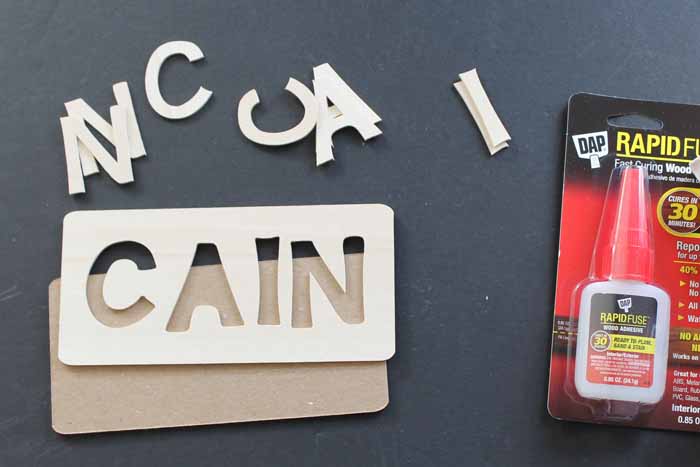
Step 1
Use wood glue to first put the rectangles together. I love this DAP adhesive but you can use any wood glue that cures quickly.
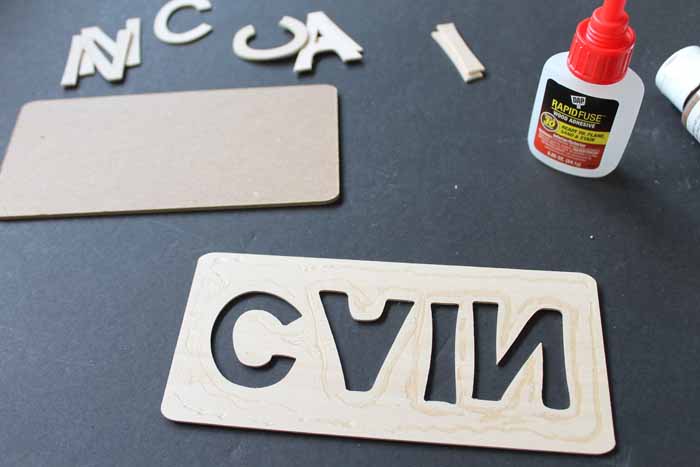
Step 2
You will also want to glue the letters together. Then allow all of your pieces to cure before continuing.
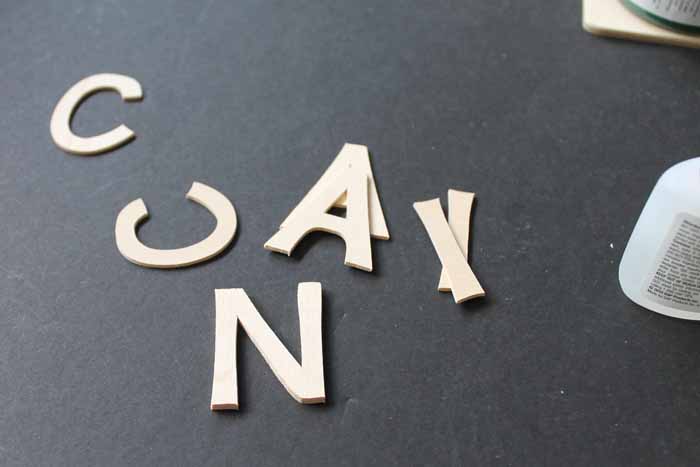
Step 3
Stain or paint your glued letters.
I chose to just stain all of my letters with a different color stain. You can use any stains or paints in any colors you wish. I didn’t stain the actual puzzle portion but you could do that as well!
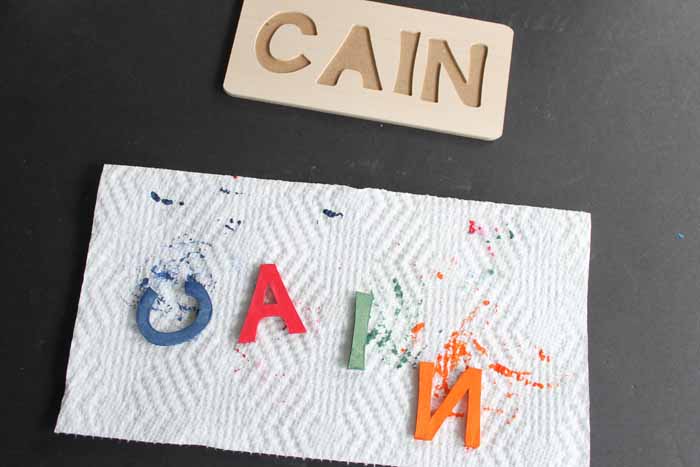
Step 4
Allow to dry completely! You now have a completed DIY puzzle!
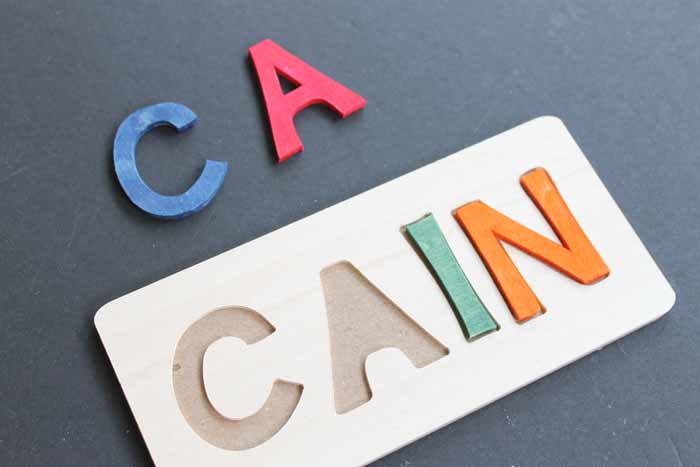
The customization options are endless! Imagine all of the wood crafts you can make with this technique.
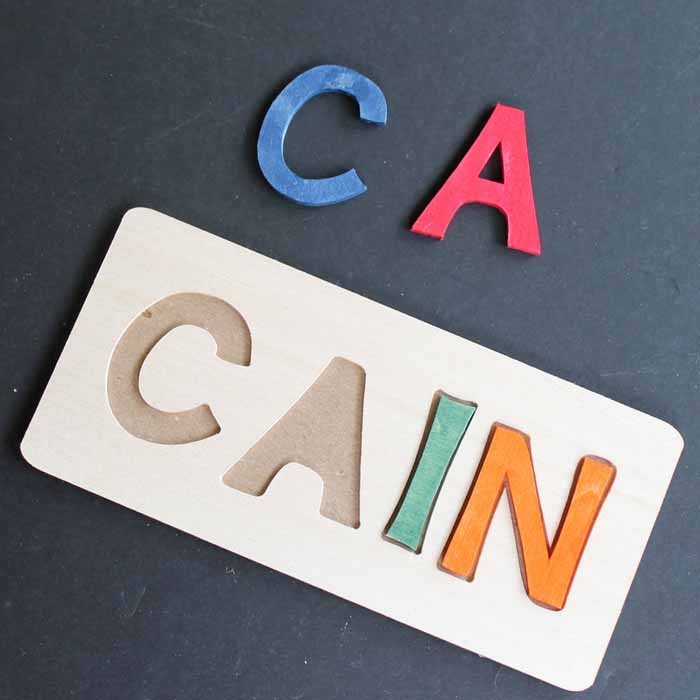
A custom name puzzle makes a great gift idea and is perfect for any occasion.
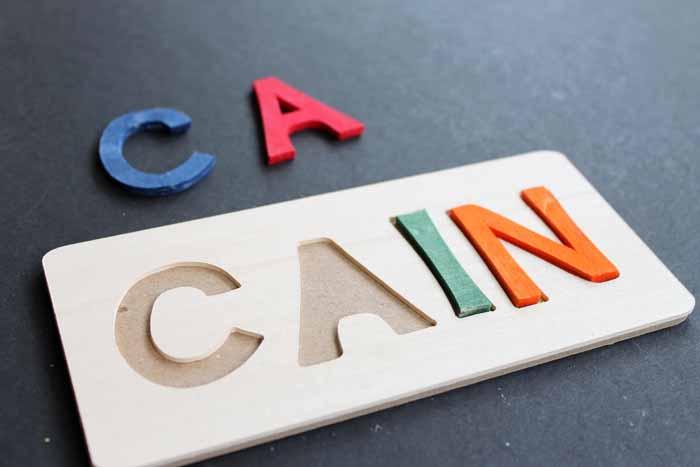
Try These Other Wood Projects!
- Wood Crafts That Take 15 Minutes Or Less
- Wood Blocks Puzzle Handmade Gift Idea
- Rustic Wood Arrow DIY Tutorial
- DIY Wood Coasters with the Cricut Maker
- 40 DIY Scrap Wood Projects You Can Make
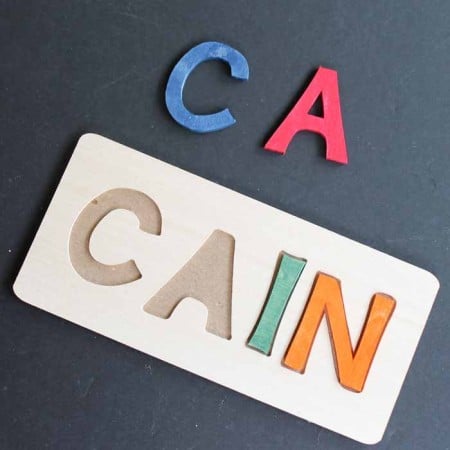
Supplies
- Cricut Maker
- Knife Blade
- 1/16″ Basswood sheets
- Cricut Strong Grip Mat
- 2 mm chipboard
- Masking tape
- DAP RapidFuse Wood Adhesive
- Americana Color Stain in as many colors as you would like
- Paintbrushes
- Rags
Instructions
Designing a Wooden Name Puzzle in Cricut Design Space
- Search the image tab for “rectangle”. There is a rounded corner version that said “free” on my version of CDS. Choose that and add it to your canvas.
- This particular rectangle has two pieces. Ungroup and delete the one without rounded corners.
- Turn the rectangle so that it's long width-wise.
- Next, add your text. I like using the “Birthday Cakes” font for this project.
- Then, pick your text and click the 'eye' next to the black version of the text. Move the font to your rectangle and resize everything to fit. Then ungroup the text into 2 pieces.
- Move the top (gray) letter piece off. This will ensure that your letters are slightly smaller than the cut out in your puzzle.
- Make a copy of your rectangle.
- Choose the name on top of your first rectangle along with that rectangle and pick slice. This will remove the letters from the actual rectangle. Move the two words off and delete them.
- Now turn your second rectangle a different color and make your name pieces the same color as the rectangle with the name cutout.
- Then duplicate the name. Ungroup both of the names into letters.
- If the name has centers to any letters, pick the rectangle with the name and click contour. Pick any centers here then press the “x” on the screen. This will remove those from the cut.
Cutting Out Your Personalized Name Puzzle
- Click “make it”. You will probably want to move your pieces around as once again your basswood probably came in weird size sheets.
- Then pick your machine and material type and begin your cut with your knife blade inserted. You will need to use the strong grip mat when cutting and use masking tape on all corners when cutting.Cut the name pieces from the 1/16 basswood and the plain rectangle from the 2 mm chipboard.
Assembling Your DIY Wooden Name Puzzle
- Use wood glue (any kind that dries quickly) to put the rectangles together.
- Now glue the letters together. Then allow all of your pieces to cure before continuing.
- Stain or paint your glued letters.
- Allow the letters to dry completely. You now have a completed DIY puzzle.
Notes
New to Cricut?

Sign up for our email list to download the Beginner's Guide to Cricut Design Space for FREE today!
Sign up to get the guide emailed to you!


This puzzle is fantastic! Is there anything you can’t make with your Cricut? LOL Don’t answer, I already know how creative you are!
I love this! I have a new Cricut Maker and I haven’t done much with it yet! Love this idea! I pinned it for later!
Thanks!
Love this idea Angie, it would make a lovely gift for a little person who’s just learning to write their own name. So much fun
It’s an awesome idea! endless possibilities. Since this is aimed at young children, are suggested resources safe for children? Especially if young children who tend to put everything in their mouths.
Thank you a lot
Because of the size, I would only do this one for children 3 years and older. The wood stain used is non-toxic. Hope that helps!
This is awesome also my last name is Cain! 😄
Hello! Why did you use Basswood for the letters and chipboard for the base? Thanks!
The Cricut can cut thicker chipboard than basswood and I wanted something sturdy and thick for the base.
I’m very confused about how to make steps 4-6 work with a different font. I don’t want to use the suggested cake font.
You will have to look for the same type of font that has an optional layer that is larger.
I am trying to make this for a student in my school that can not spell her name. I am a new Cricut owner and I’m stuck with duplicating the name and creating another shape. I did it but I am trying to take the letters out and I am having trouble. Is there a video for this AWESOME creation?
I don’t have a video Tia! Sorry! Are you doing it on a computer?
Hello, thank you for sharing! Can you use a different size chip board or could you link one off of amazon that is the correct one please? Cricut has not been in stock, thanks!
Try searching for 1.5 mm chipboard on Amazon. You should be able to find some!
Which size did you purchase for this project as I don’t want too much wasted product:) I’ve searched 1.5 mm chipboard and there are various sizes. thank you
I used 11×11 sheets for my chipboard and basswood. I like the Cricut brand of both best and that is generally what you get from them.
Also what size basswood for you use as this also comes in many sizes? Thank you
I would love to see a video tutorial of this puzzle and a 3d puzzle! My projects go so much smoother when I follow along with your videos!
Thanks!
Music is louder than your voice track. 🙂
Hi I know this post is quite old but just have a quick question. If using birthday cake font and lower case font do you need to do the contour step? Eg: with the Charlie would you contour the aie?
I would contour the a and the e. Not sure how you would do an i in lower case without getting a super small dot?
Mine was a fail :(. It cut for almost 3 hours with me having to push go after about the 5th pass. It never cut through except in one spot and it cut the mat. Any tips? I can’t figure out why it didn’t cut. Used chipboard and 1/16 bass wood.
First I would say to be sure you are using a good chipboard. I have the best luck with the Cricut brand. Then which were you trying to cut that took 3 hours? You said chipboard and basswood but which one?
Is is possible to do this one my phone? I created it all on my phone but am having an issue with even finding basswood when looking up materials
You can’t use the knife blade on mobile.
Super cute! Instead of using stain for the letters, do you think the Smart Sticker Cardstock would stick on the wood? I have some of that and wondered if I could just cut that on my machine and lay it over the letters, instead of stain.
Super cute though. Planning to make this sometime. I’m new and only have a few projects under my belt.
I don’t think it would stick well!
What type of paint would you recommened?