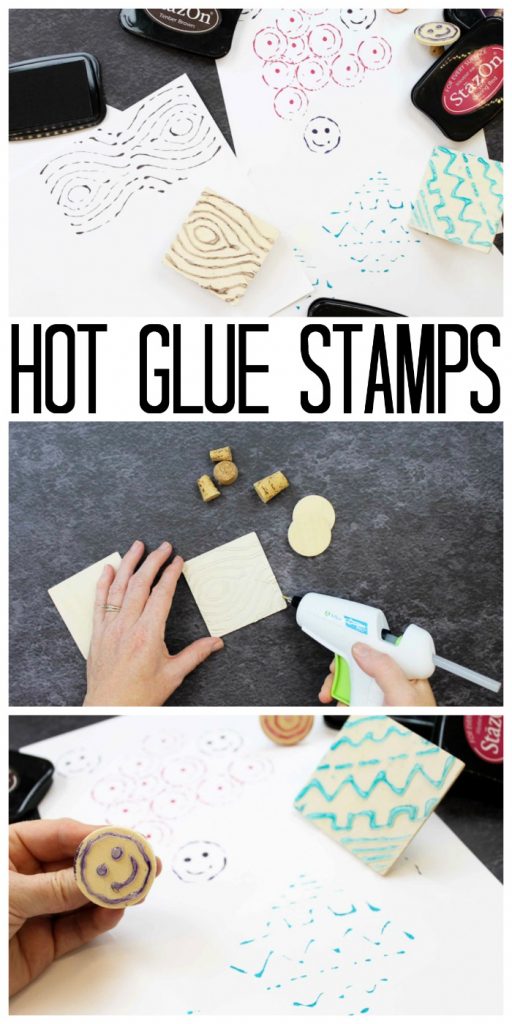
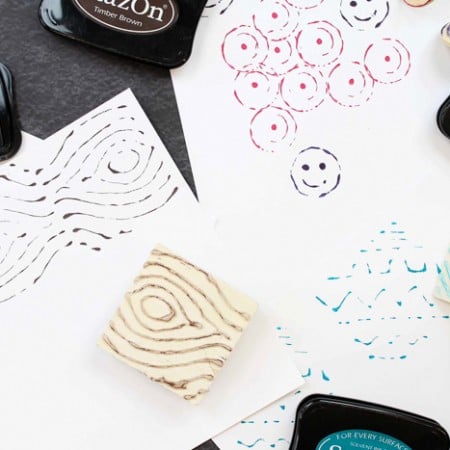
Grab your hot glue gun and learn how to make your own stamp today. Yes, it is THAT easy — adults and kids alike will have a blast making custom stamps with hot glue. My easy how-to stamp-making guide will have you stamping up a storm in no time. Plus, I have some important information on my hot glue book that you don’t want to miss!
I originally shared this easy craft idea as part of my Craft Lightning series. If you missed any of the fun from that week, you can recreate the series with these hot glue crafts.
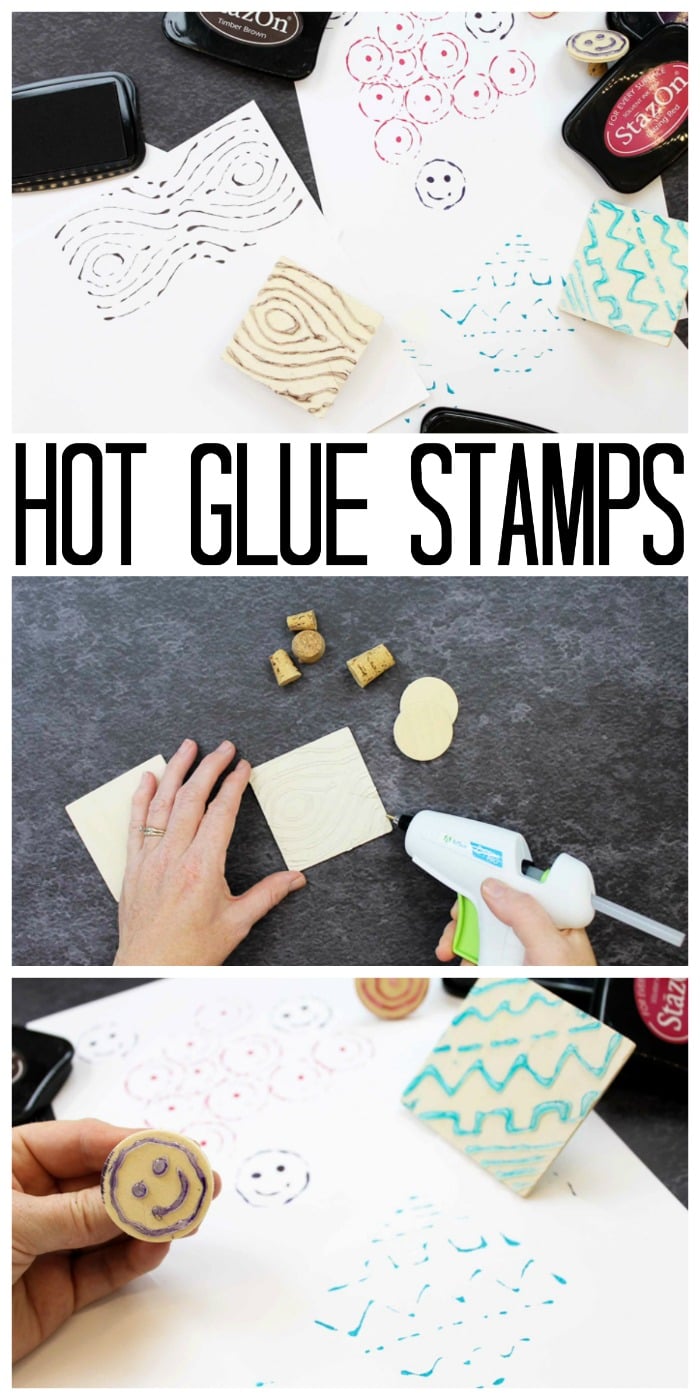
Make your own stamp using a hot glue gun:
When I was in middle school, I went through a huge stamp-loving phase. No, not the kind you use to mail letters, but the kind that comes with (sometimes messy) ink and different colored paper. Such a simple craft, but it yields such a great reward!
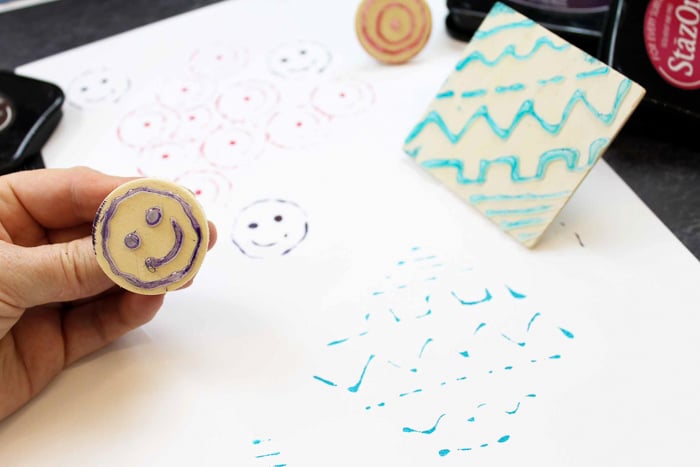
These hot glue gun custom stamps aren’t going to give you the most crisp prints, but they are so fun to use for different textile designs and simple characters! Give these a try on your next crafting day.
Supplies needed to make your own stamp:
Some links below may be affiliate links, which means that you do not pay any more but a small commission will go to this site.
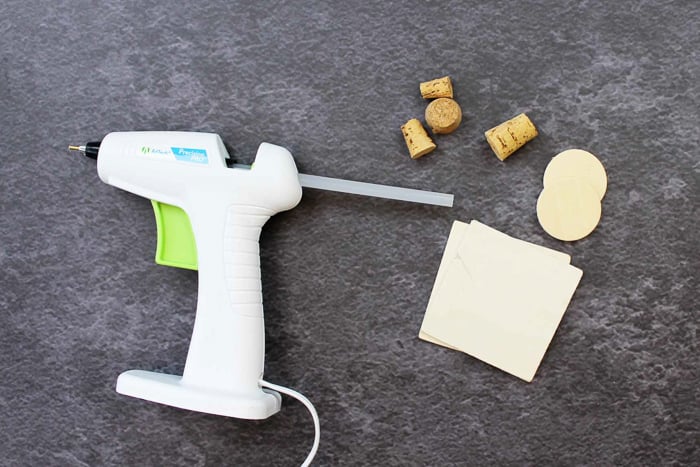
- Hot glue gun (a precision tip gun works great here)
- Hot glue sticks
- Flat wood pieces
- Corks
- Ink for stamping (my favorite for crafting is Staz-On Ink)
NOTE: Are you crafting with kids? Try a cool temp glue gun like this one.
How to make your own stamp with hot glue:
Prep your materials
Start with a flat wood piece that is just a tad larger than the desired size of your stamp.
Draw your design
I like to use a pencil or a piece of chalk to draw the design onto the wood before using the hot glue, that way if I mess up, I can just erase and try again!
Begin your stamp
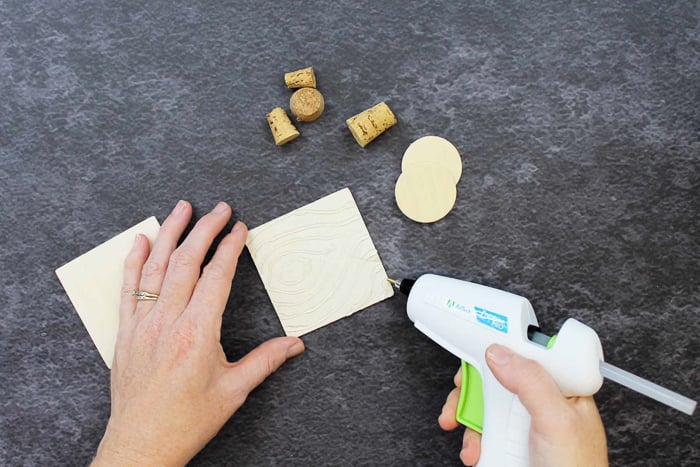
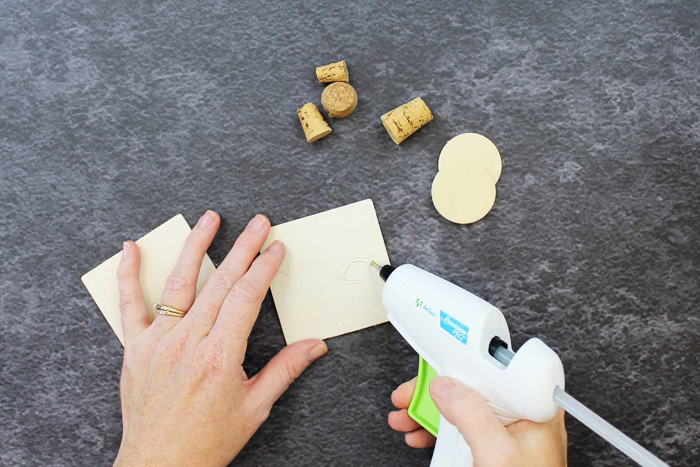
Use the glue gun to trace your design on the flat wood piece. Continue with the hot glue until your design is complete. Allow to cool completely before continuing.
Add your stamp handle
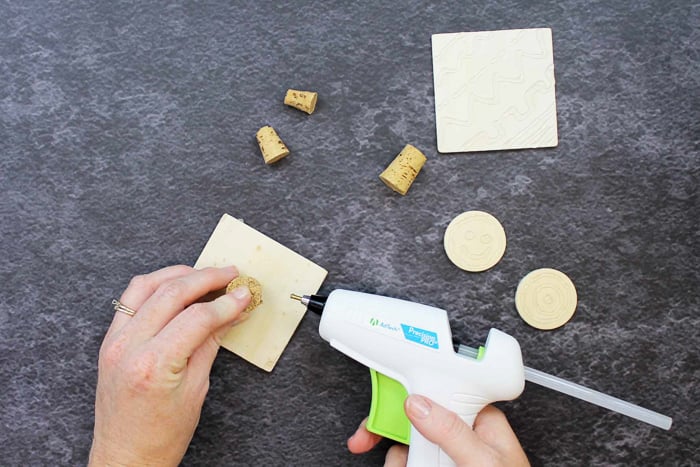
Flip your wood piece over and hot glue a cork onto the center of the back. This will act as a handle for your stamp.
Use your stamp!
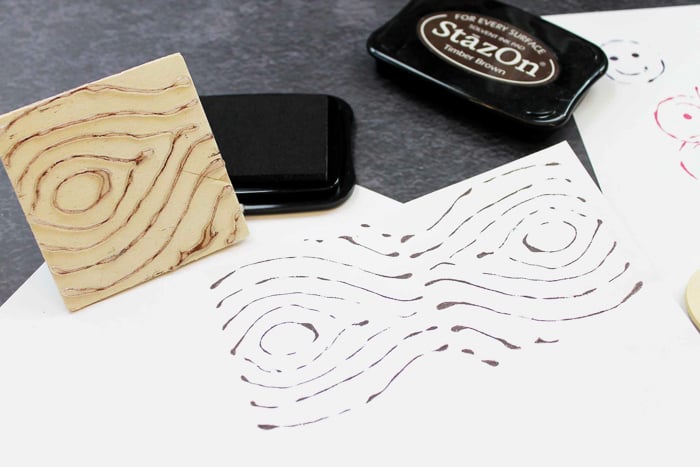
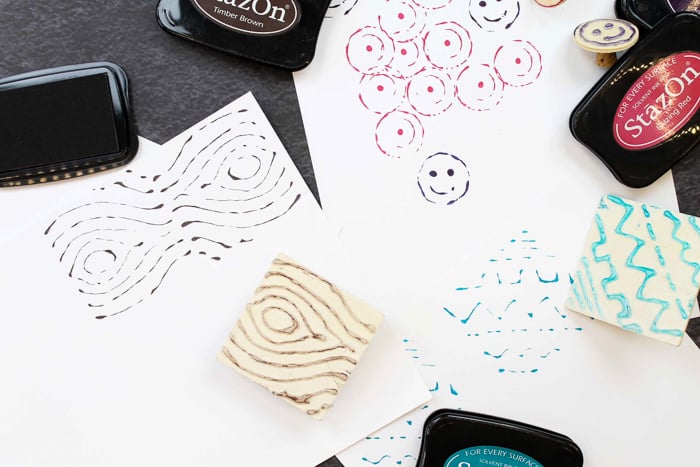
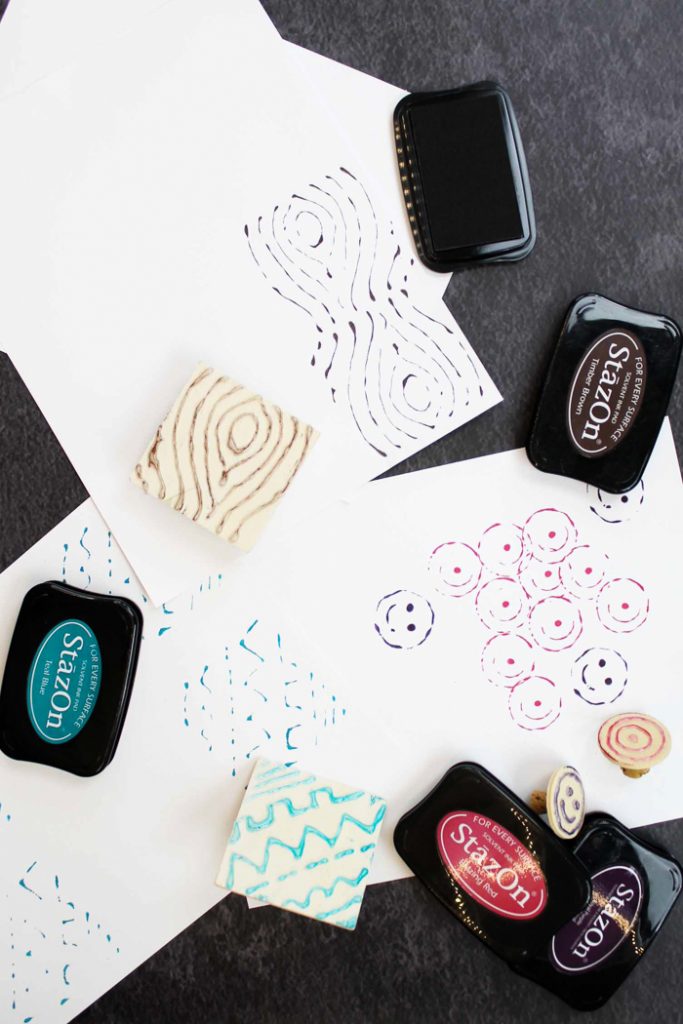
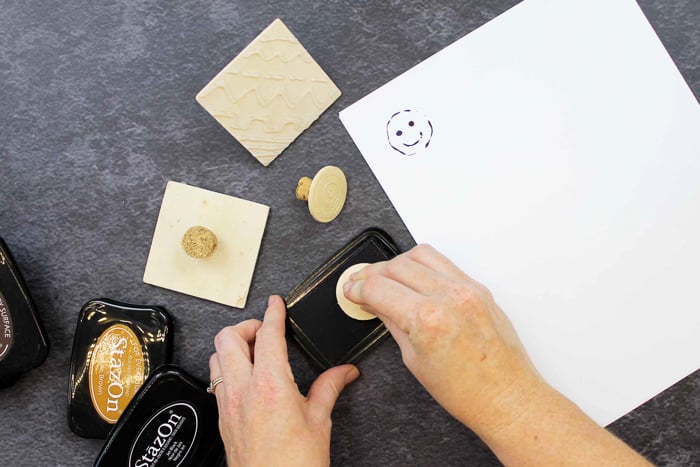
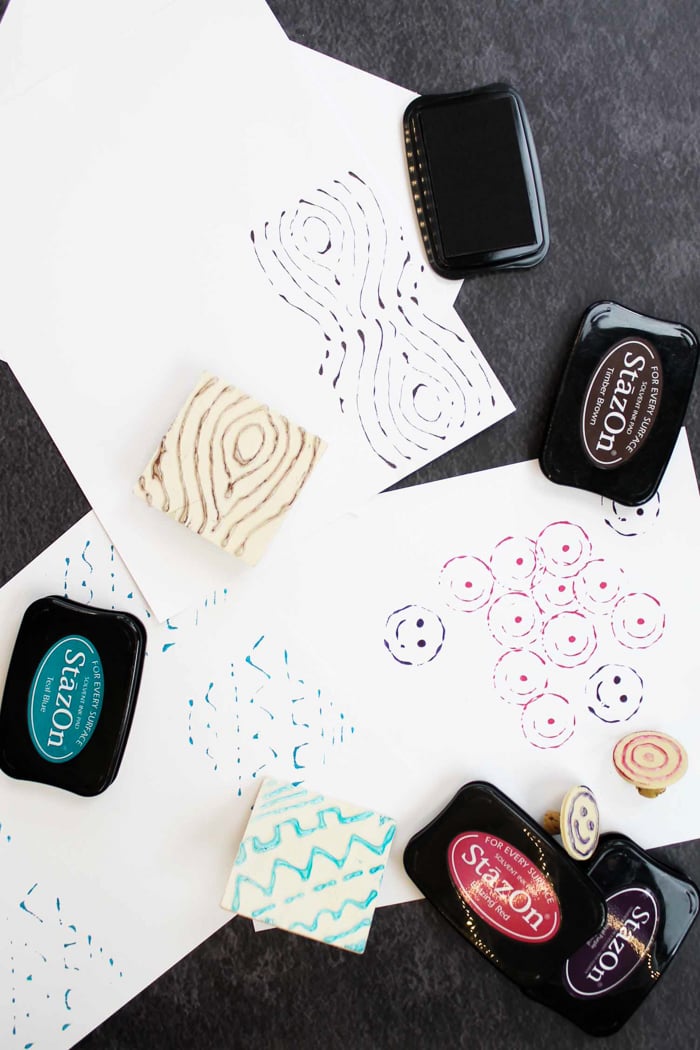
Just press the stamp onto an ink pad and stamp away! Please note that the lines will not be super crisp or perfect, as this is hot glue. This method definitely works great for certain designs better than others. My favorite design is a wood-grain like texture, pictured below. It is perfect with this stamp-making technique!
Repeat, repeat, repeat
See how easy that was? Challenge yourself to create a handful of different stamps to use with all kinds of crafting projects. It’s also fun to make stamps for specific holidays to use on cards or gifts!
Now that you know how to make your own stamp, what patterns and designs will you try?
Take advantage of this easy, kid-friendly craft
This is such a fun craft to do with kids! It’s a good idea to let them (or you!) get their ideas down on paper before breaking out the hot glue gun. It’s fun to make different squares full of textures then make them come to life by turning them into hot glue stamps! The kids will love letting their inner artists loose while creating these easy DIY custom stamps.
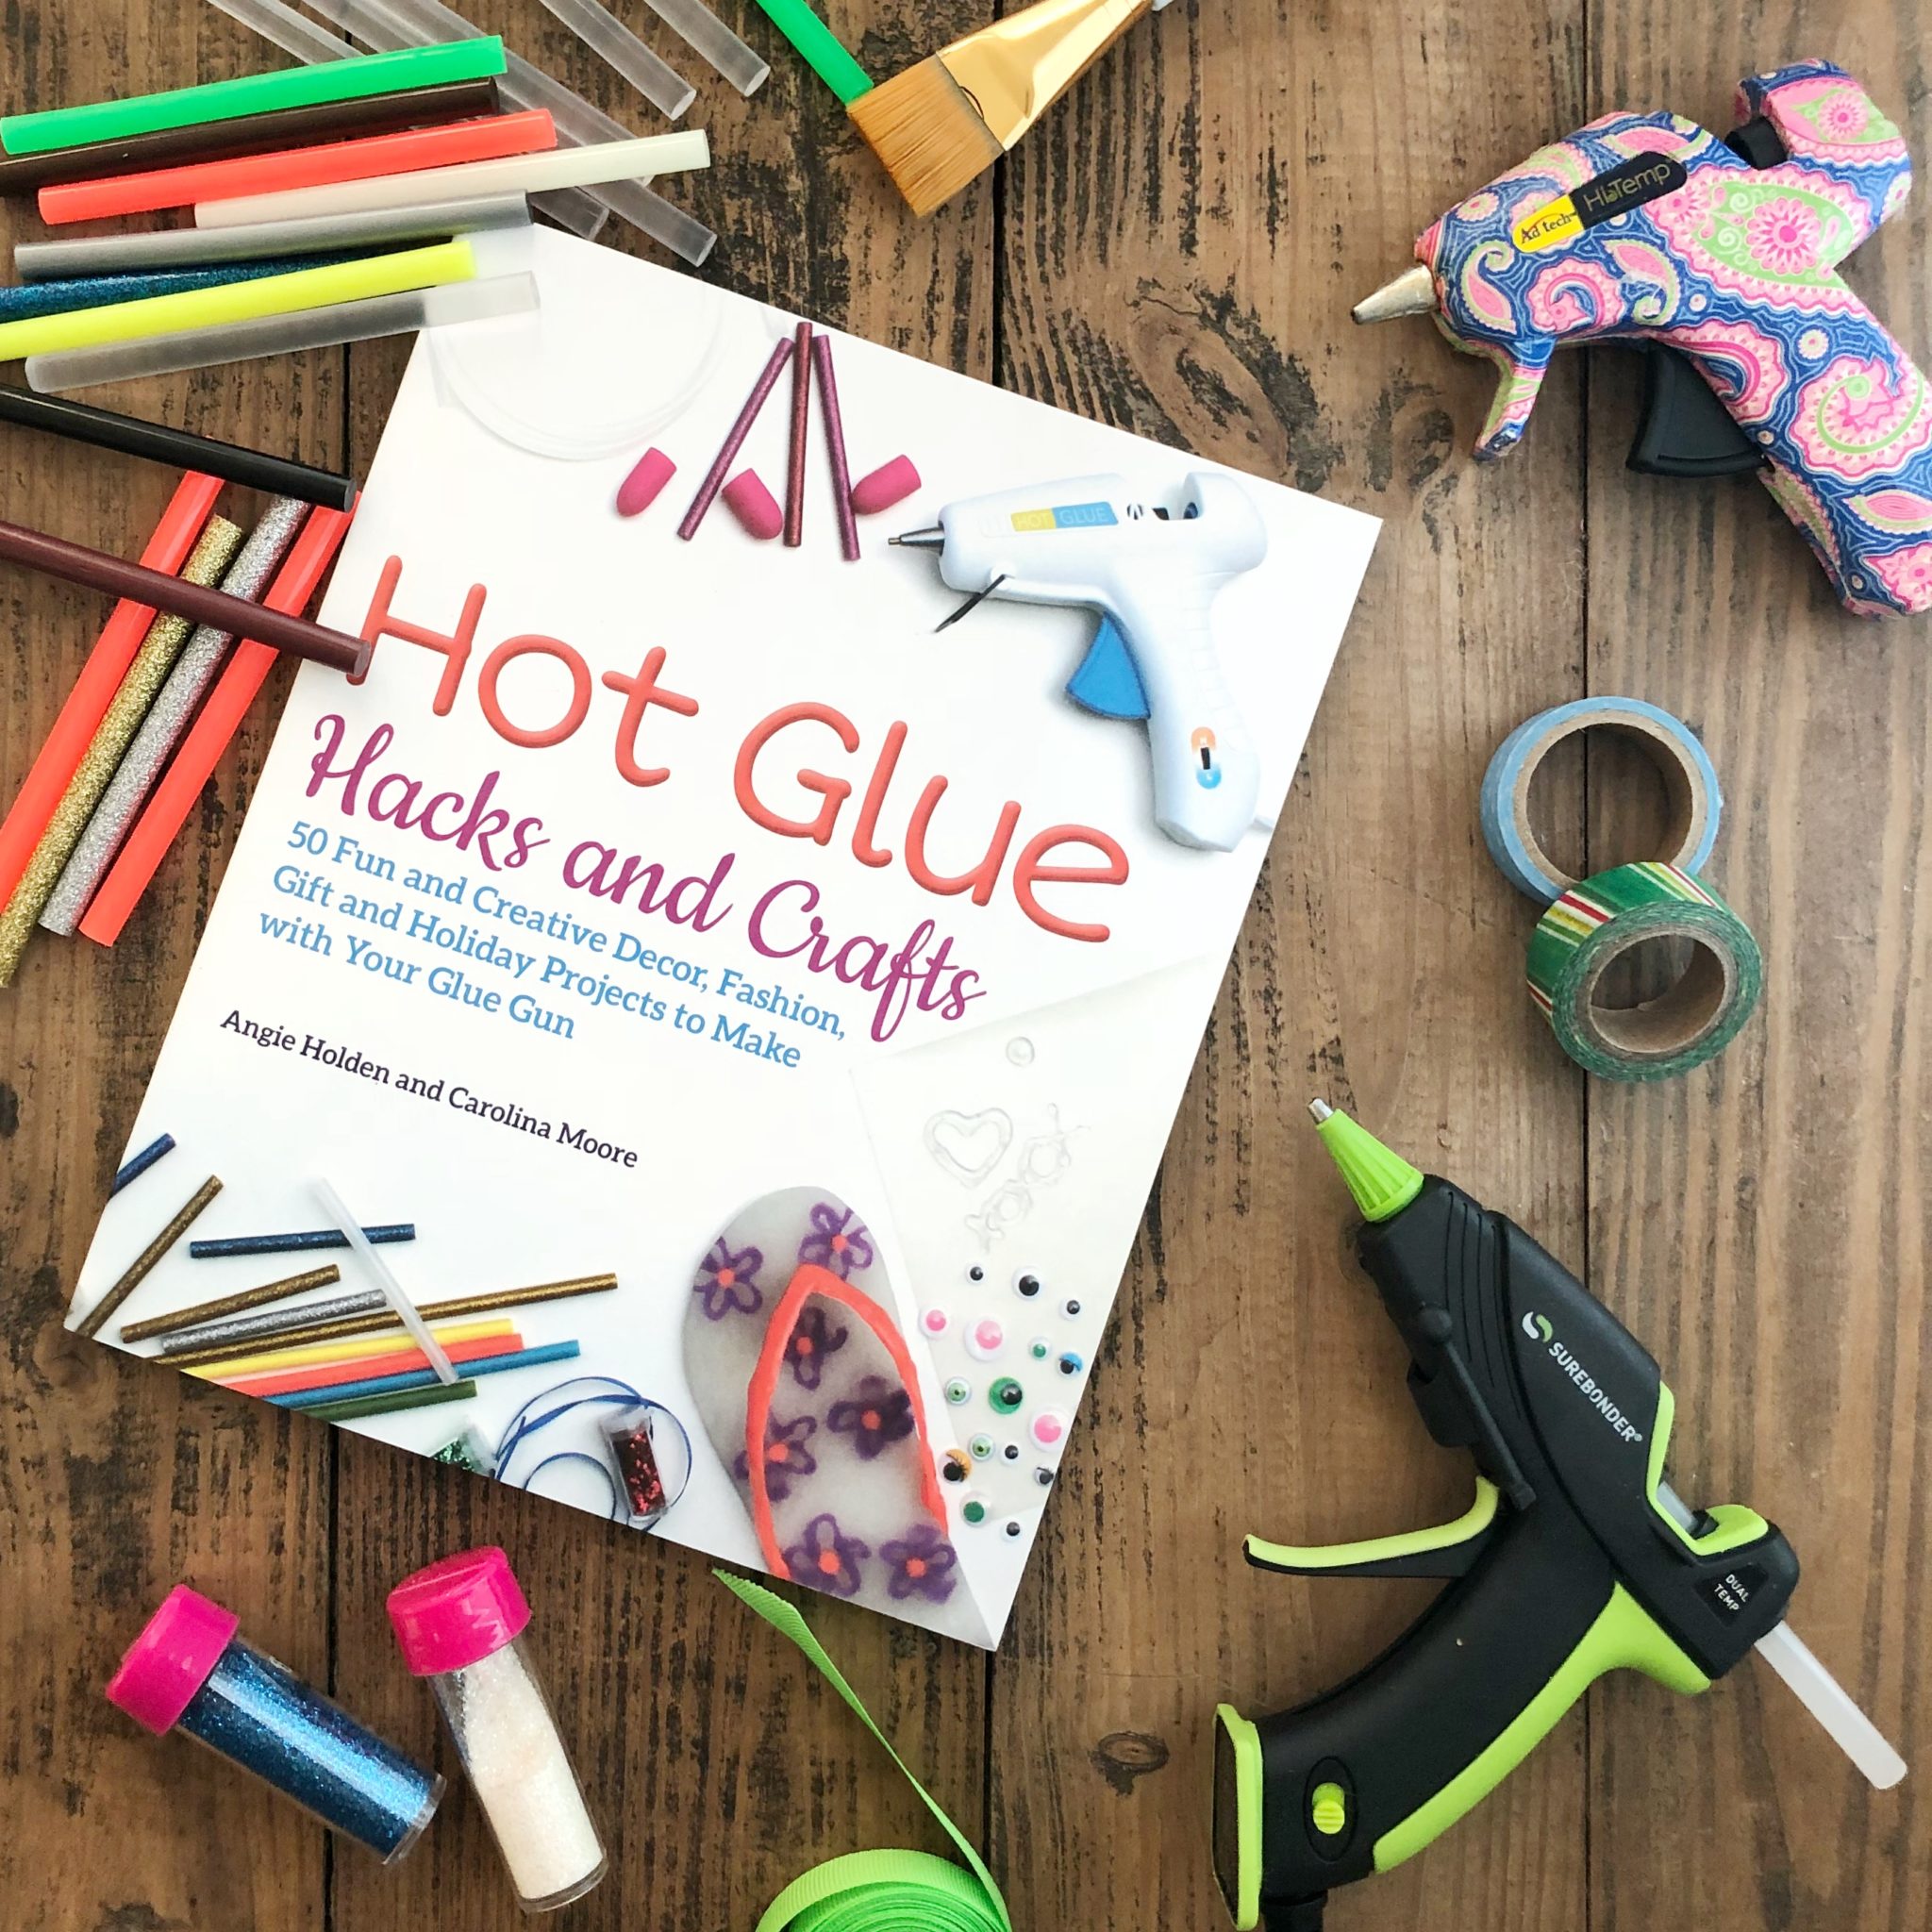
Hot Glue Hacks and Crafts
Do you love how easy this project is? Perhaps you want even more hot glue gun project ideas? Well, I have the book for you! I partnered with Carolina Moore to write a book all about hot glue to bring you projects just like this one. We are using hot glue in ways that you never thought possible. Hot glue shoes? Oh yes! And so much more!
So are you ready to dive in and use your glue gun like never before?
Click here to order your copy of our book on Amazon!
Click here to order your copy of our book on Barnes and Noble!
Want to support local bookstores? Click here to purchase on Indie Bound!
Love this idea for DIY hot glue stamp? Try the links below as well!
- Pencil Holder Craft Ideas from Hot Glue
- Decorative Push Pins Made from Hot Glue
- Statement Rings Made from Hot Glue
- Hot Glue Crafts: Over 30 Ideas in 15 Minutes or Less
- How to make a Hot Glue Gun Holder
Want to print the instructions for making custom stamps with a hot glue gun? You can use the card below!
Equipment
- Hot glue gun
Supplies
- Hot glue sticks
- Flat wood pieces
- Corks
- Ink for stamping
Instructions
- Prep your materials: Start with a flat wood piece that is just a tad larger than the desired size of your stamp.
- Draw your design: I like to use a pencil or a piece of chalk to draw the design onto the wood before using the hot glue, that way if I mess up, I can just erase and try again!
- Begin your stamp: Use the glue gun to trace your design on the flat wood piece. Continue with the hot glue until your design is complete. Allow to cool completely before continuing.
- Add your stamp handle: Flip your wood piece over and hot glue a cork onto the center of the back. This will act as a handle for your stamp.
- Use your stamp: Just press the stamp onto an ink pad and stamp away! Please note that the lines will not be super crisp or perfect, as this is hot glue. This method definitely works great for certain designs better than others. My favorite design is a wood-grain like texture, pictured below. It is perfect with this stamp-making technique!

