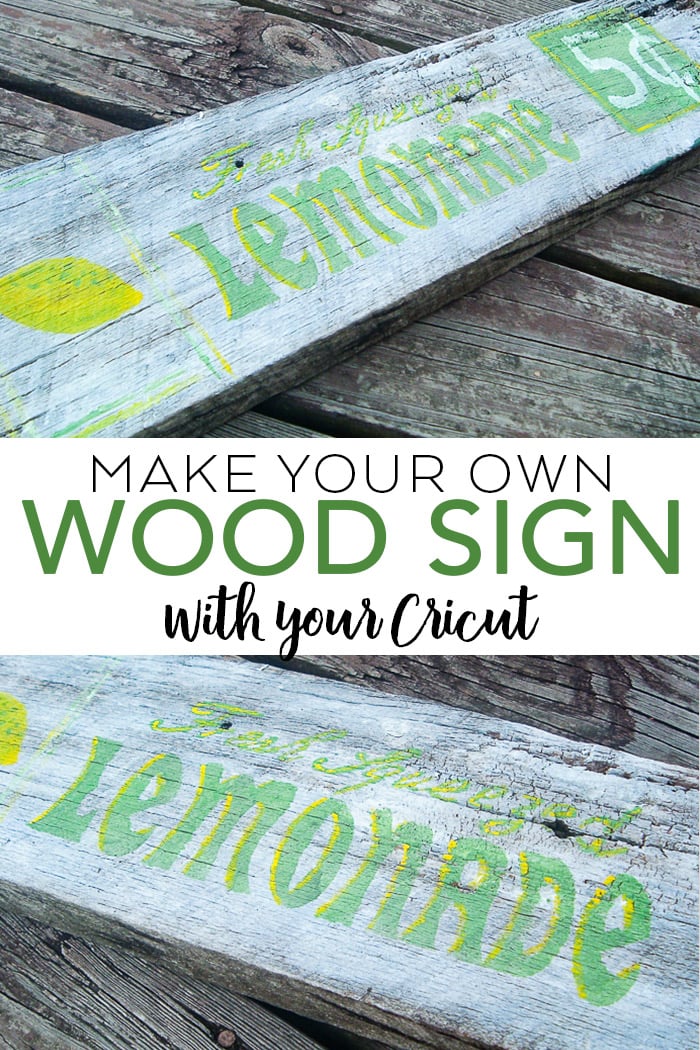
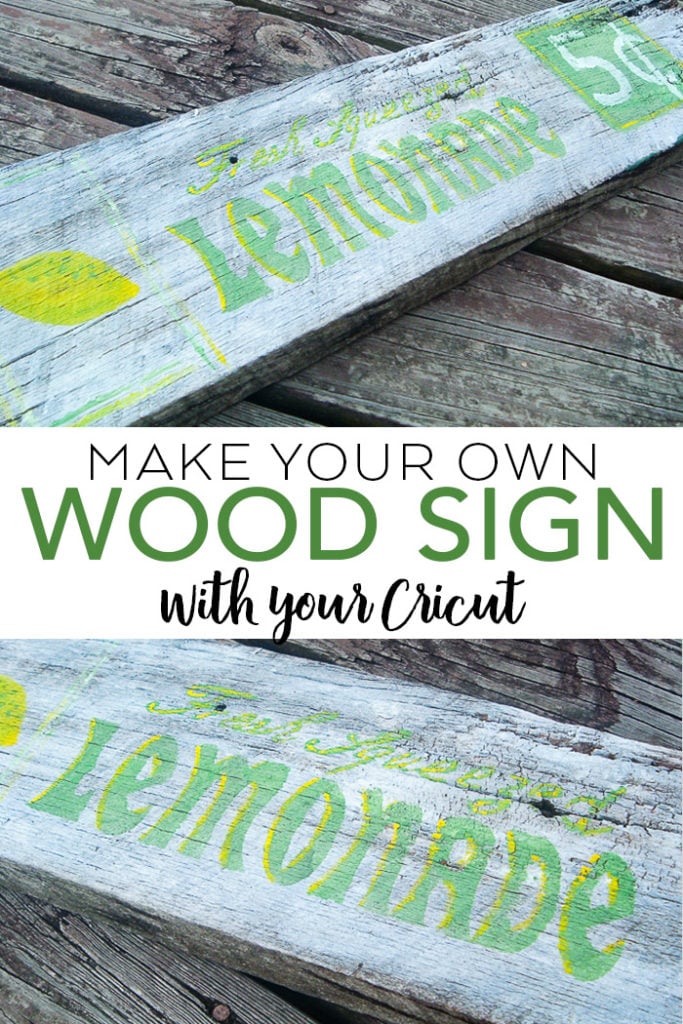
Learn how to make your own wood signs in minutes by cutting a stencil with your Cricut. I made mine with a piece of worn wood that I found laying out back. I love the farmhouse flair that comes with rustic wood!
Of course, you can use new wood for your sign if you want. I made mine a lemonade themed sign and I will be sharing the cut file below.
This post was originally published on June 15, 2011. I have had many requests for the cut file so I recreated it below for you.
Supplies needed to make a wood sign:
- Wood (a weathered or new piece)
- Craft paint in various colors
- Card stock or stencil material
- Cricut machine (click here to see which I like best)
- Cricut cut file (here is a similar one)
- Paintbrushes
How to make your own wood signs:
- Click here to access a bundle of cut files. Make sure and size the file to fit your board. Cut with your Cricut machine from either card stock or stencil material. Please note that this file is similar but I was recreating something I made several years ago and there are slight differences.
- Add a really light coat of white paint over your entire board. The secret to a worn finish is to use a really dry brush and move it quickly over the surface. Allow this layer of paint to dry completely before continuing.
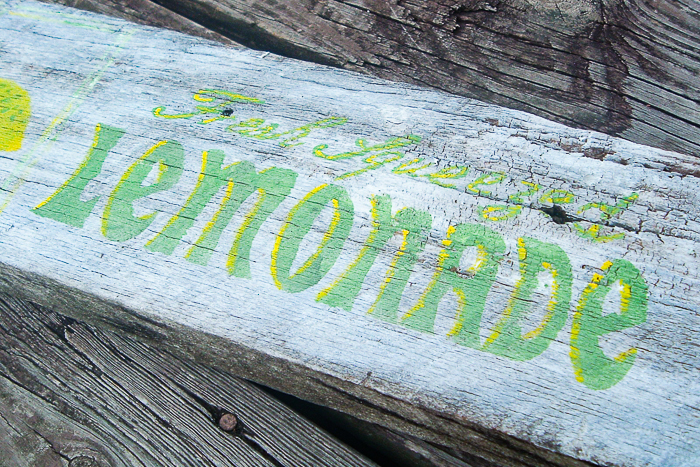
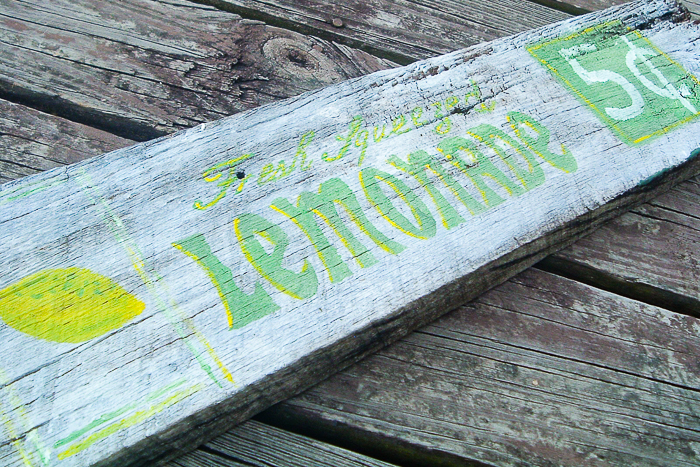
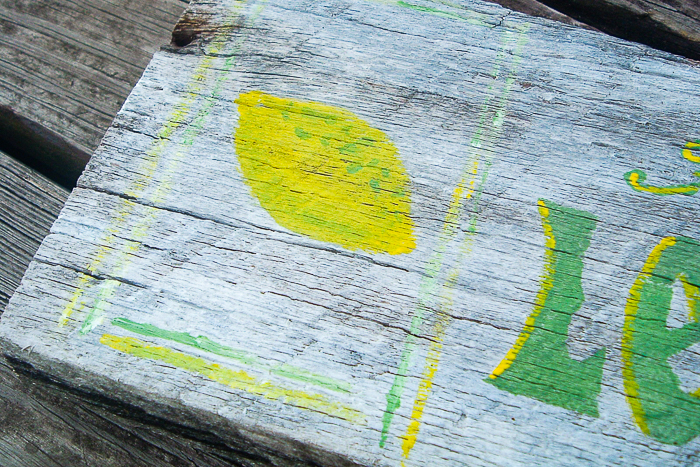
- Tape the stencil into place and use green paint to go over everything except for the lemon. For the lemon, use yellow paint. Remove your stencil immediately and allow to dry completely. Again, I like to use a really dry brush and barely get any paint on the surface.
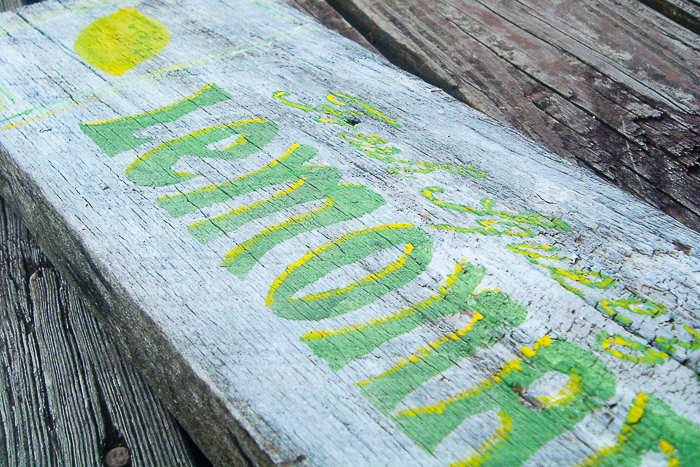
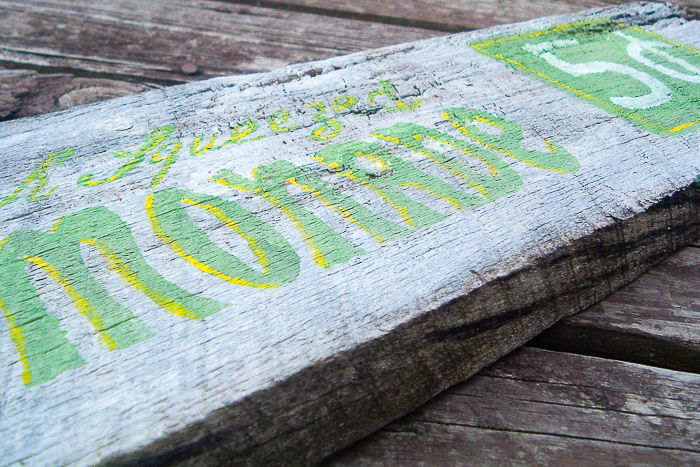
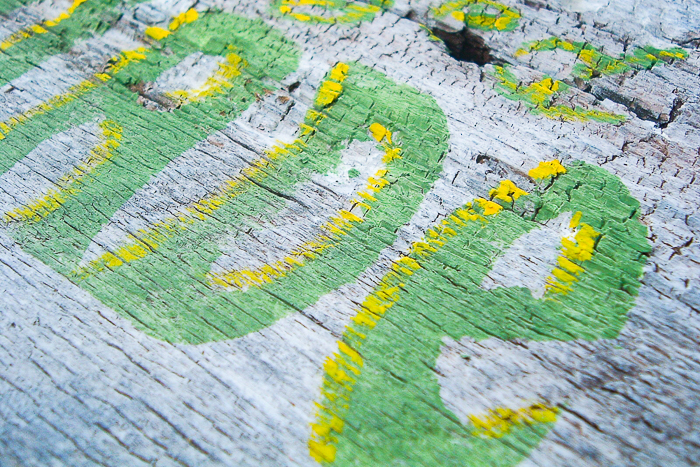
- Once the green paint is dry, paint yellow down the sides of your letters to get a two-toned effect on your wood sign. I just free hand painted the yellow paint.
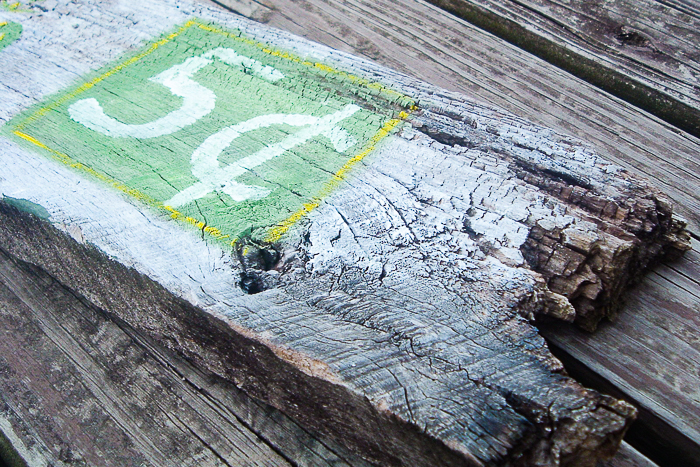
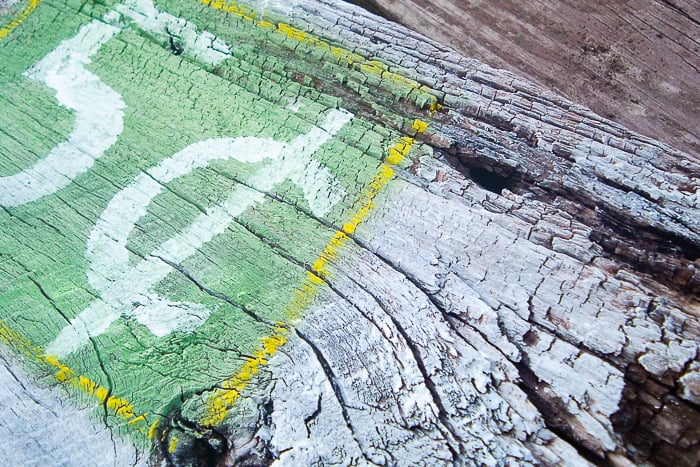
- Add white paint over the 5 cents portion of your sign. I also took the yellow and added a few lines around the outer edge of that square.
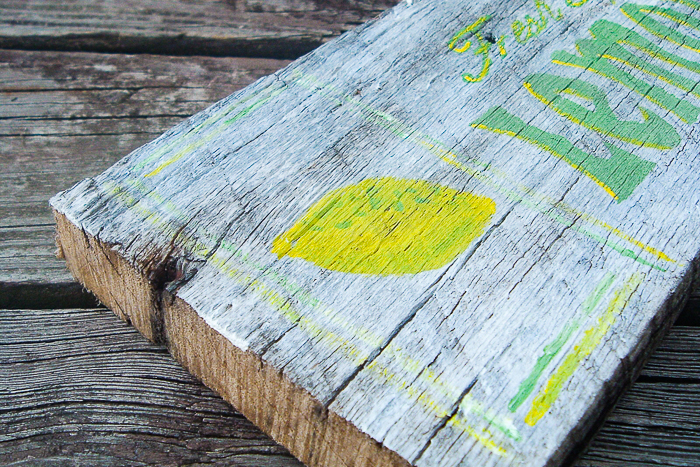
- You can also add a few green touches to your lemon as well as a few lines around it making a rectangle. Again I just free hand painted the lines and green accents.
- Allow everything to dry and your wood sign is complete and ready to be displayed. To help protect the finish you can add a coat of clear spray sealer over the entire sign.
Need help with your Cricut machine? Be sure to download our beginner’s guide here!
Love to make your own wood sign and want more ideas? Try the links below!
- Make a Farmhouse Wreath with Iron-on
- Farmhouse Pillows: My Favorites for Your Home
- Farmhouse Sign from Burlap: Easy To Make with Template
- Vintage Farmhouse Decor on the Porch
- Fast Farmhouse Signs
New to Cricut?

Sign up for our email list to download the Beginner's Guide to Cricut Design Space for FREE today!
Sign up to get the guide emailed to you!




Love it!!
*hugs*Deb
I love this – so charming and who doesn’t love lemonade? 🙂
Your etsy shop has some great finds!
Hi Angie – I’m a new follower, and a new signmaker, too. Love the two-tone effect on your lemonade sign to add some emphasis. Great idea!
I love your lemonade sign!! So funny because I just wrote a post about my two little boys and their lemonade stand 🙂 And theirs was 5 cents too! haha! We need YOUR sign, tho……much nicer!
Angie, your sign looks really good,so fun and summery!
Love your new blog design, too!
Very fun! but then I gravitate towards the lemons and yellow in life lol really great 🙂
love wood signs these look awesome
shopannies@yahoo.com
I’m a lemonholic so I love the sign! Very cute and terrific way to repurpose!
Really nice idea!
What a cute sign! the colors are perfect! I’m stopping by as the guest judge from CSI Project!
happy crafting,
Linda
Love it! Hugs and blessings, Cindy
Thank you! My Cricut has been sitting in the box since I got it because I was too intimidated to even open it. You have given me the confidence to start my first project.
Thank you!
Lisa
Angie this is awesome, it was the inspiration for my mantel “summer decor”. I use the term loosely, grandkids love it