Instead of taking those old t-shirts to Goodwill, upcycle them into a memory quilt! Learn how to make a tee shirt quilt that would make the perfect graduation gift, or gift for any time of the year, using our tutorial!
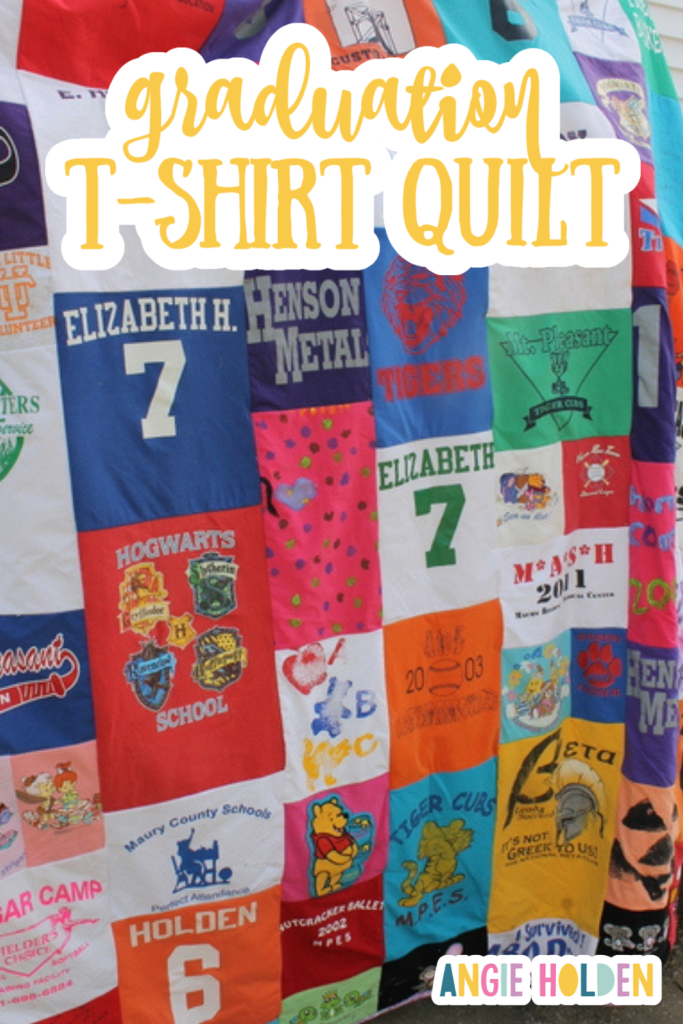
Let’s Talk T-Shirt Quilts
Guess what I did! I made a quilt out of old t-shirts! This plan has been stuck in my mind ever since my now 17-year-old daughter was little. I saved up 17 years’ worth of t-shirts and made her a quilt for her high school graduation.
Sound difficult? Trust me on this. If I can do it, you can do it!
I am not a seamstress. Or a quilter. I only sew for fun.
I am going to share with you the basic process I used and then give y’all some links that will give you more information so you can make your very own t-shirt quilt!
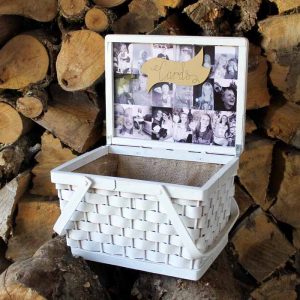
NOTE: If you’re looking for other memory keepsakes, check out my DIY Memory Box and Wedding Memorial Frame and In Loving Memory Wedding Sign projects!
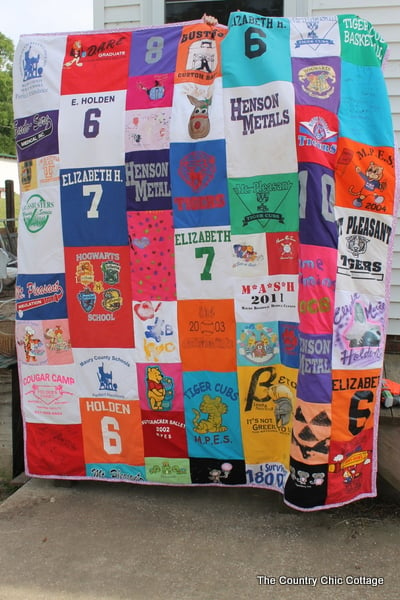
How To Make A Tee Shirt Quilt
So, I knew I wanted to make this amazing and HUGE queen-size quilt. But where do I even start? I had a big pile of t-shirts and an idea.
I started with lots of research.
Here’s a VERY simplified set of instructions. If you need more details on making t-shirt quilts, check out the resources I have included for you below.
Supplies Needed To Make Tee Shirt Quilt
- T-Shirts – lots of them!
- Iron-on interfacing
- Batting (or an old, clean blanket)
- Backing fabric (cotton or flannel work well)
- Iron
- Scissors
- Rotary cutter
- Cutting mat
- Ruler or measuring tape
- Sewing Machine
Step 1: Gather Up T-Shirts
Gather all of the T-shirts and backing material you plan to use in your t-shirt quilt. Clean and prepare the material ahead of time.
Step 2: Determine The Size Of Your Quilt
Decide the size you want your finished quilt to be and use that to determine how big you want your squares – and how many you’ll need.
Step 3: Cut Off Neck & Sleeves From T-Shirts
Cut off the necks and sleeves of your t-shirts so that you have 2 large rectangles from each t-shirt.
Step 4: Sew T-Shirt Squares Together
Determine your layout for all the t-shirt squares. Begin sewing your squares together to form columns. Then, sew the columns together.
Step 5: Add Quilt Backing & Batting
In a large open spot (probably on the floor), lay out the backing fabric, add the batting material on top, and add the quilt layer as the top. Sew the pieces together to form your finished t-shirt quilt.
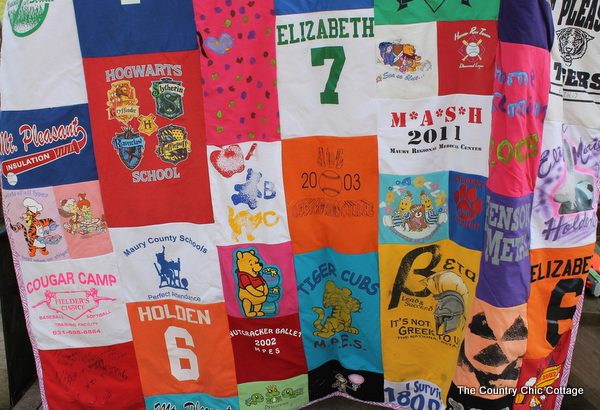
My quilt is very large and fits a queen-sized bed. You can tackle a smaller version for your first project (if you prefer) or jump right in with both feet as I did!
I took it slowly and carefully. Are there mistakes? Oh yes, there are mistakes. I call that “character” from mom making this one herself. I hope she can tell her grandchildren about how mom made her a t-shirt quilt for high school graduation.
Lessons Learned From This T-Shirt Quilt Project
I will tell y’all now that this is a lot of work.
The layout was the hardest step, but adding fusible interfacing to all those shirts was no walk in the park either.
It took around 20 to 24 hours to complete this project. I just tied the t-shirt quilt at all of the intersections, so no actual quilting was involved.
I wanted to give my daughter something extra special for graduation. You know what? I succeeded!
A T-Shirt Quilt Is A Blanket Of Memories
There are baby shirts in this quilt. Shirts she painted in preschool. School shirts. Ball shirts. Shirts with so many memories attached to them. I could not throw out those memories.
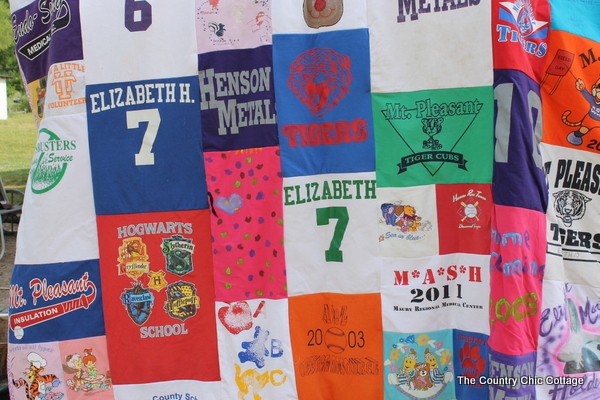
But who is going to hold on to and go through a box of old t-shirts to bring back memories? This quilt is something she can keep around for her entire life and remember each event associated with these shirts.
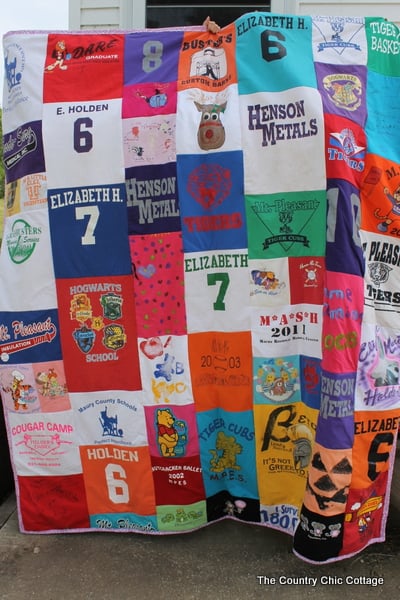
I could not keep this a surprise, though, because it was spread out in my living room and other areas of my home for weeks.
I would just work on it a few hours at a time. Once I had the t-shirts sewed together into a quilt top, I knew it was all going to be worth the effort. I could cry looking at this, y’all – I’m so proud of it and touched by all the memories!
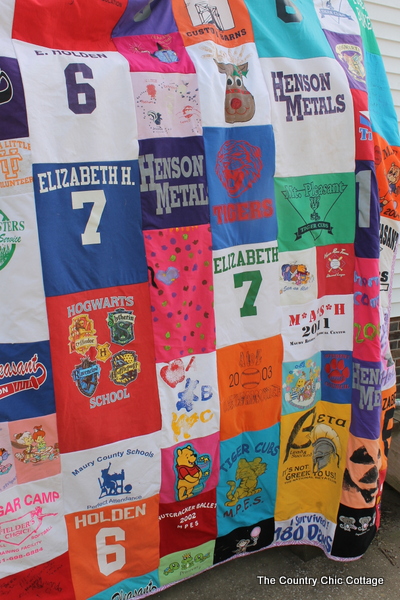
I actually used the quilt as a display during her graduation party. If you’re looking for ideas, check out my High School Graduation Party Ideas!
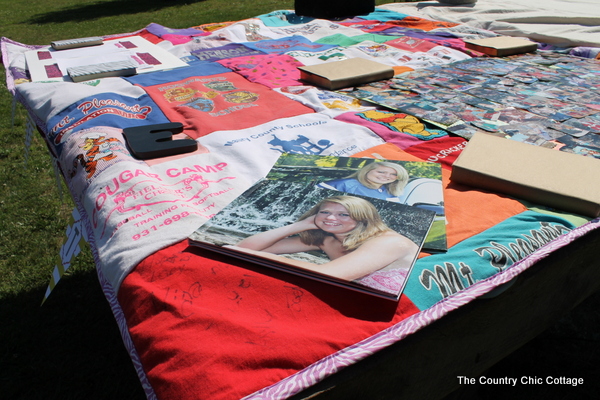
More Resources For Making A T-Shirt Quilt
The two tutorials that will help you the most are over at The Sewing Loft and Instructables. Do lots of research so you feel comfortable with the process and build up your confidence. You can do this!
Don’t throw out those t-shirts with memories. Don’t send them to Goodwill. Gather up your courage and make your son or daughter a t-shirt quilt that they will cherish for many years to come!
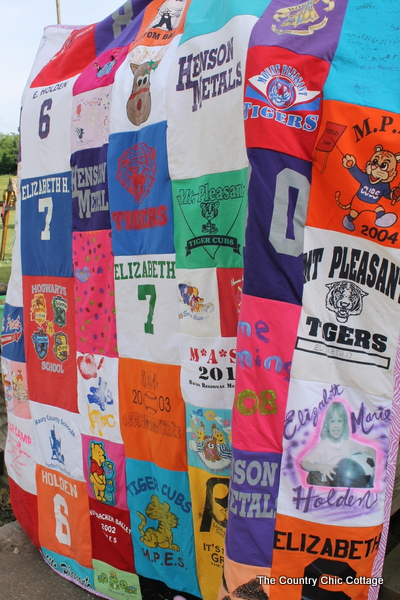
FAQs About How To Make A Tee Shirt Quilt
Here are a couple of questions that I see readers ask about how to make a tee shirt quilt. Please check to see if I’ve already answered it below if you have a question. Don’t see it? Leave it for me in the comments!
How Many T-Shirts Do I Need For A Quilt?
You’ll need around 30 t-shirts for a full-size quilt, and it’ll take about 36 t-shirts for a queen-size quilt. A full-size quilt would be about 82″ x 96,″ while a queen-size quilt should be around 96″ x 96.″
Do You Have To Prewash Interfacing?
Yes. Wash and prepare your interfacing the same way you would prepare your t-shirts and backing fabric.
How Did You Decide Your Layout For Your T-Shirt Quilt?
When making my quilt, I decided to look at the t-shirts individually to see how it would be best to cut them in order to ”save” the graphics on the shirts. For example, some t-shirts were cut horizontally while others were cut vertically. Once everything was cut, I played around with the t-shirt ”squares”, sort of like a game of Tetris, to see how everything would best fit together.
The thing that was important to keep in mind (at least in my case) is that since I was using 17 years’ worth of t-shirts, I had different sizes of ”squares” that needed piecing together. Due to that, I just laid out all the t-shirt ”squares” in a way that I thought looked nice and fit the quilt size I was going for.
However, you could lay out your t-shirt quilt by color or theme.
5 More Graduation Crafts
If you loved learning how to make a tee shirt quilt, here are some other graduation crafts that you won’t want to miss!



You did an awesome job!!
Awesome job Angie! Yes, it looks like a TON of work – but something your daughter will treasure for years… and so much better than an overflowing box of old t-shirts! 🙂
awww those are so sweet! I made one for jamie when she graduated HS and I don’t even know where it is now. They really are great keepsakes!
gail
You have done a service to me today. My kids always go to bible camp and they get new tee-shirts each year. They’ve grown out of so many of them and I just packed them into a bag to give them away. I’d been thinking for years about what to do with them and I finally gave in and decided to give them to charity (I didn’t really want to).
Now I know just what to do with them. Thank you!
What a memory for your graduate. A very close friend lost her son and she made a memorial quilt from his T-shirts and baseball uniforms. Thanks for sharing yours and perhaps moms who’ve lost their children could get ideas for doing something like this in their child’s memory. Congratulations to your daughter!
This comment has been removed by the author.
Oh my Goodness Angie, it looks incredible!! I love that you saved 17 years worth of amazing memories!
~Heather
I have been saving my little ones T’s just for this! You did a beautiful job and I am sure it will be treasured FOREVER!
This looks great! and what a cherished treasure it will be!
I love this! Great job! I have actually been wanting to make something like this for myself for awhile out of all my old Hard Rock Cafe shirts I’ve collected, but I will have to do this in the future too! 🙂
You did a very nice job! For those out there who would rather not tackle this huge project on their own, I make t-shirt quilts for people all over the world, and would be honored to make theirs, as well! If you are now making these to sell, please take this comment down, as I am in no way trying to infringe on your business. I just know when I made my first one – seventeen years ago – I had no idea I would be making them for celebrities, pro athletes, White House Staff, military heroes, and normal ole’ people just like me for retirements, graduations, birthdays, and in memory of loved ones who have passed. Thank you and may you be blessed!
Cindia
http://www.facebook.com/cindiasquiltsnstuff