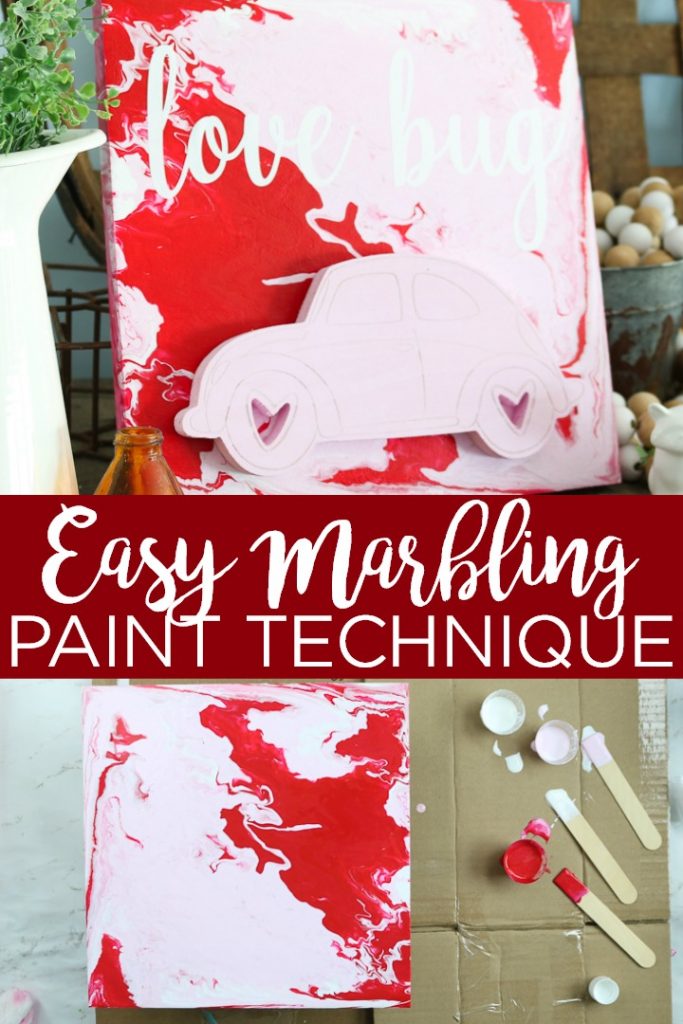
I thought I would share a marbling paint technique with you today that you can use on wood and other surfaces. This technique is so easy to master and it makes a great base for all of your craft projects. I am using it to make a Valentine’s Day sign but you can use this same idea for any season or project. So, are you ready to marble with acrylic paint?
This project is sponsored by Testors, however, all projects and opinions are my own.
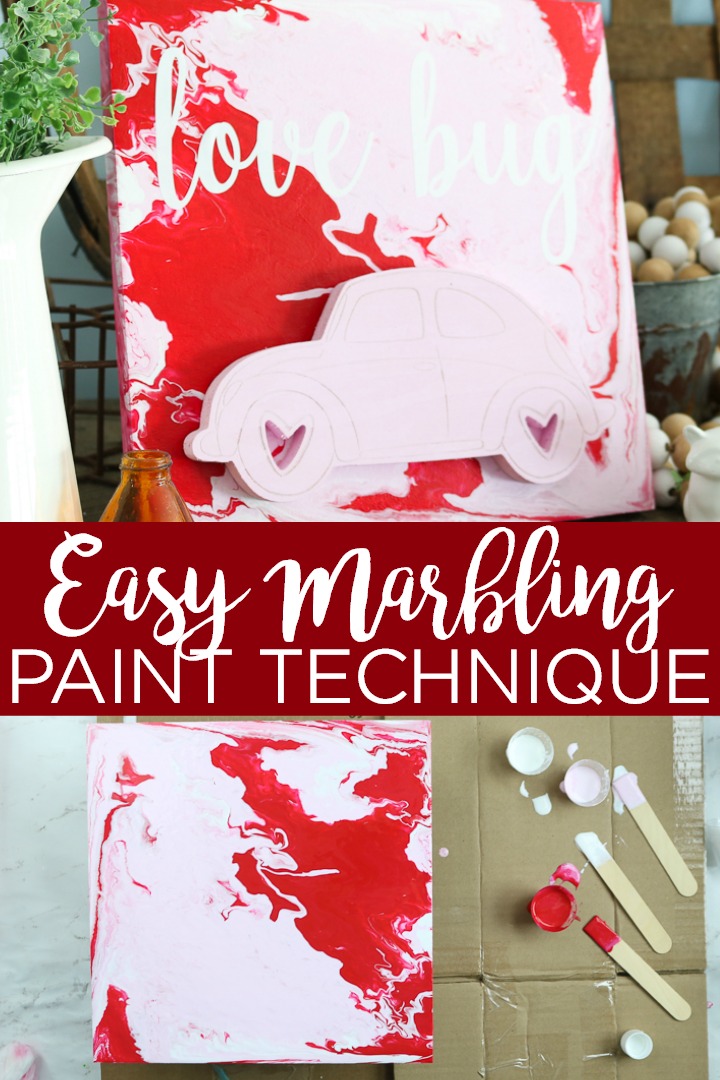
I love using this marbling technique with paint. It’s so easy and you can make some really cool designs!
I’ve used marbling medium on a number of different craft materials. You can add it to wood like we will learn below, but you can also add a marbling look to resin coasters, plastic easter eggs, and so much more!
You can even achieve the marbling look with acrylic paint and spray paint! It’s so versatile and makes any plain craft project unique. Here are more marbling projects to check out.
For this tutorial, we are adding marbling medium and craft paint to a wooden sign. I wanted to make a Valentine’s Day sign, but you can choose any holiday, paint colors, and other elements that fit your own style.
How to Use Marbling Paint on a Wooden Sign
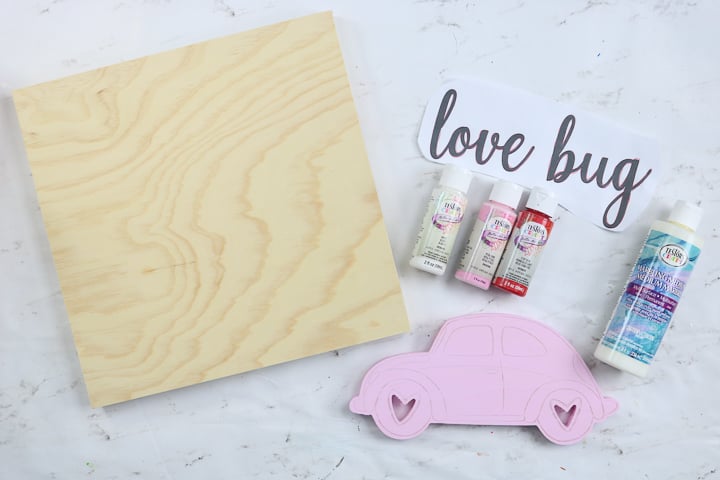
Supplies needed to make this sign with marbling paint:
- Testors Marbling Medium
- Testors Craft Paint (in white, pink, and red)
- Wood panel (12×12 size)
- Wood car
- Disposable cups
- Craft sticks
- Scrap cardboard
- Wood glue
- Tracing paper or a Cricut machine and vinyl
- Love bug printable or cut file (see below for download)
Video Tutorial
You can either watch our video here or continue below to our step by step instructions depending on which method of learning that you like best.
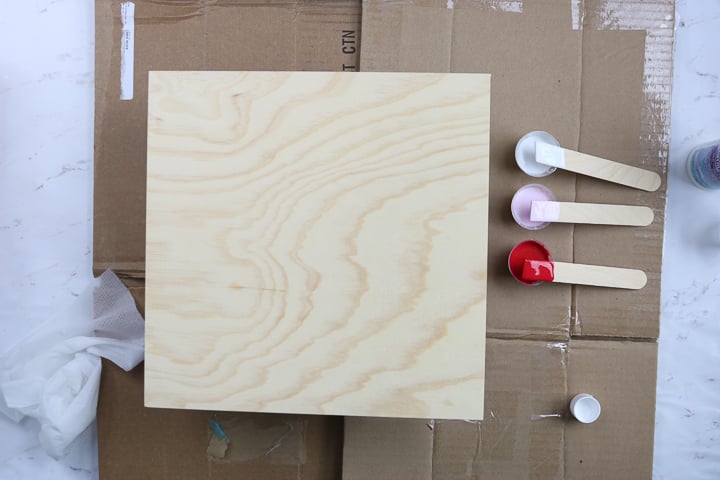
First, you will need to marble the wood panel. For this, I have an acrylic paint pouring technique that will give you a marbled look. Start with your plain wood panel and protect your work surface well. This technique is messy so I use scrap cardboard to cover my table.
Then mix your paint in disposable cups. Mix each with one part marbling medium and one part craft paint.
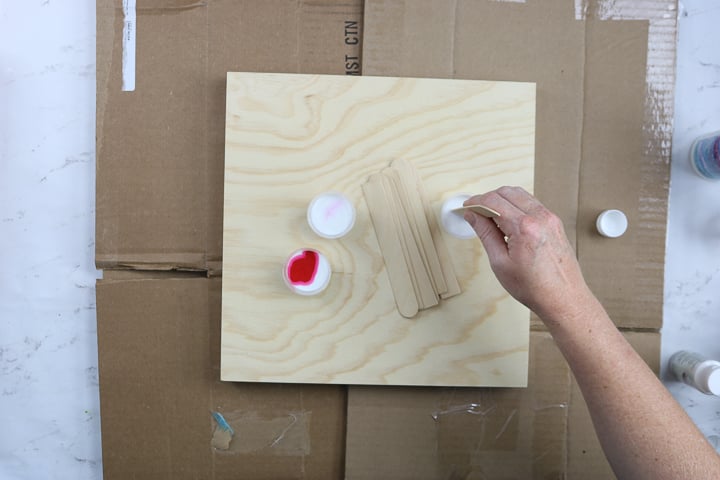
Then use a craft stick to mix it well in a disposable cup. Make sure your wood panel is flat and up off of your work surface. I used my small bottles of paint under the panel to lift it up.
Then just start pouring on the mixed paint and lifting your panel to help swirl the paint.
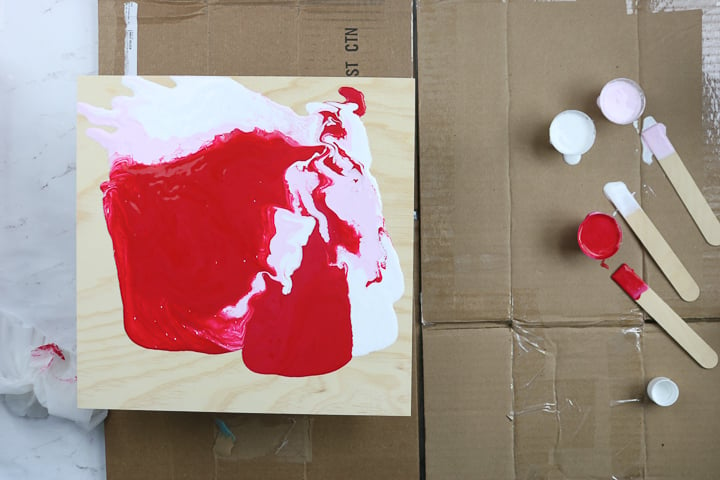
You want to continue this way until the entire front of the panel is covered as well as the sides. I like to use a craft stick to help push the paint around on the sides to ensure I get complete coverage. Then just set your panel on the paint bottles to keep it elevated and make sure it is level. Allow to dry completely (which will be overnight.)

Completing Your Valentine’s Day Sign
Now that you have mastered this marbling paint technique, we need to finish this Valentine’s Day sign. You will need to also paint your VW bug with the pink paint. I did a really light coat over the top so the lines still show through the paint slightly. Allow that to dry as well before assembling.
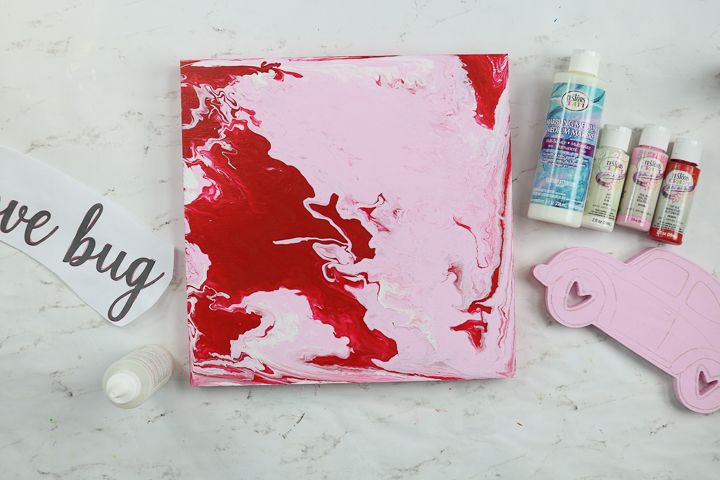
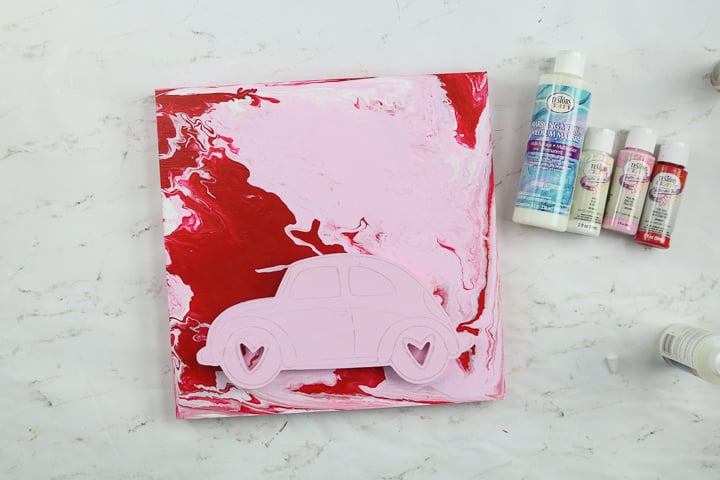
Then use some glue that works for wood to add the bug to the bottom of your sign. Allow the glue to dry completely.
Love Bug SVG or Printable
While that all dries, you can download the love bug SVG or printable. Sign up for our newsletter below and a zip file will be sent to your email with all of the files in it. You can then unzip them and pick the method you want to use below for adding the words love bug to your sign. Please remember that this file is for personal use only and email me at thecountrychiccottage@yahoo.com if you have issues.
Ways to Add Words to the Sign
There are a few ways you can add the word love bug to your sign.
- Use the SVG file and your Cricut machine to cut vinyl and place it with transfer tape. You can see how to do that here.
- Use tracing paper and the printed words to put an outline on your sign. Then use paint to fill it in. You can see where I did that here.
- Print and trace the words with a pen leaving an indention in your wood surface. You can then use paint to fill that in. You can see where I did that here.
However, you choose to add the words is completely up to you.
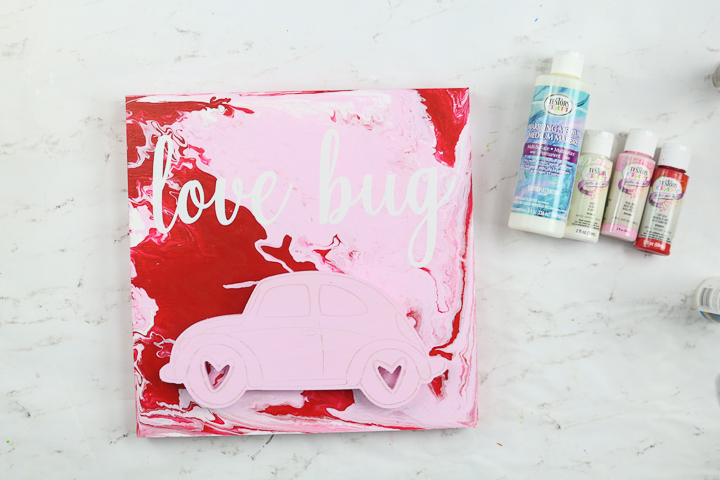
Then just put your new marbled sign on display for Valentine’s Day! With this marbling paint technique, you can make so many things.
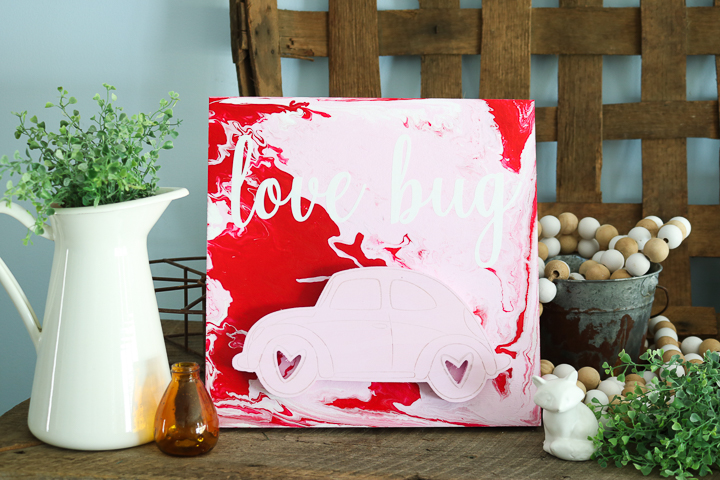
So, have you ever tried acrylic paint pouring? You will be addicted once you do! It can be used on wood and so many other surfaces. What will you marble using this technique?
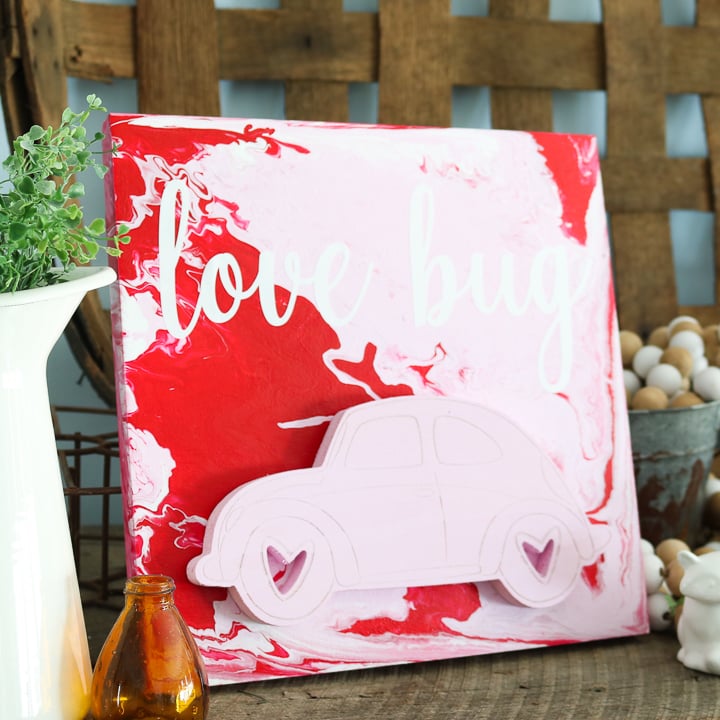
Grab your Testors marbling medium and craft paints and give this project or any other marbling project a try today. You will be so glad that you did!

Love this marbling paint technique and want more ideas for marbling surfaces? Try the links below as well!
- Marbled Eggs on a Moss Easter Wreath
- Easy Halloween Crafts for Kids: Pumpkin Magnets
- Marbling with Acrylic Paint on Candles
Want to print the details on how to do acrylic paint pouring? Use the card below!
Supplies
- Testors Marbling Medium
- Testors Craft Paint in white, pink, and red
- Wood panel 12×12 size
- Wood car
- Disposable cups
- Craft sticks
- Scrap cardboard
- Wood glue
- Tracing paper or a Cricut machine and vinyl
- Love bug printable or cut file
Instructions
Marbling Paint Technique
- First, you will need to marble the wood panel. For this, I have an acrylic paint pouring technique that will give you a marbled look. Start with your plain wood panel and protect your work surface well. This technique is messy so I use scrap cardboard to cover my table.
- Then mix your paint in disposable cups. Mix each with one part marbling medium and one part craft paint.
- Then use a craft stick to mix it well in a disposable cup. Make sure your wood panel is flat and up off of your work surface. I used my small bottles of paint under the panel to lift it up.
- Then just start pouring on the mixed paint and lifting your panel to help swirl the paint.
- You want to continue this way until the entire front of the panel is covered as well as the sides. I like to use a craft stick to help push the paint around on the sides to ensure I get complete coverage. Then just set your panel on the paint bottles to keep it elevated and make sure it is level. Allow to dry completely (which will be overnight.)
Completing Your Valentine’s Day Sign
- Now that you have mastered this marbling paint technique, we need to finish this Valentine’s Day sign. You will need to also paint your VW bug with the pink paint. I did a really light coat over the top so the lines still show through the paint slightly. Allow that to dry as well before assembling.
- Then use some glue that works for wood to add the bug to the bottom of your sign. Allow the glue to dry completely.
Ways to Add Words to the Sign
- There are a few ways you can add the word love bug to your sign.
- Use the SVG file and your Cricut machine to cut vinyl and place it with transfer tape. You can see how to do that here.
- Use tracing paper and the printed words to put an outline on your sign. Then use paint to fill it in. You can see where I did that here.
- Print and trace the words with a pen leaving an indention in your wood surface. You can then use paint to fill that in. You can see where I did that here.
- However, you choose to add the words is completely up to you.
- Then just put your new marbled sign on display for Valentine’s Day! With this marbling paint technique, you can make so many things.

