Get the instructions for making your own mason jar craft supply organizer with this quick and easy craft tutorial. A fun way to organize craft supplies. It is day 3 of Craft Lightning, and my mason jar craft supply organizer is a quick and easy way to get you organized.
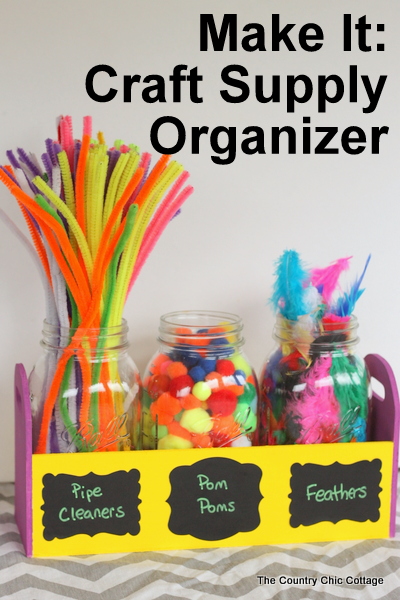
This one was originally posted over at Crafts Unleashed as part of my design team status, but I thought I would share it here in case y’all missed it. If you don’t know what Craft Lightning is, each day this week, I will be posting a craft that takes 15 minutes or less to complete. Then, each afternoon, I will be posting a round-up of quick crafts from around the web. If you want a chance to be featured, be sure to link up to our Craft Lightning linky party.
If you missed any of the Craft Lightning fun, be sure to check out the quick crafts from day 1, day 2, day 3, and day 4, here!
If there’s one thing that bugs me…I mean, it really bugs me; it’s having my craft supplies disorganized and cluttered. There have been times when I have had to sacrifice organization for time. But, I’ve learned that I work best when I know exactly where to find what I need as I’m working on a project.
You can certainly choose to destroy your budget with fancy organizers you can buy. But I’ve found I like to use my spare supplies to make organizers for other supplies. It’s a win-win situation! I’ve got plenty of hacks for organizing craft supplies, but let’s make this mason jar craft supply organizer!
How to Make a Mason Jar Craft Supply Organizer
Supplies needed to make your own mason jar craft supply organizer:
NOTE: Some links may be affiliate links. I was given all or most of the supplies listed as part of supplier relationships; however, all opinions and projects are my own.
- Ball Quart Jars
(3 per organizer)
- 12 inch Wood Planter Box
- FrogTape Painting Tape
- Chalkboard Sticker Labels
- Chalk Pens
- DecoArt Crafter’s Acrylic (I used Sun Yellow and Fun Fuchsia)
- Paint Brush
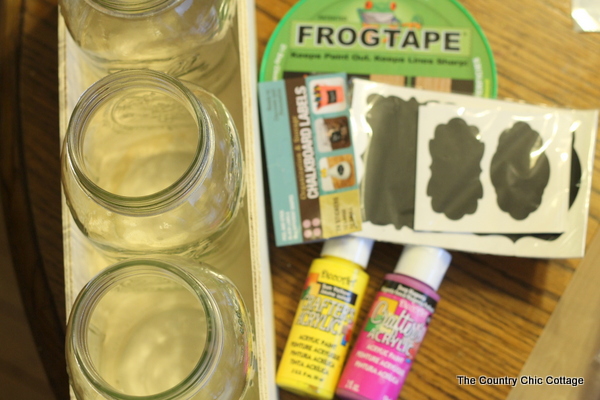
Paint your planter box first. I wanted two different bright colors on my box. Use the FrogTape to mask off the sides and paint the front and back. Allow to dry then tape off the front/back and paint the sides your other color.
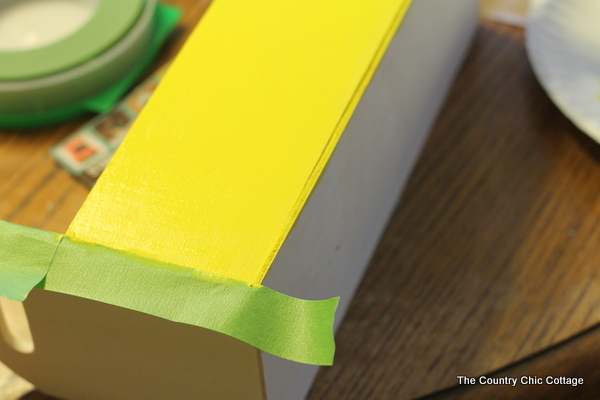
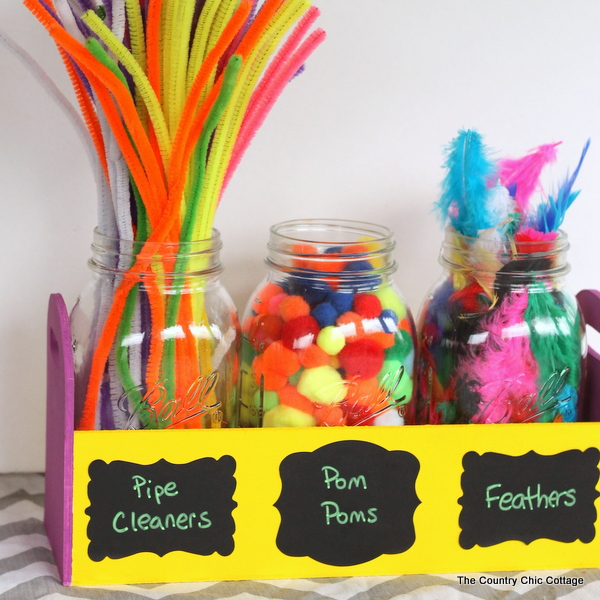
Allow your paint to completely dry and cure before adding the chalkboard labels to the front of your mason jar craft supply organizer. Yep, three mason jars fit perfectly in this little planter box.
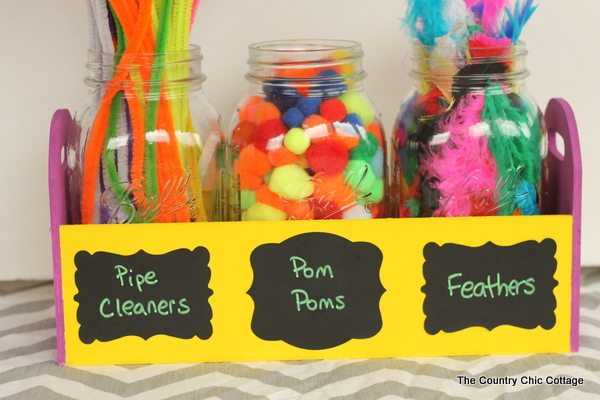
Add in any craft supplies that you want to keep organized. I thought this one would be a fun “kids’ craft” organizer, so I added fun supplies for them.
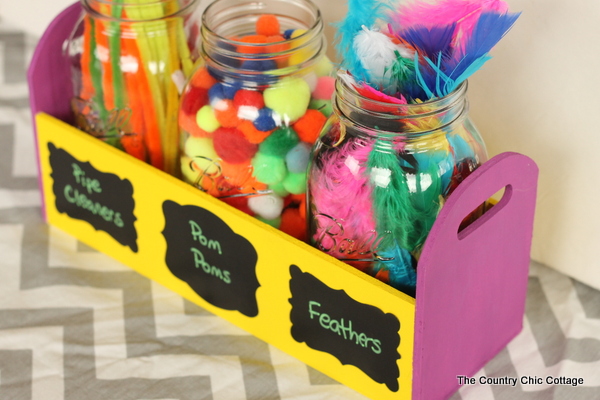
Buy multiple planter boxes to get even more of your craft supplies organized into mason jars. If you need more inspiration for organizing your craft area, be sure to check out my organized craft room, along with links to the amazing craft room tour. How will you organize your craft supplies? Will you use a mason jar craft supply organizer? Or do you have something else in mind?
Equipment
- 12 inch Wood Planter Box
Supplies
- Ball Quart Jars 3 per organizer
- FrogTape Painting Tape
- Chalkboard Sticker Labels
- Chalk Pens
- DecoArt Crafter’s Acrylic I used Sun Yellow and Fun Fuchsia
Instructions
- Paint your planter box first. I wanted two different bright colors on my box. Use the FrogTape to mask off the sides and paint the front and back. Allow to dry then tape off the front/back and paint the sides your other color.
- Allow your paint to completely dry and cure before adding the chalkboard labels to the front of your mason jar craft supply organizer. Yep three mason jars fit perfectly in this little planter box.
- Add in any craft supplies that you want to keep organized.
A Year of Jar Crafts

Sign up for our email list to get a FREE book with an entire year of jar crafts! 12 months, 12 crafts, tons of fun!


Love this post! Mason Jars are great for craft supplies. Though we need to watch that little kids don’t drop them. Great pictures.