Learn how to make some DIY desk organization out of mason jars and some chalk! This project not only helps you declutter your workspace but also adds a charming, rustic touch and makes a perfect gift for teachers too! Be sure to add this delightful DIY desk organization project to your must-make list!
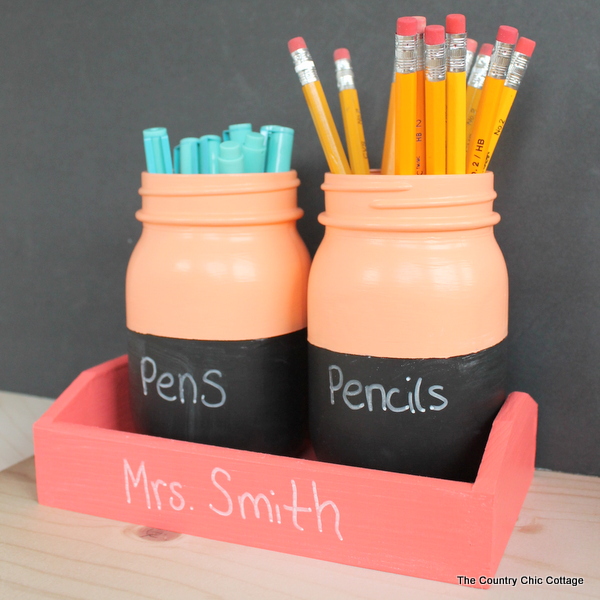
How To Make DIY Desk Organization
Y’all, organization in mason jars is my favorite type of organizing. But- you are not surprised, right?
If you love decorating and crafting with mason jars you’ll love this DIY project, too!
Today, I’m going to show you how to make some really cute desk accessories out of mason jars and a serving tray. This mason jar desk organizer will make a perfect back-to-school teacher gift or a way to decorate your desk at home with some cute accessories.
Plus, the supplies and tools that you need are all super affordable!
Supplies Needed For DIY Desk Organization
- Pine Wood Serving Tray (the smallest one out of this set of three fits two pint sized mason jars perfectly)
- Pint Mason Jar or recycled jars (you need ones with at least one side that is smooth)
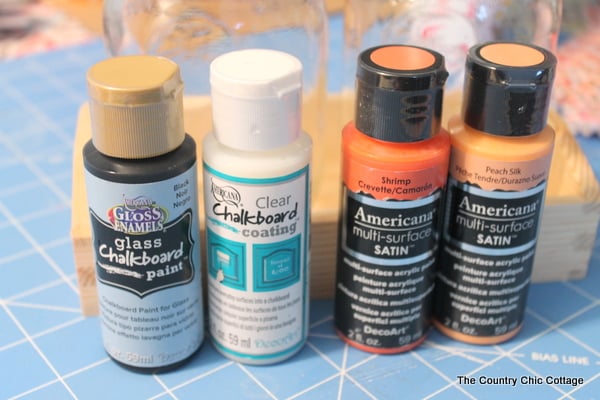
- Americana Multi Surface in your choice of colors (I used Shrimp and Peach Silk)
- Americana Gloss Enamels Chalkboard Paint (this is formulated for glass)
- DecoArt Clear Chalkboard Coating
- FrogTape Multi-Surface Painting Tape
- Chalk Marker, White
- Regular Chalk
- Paint Brush
TIP: If you are keeping the project for yourself, pick the colors that will coordinate with your home decor!
Step 1: Paint The Tray
The very first thing you will do is paint the wood tray. Make sure to do this first so that it can dry while you paint the mason jars.
I used the color “Shrimp” for my tray and painted two coats on all surfaces. Please wait for the paint to fully dry before adding any additional coats.
While you wait for the tray to dry, paint your jars.
Step 2: Add Painter’s Tape To The Jars
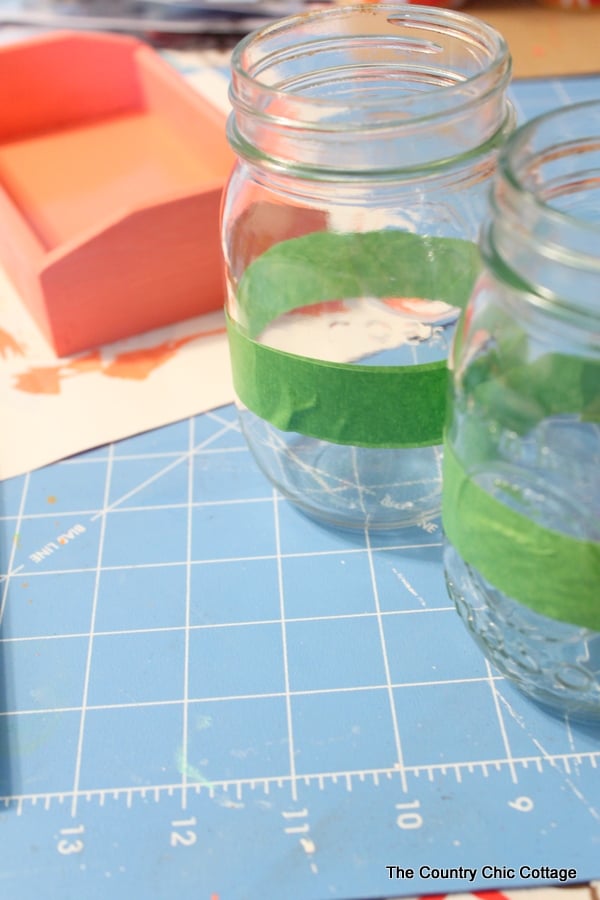
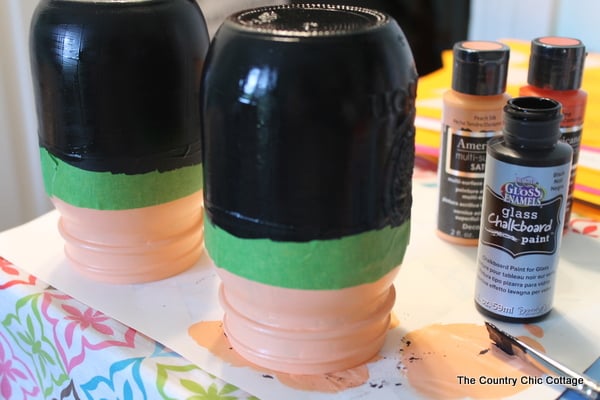
Mask off a little over half of your jars for painting. Keep your line straight at the top for this step.
To select the line’s location, be sure there will be plenty of chalk above your line when the jars are located in the tray.
As you can see below, my jars have one smooth side with no writing. This is important for this project. I dug around in my wide collection of jars until I found two this way.
Step 3: Clean The Jars Before Painting
After you add the painter’s tape, clean your jars well with rubbing alcohol before painting. Do not touch the surface after cleaning, as your fingerprints can cause the paint to lift.
Step 4: Paint The Mason Jars
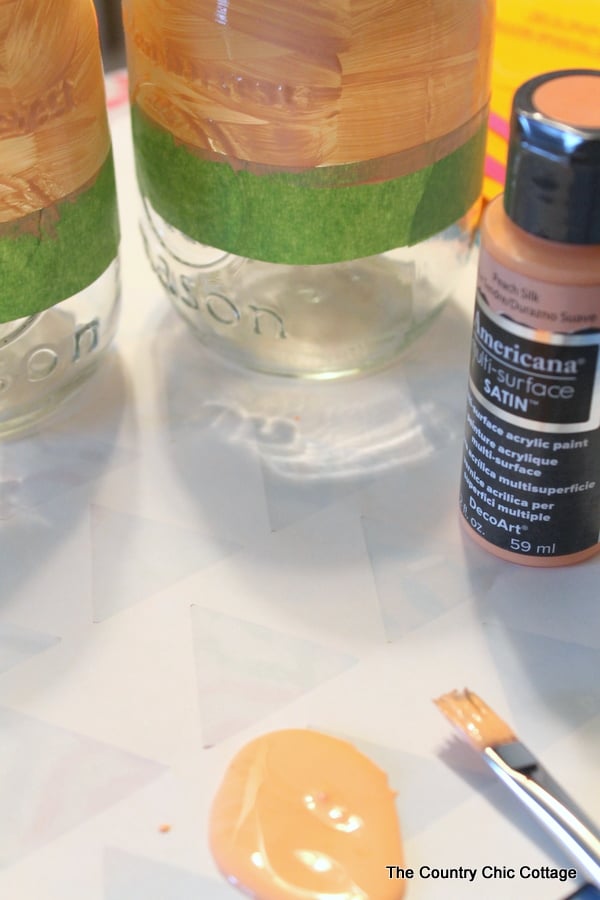
Paint the jars with a few coats of Americana Multi-Surface paint. I am using Peach Silk for the jars. It took around four coats before I was happy with the coverage on my jars!
NOTE: Leave the painter’s tape in place until you are finished painting this area. Be sure each coat dries completely before you add another coat.
Once the tops of your jars have been painted, remove the painter’s tape.
Step 5: Repeat The Same Process For The Bottom Half Of The Jars
Allow the area to cure completely, and then add the painter’s tape so you can paint the bottom of the jar.
Again, be sure the surface is clean by using rubbing alcohol. Add two coats of Americana Multi-Surface paint to the jars.
Also, allow to dry between coats. At the end of this step, remove the painter’s tape. Touch up the line between colors if necessary.
Step 6: Use Clear Chalkboard Coating On The Tray
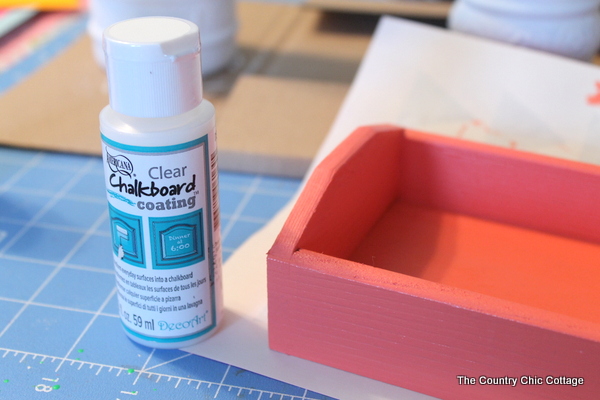
In the meantime, you can also work on the front of your tray. I wanted it to have a chalkboard surface as well, but not in black. The Americana Clear Chalkboard coating is the answer.
Add two coats of it to the front and back of the tray.
This product is clear, and you will not be able to tell it is on the surface once it is dry. Paint the front and back of the tray so both sides are a chalkboard surface.
Step 7: Let DIY Desk Organization Cure
Once everything is dry, let all of the products cure according to the package directions. You will need to condition all chalkboard surfaces by rubbing them with the side of a piece of chalk and then erasing them.
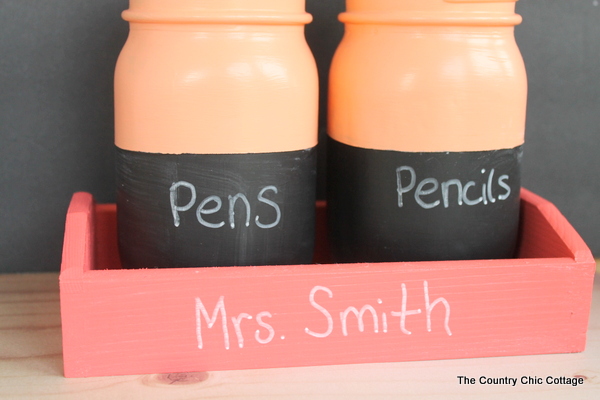
You can then write anything you wish with a chalk marker. These markers can be erased with something wet like a cloth or sponge but will not rub off if little hands touch the writing.

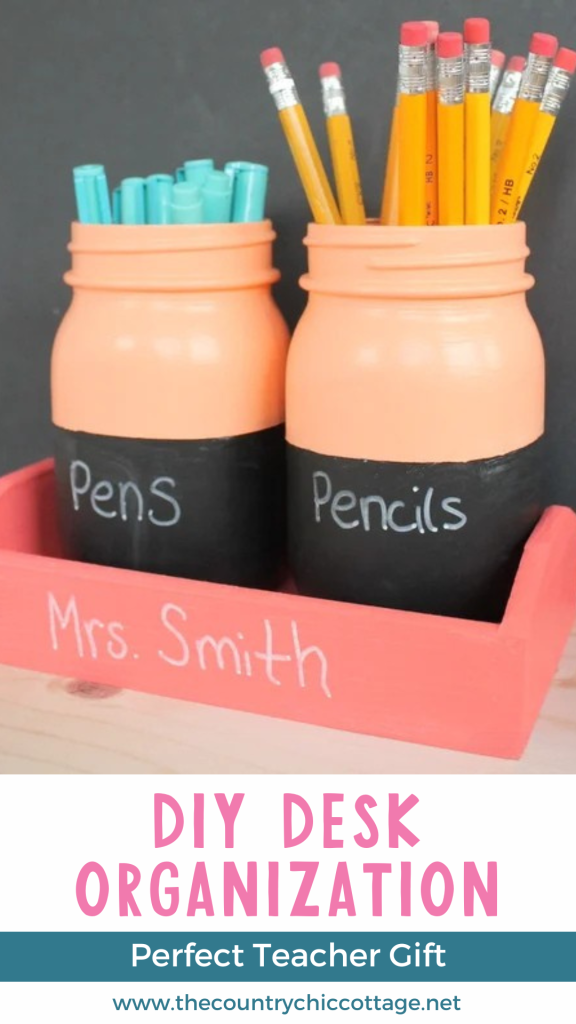
Every teacher would appreciate this mason jar desk organizer for back-to-school. Fill it with pens, pencils, markers, and more for a thoughtful gift that the teacher will use throughout the year!
FAQs About DIY Desk Organization
Here are a few common questions that I often see readers asking about making this DIY desk organizer. If you have a question, please check if I’ve already addressed it below. If you don’t see your question listed, please leave it in the comments!
What Size Mason Jars Did You Use?
I used pint-size mason jars.
Can I Use Any Type Of Jar For This DIY Desk Organization?
Technically, yes. However, since we want to write on these jars with chalk, I recommend using a smooth-sided jar.
I’m Using A Jar With A Label. Do You Have Any Tips For Removing The Label?
If you are using jars from your kitchen (like pickle jars, jam jars, etc.) there are several ways that you can remove the original label.
For these types of jars, I would let them soak in warm soapy water then use a scraper to remove the label. This has worked for me, but if you are dealing with a stubborn label, below are a few more things you can do.
- Pour hot water into the jar, let it sit, and it will loosen up the label on the outside.
- Create a mixture of dish soap and vinegar.
- Apply heat to the label using a hair dryer.
I’m Using A Jar With A Label. Do You Have Any Tips For Removing Sticky Residue?
To remove any sticky residue from the jars, I would use Goo Gone, along with soap and water. However, if you don’t like the smell of Goo Gone or need other options, below are a few ideas.
- Adhesive Removers (like 3M Adhesive Remover, Un-Du, etc.)
- White vinegar
- Nail Polish Remover
Can I Change The Size Of This Project?
Absolutely! You can adjust this project by using a smaller or bigger mason jar/tray.
Can I Add More Mason Jars To This DIY Desk Organization?
Yes, you can. However, if you add more mason jars, you will need a big enough tray to hold everything.
5 More Teacher Gift DIYs
If you love this DIY desk organization and want more teacher gifts, check out the projects below!
- DIY Desk Name Plate with Sublimation
- “Get Your Cray-On” Teacher Gift Card Holder
- Teacher Appreciation Gift Ideas in a Mason Jar
- Teacher Appreciation Gift Tags {Free Printable}
- Teacher Appreciation Thank You Gift Tag


I love this back to school craft, it’s so simple and cute.
What kinds of pens are in the pen bucket??? I WANT THEM
Try here Tiffany! http://www.poppin.com/
These are cute and so simple, thanks for the idea!