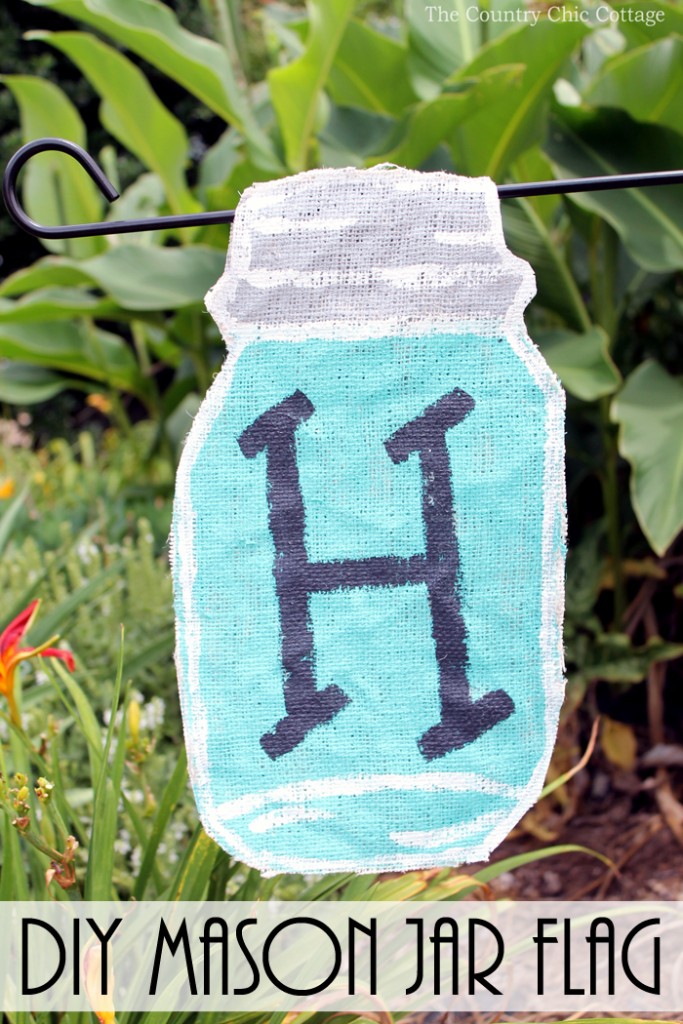
Make your own mason jar flag and hang it in your garden this summer. This adorable project is perfect for those who love jars and just want to show that off in their yard. You can add a monogram for a custom flag that you make yourself!
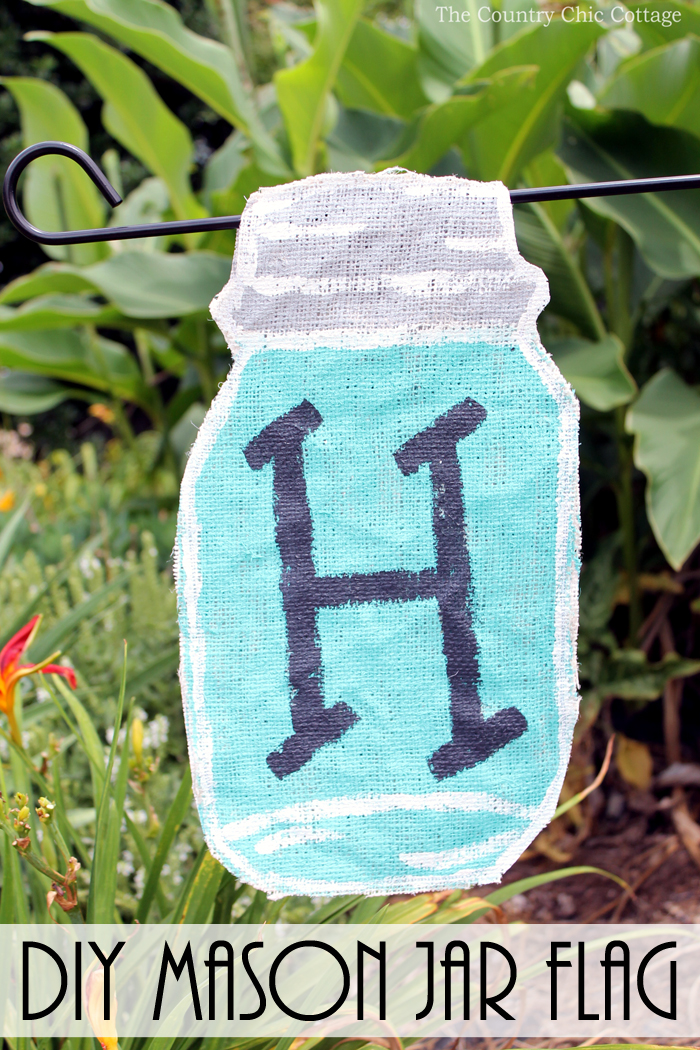
I love using garden flags for decorating. They are perfect for adding a festive touch without going overboard. Perfect for a walkway, front porch, and garden area.
I made a similar version of this mason jar flag with a cute flower adornment. This one that I’m sharing today uses almost the same process and they are both so easy to make.
You can also make this using your Cricut machine.
These flags have lasted for many seasons in the sun without fading, so I know this process works!
How to Make a Mason Jar Flag for Your Garden
Make this mason jar flag using your Cricut machine, or by hand! I’ll explain both ways below.
Supplies needed
Here is what you’ll need to make your own mason jar flag:
- Cricut machine (Maker or Explore series)
- Fabric grip mat
- Fabric
- Rotary or bonded fabric blade
- Patio Paint (I used the following colors: Blue Bahama, Grey Skies, Cloud White, Wrought Iron Black) (NOTE: this paint is intended for outdoor use)
- White burlap
- Scissors
- Paintbrush
- Sewing machine and thread
- Flag hanger
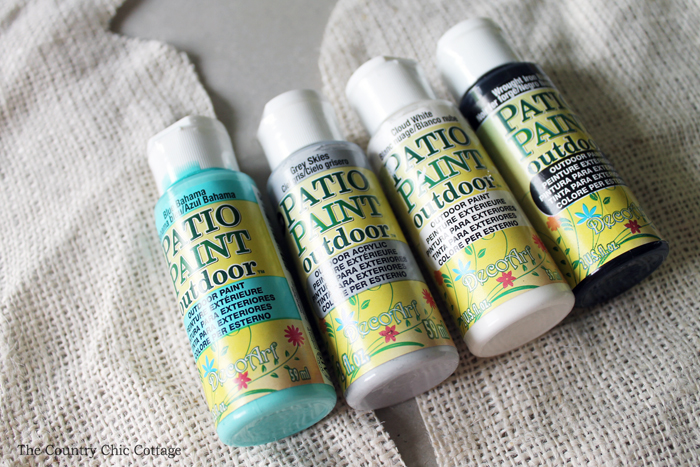
Designing Your Mason Jars
You can find some mason jar designs inside of Cricut Design Space to cut your burlap. You can find free mason jar shapes right in Design Space or find a free SVG that you like.
This one from Cut That Design is cute.
Click on images on the left-hand side and search for mason jar. Then filter for free by checking the box at the top of the screen. Scroll until you find something that will work.
Then click make it to start cutting your mason jars.
You can also free-hand the shape or trace a mason jar shape you already have at home if you don’t own a Cricut. Seriously the mason jar shape does not have to be perfect and you can free-hand something that will definitely work!
How to Cut Fabric with a Cricut
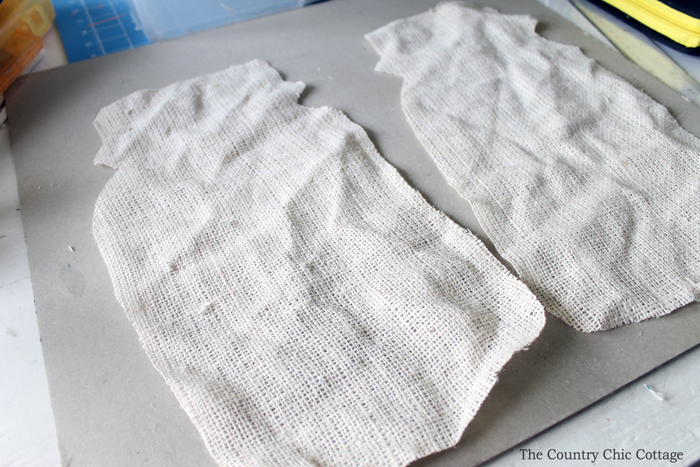
Now that you have your design, you will want to cut the mason jars from your burlap.
You can cut fabric with either a Cricut Maker or Explore, but there are some differences depending on which machine you have. If this is your first time, make sure to read my How to cut fabric with a Cricut post here first.
Since burlap has a high chance of fraying, I’m going to cut bonded fabric for this project.
Start by cutting two identical mason jar shapes from the white burlap with your Cricut.
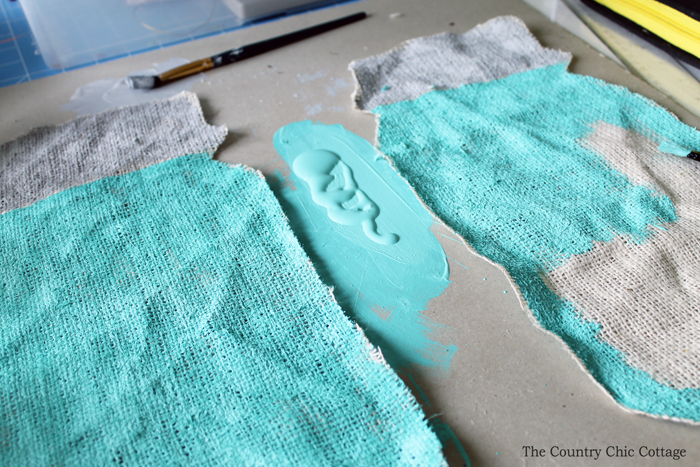
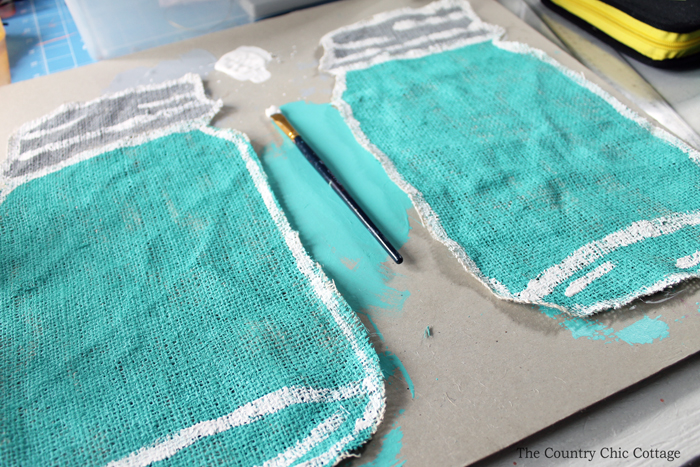
Paint the bottom of your mason jars with the Blue Bahama paint and the top with Grey Skies. A good thick coat is needed. Be sure to protect your work surface as the paint will go through the burlap. Allow them to dry completely before continuing.
Add in lines with the white Patio Paint. You can see how I did my lines below.
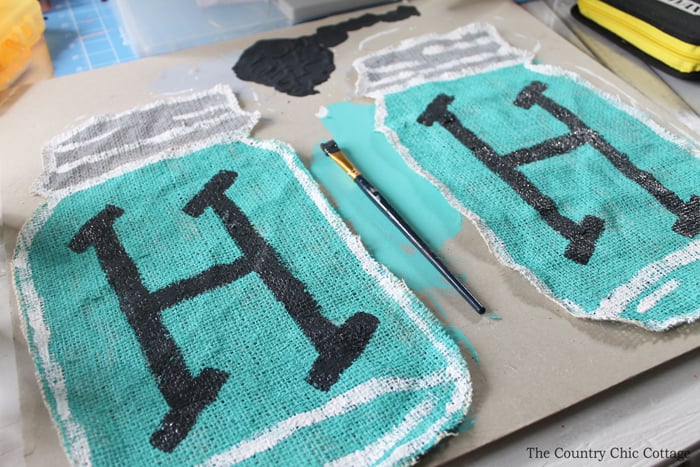
Mix the black and white paint to come up with a very dark grey paint. Add your monogram with this paint. I originally free-handed the painting, but you could use the Cricut monogram maker to make this project even more polished.
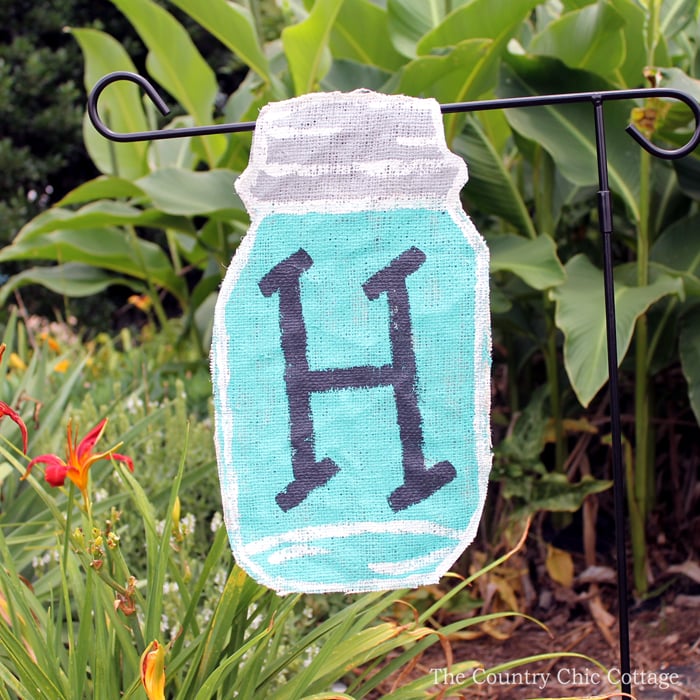
Allow it to dry completely then put the shapes back to back. Trim with scissors and touch up the paint if needed. Once dry and the same shape, stitch together using your sewing machine.
Be sure to leave the “lid” portion open on the sides as this will be where your flag hanger will go through. I still stitched the sides just to keep the entire thing from fraying. Just don’t stitch the front to the back in the lid area.
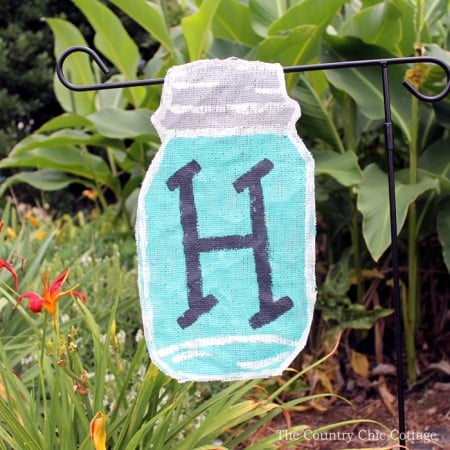
See how cute this mason jar flag turned out?
Equipment
- Cricut machine (Maker or Explore series)
Supplies
- Fabric grip mat
- Patio Paint I used the following colors: Blue Bahama, Grey Skies, Cloud White, Wrought Iron Black. (NOTE: this paint is intended for outdoor use)
- Fabric— I used white burlap
- Rotary or bonded fabric blade
- Scissors
- Paint brushes
- Sewing machine and thread
- Flag hanger
- Fabric
Instructions
- Design your mason jars in Design Space.You can find some mason jar designs inside of Cricut Design Space to cut your burlap. You can find free mason jar shapes right in Design Space or find a free SVG that you like.Click on images on the left-hand side and search for mason jar. Then filter for free by checking the box at the top of the screen. Scroll until you find something that will work.Then click make it.You can also free-hand the shape or trace a mason jar shape you already have at home if you don’t own a Cricut. Seriously the mason jar shape does not have to be perfect and you can free-hand something that will definitely work!
- Cut your fabric.You can cut fabric with either a Cricut Maker or Explore, but there are some differences depending on which machine you have. If this is your first time, make sure to read my How to cut fabric with a Cricut post here first.Since burlap has a high chance of fraying, I’m going to cut bonded fabric for this project.Start by cutting two identical mason jar shapes from the white burlap with your Cricut.

- Paint the bottom of your mason jars with the Blue Bahama paint and the top with Grey Skies. A good thick coat is needed. Be sure to protect your work surface as the paint will go through the burlap. Allow them to dry completely before continuing.

- Paint both pieces with patio paint. Mix the black and white paint to come up with a very dark grey paint. Add your monogram with this paint. The bottom of your jar should be blue while the top should be gray. Allow to dry.

- Next, add your personalized message or monogram to one or both pieces of the flag with black paint. Allow to dry.

- Paint on white lines for the lid and all the way around the outer edge. Allow the paint to dry.
- Put the shapes back to back. Trim with scissors and touch up the paint if needed.
- Stitch the sides together using your sewing machine. Be sure to leave the “lid” portion open on the sides as this will be where your flag hanger will go through.

Take your mason jar flag outside and add it to your garden. You will love the rustic touch it gives to your landscape!
A Year of Jar Crafts

Sign up for our email list to get a FREE book with an entire year of jar crafts! 12 months, 12 crafts, tons of fun!



Oh my goodness…what a CUTE idea! 🙂
I would love for you to share this with my AMAZING Facebook Group with over 300 Members to share easy craft projects and recipes: https://www.facebook.com/groups/pluckyrecipescraftstips
Thanks for joining Cooking and Crafting with J & J!
Such a cute idea. I’ve never used patio paint, but will use it when I do outdoor projects. Thanks for sharing this on Merry Monday. Pinned.