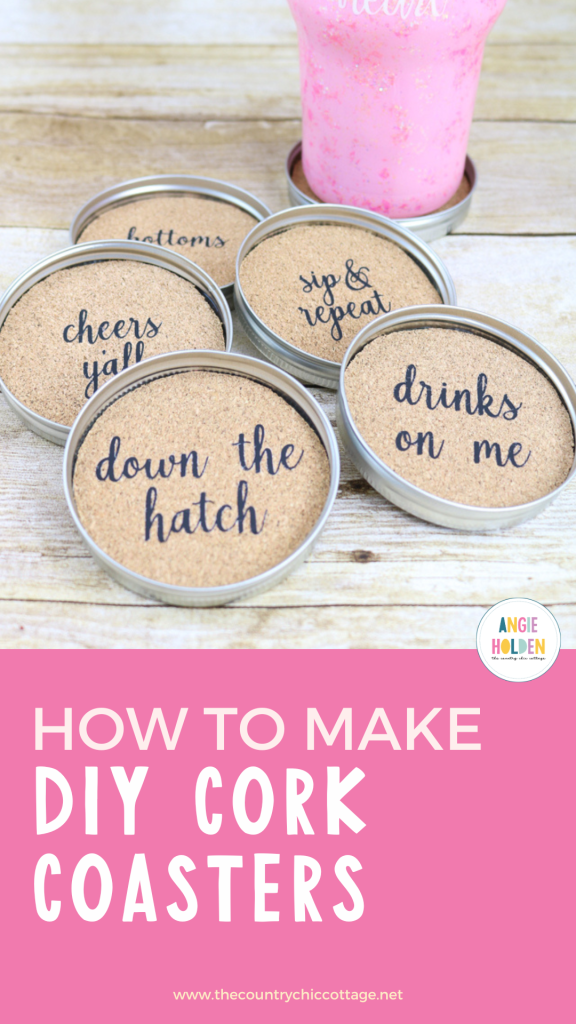
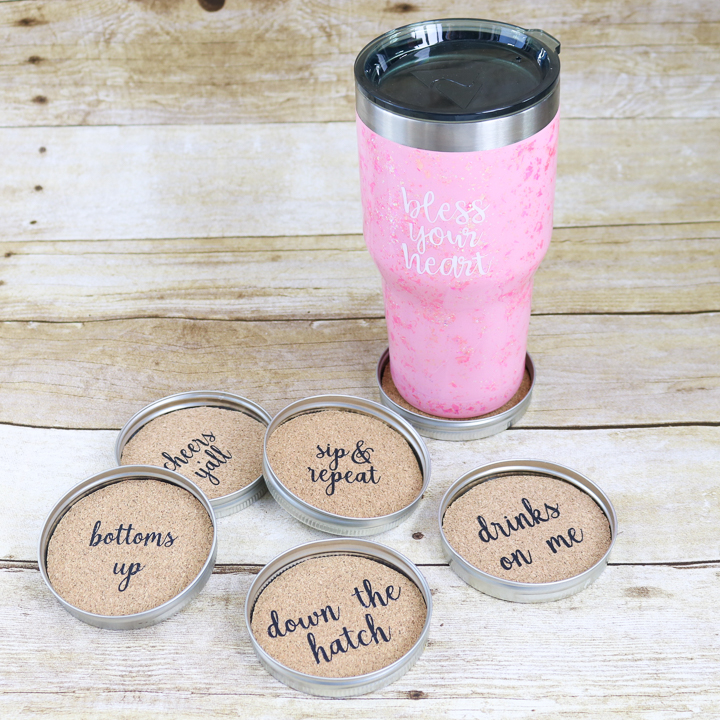
Want to add a farmhouse-style twist to your next party? These DIY cork coasters are so easy to make with heat transfer vinyl and your Cricut machine. If you didn’t know you could add heat transfer vinyl to cork – today’s your lucky day – just follow the steps below and get ready to make your own custom coasters in minutes.
Want to watch a video on how to make these coasters from mason jar lids? Just hit play below!
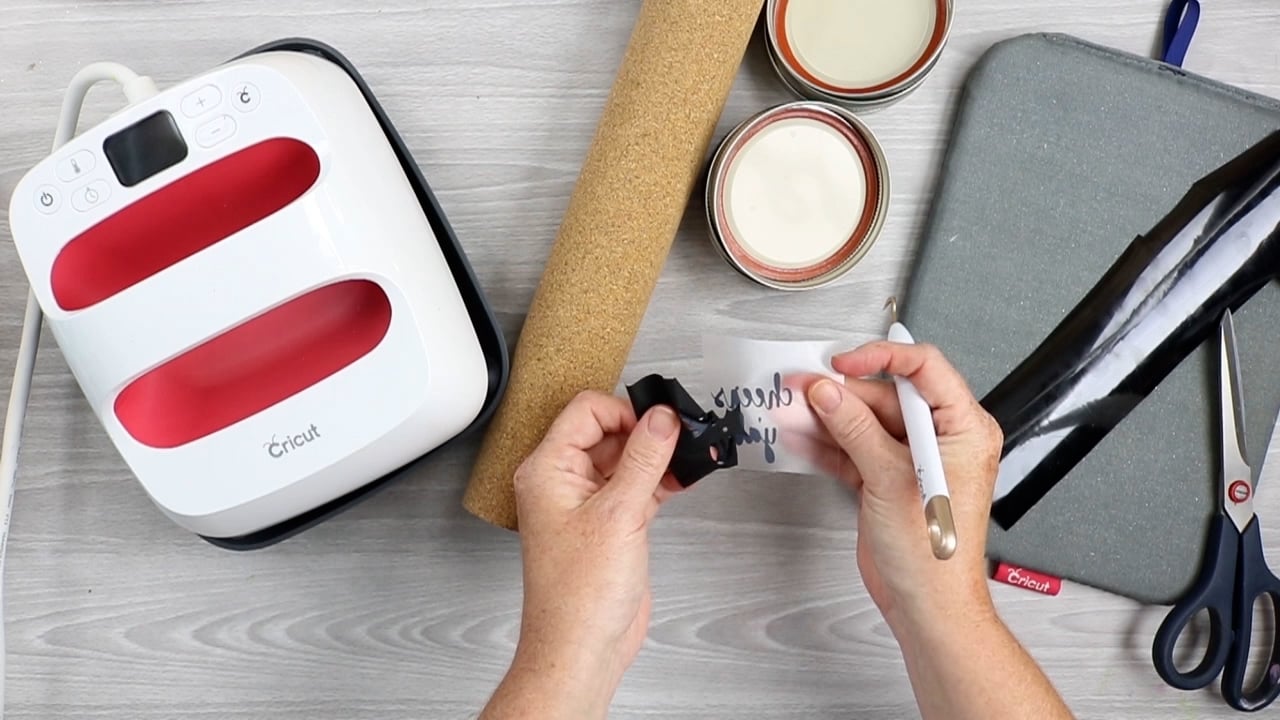
Supplies to make cork coasters:
- Cricut machine
- Cricut cut file (you can download this below)
- Cork
- Mason jar lids
- Heat transfer vinyl
- EasyPress or iron
- Teflon sheet or parchment paper
- Scissors
Jar Lid Coasters Cut File
The first thing you’ll want to do is download the cut file for the mason jar lid coasters. Just put your name and email address in the form below and you will then be sent a file with the SVG. You will need to open the file saved to your computer and upload it to Cricut Design Space. Having trouble? You can learn more about how to do that here.
If you have any issues or have questions, please email angie@thecountrychiccottage.net and I will try to fix it for you. Please remember that this file is for personal use only and you will need to contact me for commercial use.
How to make DIY cork coasters with heat transfer vinyl:
Now that you’ve uploaded your SVG file to Cricut Design Space, gather the rest of your supplies and get ready to make custom coasters in no time at all!
Step 1: Cut and Weed HTV
Start cutting the heat transfer vinyl on your Cricut machine. Be sure to mirror your design and cut with the heat transfer vinyl shiny side down. You can see more about the basics of working with heat transfer vinyl here.
Then, weed away all excess heat transfer vinyl. This includes the outside as well as things like the centers of the letters.
Step 2: Cut Cork
Cut your cork into circles using scissors or even your Cricut machine. I traced my mason jar lids onto the cork with a pen then used scissors to cut it out.
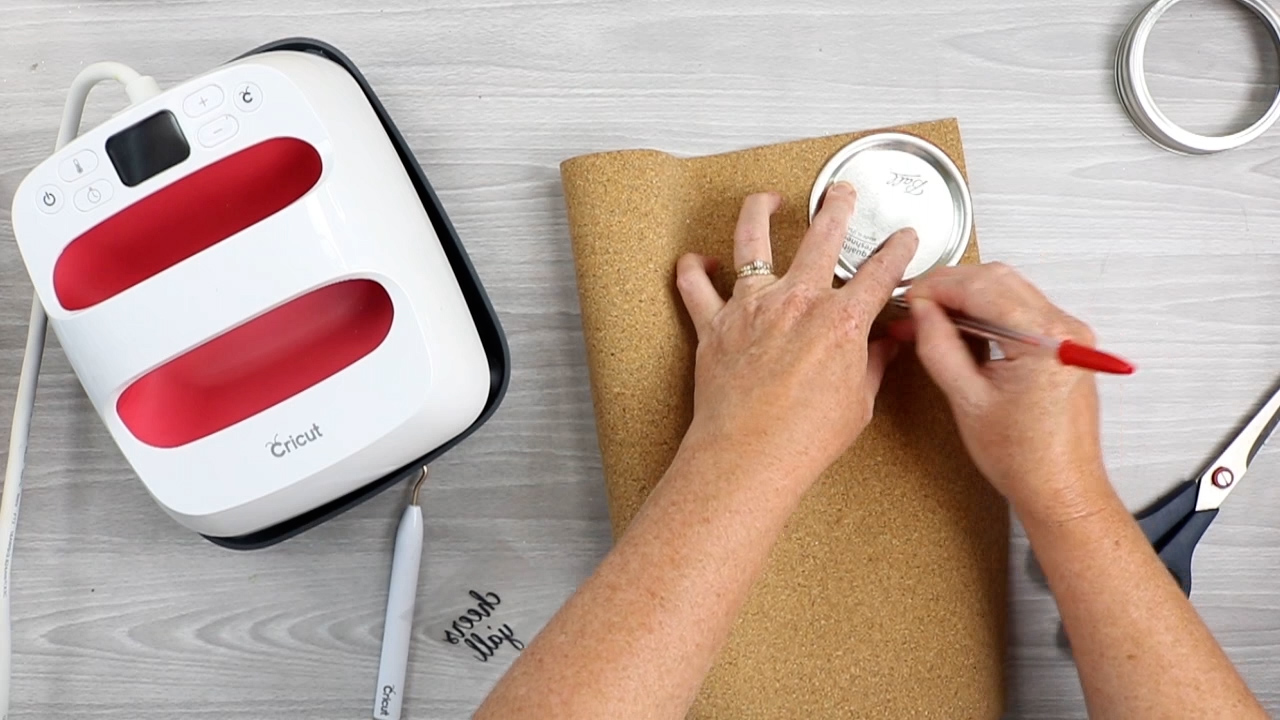
You can program a circle and use your Cricut machine to make this cut as well. I like using the rotary blade with the Cricut Maker to cut cork.
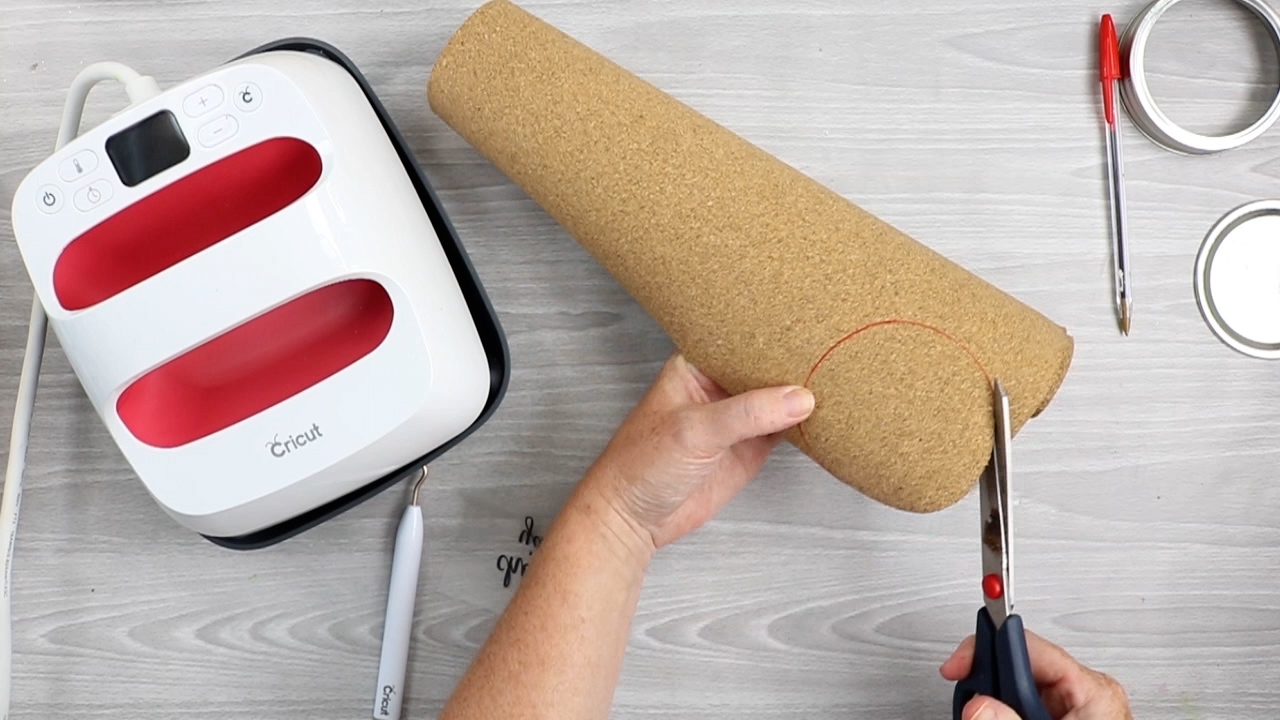
Step 3: Add HTV to Cork
Next, add the heat transfer vinyl in the proper location to the center of your cork. Put it on an EasyPress mat or folded a towel.
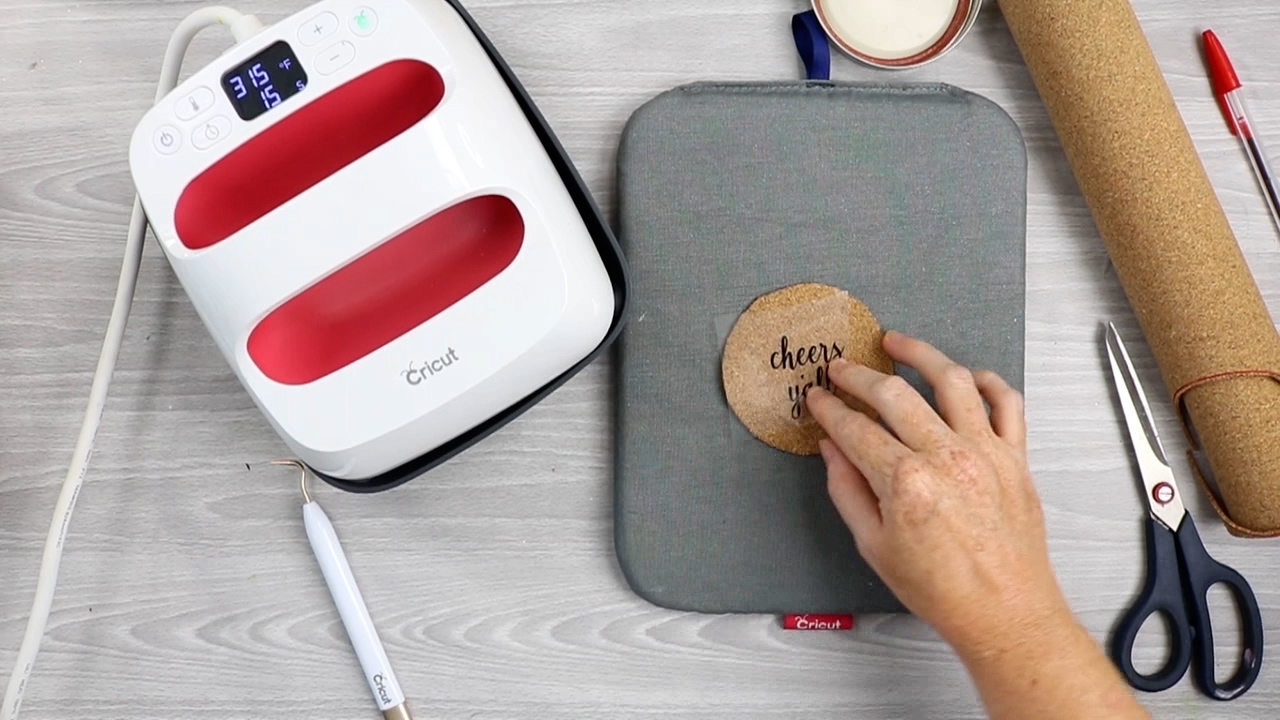
Make sure you cover the entire thing with the Teflon sheet or parchment paper. This protects the cork from the EasyPress or iron.
Be sure to look at the proper time and temperature on the Cricut heat guide. Then press with your EasyPress on top of the Teflon sheet for the proper amount of time at the right temperature.
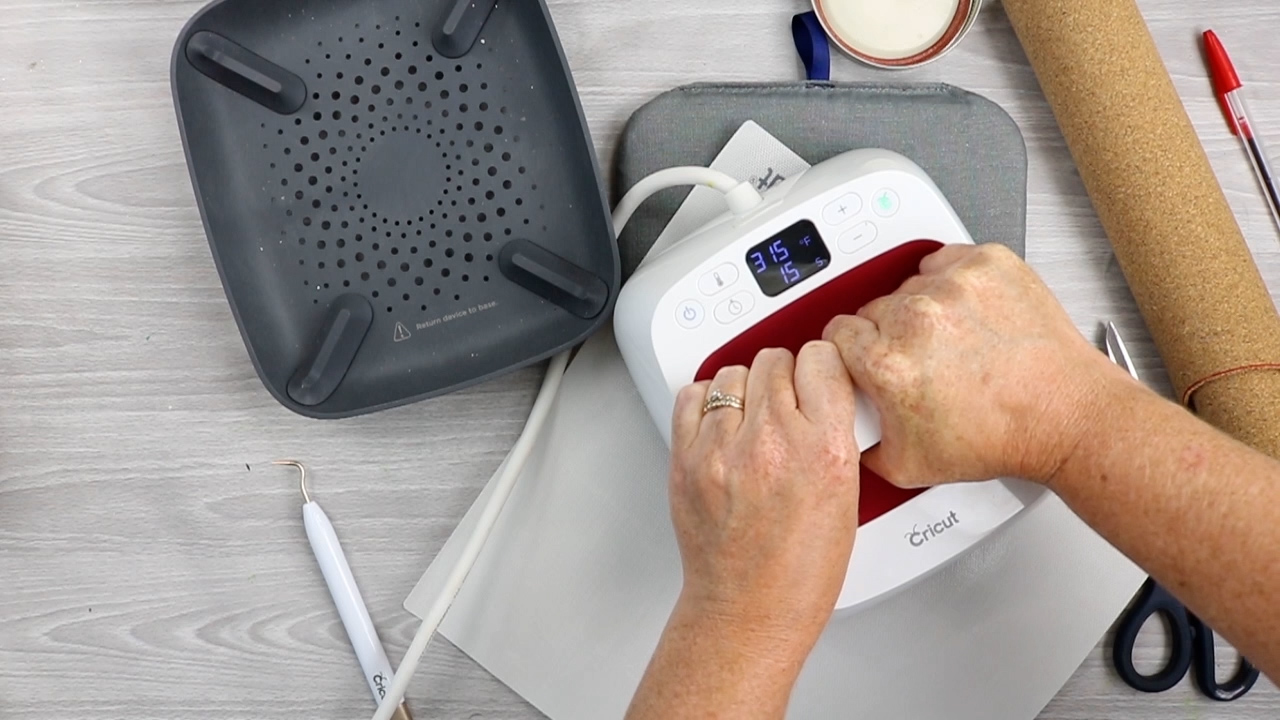
Allow your project to cool slightly so that you can touch the cork then flip it over. Put the Teflon sheet back on top and press once again with your EasyPress.
This time, allow it to cool completely, and then peel back the protective lining of the heat transfer vinyl. If the iron-on is wanting to lift up, you will need to press once again at the time and temperature indicated.
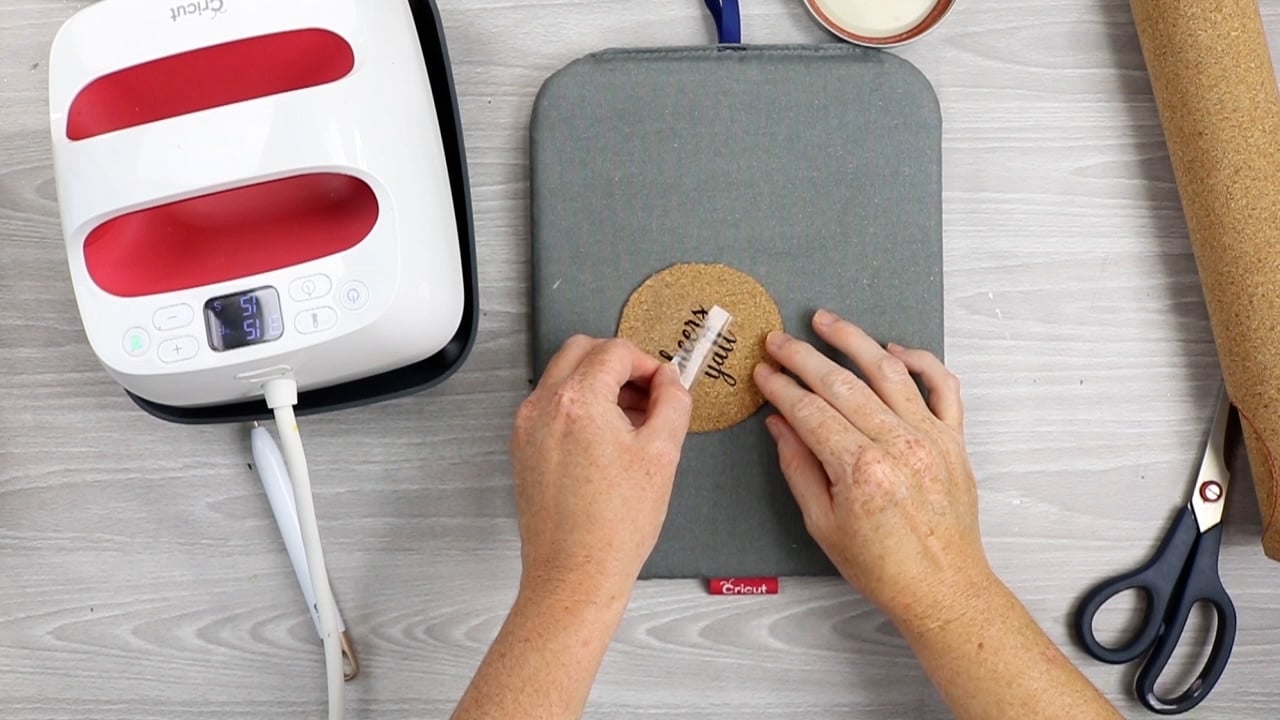
Repeat until the liner pulls up completely while leaving your heat transfer vinyl on the cork.
Finally, repeat these steps for all of your mason jar lid coasters.
Step 4: Finish cork coasters
Add the cork to the inside of your mason jar lid. I find that the lid of the mason jar helps to finish the raw edges of the cork in an inexpensive way. Add hot glue to the band of the lid then add the flat piece and secure into place.
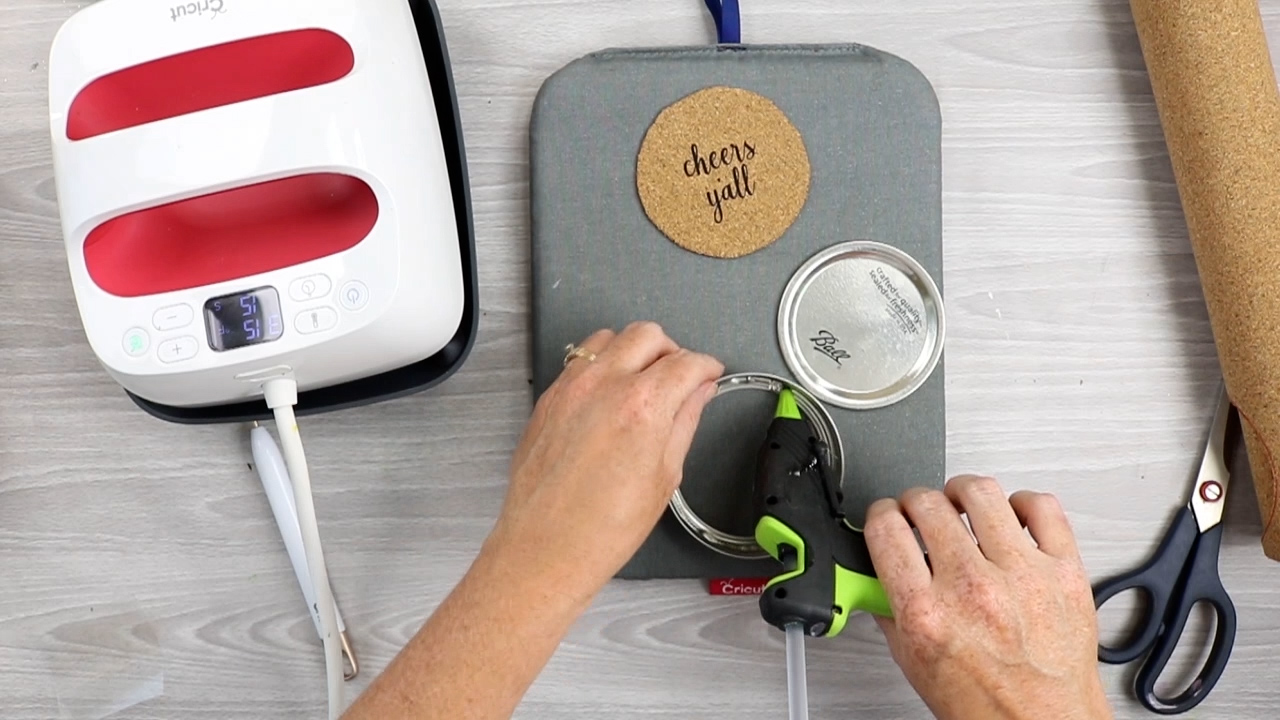
Next add hot glue to the flat piece in order to secure the cork into place.
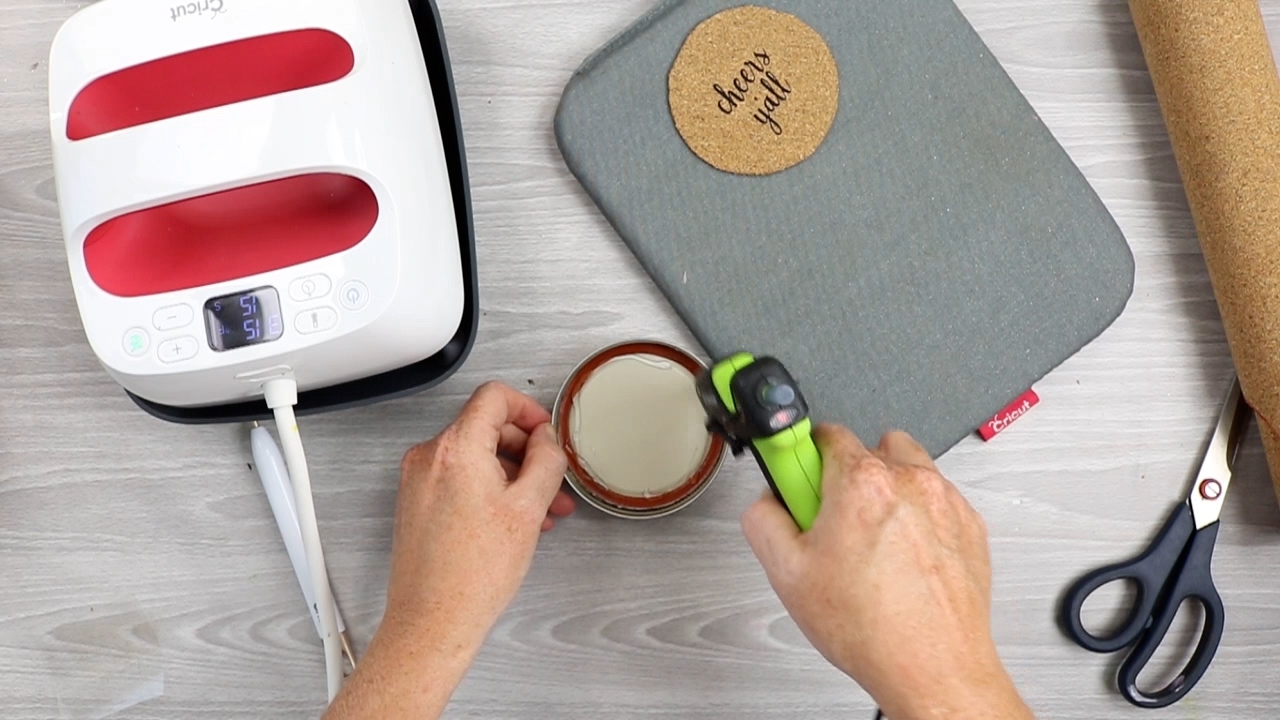
Add the cork and your mason jar lid coaster is complete! Repeat these steps for all of your coasters.
I don’t find that I need to seal the HTV at all as it adheres well to the surface of the cork. I would allow everything to set up for at least 72 hours before using.
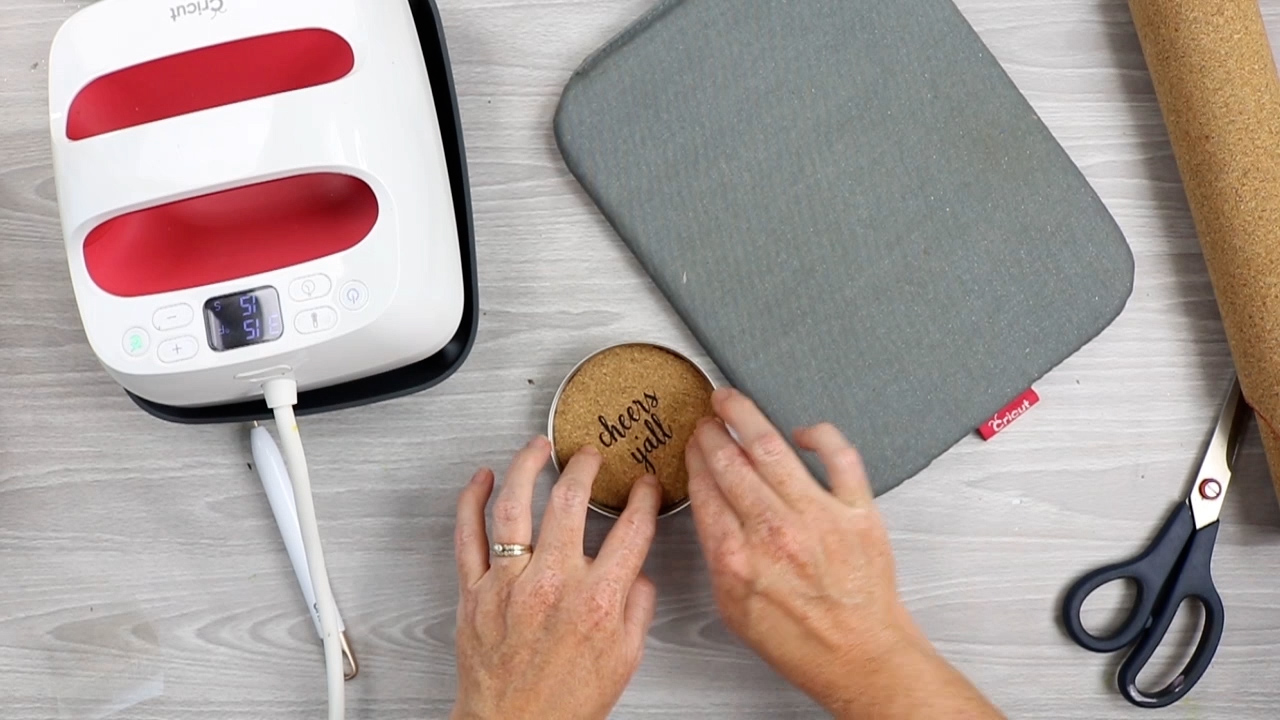
Where to Use Your DIY Cork Coasters
Add these to any room for everyday use, or use them as a fun accent for any party. The fun thing is you can customize them for whatever party theme you want and make a batch of coasters to celebrate any occasion. They could make a great gift too!
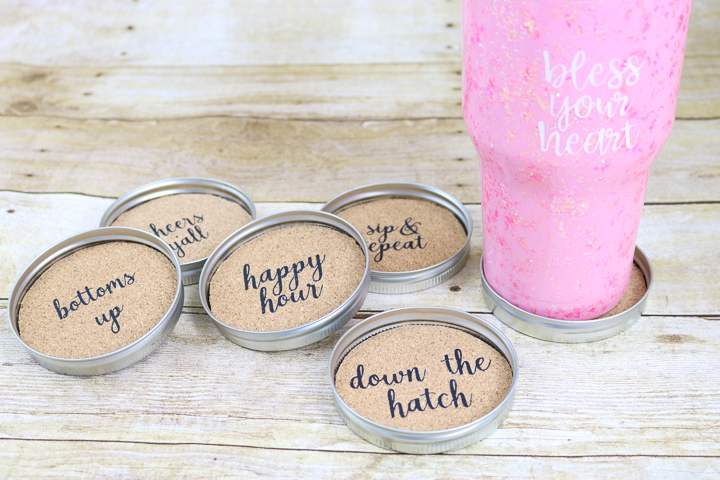
So, will you make some mason jar lid coasters for your farmhouse-style home or next party? Be sure to share your experience with us!
