Make this mason jar sign for your porch this fall. This method is so easy and will make creating a sign in a mason jar shape super simple. Follow our instructions then paint a sign for every holiday. Use them as jar wall décor or as a decoration outdoors. Either way, you are sure to love the results!
If you have missed any of the fun, this is a part of fall mason jar week. You will want to catch up with the posts from day 1, day 2, day 3, and day 4. You will also want to scroll to the bottom of this post to see the creativity that the other bloggers have in store for you today.
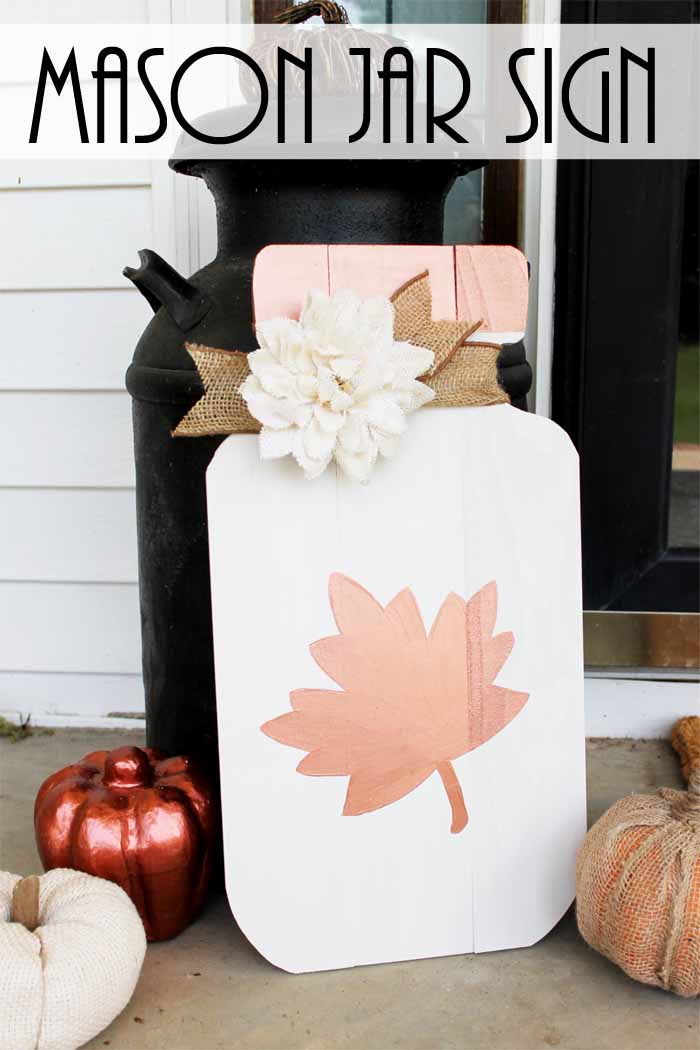
Y’all know I love mason jars…and fall! And you know I love to decorate for both! I have so many fall-themed decorations that are super easy to make…and with mason jars!
This “hello fall” decorative mason jar is perfect to use as a seasonal vase. These fall colored mason jars would be adorable on your mantle or as a centerpiece. Needless to say, I’ve got plenty of fall themed home decor, so be sure to check it out.
This sign is a super cute way to welcome in guests. You can customize it to any color or design you choose. This project uses a simple silhouette for the jar shape and a free leaf template for the design. Let’s get started!
How to Make a Mason Jar Sign
Supplies to make a mason jar sign:
- Pallet wood sign
- Decoart Outdoor Living Paint (I used Copper and Sand)
- Scroll saw (my favorite is the Rockwell Blade Runner)
- Jar silhouette template (click here to print)
- Sander
- Leaf template (click here to download and print)
- Pen
- Paint brushes
- Burlap ribbon
- Burlap flower
- Hot glue and glue gun
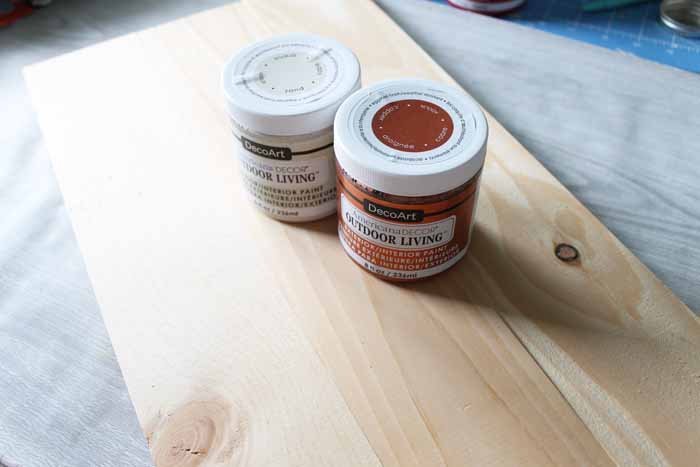
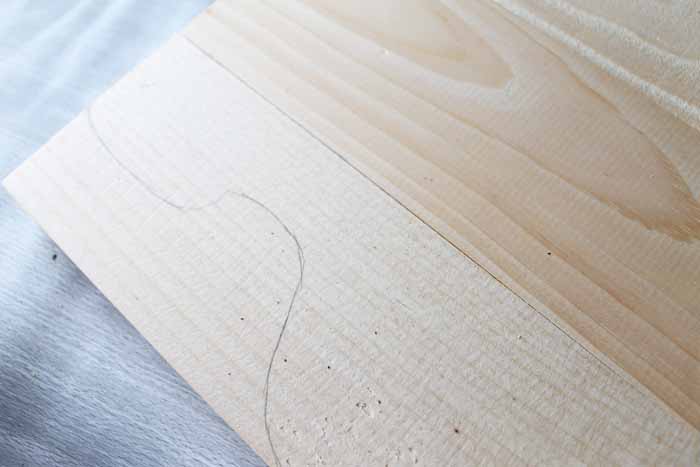
Start by printing the jar silhouette printable and transferring it to the top of your pallet sign. Line up the top and side and then trace with a pencil. Repeat on both sides.
Use a scroll saw to cut around your lines. Be sure to be cautious of staples holding this sign together. Remove before cutting if they are in your cutting area. Use a sander to clean up your cuts.
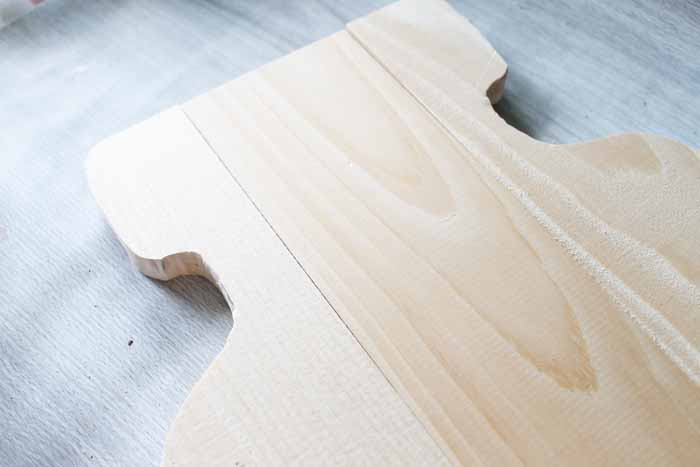
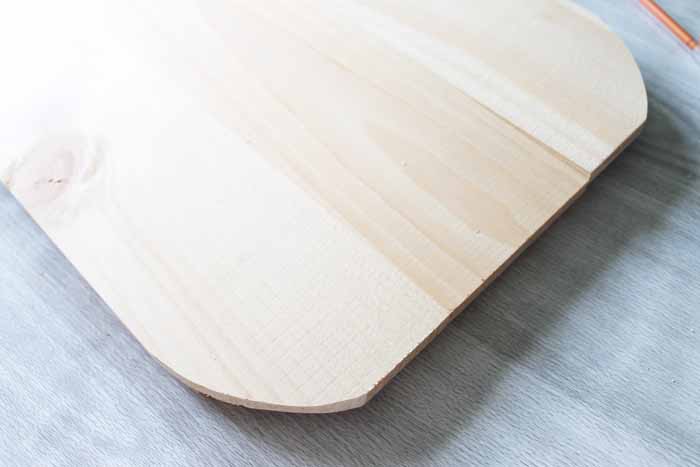
I also rounded the edges of the other end. I did not use a template for these cuts but rather free handed the design. Add two coats of a good quality outdoor paint to the entire sign. I used a sand color from Americana Outdoor Living. Allow to dry completely before continuing.
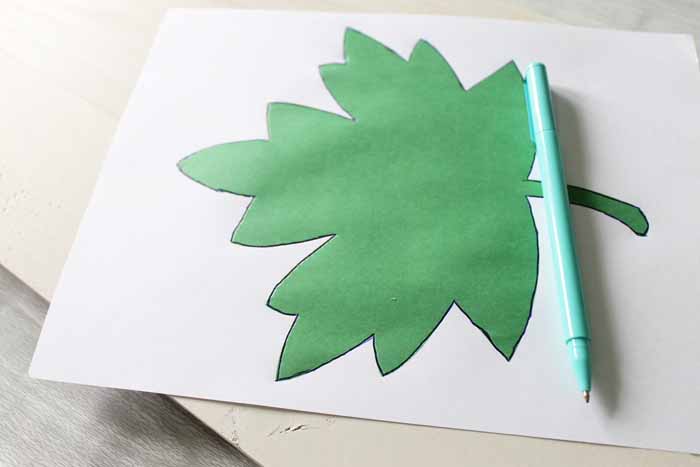
Print the leaf template. Lay on top of the painted sign in the place where you would like it to be. Trace with a pen while pushing down hard.
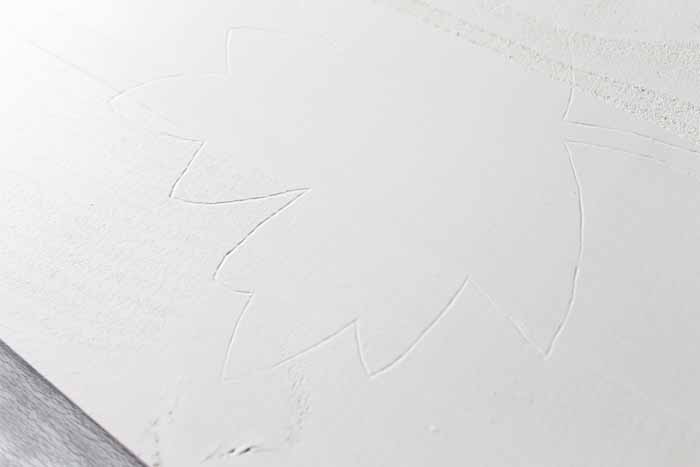
You will be left with an indentation where your design should be.
Fill in your design with a copper colored paint. It took me about four coats to get proper coverage in this area. Again use a good quality outdoor paint and allow to dry in between coats.
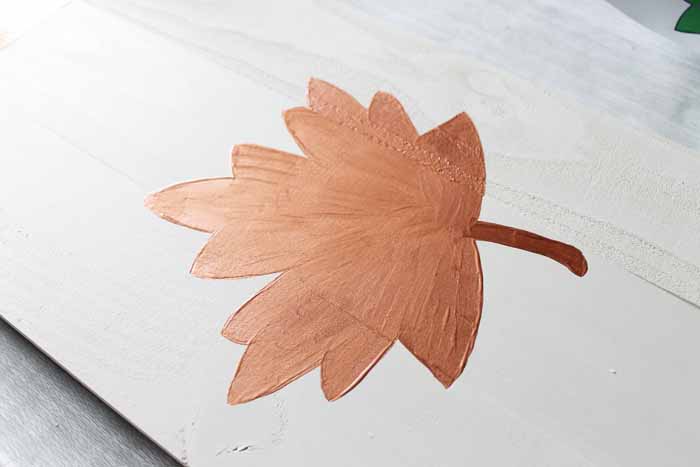
I also added the copper paint in the “lid” area. After all the paint was dry, I tied on some burlap ribbon around the jar “neck”.
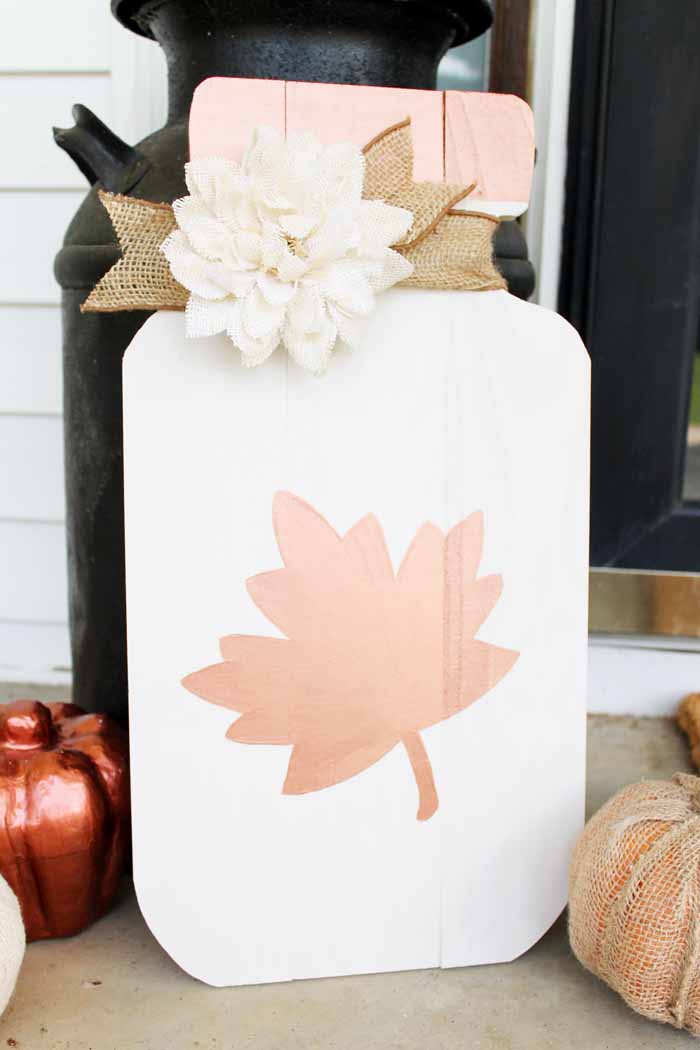
I also added a burlap flower with some hot glue to finish off my mason jar sign. Add this fall decor to your front porch for a touch of autumn.
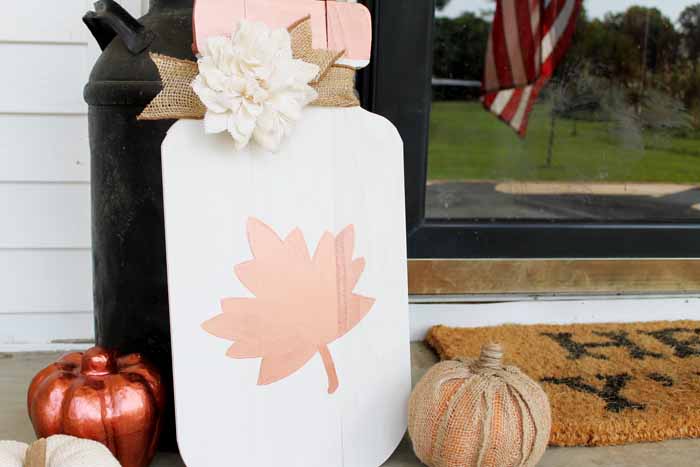
Grab your supplies and make your own mason jar sign today. What will you add to the wood jar? It is so easy to make that you can add one for every season to your decor.
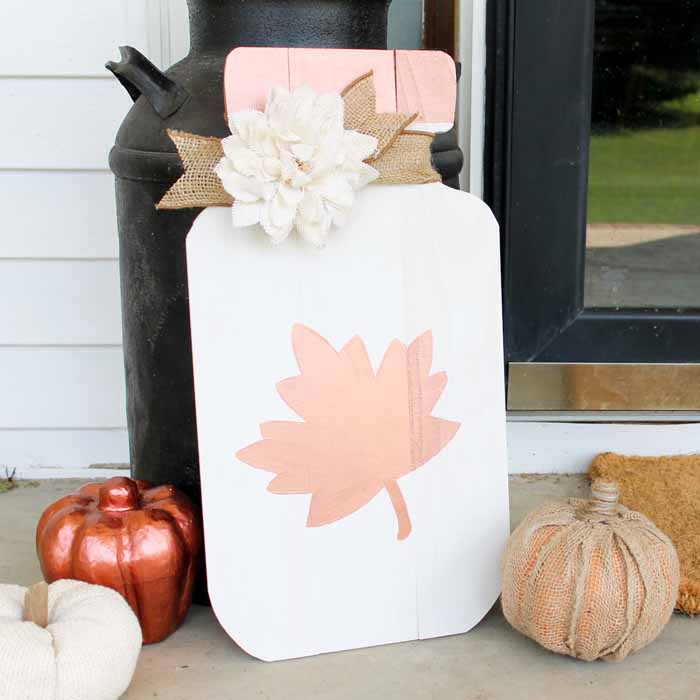
Love this mason jar sign and want more ideas?
Be sure to click the links below to see what our other bloggers have in store for you today!

Supplies
- Pallet wood sign
- Decoart Outdoor Living Paint I used Copper and Sand
- Scroll saw my favorite is the Rockwell Blade Runner
- Jar silhouette template click here to print
- Sander
- Leaf template click here to download and print
- Pen
- Paint brushes
- Burlap ribbon
- Burlap flower
- Hot glue and glue gun
Instructions
- Start by printing the jar silhouette printable and transferring it to the top of your pallet sign. Line up the top and side and then trace with a pencil. Repeat on both sides.
- Use a scroll saw to cut around your lines. Be sure to be cautious of staples holding this sign together. Remove before cutting if they are in your cutting area. Use a sander to clean up your cuts.
- I also rounded the edges of the other end. I did not use a template for these cuts but rather free handed the design.
- Add two coats of a good quality outdoor paint to the entire sign. I used a sand color from Americana Outdoor Living. Allow to dry completely before continuing.
- Print the leaf template. Lay on top of the painted sign in the place where you would like it to be. Trace with a pen while pushing down hard. You will be left with an indentation where your design should be.
- Fill in your leaf design with a copper colored paint. It took me about four coats to get proper coverage in this area. Again, use a good quality outdoor paint and allow to dry in between coats.
- I also added the copper paint in the “lid” area. After all the paint was dry, I tied on some burlap ribbon around the jar “neck”.
- I also added a burlap flower with some hot glue to finish off my mason jar sign. Add this fall decor to your front porch for a touch of autumn.


Love it Angie..every Farmhouse Porch needs one : ) Hugs…
This is adorable, Angie!
I love the rose gold! What a pretty fall sign.
That is adorable! What a great gift idea for friends. Pinning to try. 🙂
Might not have a farmhouse porch but will love making this, decorate our small front porch with it. Love that it’s different than other Fall decorations. Thank you so much for sharing templates for jar and leaf, sure appreciate that.
Will need to get some of that outdoor paint. So may new incredible paints out this Fall. Will have to wait til our payday on 27th. to get lumber and paint but will be worth the wait. So look forward to making this sign.
Happy weekend
I could see one being made for every season. Especially in summer time. Drill small holes. Have those tiny little led lights to shine through and it could look like summer fire flies.