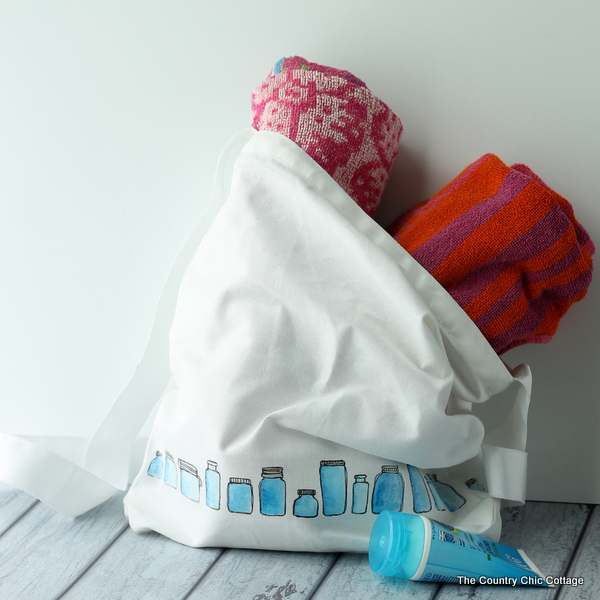
Do you (or someone you know) need a new tote bag? Make mason jar bags! They’re perfect for every occasion and a cinch to make with this step-by-step tutorial.
I think that by now you guys probably know how much I love mason jars! Whether I’m making a light, a fairy house, or a tissue holder, I’m probably finding a way to do it using a mason jar. But I don’t just love using mason jars; I love using their shape, too. You might find mason jar shapes in my wedding favors, Valentine’s Day pictures, and Christmas Ornaments!
Is there really ANY occasion that isn’t perfect for mason jars?
If you want even more fun and unique mason jar projects, try my Mason Jar Herb Planter, Mason Jar Pallet Artwork, and DIY Mason Jar Bird Feeder.
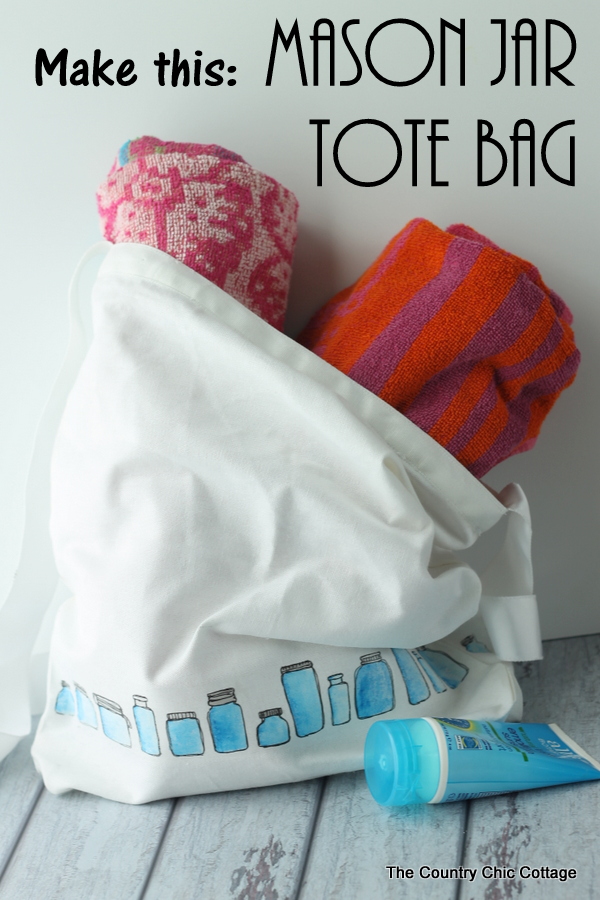
How To Make Mason Jar Bags
Ok, here’s what you’ll need to know about this project, including the supplies you’ll need to gather. Soon, you’ll have your own unique bag that’s perfect for the library, the beach, and more!
Supplies needed to make mason jar bag
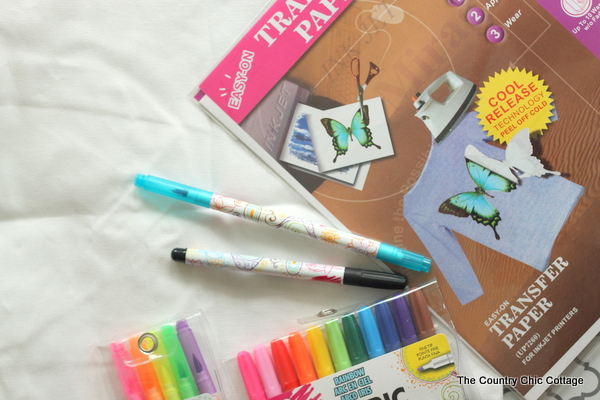
Here is everything you will need to have on hand for making mason jar bags. I even included a few links to help you find what you need faster.
- Inkjet transfer paper
- Printer
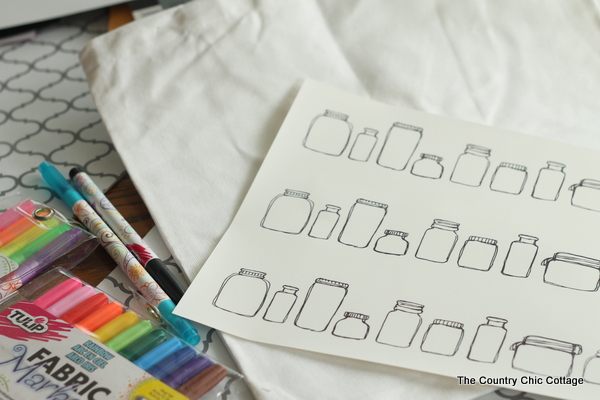
- Printable mason jar file (the second page has the long strips of jars)
- Tulip fabric markers
- Paintbrush
- Water
- Tote bag (of your choice)
Instructions
Just follow these step-by-step instructions, and you’ll love how simple this project is to complete!
Step 1
Print the long strips of jars on the second page onto your t-shirt transfer paper. Be sure to read and follow all instructions that come with your package of transfers.
Step 2
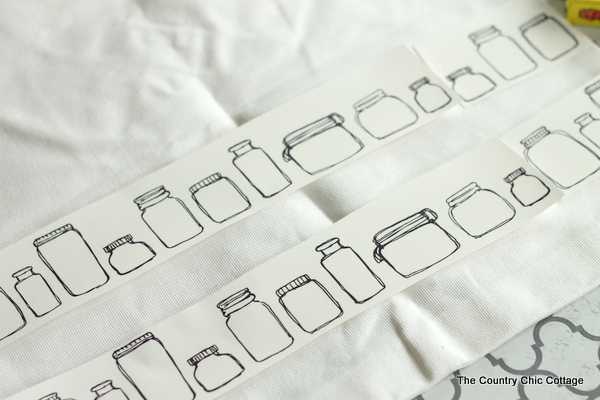
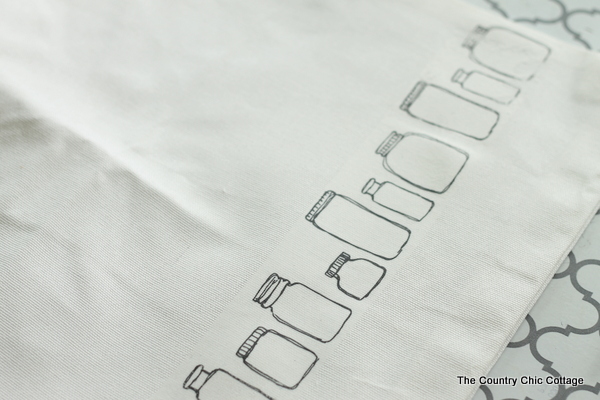
Cut around the transfer and lay the design out on your tote bag. Mine required a strip and a part of another strip to make it all the way across the tote.
Step 3
Iron according to the package directions to transfer the image to your tote bag. I applied a row of jars on both sides of my tote.
Step 4
Now for the fun part! We are going to those little mason jars with a watercolor look.
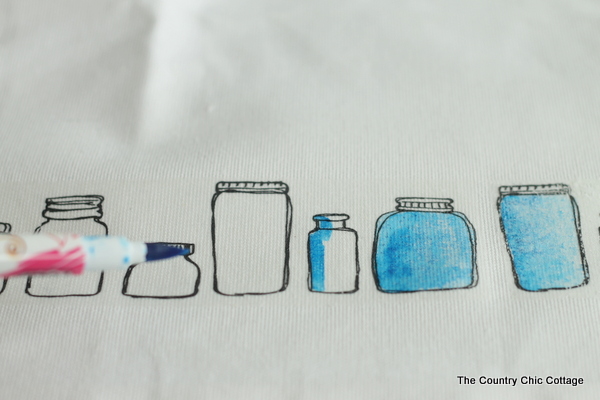
Protect the back of your tote by sliding in cardboard between the front and back. Start with the tulip marker in aqua and apply a line of fabric paint, as shown in the middle jar below.
Step 5
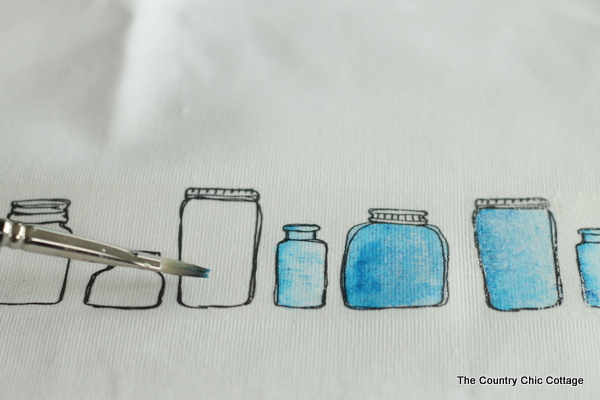
Come right back with a brush dipped in water and use it to fill your entire jar. Each one will be different and amazing!
Step 6
I also used a black marker on the lids with the same type of technique. Allow it to dry completely on one side before turning the tote over and doing the back.
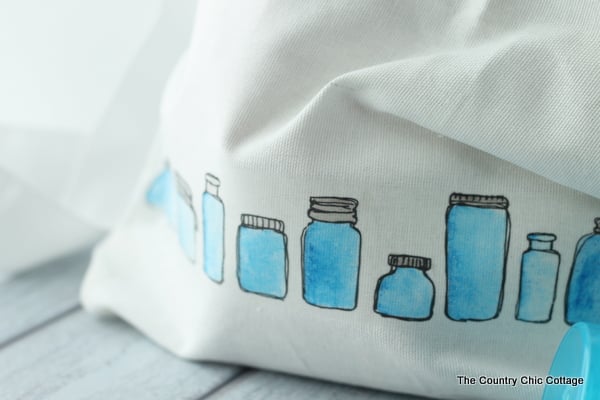
Once everything is dry, your bag is complete! You’ll be ready to head out to the beach with your new mason jar bags. When everyone asks you where you found it, you can proudly say you made it yourself!
FAQs
Here are a couple of questions that I see readers ask about making projects like these mason jar bags. Please check to see if I’ve already answered it below if you have a question. Don’t see it? Leave it for me in the comments!
What canvas bag is best for this project?
The best bag for this project is the one you like the most! Ok, all cheekiness aside, it doesn’t matter what kind of canvas bag you use because the process will work on all of them! Find one that’s the right size and shape, and go to town making your own unique creation.
Can I just color in the images?
Sure. I love the watercolor effect that this technique created. However, if you want bolder colors in your jars, you can color them with markers.
More Mason Jar Inspiration
Check out even more summer mason jar ideas that you can easily make!
- How To Make A Mason Jar-Shaped Garden Flag
- Acrylic Pour Painting For Mason Jar Vases
- Painted Pallet | Mason Jar Art Craft
- Beautiful Sea Glass Painted Mason Jars
- Watercolor Mason Jar Vases That Are Easy to Make
- Mason Jar Fruit Fly Trap
Equipment
- Printer and ink
- water
- Inkjet transfer paper
Instructions
- Print the long strips of jars on the second page onto your t-shirt transfer paper.
- Cut around the transfer and lay the design out on your tote bag. If you have a large bag, you may need to use more than one strip.
- Iron the image onto your tote bag. Follow all package directions. I applied a row of jars on both sides of my tote.
- Slide a piece of cardboard between the front and back of your tote bag to prevent any color bleeding through. Take a Tulip marker (in aqua color) and apply a line of fabric paint along an edge of a jar.
- Next, take a brush dipped in water and use it to fill your entire jar with color. Each jar will be unique and amazing!
- Finally, use a black marker on the lids with the same watercoloring technique. Allow the bag to dry completely on one side before turning the tote over and doing the back.Once the bag is completely dry, it's ready to use!
A Year of Jar Crafts

Sign up for our email list to get a FREE book with an entire year of jar crafts! 12 months, 12 crafts, tons of fun!


Love this Angie! I have a thing for mason jars and tote bags. Love how you combined the two!