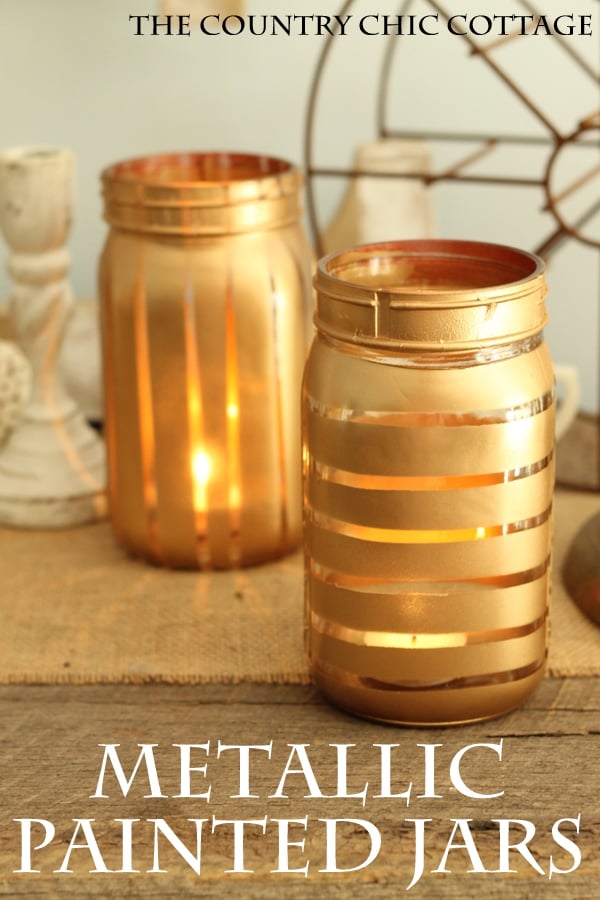
If you want to spruce up the humble mason jar, try adding a little personality with paint! Follow this tutorial to learn how to paint mason jars with metallic paint to add a little glam!
Mason jars are a staple in my house. These ordinary glass jars are cheap and endlessly practical, so I use them all the time in various ways.
One of my favorite things about mason jars is just how super versatile they are. Use them to serve lemonade, as gift-giving containers, or paint them as decor pieces. No matter how you use them, you can’t go wrong!
When my friend Amanda from Crafts by Amanda asked me to review her new craft books for kids, I just couldn’t say no. And, although I enjoyed her project ideas, I was shocked that I was inspired to make something for ME out of those books.
These metallic-painted glass jars might be easy enough that the kids can make them, but they’re gorgeous enough that adults will want to display them! If you want to learn how to paint mason jars with metallic paint, follow along with this tutorial.
How To Paint Mason Jars With Metallic Paint
If you took one glance at my painted jars and thought this project looked too difficult, I have a surprise for you! You’re going to love how simple it is.
Supplies Needed
To make these painted jars, you will need the following supplies:
- Jars
- Rubber bands
- Spray paint
That is it!
Instructions For How To Paint Mason Jars
It’s time to dive in and see the step-by-step process. Although the process is simple, there’s one key technique that makes it possible for kids (and anyone!) to create painted mason jars that look professionally finished.
Step 1: Use Rubber Bands To Create Lines
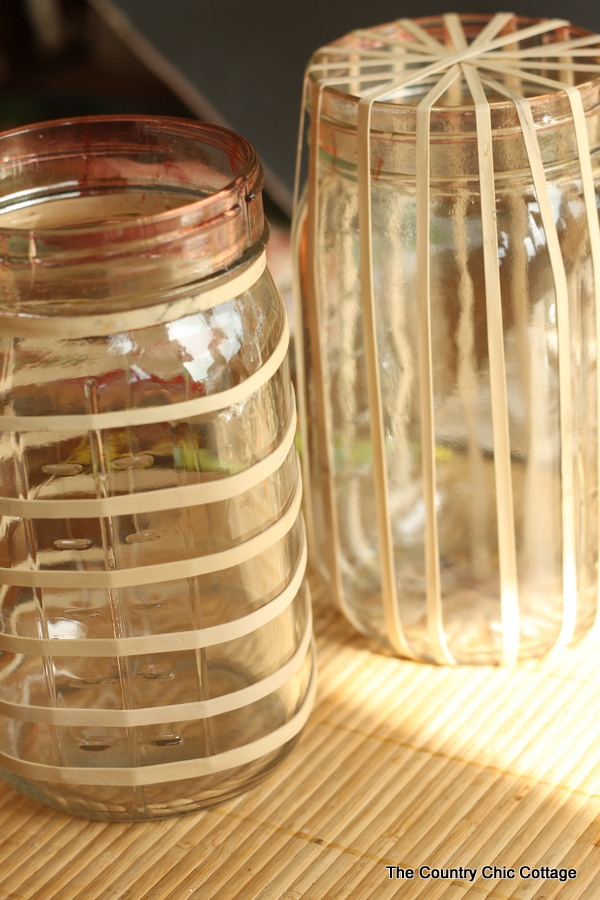
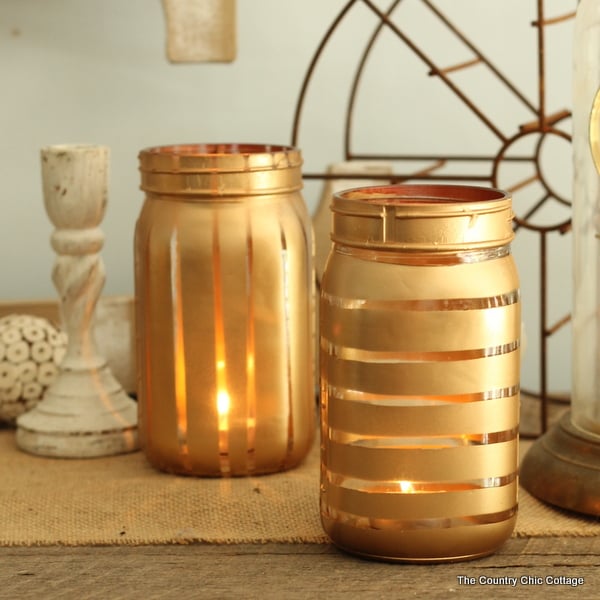
Just like Amanda suggested in her book, I used rubber bands as my masking. On one jar, I used vertical stripes, and on the other jar, I used horizontal lines.
Step 2: Spray Paint
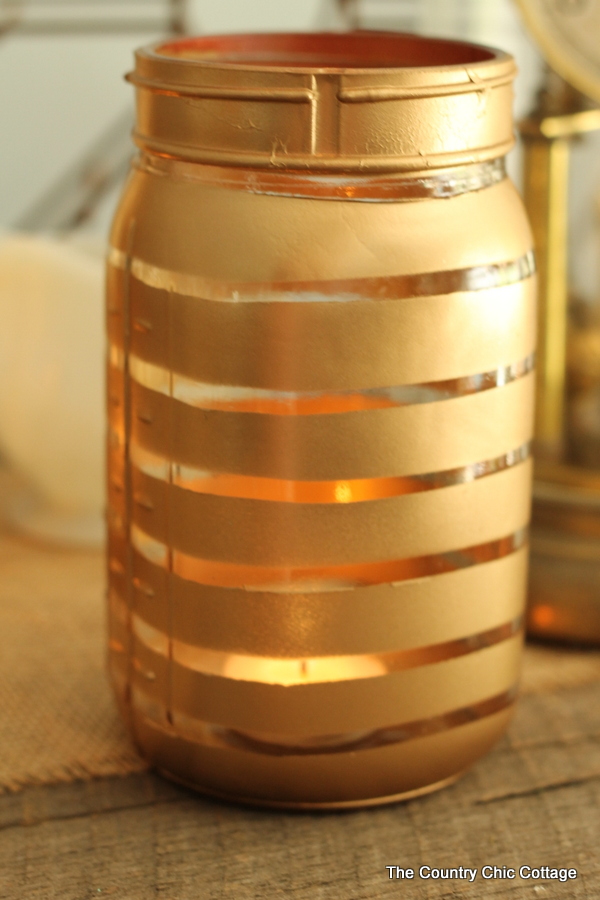
Next, spray paint the first coat of metallic gold onto your glass jars. Allow the paint to dry fully, then repeat the process as many times as you want until the paint looks the way you want it to.
Once your final coat of paint is dry, you can remove the rubber bands.
Step 3: Display Your Painted Mason Jar
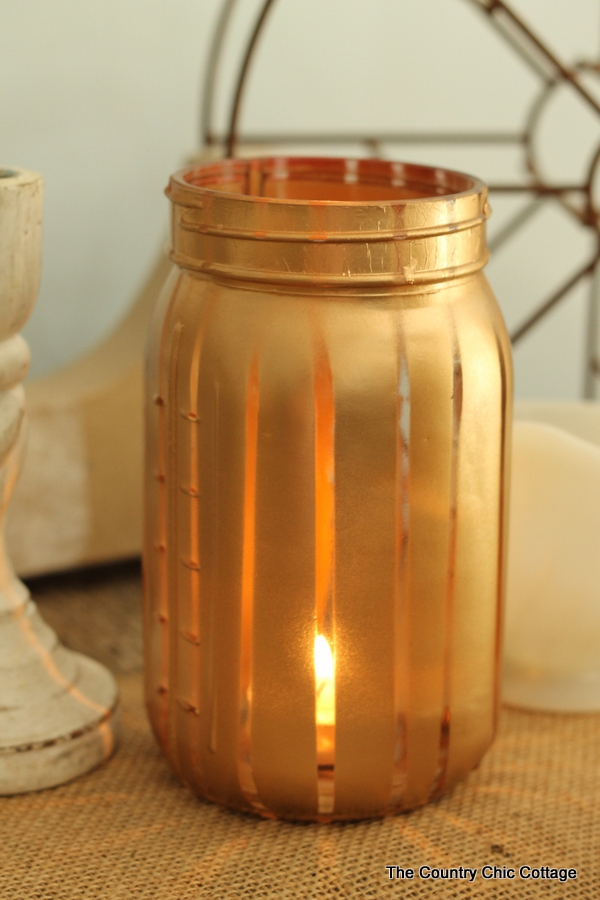
At this point, you can display your jars as they are, or you can add in some candles to turn them into luminaries or add flowers to make your jars vases.
Learning how to paint mason jars is a quick and easy project that is just as much fun for adults as it is for kids!
How To Paint Mason Jars FAQs
If you have questions about making painted mason jars, I have answers for you! Please leave your question for me in the comments if you don’t see it already answered below.
Can I use paint other than metallic paint?
Yes! You can use any color or type of spray paint that you want for this project to make it fit your decor or artistic goals. Silver, blue, white, or glitter – the world of color is your oyster here!
How can I create different designs on my painted glass jars?
Play around with your rubber band placement. I chose to create (roughly) equal-sized stripes, but you can get creative and make something totally different! Using tape for your masking is always a possibility, but it’s more time-consuming and harder to make straight lines than rubber bands are.
For even more inspiration, you can see more pictures of how to make similar painted jars to these in Amanda’s book (see the link below).
Learn How To Paint Mason Jars And More
This project is inspired by Amanda’s book Rubber Band Mania, which has tons of ideas for rubber bands of all sizes. Did you know that you can make your own loom for those fancy bracelets? So much fun!
Both Rubber Band Mania and Duct Tape Mania are intended for kids 6 – 12 years of age. Both books are priced affordably and contain a wealth of information and inspiration.


More Mason Jar Painting Ideas
If you love this project and want more inspiration, check out these other crafts!
- Beautiful Sea Glass Painted Mason Jars
- Acrylic Pour Painting For Glass Jar Vases
- Painting Glass Jars to Look Vintage
- Painted Watermelon Mason Jar Craft
- Lumberjack Plaid Painted Mason Jar
Supplies
- Mason jars
- Rubber bands
- Spray paint
Instructions
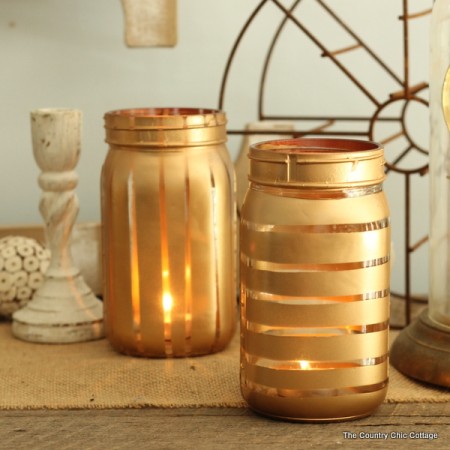
- Use rubber bands as masking to create the stripes design you want. On one jar, I used vertical stripes, and on the other jar, I used horizontal lines.
- Spray paint metallic gold onto your glass jars. Add additional coats of paint, if needed, making sure to let the paint dry before adding another coat.Once your final coat of paint is dry, you can remove the rubber bands and enjoy your new jars.
- Display your jars around your home! Feel free to fill then with candles, flowers, or anything else you want.
A Year of Jar Crafts

Sign up for our email list to get a FREE book with an entire year of jar crafts! 12 months, 12 crafts, tons of fun!


These are GORGEOUS and I love that you did the vertical stripes too! Beautiful, and thank you for such a great review on my book Angie!
Hi Angie
these are such a great idea.. I think these jars would look adorable outside as candle holders; especially in windy areas – and just a touch glamorous. Thanks for the great idea and for sharing.